Last updated on
Dive deeper into this article because it’s brimming with imaginative and practical ideas to take your 4h poster creation to a new level of expression and creativity.
Creating an engaging 4-H poster is an excellent way to showcase your project and share your knowledge. Whether you’re highlighting the growth of your prize-winning tomatoes or the steps you took to train your dog, a well-designed poster can tell your story effectively.
This article will guide you through the process, offering tips and tricks to make your poster stand out. From choosing the right colors and fonts to organizing your information and adding visual interest, we’ve got you covered.
So, let’s dive into the world of 4-H poster creation and make a masterpiece!
Healthy Eating Pyramid

Aiming for a balanced diet is paramount, and the Healthy Eating Pyramid can be a helpful guide in achieving that. At the bottom level, whole grains, fruits, and vegetables form the largest section, encouraging ample consumption of these nutrient-dense foods.
Move up a level, and you’ll find lean proteins and dairy products. These provide essential proteins and calcium for growing bodies. However, they should be eaten in moderation compared to the first layer.
The top of the pyramid highlights fats, sweets, and oils, suggesting these should be the smallest portion of your daily intake. Remember, all levels are important but maintaining the right balance from the pyramid ensures nutritional needs are met without overindulging.
For a 4h project, you could represent the pyramid visually, perhaps comparing a day’s meals that follow the pyramid to one that doesn’t. You might also add fun food facts or quiz questions to engage viewers.
Life Cycle of a Plant
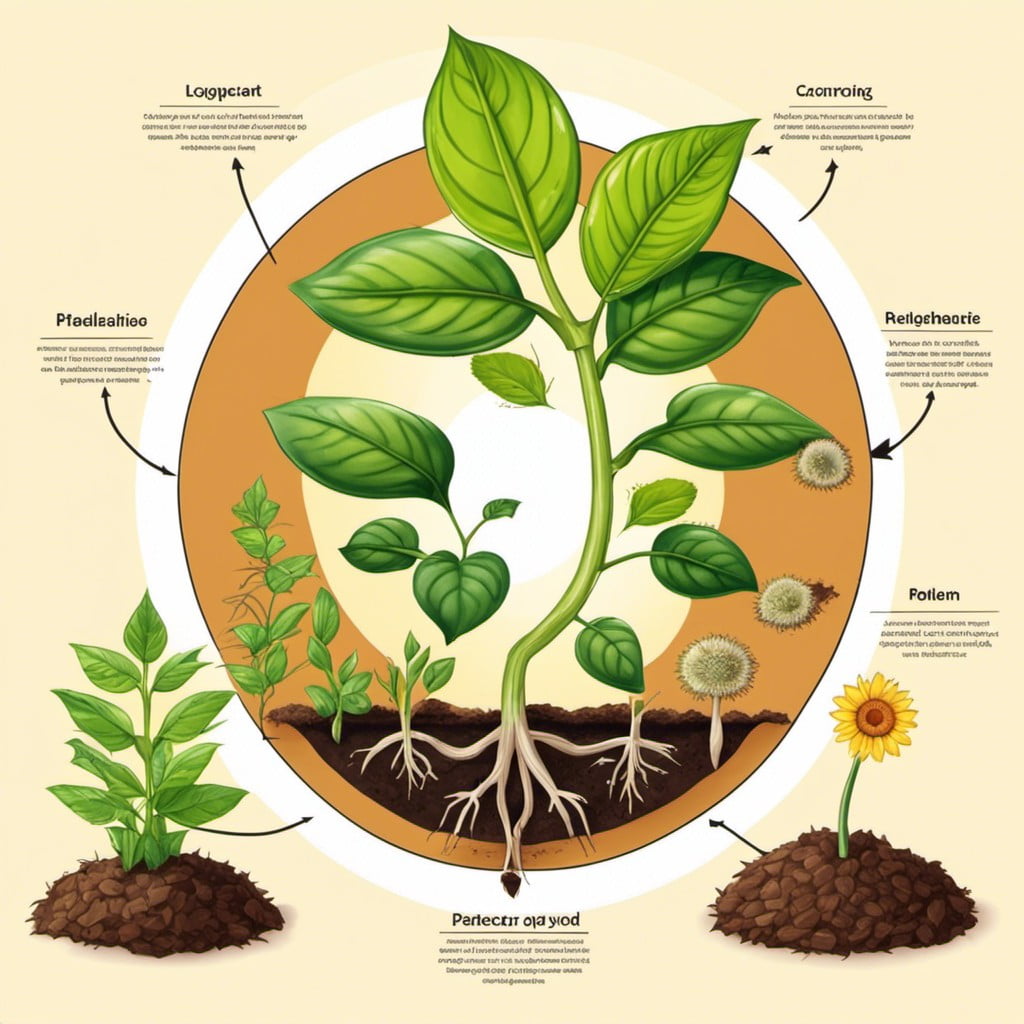
Plants, like all living things, experience a series of stages of growth. Begin illustrating with a seed. This seed holds all the genetic information required to develop a plant. Remember to place the seed in the soil as the first step.
Next, germination happens in the presence of water, warmth, and good soil. This process results in the emergence of the seed’s radical or root, which grows down into the soil, and the plumule, or shoot, that grows up towards the light.
The next stage is all about growth and development, where photosynthesis plays a key role. Keep your paints ready to highlight the green parts where photosynthesis occurs! Perhaps, demonstrate how leaves, flowers, and fruits develop during this stage.
Lastly, it’s maturation. The bright colors you use to illustrate can emphasize the ripening fruit filled with seeds. These seeds start the process over again, completing the cycle. With a focus on details like the change from tiny seed to grown plant, the poster could be a beautiful visual summary of a plant’s life cycle!
How to Grow Your 4H Project

Diving deeper into the subject, cultivating your 4H project is a combination of passion, diligence, and sensible goal-setting. Initially, it’s important to choose an area of interest to you – whether it’s plants, animals, or even tech projects, make sure it resonates with your personal interests.
Draft concrete objectives – know what you want to achieve at the end. Is it a blooming beautiful garden, a healthy flock of chickens, or a functional robotic arm?
Further, understand the resources you need. Are there tools or equipment required that you need to buy or borrow? Remember, it’s not just tangible items – you’ll need time, patience, and lots of learning too.
Schedule wisely. Break your project into smaller tasks and set deadlines to stay on track. Regular monitoring is key – keep an eye on your project’s progress, note any changes or problems, and adjust your strategy accordingly.
Lastly, don’t forget to engage in learning opportunities and skill development activities. Books, mentor guidance, online classes, or workshops can greatly enhance your growth. Remember, your 4H project is not just about the final product, but the journey of learning and skills you acquire along the way.
Animal Care and Handling
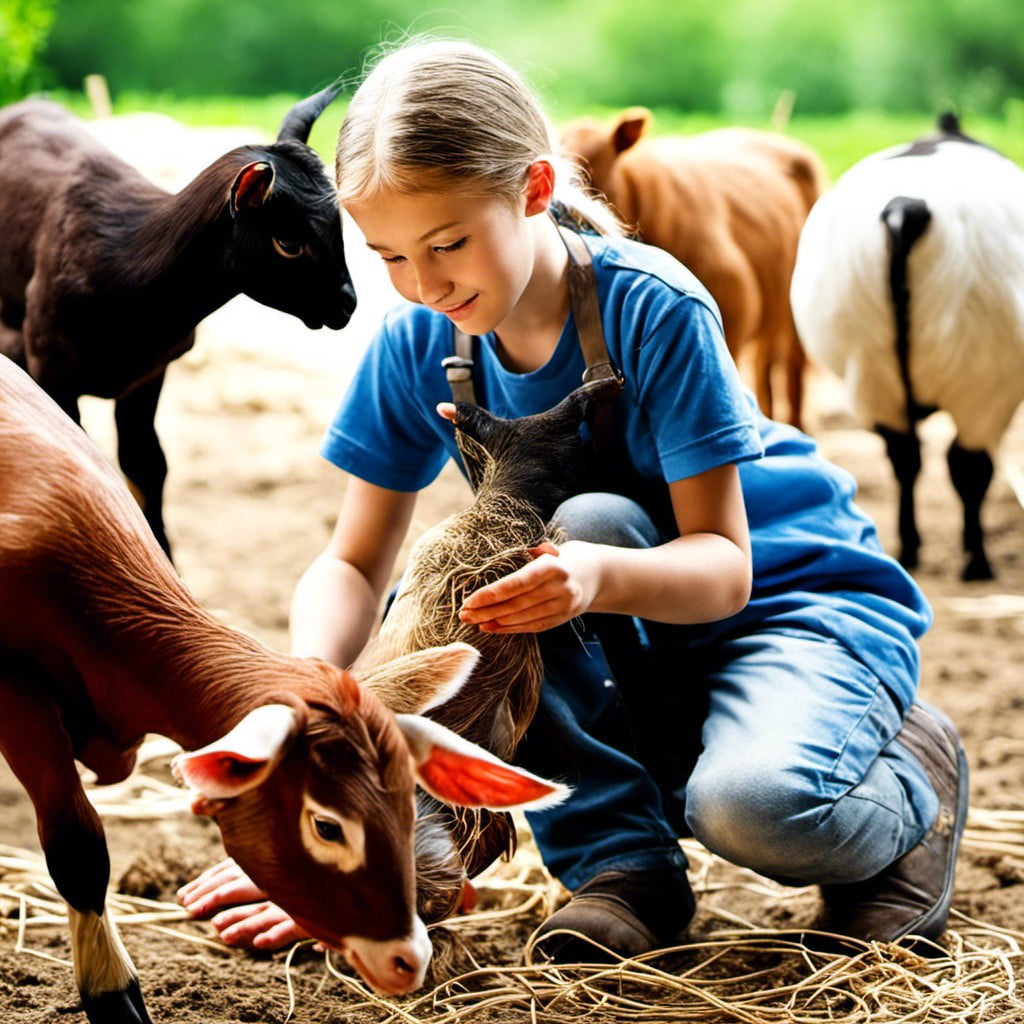
When considering 4-H projects, it’s essential to explore the best ways to handle and care for livestock. Providing them with a suitable habitat that mimics their natural environment can lead to better health and growth. Regular check-ups to monitor their health status, including weight, temperature and overall behaviour, are just as important.
Remember proper feeding – quality and consistency count to keep the livestock nourished and thriving. Take time to understand their specific dietary needs and accommodate them.
Handling animals with care, kindness and respect is key. While their strength may vary, gentle contact reduces stress for both the animal and the handler. Whether it’s shearing sheep, milking cows, or training horses, appropriate handling techniques ensure safety for all.
Lastly, keep an eye out for warning signs of illness and distress. Rapid intervention can save resources and, more importantly, lives, enhancing overall project results. It’s a commitment to the principle of welfare first, livestock second. This understanding enables responsible, holistic care and better project outcomes.
Benefits of Organic Farming
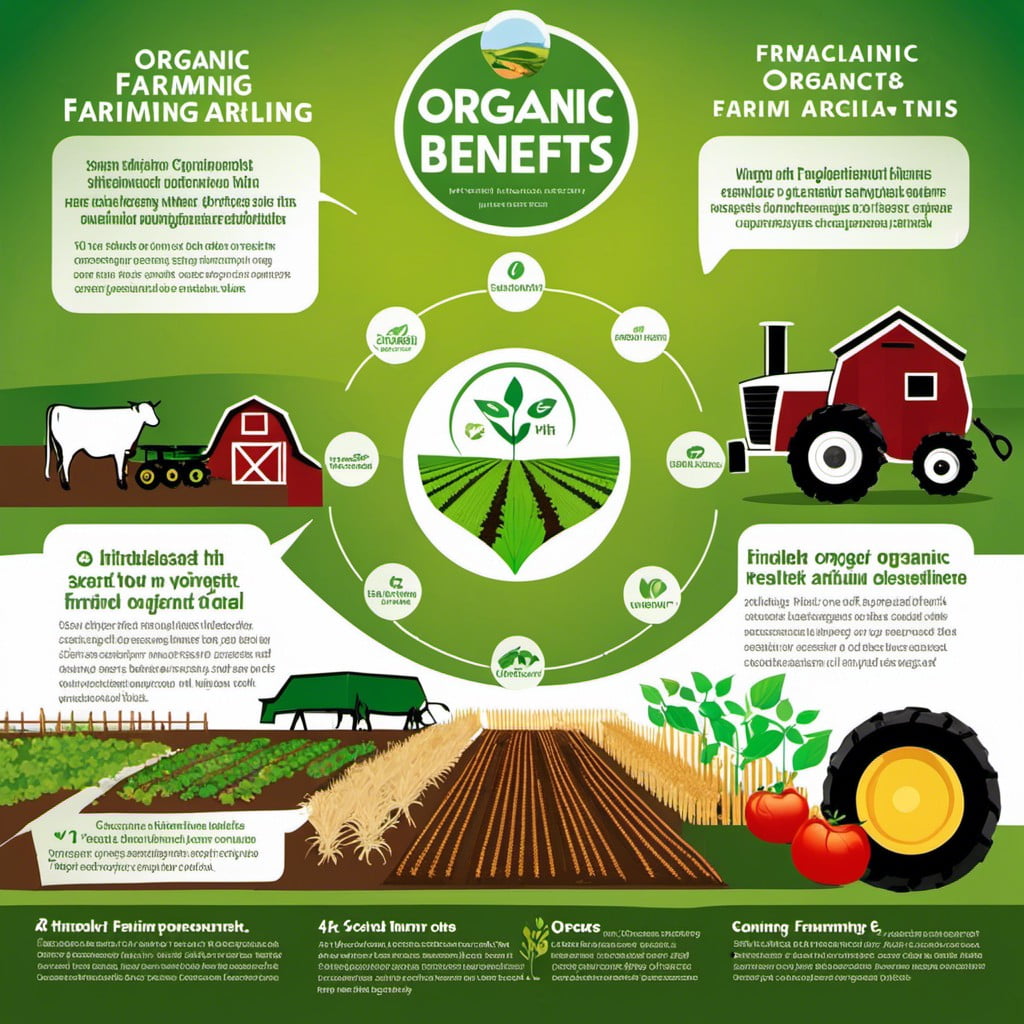
Organic farming stands as an innovative solution to many contemporary agricultural hitches. Not only does it eschew harmful chemicals, but it also aids in preserving the planet’s resources.
1. Provides Nutrient-Rich Produce: The absence of synthetic fertilizers results in fruits and vegetables teeming with antioxidants and vitamins.
2. Sustains Soil Health: Organic materials used in farming enrich the soil, promoting a healthy and vibrant ecosystem.
3. Guard Against Pesticide Exposure: Organic crops are grown without chemical pesticides, warranting minimal residue on your plate, safeguarding overall health.
4. Tackles Climate Change: By storing carbon in the soil, organic farms can help mitigate the greenhouse effect.
5. Boosts Biodiversity: Organic farms support a diversity of species, creating a balanced, dynamic, and resilient ecosystem.
6. Preserves Water Resources: Implementing organic farming methods eases the water pollution issue by refraining from using synthetic fertilizers or pesticides.
Each point stated above nods towards the holistic nature of organic farming. Its approach encompasses all aspects of farming and its repercussions on the environment and human health, making it a practical option for future sustainability.
The Future of Agriculture
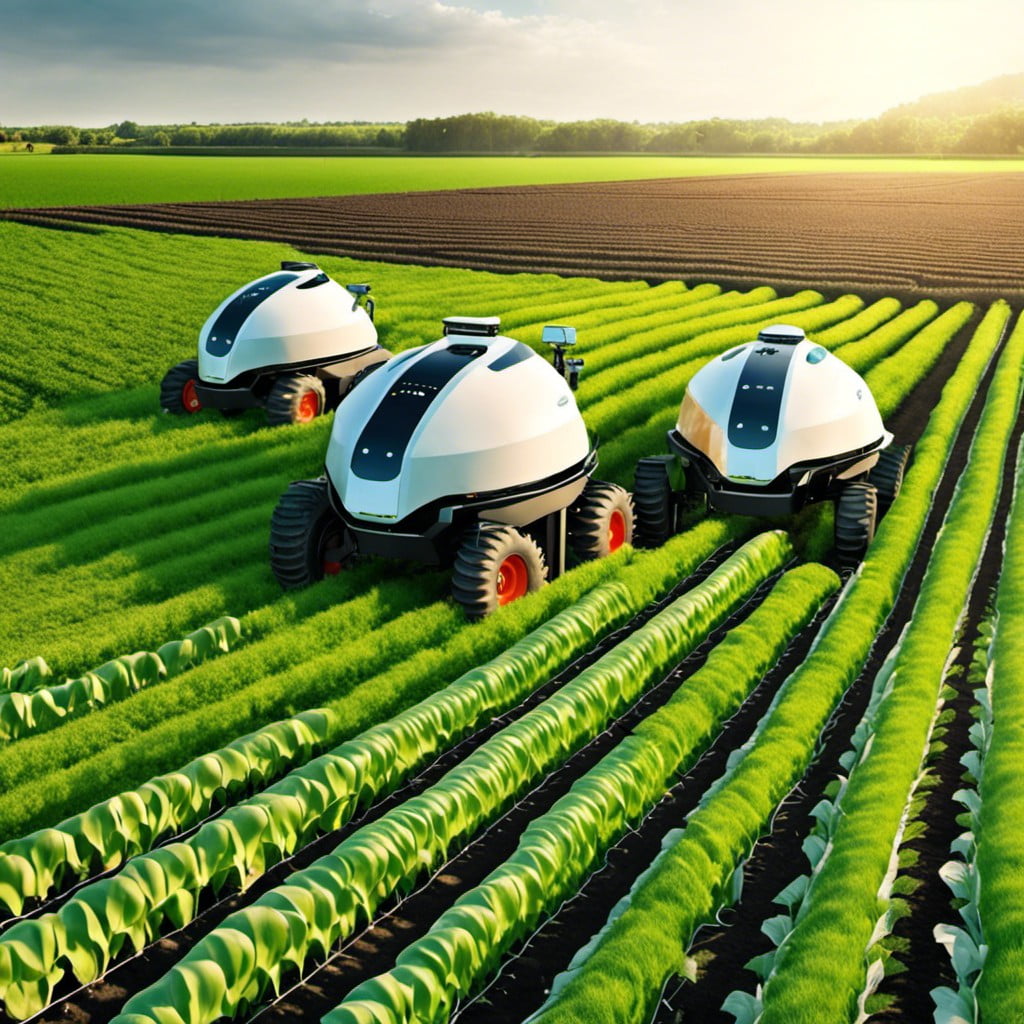
Technology plays a significant role in the evolution of farming practices. Robotics represent a leap forward, enhancing precision in tasks like planting and harvesting, boosting efficiency and reducing labor demands.
Drones conduct overhead surveys, providing essential data on crop health and irrigation needs, becoming crucial allies in farm management.
Vertical farming, a technique of growing food indoors on vertically inclined surfaces, allows for year-round food production and minimizes space usage.
Genetic engineering is another frontier. It holds potential to increase crop yield and resistance to pests, while improving the nutritional content.
Nanotechnology could revolutionize crop health monitoring. By deploying microscopic sensors, early detection of crop diseases is made possible.
Meanwhile, developments in sustainable farming practices focus on methods that reduce environmental impact, from water and soil conservation to the use of renewable energy.
In concepts like these lies the future of agriculture, promising advancements that could potentially redefine the entire industry. Trust and knowledge sharing amongst the farming community is key to navigating this landscape.
Each step taken towards this future enhances the potential to create a more sustainable and food secure world.
Recycling and Composting

Following a few simple steps, you can reduce waste, enrich your garden soil, and contribute to a healthier environment through recycling and composting.
1. Collect and separate organic waste: This includes leftover vegetables, peelings, coffee grounds, and eggshells. Avoid meat, dairy, and diseased plants as they can attract pests or create unpleasant odors.
2. Create a compost pile: Choose a suitable outdoor space, start with a layer of dry leaves or straw for aeration, then alternate between green (kitchen scraps) and brown (dry leaves, paper) layers.
3. Regularly turn the compost: Use a pitchfork to turn the compost pile every few weeks to speed up the process and prevent odor build-up.
4. Recycle other waste: Metals, plastics, glass, and paper can be recycled too. Use separate bins for different types of waste and make sure they are clean and dry before tossing them into the recycling.
5. Reuse: Before throwing anything away, consider if it can be reused – old jars as storages, shredded paper as packaging, old clothes as rags or doll’s clothes.
Remember, recycling and composting not only decrease the amount of garbage sent to landfill but also provide a wealth of benefits like reducing greenhouse gas emissions and enriching garden soil. So, start recycling and composting today! It’s easy, rewarding, and your little contribution can make a big impact.
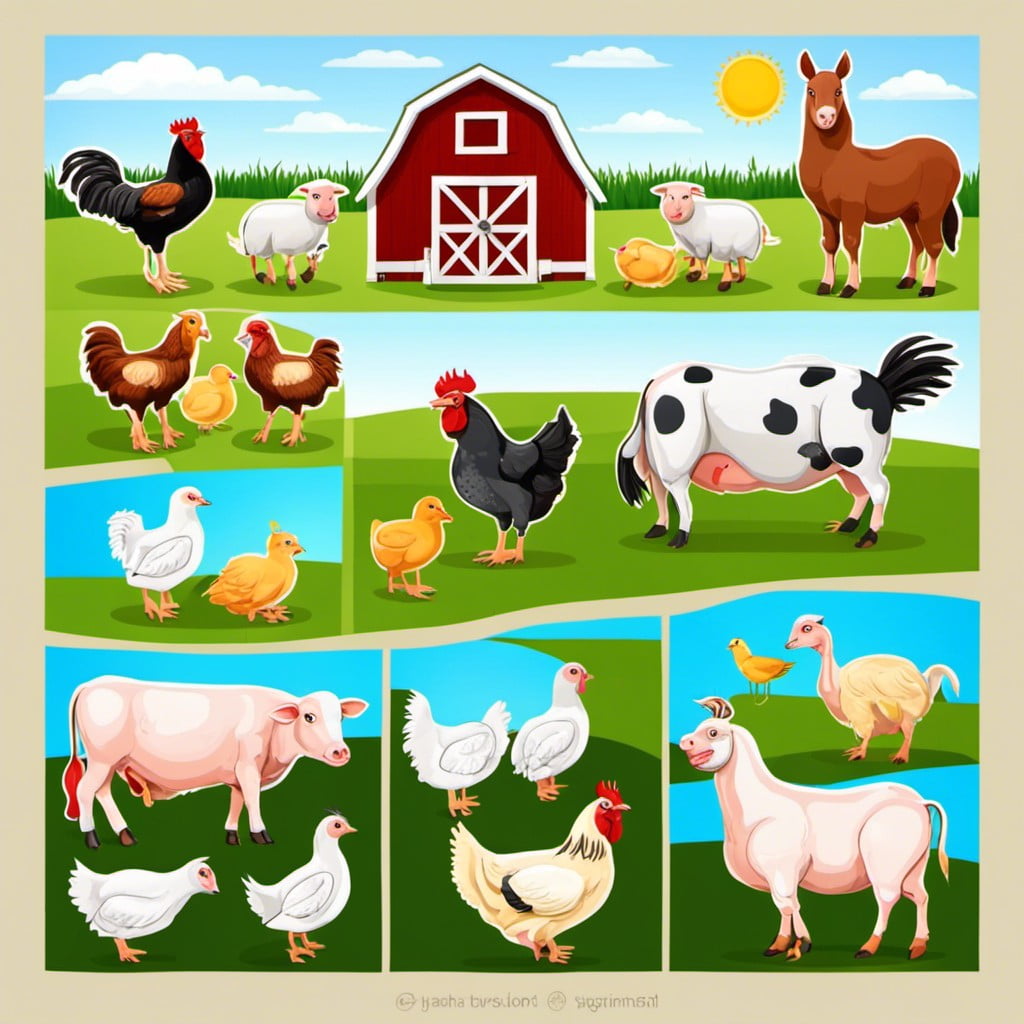
Showcase of Different Breeds of Animals
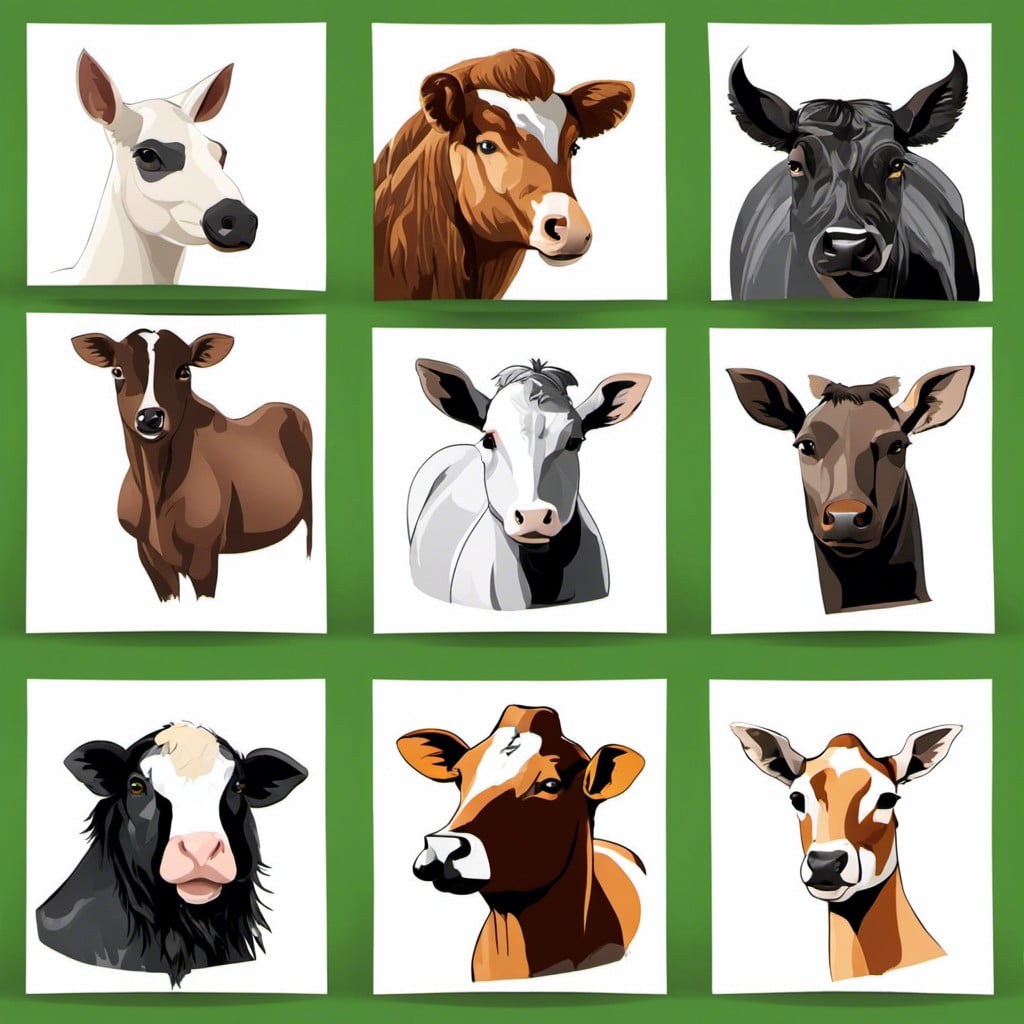
To create an engaging display, start by choosing a variety of breeds across different species. For example, chickens alone boast a multitude of breeds from the fluffy Silkies to the tiny Seramas, and every breed has interesting features to highlight. Similarly cattle, goats, sheep, and pigs all have several breeds with each having its unique characteristics.
Showcase each animal by adding pictures or sketches and couple these with brief informational snippets, including typical size, colors and characteristic features.
Bring life to your poster by including trivia facts or lesser-known details about these breeds. For instance, did you know that Nigerian Dwarf goats, despite their smaller size, can produce a surprising amount of milk? Or that White Leghorn chickens are among the most prolific egg layers?
Remember, the aim is not just to educate about different breeds but to spark interest and curiosity. Make your animal showcase as diverse, fascinating and as visually appealing as possible!
Steps in Goat Cheese Making

Diving right in, start by collecting fresh goat milk. Make sure to use clean and sterilized equipment to keep the process as hygienic as possible.
Now, heat the milk gently until it reaches the optimal temperature, typically around 180°F.
Once the desired temperature is reached, it’s time to add culture, a beneficial bacteria that plays the key role in cheese making.
After the culture has been thoroughly mixed into the milk, rennet, an enzyme that aids in coagulating the milk, is incorporated into the mix.
Wait for the complete curd formation. This usually takes about an hour.
The curds should be gently cut and cooked until they reach the proper texture.
Remember to stir gently to prevent them from matting together.
After that, the whole curd mass should be ladled into a colander lined with fine cheese cloth for draining.
Now, for the final step! Hanging the cheese.
Once tied, suspend the cheese bag in a cool, humid environment allowing the whey to drain completely.
This can take few hours to overnight.
There you have it.
Once the cheese reaches the desired firmness, it’s ready to be unpacked, seasoned, and enjoyed!
It’s a patient process, but the result is worth every minute.
A Poster On The Process of Beekeeping
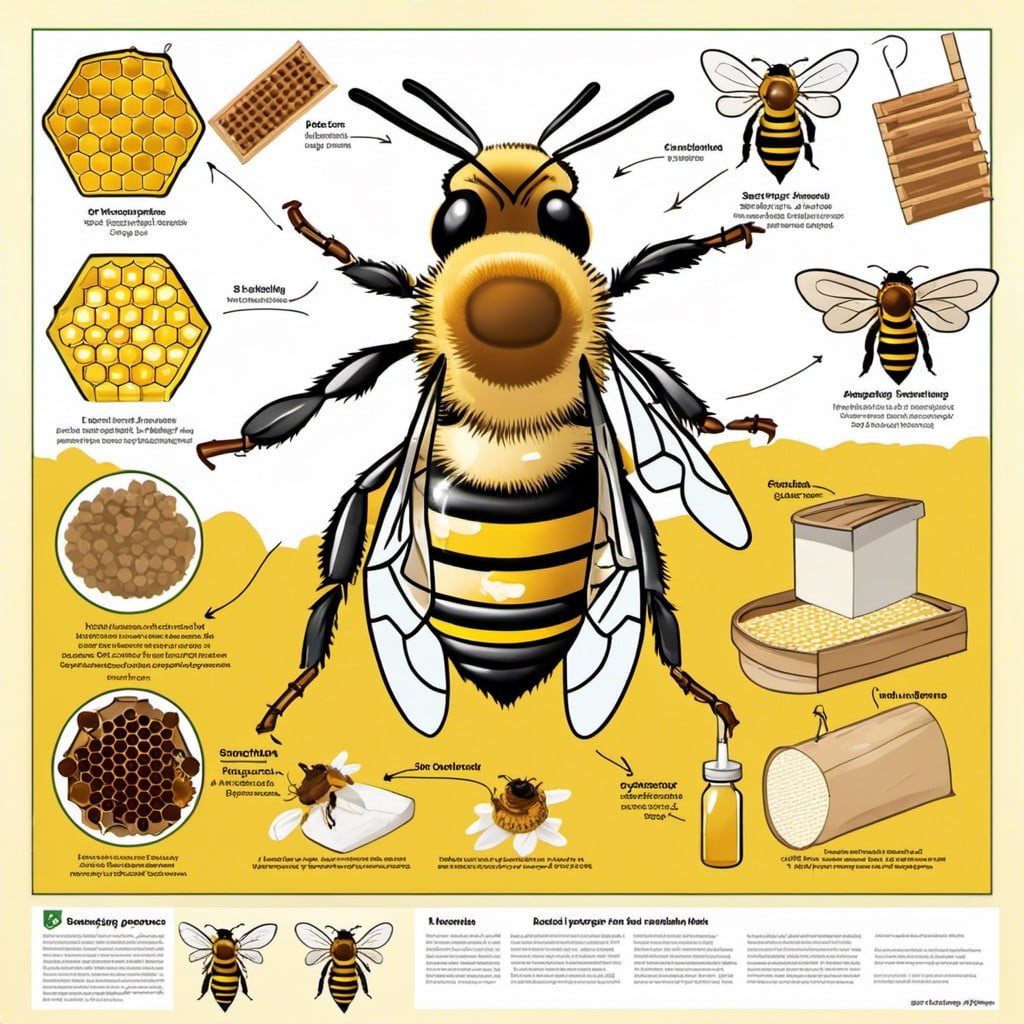
Diving straight into it, a visual experience is often the best way to learn. Threading this concept into crafting your poster about the intricacies of beekeeping will surely hook in your audience.
1. Begin with demonstrating the structure of a hive and its components, such as the queen excluder, honey supers, and brood box.
2. Highlight the unique roles within a bee colony, illustrating how worker bees, drones, and the queen bee each contribute to the overall functioning of the hive.
3. Showcase the process bees employ to produce honey. Emphasize how nectar undergoes a transformation in the honey comb, eventually leading to the delicious sweetness we enjoy.
4. The importance of bees in pollination should be a focal point. Show how our food supply depends largely on these small, winged heroes.
5. It would be beneficial to uncover the broader picture of hive setup and management aspects. Touch upon seasonal care, common diseases, and treatments.
6. Equip your viewers with tangible tips on suit-up and tool necessities, to quell those initial stings of nervousness over handling buzzing beings.
Let these detailed yet condensed insights guide your creation of an all-rounded, educational journey into the fascinating realm of beekeeping.
How to Save Water in Your Farm
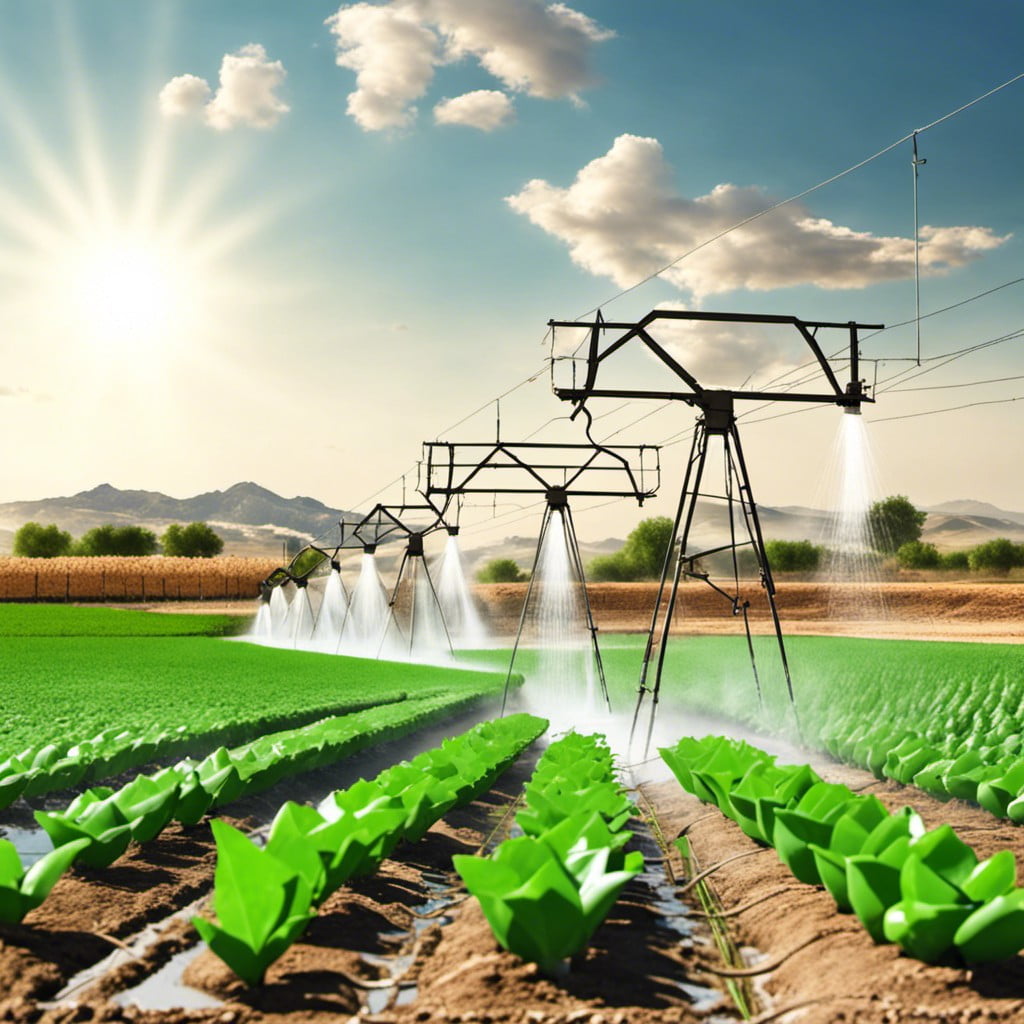
In the conservation of this precious resource, following tips can lead to efficient management on your farm:
- Using Drip Irrigation: Water is targeted at the root zone, reducing evaporation and run-off.
- Rainwater Harvesting: Collect rainwater from roofs, save it in tanks, and use it when necessary.
- Mulching: This prevents water evaporation from the soil. Organic materials or plastic can be used.
- Installing Weather-Based Irrigation Controllers: They adjust watering based on weather conditions, improving efficiency.
- Choosing Drought-Resistant Crop Varieties: Such plants require less water to grow.
- Monitoring Soil Moisture: Aim to water only when necessary.
- Rotate Crops: Some plants improve the soil’s ability to hold water; consider alternating crops each season.
- Reclaimed Water: Safely treated and recycled water can be used for irrigation.
- Implement Terracing: This reduces run-off and allows water to infiltrate the soil.
- Keeping Equipment Efficient: Regularly check and maintain your irrigation systems to ensure they work efficiently.
These strategies not only save water but also improve the overall productivity of your farm.
DIY Greenhouse Plans
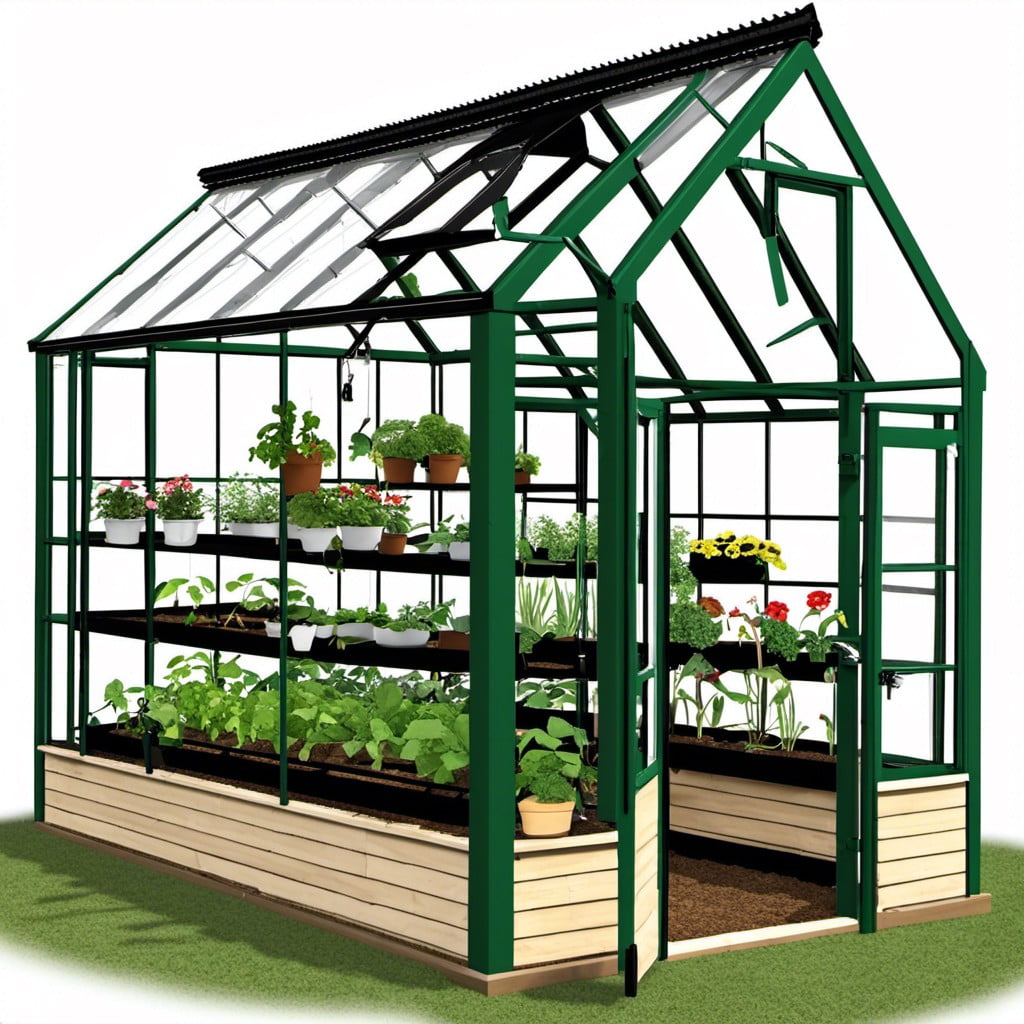
To embark on this greenhouse journey, first, decide what type of greenhouse suits your requirements – consider the size, functionality, and appearance. The most common are Lean To, Detached, or Window-Mounted.
Materials play a crucial role in this endeavor. Weather-resilient options such as polycarbonate or glass for the structure’s walls and ceiling are recommended. For the frame, aluminum, or wood may be utilized depending upon the desired aesthetic and affordability.
Invest time in a comprehensive plan. Take into account the space on your property, sun exposure, and local weather conditions. This will determine the ideal layout and positioning of your greenhouse, ensuring optimal plant growth.
Ventilation and insulation are crucial for maintaining the right environment within the greenhouse. Consider manual or automatic vents, and use horticultural bubble wrap or shading paint to control temperature fluctuations.
Now you’re ready to start building! Remember, planning is key to this project’s success. With the right materials and solid blueprint, a DIY greenhouse can turn your gardening dreams into a tangible reality.
Types of Soil and Their Uses
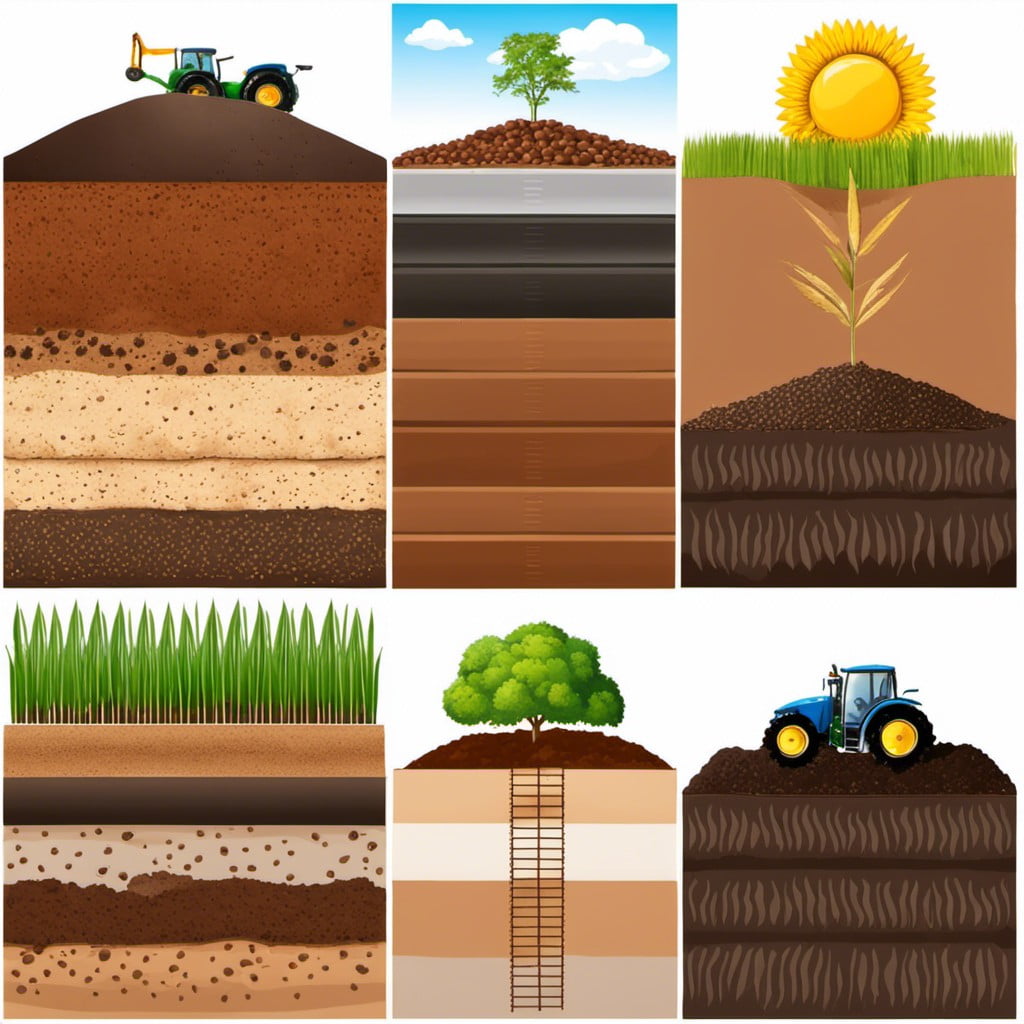
Diving right in, it’s essential to understand that various kinds of soil types have unique properties that make them beneficial for different planting purposes.
First, there’s sandy soil. It’s coarse and drains well, which makes it perfect for plants that demand less water like cacti or succulents.
Next, silt soil, which holds water well, provides great nutritional value. This type of soil is best used for growing crops like oats, potatoes, and beans.
Another type is clay soil, with tightly packed particles that retard drainage. This soil is best appropriate for plants that love water like tomato, lettuce, and broccoli, but it requires additional natural matter to be added to enhance oxygenation.
And let’s talk about loamy soil – usually the Holy Grail for every gardener. It contains a well-balanced mixture of silt, sand, and clay, along with organic matter. With its excellent drainage and water retention capabilities, it suits most plants.
Finally, for plants that love acidic lands, peaty soil would be ideal, but it too requires additional nutrients and needs to be dampened frequently.
Recognizing these unique soil types and their uses will no doubt empower your green thumb. Next up, let’s explore ‘Map of Local Farms and Products they Produce’.
Map of Local Farms and Products They Produce
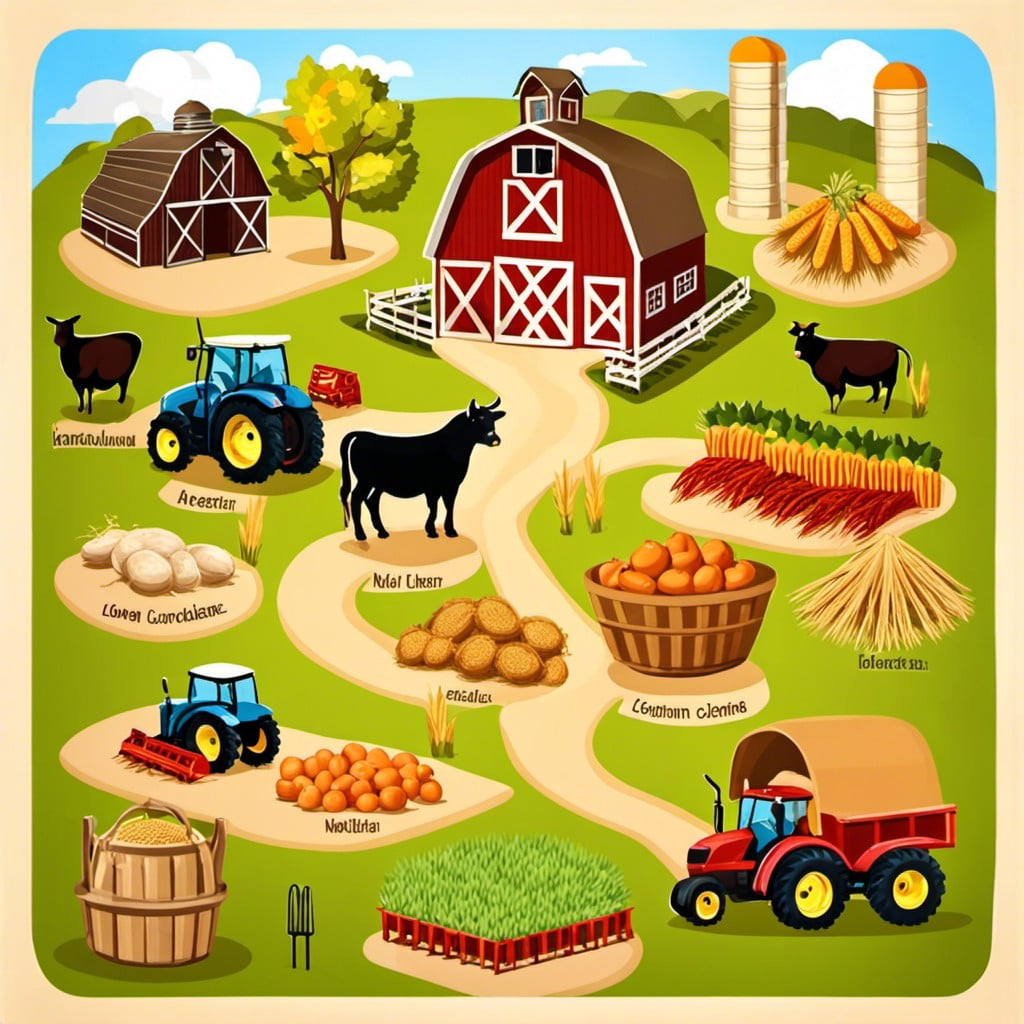
When creating a farm map, begin with detailed research. Identify local farms in your area and reach out to each farm’s owner to gather specifics about their produce. Make sure to ask questions about their peak production season, the variety of crops they grow, or the types of animals they raise.
After your research is compiled, it’s time to design the map. Consider using color coding or symbols to signify different types of farms – for instance, tomato icons for vegetable farms and cow symbols for dairy farms.
Next, include images of the corresponding products next to each farm. A picture of ripe apples next to an apple orchard, or freshly churned cheese from a dairy farm, would suffice.
Make the map not only educational but also practical and engaging. Highlight farm’s visiting hours, fun activities they offer, or if they have farmers markets’ seasons. This sort of information can encourage the community to engage more actively with local farming.
This visual presentation can serve as an excellent tool to not only increase awareness about the diversity of local agriculture but also inspire people to support their local economy.
Conservation Practices in Farming
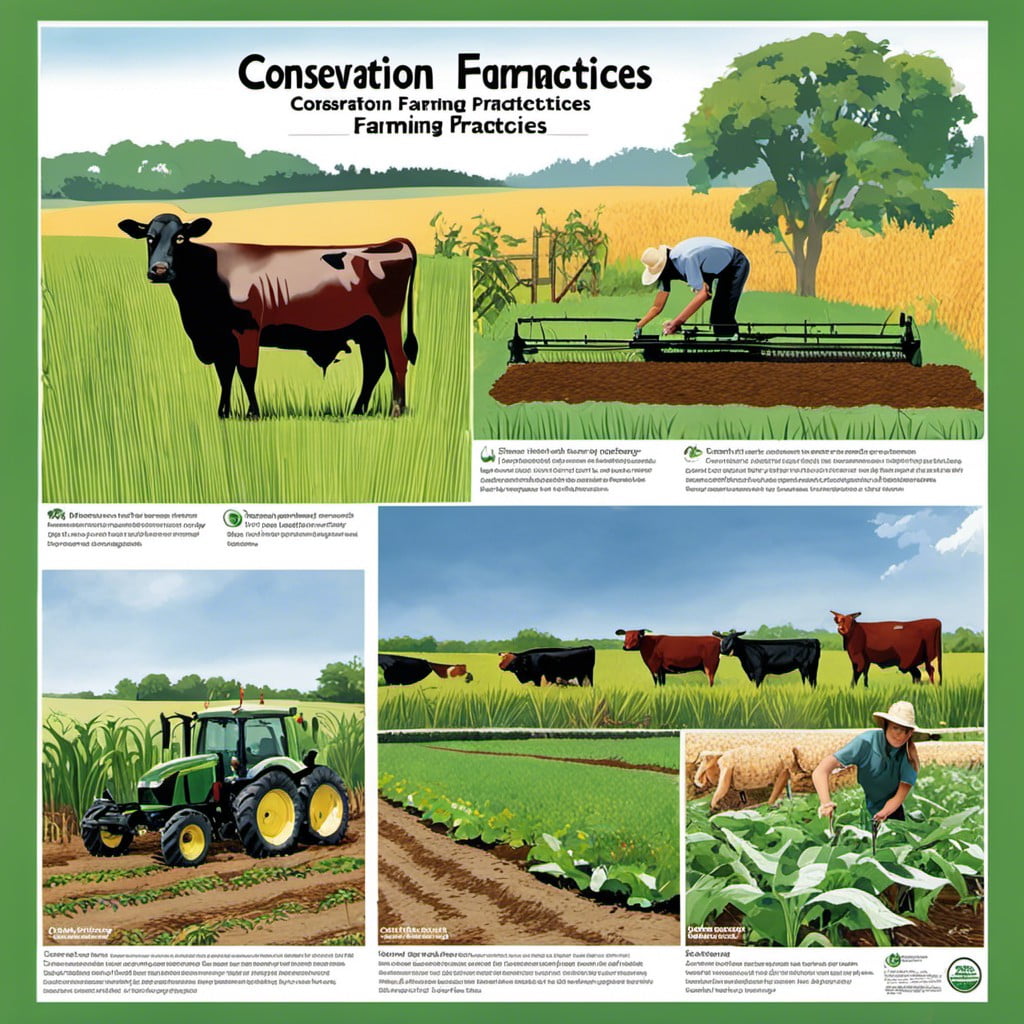
Diving into the wonderful world of farming conservation practices, it’s crucial to note the necessity of these strategies.
1. Crop Rotation: A not-so-secret weapon in sustainable farming which breaks disease cycles and increases soil fertility.
2. Cover Crops: Integrating these crops during off-seasons keeps soil anchored, deterring erosion, and improving soil health.
3. Contour Farming: A practice tailored for hilly terrains. By plowing and planting along contour lines, soil erosion is sharply curtailed.
4. Buffer Strips: Utilizing grassy or forested areas around fields assists in absorbing run-off, acting as a barrier to pollutants.
5. No-Till Farming: With this approach, soil structure and biodiversity improve, while erosion reduces, making it an impactful conservation method.
Remembering that each method fits different environments, farmers become proactive stewards of our planet, implementing these strategies for a healthier farm and a healthier world.
Understanding Weather Impact On Crops

Unpredictable weather patterns can steer the fate of crops in different directions.
Hot temperatures speed up growth but if too hot, they may cause unwelcome stress to the plants. On the other hand, cooler temperatures slow growth. Knowing these dynamics can guide the timing of planting and harvesting.
Rainfall, whether abundant or lacking, also greatly influences crop health. Overly soggy conditions can lead to root diseases and hinder uptake of nutrients while insufficient moisture can result in wilting and stunted growth.
Sunlight’s vital role should not be overlooked. Plants need sunlight to photosynthesize. Longer, brighter days boost growth while shorter, darker days slow it down.
Lastly, wind strength can either stunt or kill crops by uprooting them, or aid in pollination and the dispersal of pests.
Understanding these elements is key to discerning when to intervene and provide each crop with the optimal growing conditions it requires.
How to Make Homemade Animal Feed
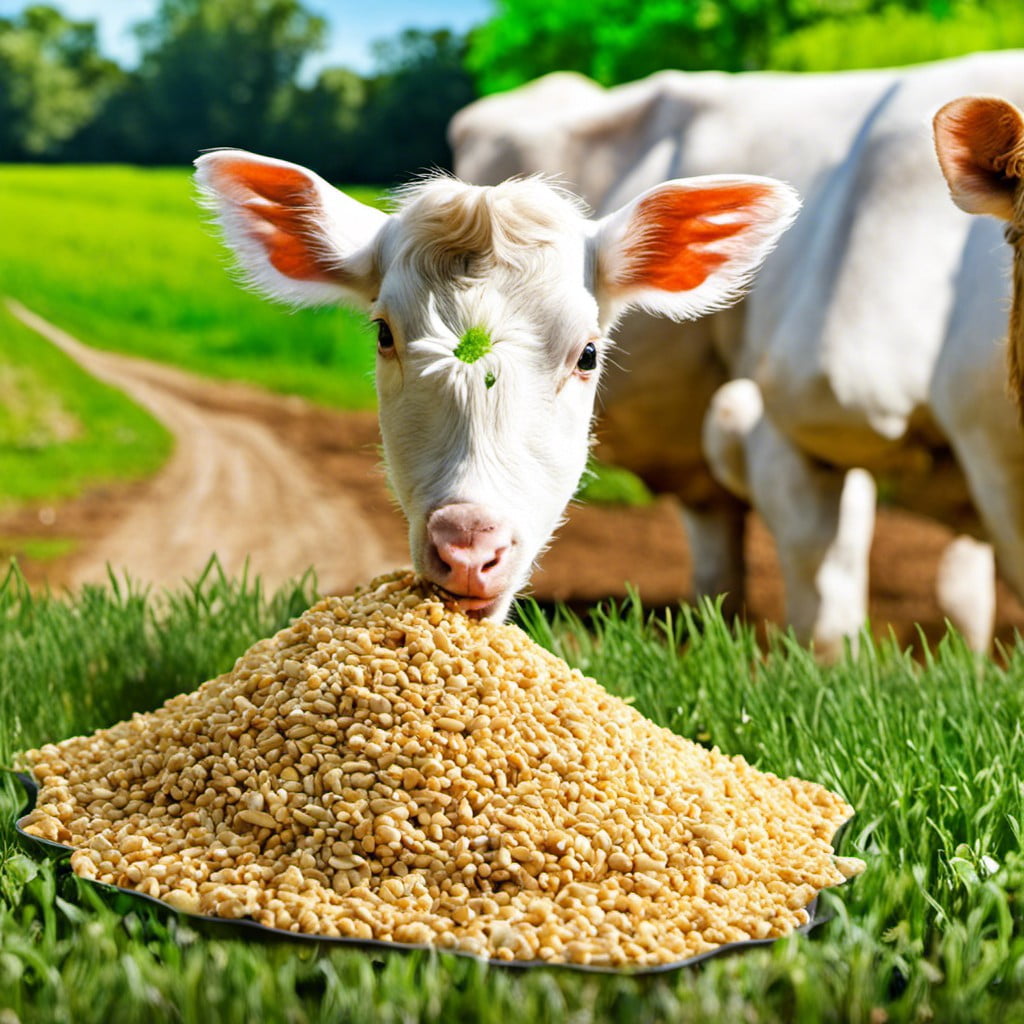
The art of crafting homemade animal feed allows you to control the type and quality of ingredients your animal will consume. It’s as intriguing as it is beneficial. Let’s dive right into this unique skill:
1. Identify the Nutritional Needs: Different animals require different nutrients. Poultry, for example, need proteins, carbohydrates, fats, vitamins, and minerals in their diet. Make sure to research about the species you’re feeding.
2. Gather Ingredients: After knowing the nutritional needs, get suitable ingredients. Common ones include grains, seeds, vegetables, and certain types of meat.
3. Utilize a Mill or Grinder: These pulverize the ingredients, allowing for better digestion. Preferably use a heavy-duty model for larger quantities.
4. Mix Ingredients: Blend all materials together evenly to ensure each serving is nutritionally balanced.
5. Storage: Store the feed in a dry, clean, and cool area to prevent spoilage.
Knowledge and practice can spruce up your understanding of what goes into your animal’s feed, and will enable you to make adjustments to suit their health as you progress.
Farm Safety Tips
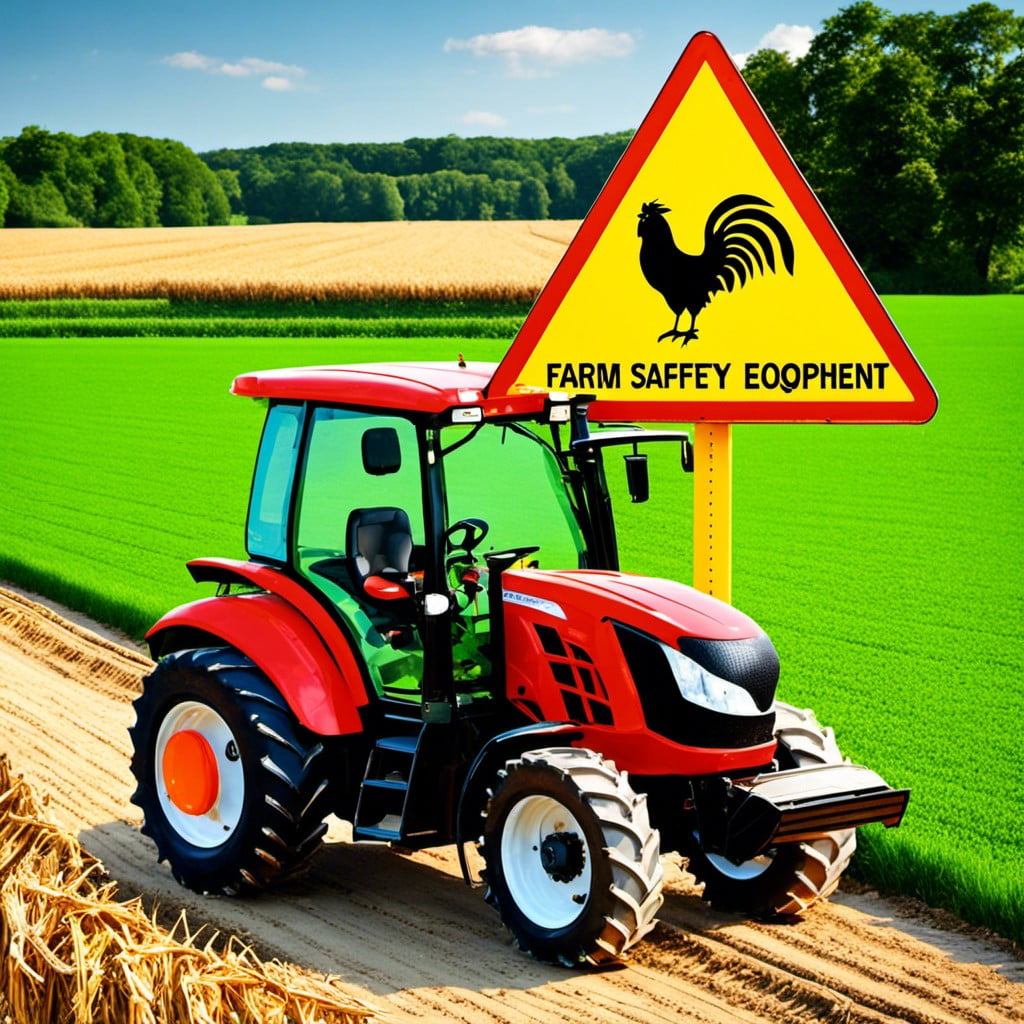
Advocating for safety on the farm is crucial and there are a host of pre-emptive measures to ensure the well-being of everyone involved. First, establish a safety routine and follow it religiously. The routine could be as simple as wearing gloves, boots, and helmets, or conducting a daily inspection of equipment.
Remember that machinery has the potential to be highly hazardous. Keep children away from operating machinery and ensure that everyone understands how to use it properly.
Proper storage of chemicals and medications is non-negotiable. Keep them in a secure and clean space to avoid accidental consumption or contamination.
Training is a significant part of farm safety. Everyone working on the farm should be educated about handling livestock, equipment and emergency protocol.
Be cautious of electrical wires, especially in barns and other outdoor buildings. Regularly check for frayed cords, loose wires and make sure systems are grounded.
Finally, take precautions to prevent falls, like securing ladders and cleaning up trip hazards. No matter how busy the season gets, remember that safety should never be compromised.
Bike Maintenance for Rural Kids

Proper bike maintenance is critical for ensuring safety, improving performance, and prolonging the life of the bicycle. It’s a skill every rural kid can benefit from.
1. Tire Pressure: Regularly check for the correct tire pressure. Too much or too little can lead to poor bike handling and flat tires. Use a bike pump with a built-in gauge.
2. Brakes: Check if the brakes are working smoothly. Handlebars shouldn’t touch the grips when squeezed, if they do, time to adjust or replace your brake pads.
3. Cleanliness: Keeping a bike clean not only keeps it looking good but also runs efficiently. Wipe off dirt and grime especially from the chain.
4. Lubrication: A bike’s chain and gears need to be lubricated often to prevent them from rusting and wearing out quickly.
5. Quick Safety Check: Before every ride, do a quick check of the bike – handlebars, pedals, gears, and brakes. This simple routine can save you from accidents and severe damages to the bike.
Remember, regularly maintained bikes offer a smoother ride and last longer. With the right knowledge and tools, it’s easy to do most of this maintenance yourself at home.
Stages of Animal Development
Primarily, the development journey begins with conception, once the egg receives a sperm, an embryo is formed. Instantaneously, life takes a swift and continuous course with fascinating evolutionary stages.
Mammals, for instance, such as cows, pigs, or goats typically experience similar processes.
- Embryonic Stage: This comprises the early weeks following conception. Key organs and body systems begin to form.
- Fetal Stage: The organs continue to grow and mature, the fetus grows significantly in size.
- Birth: Mothers deliver young ones, sometimes a single offspring, other times in multiple births.
- Infancy: The offspring depends on their mother for nutrition and learns essential survival skills.
- Juvenility: Weaning takes place; the youngster starts to develop independence.
- Adolescence: Sexual maturity begins, behavior changes occur signaling readiness to reproduce.
- Adulthood: Full physiological maturity is achieved, ready for reproduction and the cycle starts anew.
This biological marvel, experienced by all animals, is an incredible dance of life, growth, and transformation.
Browse More
 Baking Soda and Vinegar Drain Cleaning: Simple Steps for a Clog-Free Life
 How Long Does It Take to Tile a Bathroom: Your Ultimate Time-Saving Guide
 Smelly Drain: Banish Odors with Easy Fixes
 How to Remove Bathroom Fan Without Losing Your Cool
 How to Remove Bathroom Vent Cover Without Losing Your Mind
Recap