Last updated on
Stained glass is one of the best ways to decorate glass surfaces in your home. Using this technique, you can transform both large parts (cabinet doors, mirrors, glass openings of room doors) and small accessories (vases, glasses, bowls, lamps).
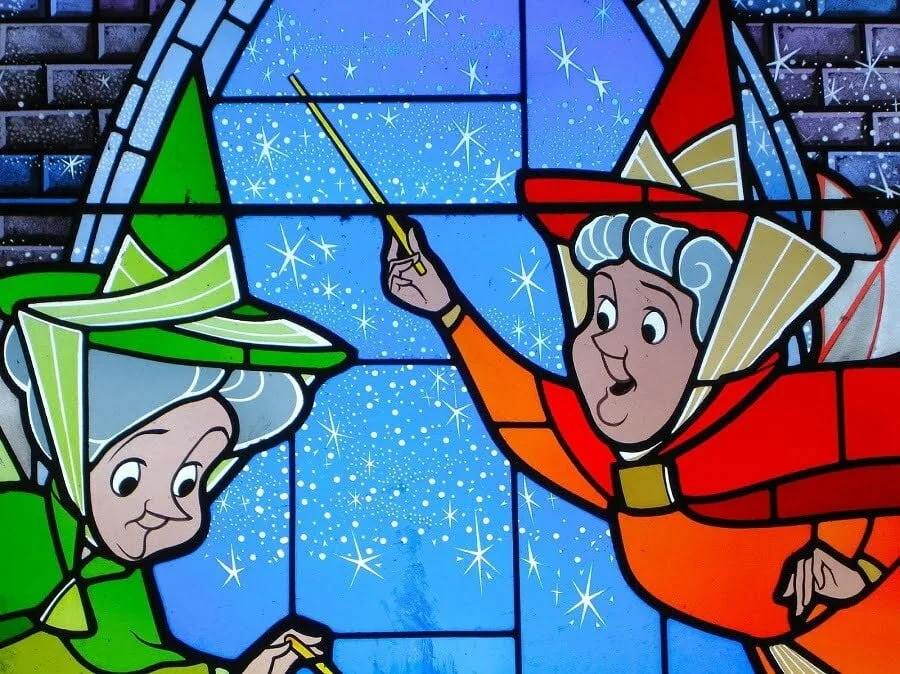
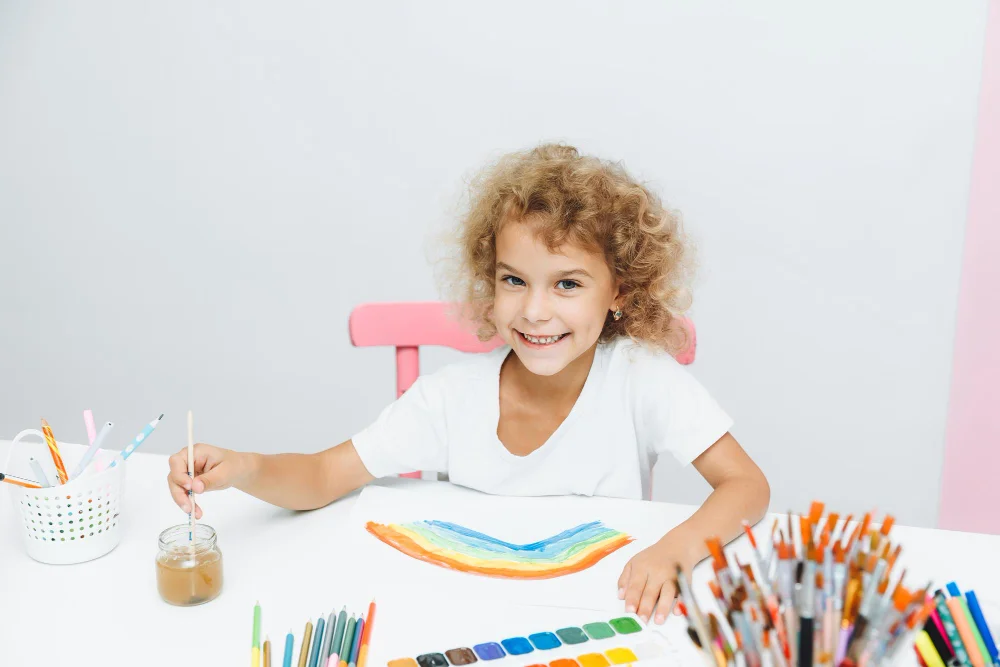
A DIY stained glass art project is a great opportunity for kids to turn an ordinary window into a magical colored window, decorated with marvelous flowers, bizarre animals, and funny cartoon characters.
In this article, we’ll walk you through the easiest way to create a stained glass window with kids, as well as share some amazing stained glass patterns.
DIY Stained Glass Window Film – A simple Art of Decor
The technique of making stained-glass window films, in comparison with other stained-glass technologies, is one of the most economical. Despite this, for the production of stained-glass window films at the proper level, only high-quality materials should be used. You can find everything you need from scissors to vinyl adhesives at CraftOnline – the largest online craft store.
The advantages of film stained glass also include:
- Safety. Such art projects are absolutely harmless, all materials are safe for children, so the stained glass film can be glued even in the children’s bedroom. In addition, when creating a stained-glass project, the risk of cuts by glass fragments is completely eliminated.
- High detail. This technique allows you to reproduce complex patterns, with a large content of various elements of bizarre shapes and different sizes.
- Realistic imitation of real stained-glass windows. Film stained glass allows you to copy the well-known Tiffany technique. Such stained-glass windows will be cheaper, while at the same time it will be quite difficult to find differences in appearance.
- Possibility to make a stained-glass window of any size. The basis of the film stained-glass window is ordinary sheet glass, and the size of the finished work will directly depend on the selected base material.
What Is Needed for the Manufacture of a Stained-glass Art Project
- Knife with replaceable blades. This tool is used to cut film (wedge blade) and tape (oval blade). For convenience, it is better to buy two knives with different blade shapes. In addition, it is worth considering buying several knives at once for a change, because the blade for cutting the film must always be sharp.
- Roller. This tool is necessary in order to properly roll the lead strip. It can also be used for tighter film sizing.
- Squeegee. It is used for smoothing stained glass film. There are three types of such tools: plastic, rubber and felt. It is better to have all types at hand since different types of instruments can be used in different areas.
- Ruler. It is necessary in order to accurately cut the required size of the film. The most suitable rulers will be made of metal, 15, 30, 50 and 100 cm long.
- Clamp. This tool is used to crimp the edges and seams of the tape. It is more convenient to use a tool with replaceable tips.
- Suction cup. Tool for working with small pieces of adhesive vinyl sheets.
- Vinyl sheets. There are a large number of colours, the palette has more than 700 types. Sheets also differ in texture and method of staining: there are translucent, plain, textured, sheets with streaks, etc. You can buy adhesive vinyl sheets in sets or select the desired shades separately.
- Lead tape. It is used for glueing the joints of vinyl sheets and creating a holistic pattern, it creates an imitation of a real stained glass window. The width can be from 2 to 12 mm. It can also have a different colour scheme and shape.
Stages of Making Film Stained Glass
- At the first stage, you should choose a template for the future stained-glass project and place it under the glass. Also, print yourself a second copy of the template in colour, this will help you in your future work. The width of the seam on the template should match the width of the lead tape you will be using.
- The second step is to start glueing vinyl scraps. The more often you work with vinyl, the faster you will develop the master skill. Large pieces of vinyl can be glued quickly and easily, while small pieces require more care and attention.
- Glueing process: remove the paper backing (in whole or in part), the edge of the adhesive vinyl sheet is glued to the edge of the desired fragment, while the opposite edge should be stretched. Using a squeegee or roller, the element is rolled onto the glass with a quick movement of the hand. After all, the excess is cut off and you can proceed to stick the next fragment.
- The project takes on a finished look by framing the film with lead tape. After glueing the lead tape over the entire pattern, press the tape again with the clamp.
You can also decorate the stained glass art project with facet elements, glass beads or fusing. The place where decorative elements are glued must first be degreased with alcohol. With the help of ultraviolet glue (glue can be applied both to the element itself or directly to the place of attachment). The decorative element is glued to the stained-glass window with a special UV lamp.
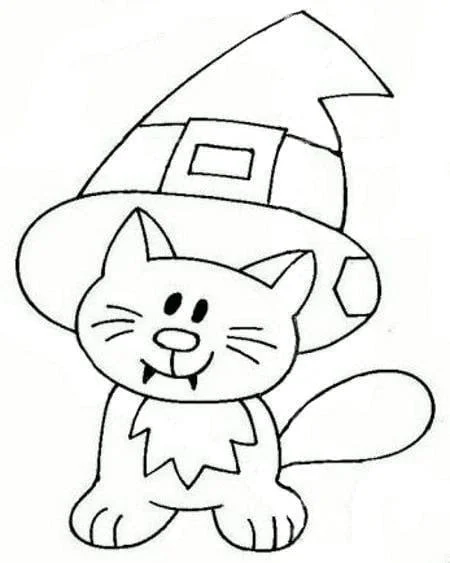
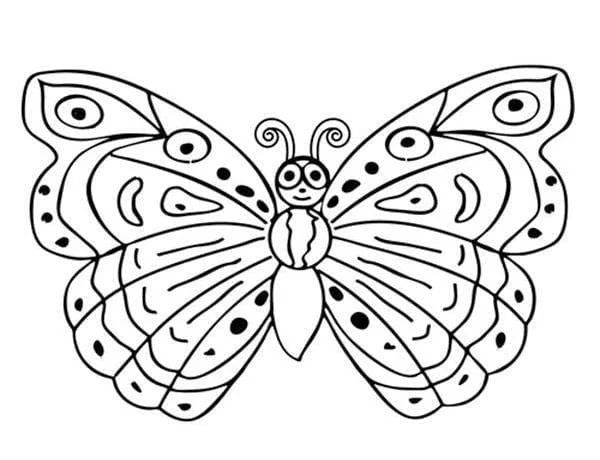
Amazing Stained Glass Templates


Creating stained glass art helps children develop perseverance, the ability to think creatively, develop imagination. The children are interested in the end result, so they have a responsibility for doing the work. If the project turned out well, then the kids will be happy to show it to all their friends and loved ones.
Continue reading:

Recap
