Last updated on
Because baseboards for bathrooms provide an unexpected touch of class to otherwise mundane spaces, this comprehensive product review will reveal the best options in the market that merge style with functionality.
Key takeaways:
- Tile, wood, composite, and PVC are popular baseboard materials.
- Tile baseboards offer durability and design flexibility.
- Wood baseboards provide warmth and natural charm.
- Composite baseboards are durable and resistant to moisture.
- PVC baseboards are waterproof and low maintenance.
Importance of Baseboards in Bathrooms
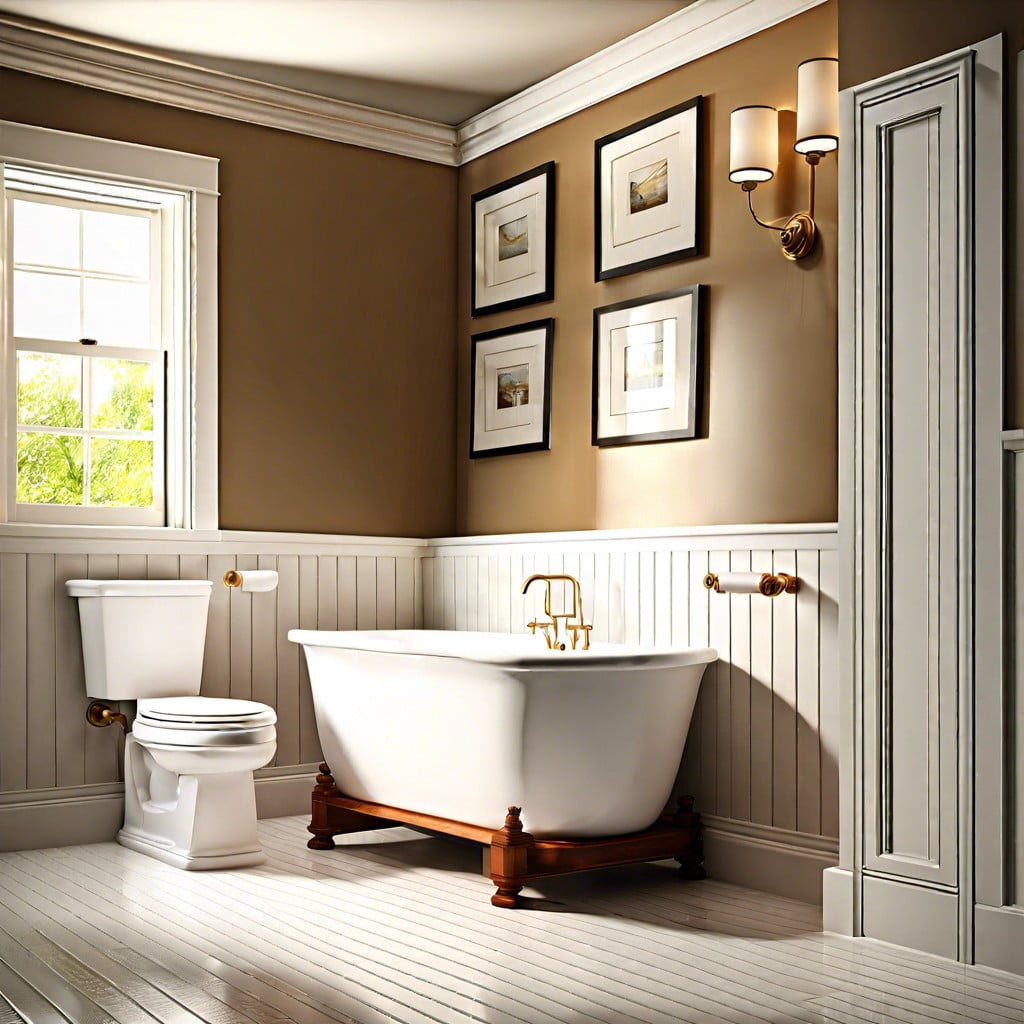
Baseboards serve as more than mere decorative elements; they play a crucial role in protecting bathroom walls from moisture and mildew—common issues in such damp environments. They cover the junction between the wall and floor, which, if left exposed, can become a breeding ground for mold. Moreover, baseboards help to conceal any uneven edges or gaps that might be present after flooring installation, ensuring a neat, cohesive look.
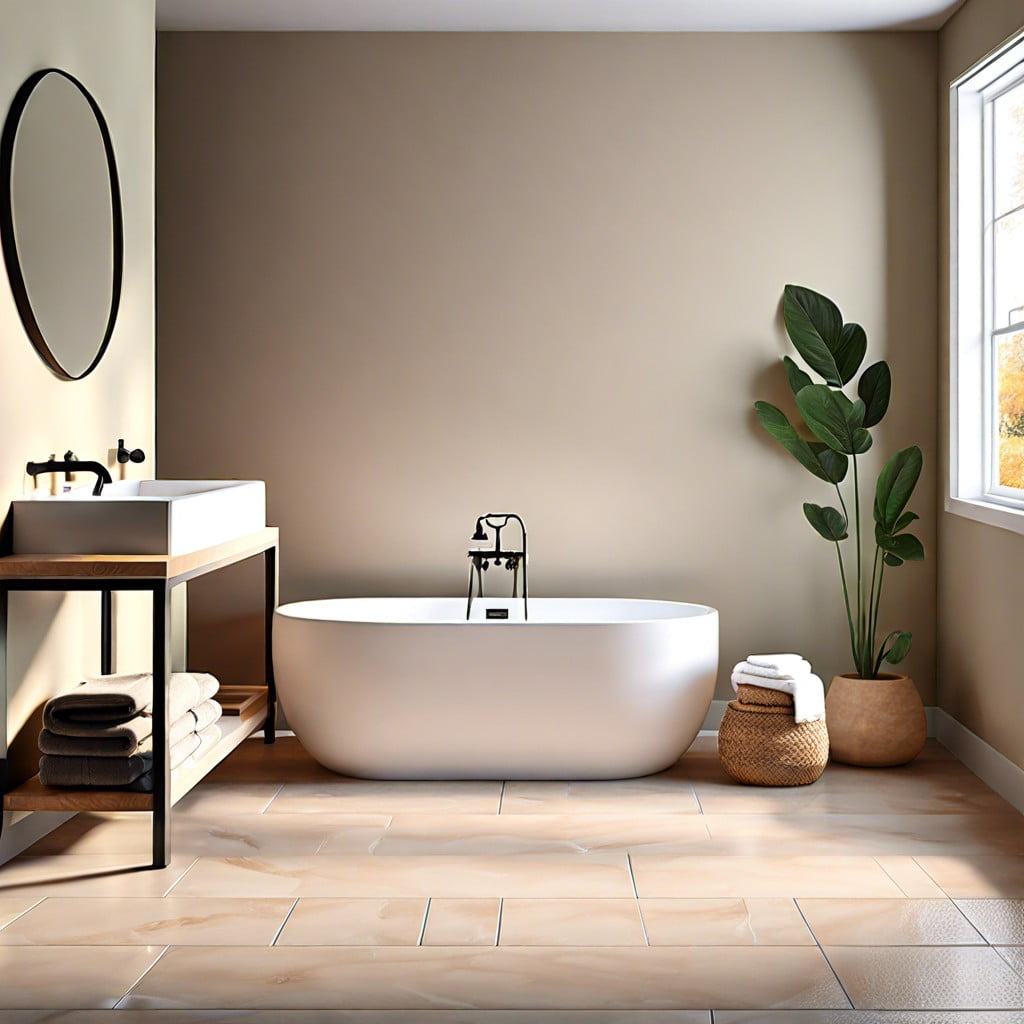
When considering materials and design, remember that functionality should pair with style to match the overall aesthetic of your bathroom while ensuring longevity and ease of maintenance.
Selecting the Right Material
When it comes to withstanding moisture and humidity, not all materials are created equal. First off, consider tile — it’s highly resistant to water, making it a go-to for bathroom environments.
Wood may offer a warm, classic look but requires sealing to fend off moisture damage. Alternatively, composite materials strike a balance between durability and aesthetic appeal and they’re often engineered to resist bathroom conditions.
If you prefer a fail-safe option, waterproof PVC is your ally against water and mold. Remember, the goal is to match functionality with the overall style of your bathroom. Choose wisely to ensure longevity and cohesion in design.
Tile Baseboards

Tile offers excellent durability and water resistance, making it a prime choice for bathroom baseboards. When considering tile, you have the flexibility to match your flooring or contrast it for a striking effect. Opt for ceramic or porcelain tiles for their longevity and ease of cleaning.
Here are some handy tips when going for tile baseboards:
- Choose a size that complements your space. Standard subway tiles cut to size or bullnose tiles offer a clean finish.
- Consider color and texture. You can match your bathroom’s tile for a seamless look or opt for an accent color to frame your space.
- Grout is key. Ensure it is properly sealed to prevent moisture penetration and mold growth.
Remember, tile baseboards can also add to the overall aesthetic of your bathroom, so get creative!
Wood Baseboards
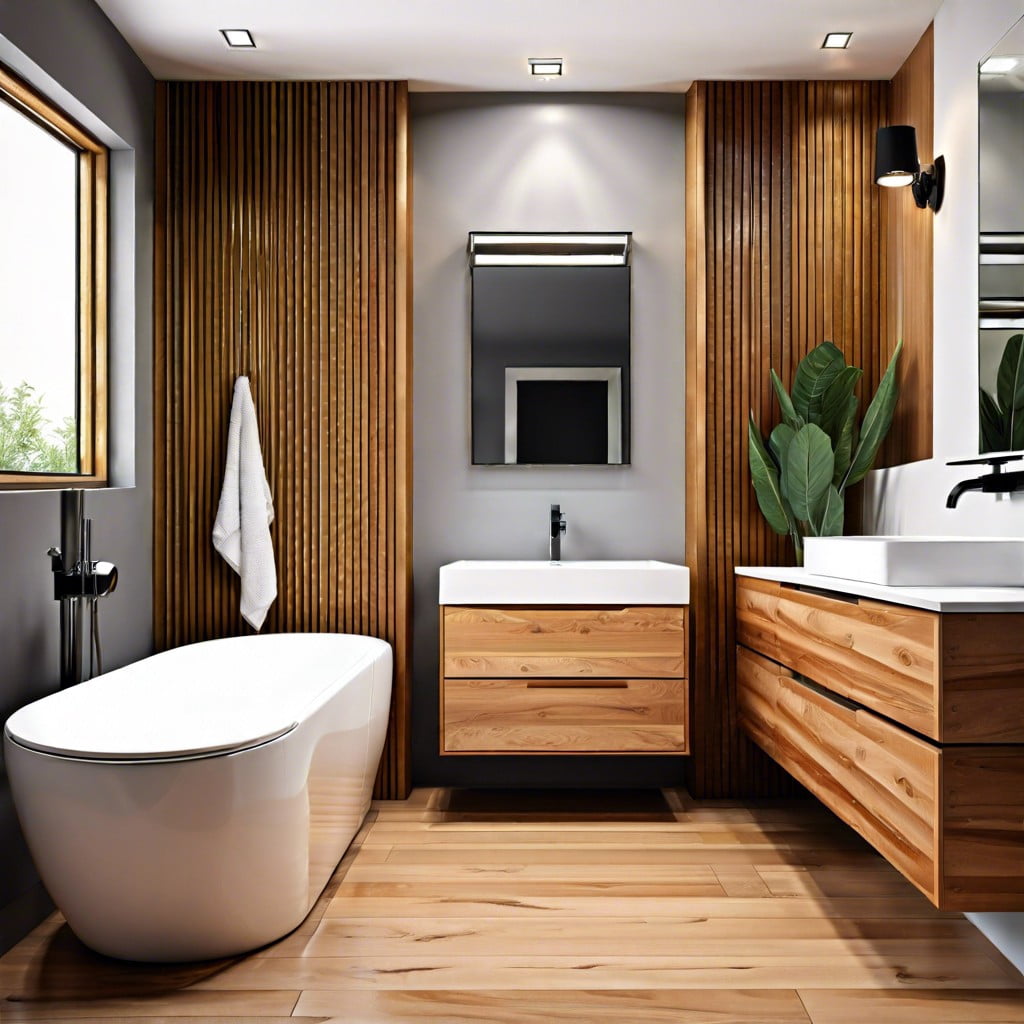
Warmth and natural charm typify wood options, making them a popular choice for those seeking a classic aesthetic.
Despite the bathroom’s humid environment, certain woods like cedar, redwood, or teak resist moisture well and deter mold and mildew growth.
For added protection, consider a coat of waterproof sealant or paint to fend off water damage and extend longevity.
Be mindful that even with precautions, wood may require more upkeep compared with other materials, necessitating regular checks for any signs of wear or water incursion.
To ensure a cohesive look, match wood trim with your bathroom cabinetry or flooring, capitalizing on the opportunity to create a seamless interior decor.
Composite Baseboards
Composite baseboards merge durability with aesthetic appeal, crafted from a blend of wood fibers and plastic materials. This combination results in a sturdy option resistant to moisture—a common enemy in bathroom environments. These baseboards won’t swell, warp, or rot when exposed to water, making them a practical choice for areas with high humidity levels.
Additionally, composite materials are less prone to damage from bumps or scratches, ensuring longevity amidst daily bathroom use. Ready to paint, they can blend seamlessly with your bathroom’s color scheme or stand alone as a design element. Installation mirrors that of traditional wood, allowing for easy cutting and a familiar attachment process. Minimal maintenance—wiping down with a damp cloth—as well as resistance to mold and mildew, makes composites a beneficial addition to any bathroom project.
Waterproof PVC Baseboards
PVC, or polyvinyl chloride, is famously impervious to moisture, making it an excellent choice for bathroom environments where humidity and water exposure are the norms.
These baseboards resist mold and mildew growth, ensuring a healthier bathroom space.
Thanks to their synthetic nature, they won’t warp or rot like traditional wooden baseboards when exposed to water.
PVC options come in various colors and styles, including those that mimic the look of wood without the associated upkeep.
Installation is straightforward: these lightweight materials can be cut to size with a saw and then attached directly to the bathroom walls using an adhesive specifically designed for PVC products.
A simple wipe-down with a damp cloth is typically all that’s needed to keep them looking fresh and clean.
They often provide an economical solution as well, being more cost-effective than other moisture-resistant alternatives like tile.
Measuring for Baseboards
Gather your tape measure, notepad, and pencil—precision is key. Begin by measuring the length of each wall where your baseboards will sit. Remember to measure twice to ensure accuracy. Jot down the numbers as you go along, rounding up to the nearest inch to allow for cutting errors or uneven walls.
Consider the placement of doors and cut-outs for plumbing when recording your measurements. It’s imperative to account for every inch of space to avoid surprises during installation. If your walls meet at an odd angle, use a protractor to determine the angle–standard baseboards meet at 90 degrees, but your bathroom may be different.
For outside corners, add a half-inch to each piece to accommodate for the joining method, especially if you’re mitering corners. On the other hand, inside corners don’t require extra since they’re usually coped to fit.
Ensure you measure all the walls, double-check your figures, and then add 10% to the total length. This extra allows for cuts and waste, ensuring that you have enough materials without frequent trips to the store. Keep this guide handy; accurate measurements are the blueprint for a flawless installation.
Installation Process
Begin by ensuring walls are clean, dry, and smooth; any irregularities may affect alignment.
Measure the length required for each baseboard piece, transferring these measurements accurately onto your baseboard material.
Cut your baseboards to size using a saw, ensuring cuts are straight for a seamless fit.
If corners are involved, cut the ends at a 45-degree angle for a neat mitre joint.
Dry fit each section along the wall to check for fit before applying adhesive or nails.
Apply construction adhesive to the back of the baseboards if preferred, pressing firmly to the wall.
Alternatively, use a nail gun or hammer and finishing nails to secure baseboards, placing nails every 12 inches or at studs.
Countersink any nails and plan to fill holes with wood filler later for wood baseboards.
Ensure each piece is level before moving on to the next; adjust as necessary while the adhesive is still wet or before driving nails completely.
Using Construction Adhesive for Baseboards
When installing baseboards in your bathroom, a reliable construction adhesive can make all the difference. This potent glue ensures your baseboards stay secure even in high-moisture environments.
Here are a few tips to ensure a successful adhesive application:
- 1. Clean Surfaces: Ensure both the wall and the back of the baseboard are free of dust and debris for the adhesive to bond properly.
- 2. Even Application: Apply a steady bead of adhesive along the back of the baseboard. A zig-zag pattern often provides comprehensive coverage.
- 3. Firm Pressure: After positioning the baseboard against the wall, press firmly along the entire length to secure it in place.
- 4. Immediate Clean-Up: Wipe away any excess adhesive promptly with a damp cloth to avoid hardened residue.
- 5. Curing Time: Allow the adhesive adequate time to set before you caulk or paint, following manufacturer’s recommendations.
Finishing Touches: Caulking and Sealing
After installing your new baseboards, it’s crucial to ensure they are watertight, especially in a bathroom setting. A bead of caulk applied where the baseboard meets the wall can prevent water from seeping behind, which could otherwise lead to mold or damage.
Use a paintable silicone or a latex-based caulk for easy touch-up painting if needed. When considering the baseboard-to-floor junction, sealing is key to protect from moisture. This is especially important if you have a tile floor, as water can easily collect along the edges during cleaning or from splashes.
A clear silicone sealant works well, as it offers flexibility and a clean, finished look. Remember to smooth the caulk line with a caulking tool or a damp finger to press it into the gap and wipe away excess for a professional-grade finish.
Painting Baseboards in the Bathroom
Opt for moisture-resistant paint to combat the high humidity levels typically found in bathrooms. Semi-gloss or high-gloss finishes are recommended, as they repel water and allow for easier cleaning. Always apply a primer before painting to ensure proper adhesion and to prevent mold growth.
When painting, remember to:
- Clean the baseboards thoroughly to remove any dirt or grime.
- Lightly sand the surface if previously painted to help the new coat adhere better.
- Tape off the edges to protect walls and floors from paint splatters.
- Apply thin, even coats to prevent drips, letting each layer dry completely before adding the next.
Consider using a small angled brush to achieve precise lines, especially in tight corners. This attention to detail will give your bathroom a polished, professional look.
Maintenance and Cleaning Tips
Regular care is key to extending the life and preserving the appearance of bathroom baseboards. To keep them in peak condition, dust them weekly with a microfiber cloth or use a vacuum with a brush attachment to prevent dirt buildup.
For a deeper clean, a damp cloth with mild soapy water works well, especially for non-wood materials. Wood baseboards can benefit from specialized wood cleaners that won’t damage the finish. Avoid harsh chemicals and abrasives as these can degrade the surface.
After cleaning, a quick wipe with a dry cloth prevents moisture damage. In bathrooms, where mold is a concern, occasionally wipe down baseboards with a mix of water and vinegar to combat growth.
Touch-up paint or re-caulking may be required periodically to keep them looking fresh and to maintain a proper seal against moisture.
Baseboard Cost Considerations
Considering costs is crucial when selecting baseboards for your bathroom, as prices can differ markedly based on material, design, and installation complexity. Here are several factors that influence price:
- Material: PVC is often the most affordable, while natural wood can be at a higher price spectrum due to its aesthetic appeal and the need for waterproofing treatments.
- Size and Thickness: Larger and thicker baseboards require more material and can raise the overall cost.
- Design Complexity: Elaborate profiles or custom designs add to the manufacturing cost, which is passed along to the consumer.
- DIY vs. Professional Installation: Doing the installation yourself can save on labor costs but consider the potential need for specialized tools. Hiring a professional ensures a polished look but will add to your budget.
- Geographic Location: Labor and material costs vary by region, thus affecting the final price.
Remember to factor in the cost of any additional supplies like nails, adhesives, and finishes. By considering these points, you can balance aesthetics with affordability and ensure your bathroom baseboard project stays within your means.
Quick Facts About Bathroom Baseboards
– Typically stand 3 to 5 inches in height, contributing to aesthetic and functional aspects of bathroom design.
– Serve as a visual transition between the wall and the floor, enhancing the room’s overall look.
– Protect walls from moisture and cleaning equipment, which is vital in a bathroom setting.
– Material choice is crucial; vinyl and tile are preferred for their water resistance compared to wood.
– Simple to install and can often be a DIY project for those with some handyman skills.
– Available in a variety of profiles and designs, allowing for personalization to fit any bathroom style.
– Can be painted to match or contrast with the bathroom’s color scheme for a custom finish.
– Easy to clean with just soap and water, though materials like wood may require additional care.
Hiring a Reliable Contractor for Baseboard Installation
When entrusting the installation of baseboards in your bathroom to a professional, certain considerations ensure a job well done:
- Seek recommendations from friends or check online reviews to find a reputable contractor.
- Verify their licensing and insurance to protect against any potential damages or accidents.
- Ask to see a portfolio of their previous work, especially for bathroom baseboards, to assess their expertise.
- Request a detailed quote that includes material costs, labor, timeline, and the specifics of the job.
- Discuss communication preferences and make sure they are responsive and open to your questions.
- Ensure they offer a warranty or guarantee for their work, providing peace of mind once the installation is complete.
Choosing the right contractor makes the difference between a flawless finish and potential future issues, so take the time to select someone who meets these criteria.
FAQ
What kind of baseboards do you use in a bathroom?
For bathrooms, it’s ideal to use plastic baseboards as they are 100 percent waterproof.
Is PVC baseboard good for bathrooms?
Yes, PVC baseboard is an excellent choice for bathrooms due to its high resistance to humidity and water.
Is wood baseboard OK in bathroom?
Yes, wood baseboards are suitable for bathrooms, especially poplar trim, due to its hardiness and resistance to moisture.
Can tile be used as baseboard in a bathroom?
Yes, tile can indeed be used as a baseboard in a bathroom, providing a durable and water-resistant option.
How high should baseboards be in a bathroom?
Baseboards in a bathroom should be a minimum of 3 inches high for practicality and aesthetic balance.
What are the pros and cons of using vinyl baseboards in bathrooms?
Vinyl baseboards in bathrooms are advantageous due to their durability, moisture-resistance, and affordable pricing, but they can look less luxurious than wood or tile baseboards and may yellow over time.
Browse More
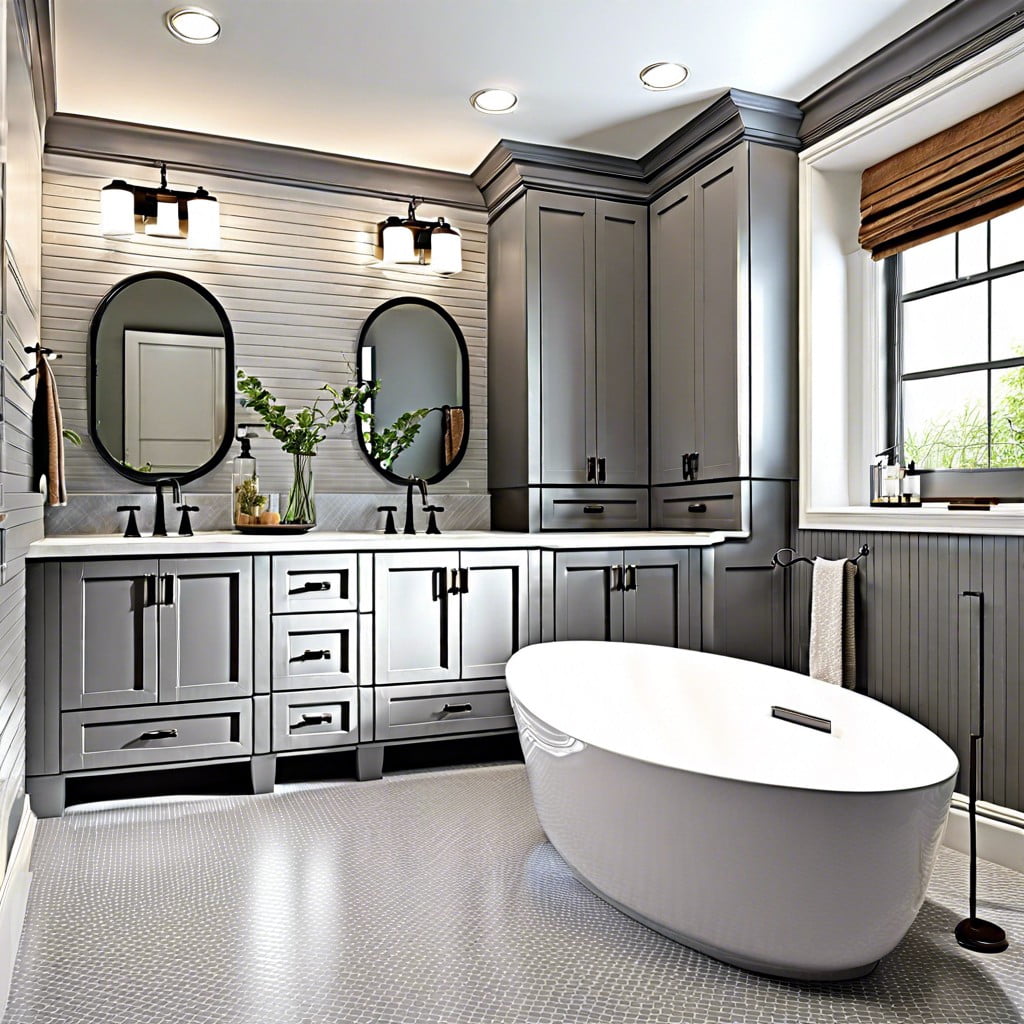 Gray Bathroom Cabinets: What Color Walls Complement Best
 What Is a Vanity and Why You Need One
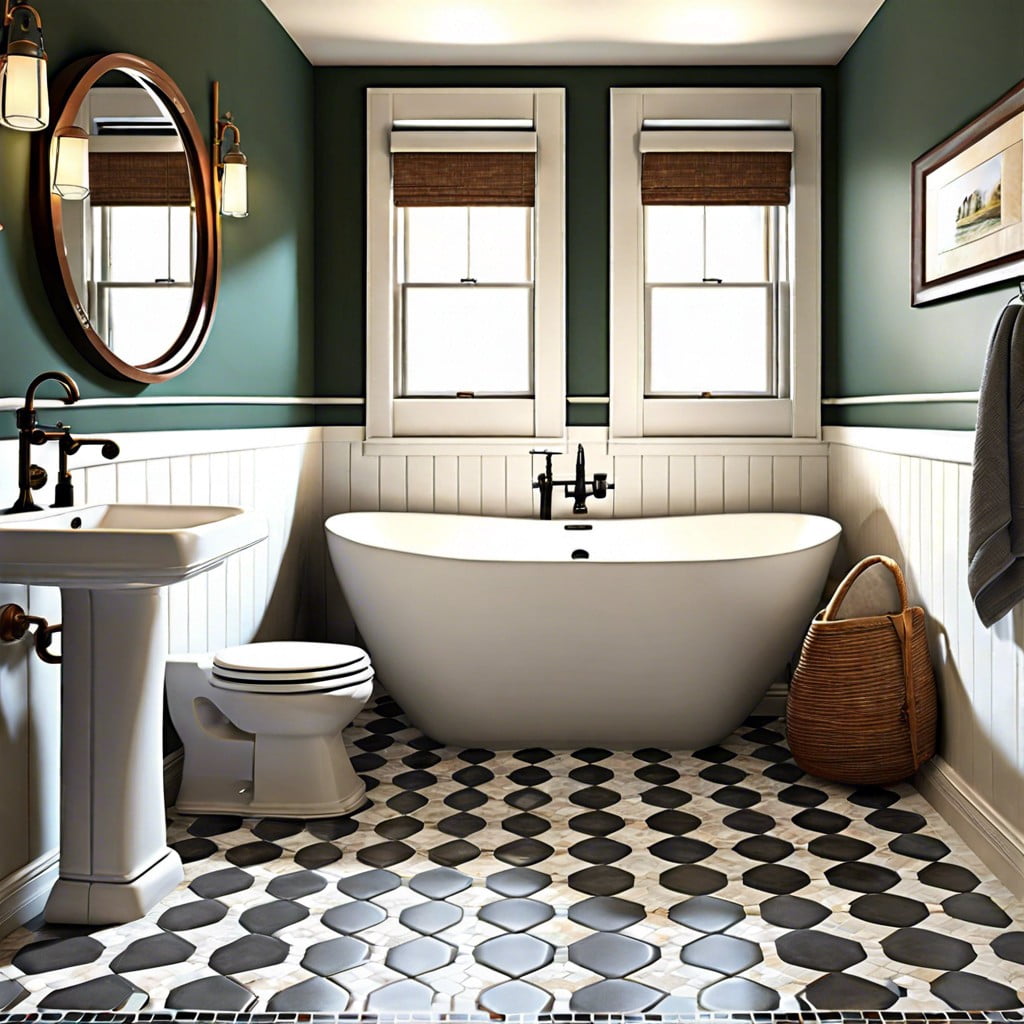 15 Ideas: What is the Best Flooring for a Small Bathroom
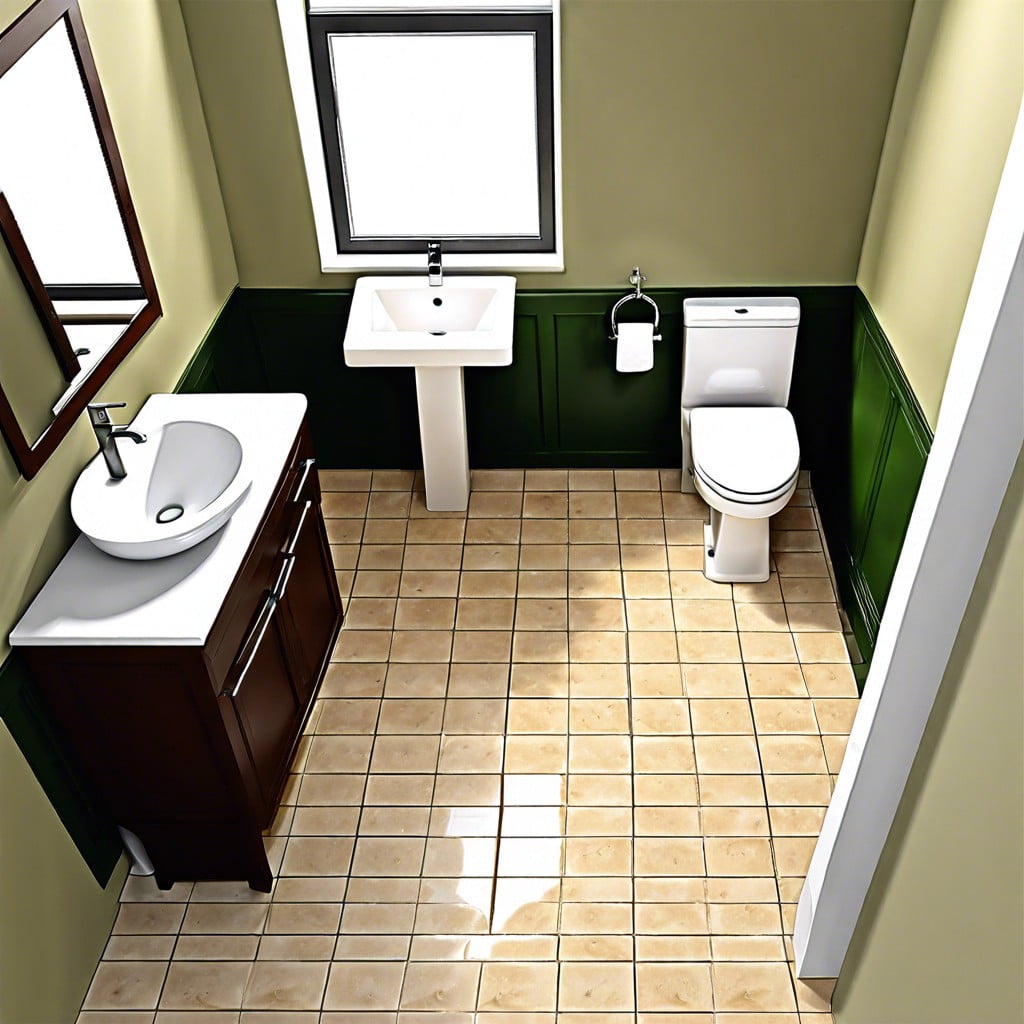 What is a Half Bath: Maximizing Your Home’s Space
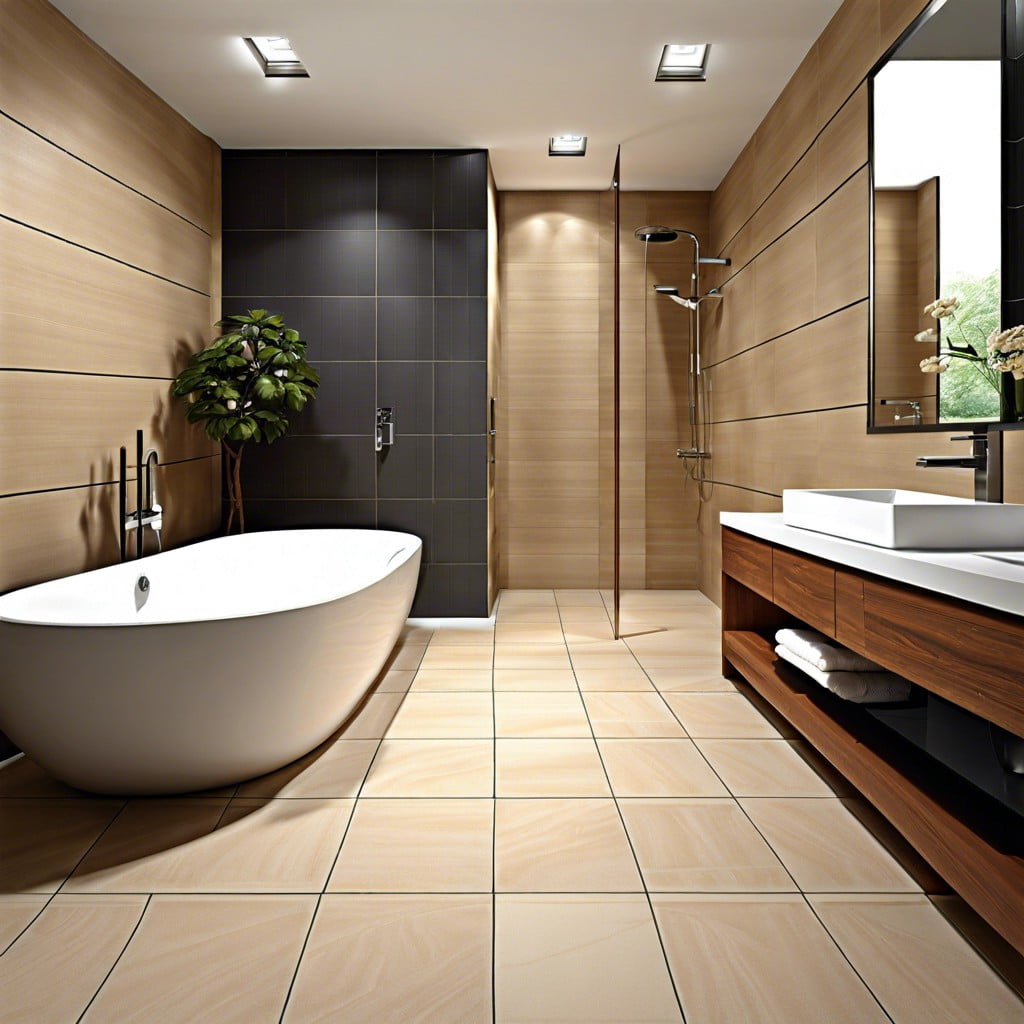 Best Flooring for Bathroom: Your Essential Buying Guide
Recap