Last updated on
Learn how to properly install a bathroom fan to keep your space fresh and free from humidity issues.
Key takeaways:
- Determine the right size of the bathroom exhaust fan based on your bathroom’s cubic footage.
- Choose the right mounting location near the shower or tub, with easy access to existing wiring.
- Plan a clear and efficient exhaust route to the outside, avoiding sharp turns.
- Safely remove the old bathroom fan by turning off the power and disconnecting the wiring.
- Cut a neat opening for the exterior vent location and attach the fan securely to a ceiling joist.
Determine the Size of the Bathroom Exhaust Fan
First, measure your bathroom. Length times width times height. Yes, it’s math, but stay with me! This gives you cubic footage.
Next up, match the size with the proper CFM (Cubic Feet per Minute). Here’s a cheat sheet: for every square foot, you need 1 CFM. So, a 100-square-foot bathroom? You need a 100 CFM fan. Almost like it was meant to be.
Got a bathroom with a tub, shower, and a rainforest-themed shower curtain? Increase that CFM by 10%. Extra moisture equals more power.
For those in the luxury lavatory league, with high ceilings or extra features, don’t skimp. Go big or risk feeling like you’re in a tropical jungle.
Think of it as Goldilocks for bathroom fans. Not too small, not too big, just right. Voila! Happy ventilating.
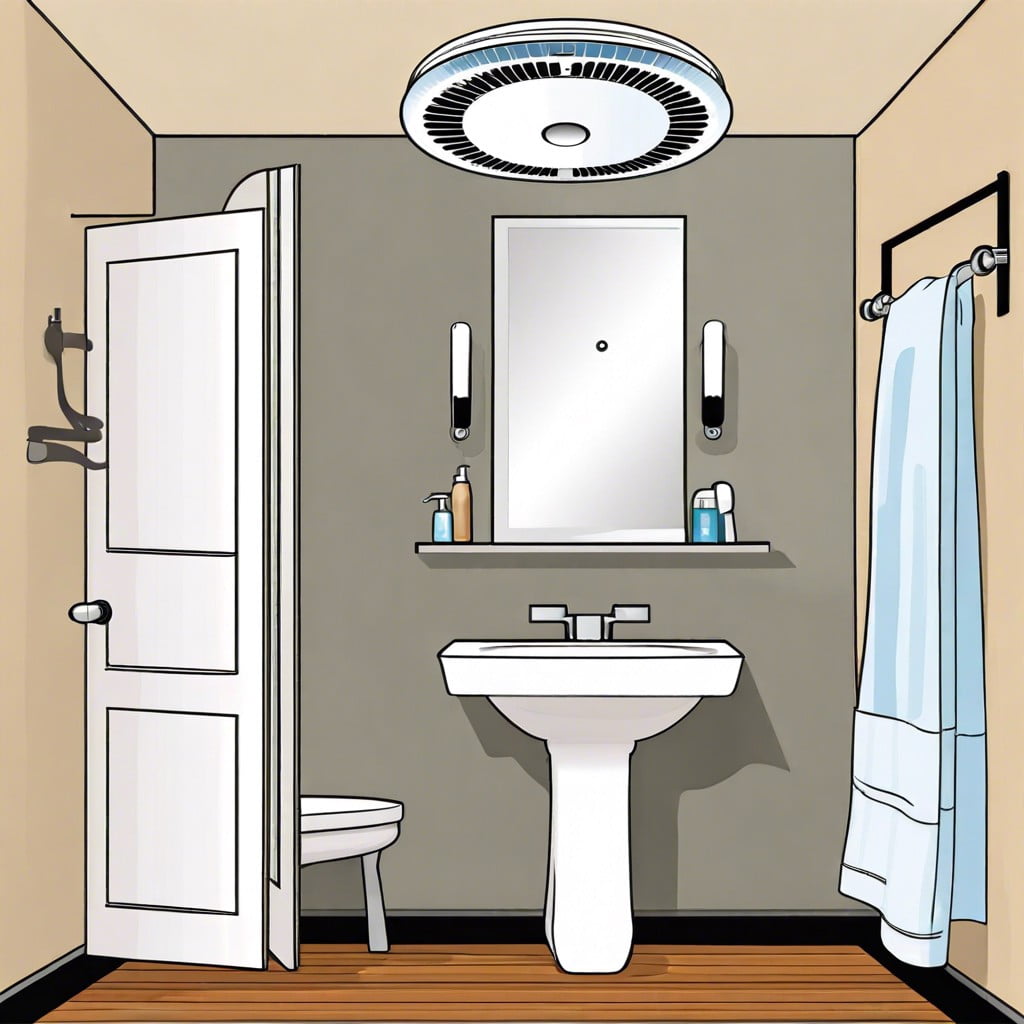
Determine the Mounting Location
Now, where should your bathroom fan live? It’s not about feng shui, but picking the right spot is crucial. First off, aim for a location near the shower or tub. This is where the steam action happens, and you want to be the fan-y superhero that swoops in to save the day.
Secondly, you need to consider the duct route. Choose a spot with a clear path to an exterior wall. Why? Because you want that humid air out, not hanging around in your attic plotting a mold uprising.
Lastly, think about electrical wiring. Unless your idea of fun is poking around in drywall for hours, pick a spot with easy access to existing wiring. Convenient and smart—just like you!
Ready for some fan fame? Let’s move on.
Determine the Exhaust Route
This is where things get interesting. You need a clear path from the fan to the outside of your home. Think of it like giving your bathroom air a one-way ticket outta there.
First, picking the right route matters. The shorter, the better because who wants to put in more work than necessary?
Next, avoid sharp turns. They create mini traffic jams for the air, which is what you’re trying to solve.
Consider the materials for the duct. Flexible ducts are like that gym membership you never use; rigid ducts are more efficient but take a bit more work. Choose wisely.
Finally, watch where you’re cutting through. You don’t want to end up in a web of electrical wires or water pipes. No one’s got time for unexpected indoor waterfalls or surprise light shows.
Happy venting!
Remove the Old Bathroom Fan
Start by turning off the power to the fan at the circuit breaker. You might assume you have superhuman electrician skills, but let’s face it, no one wants to dance with live wires.
Next, remove the fan grille cover. This usually involves squeezing some metal clips. But beware—dust bunnies may attack, so have a vacuum ready!
Unscrew the motor housing. If your fan is older than disco, this part might be a bit stubborn. Gentle persistence is key. You can almost hear the fan saying, “I’m not dead yet!” Well, it’s time for it to retire.
Disconnect the wiring. Take a picture or label the wires if you’re forgetful. No one wants to play “which wire goes where?” later.
Finally, detach the fan from the ceiling joists or the mounting bracket. If it doesn’t budge, use a flathead screwdriver to gently pry it loose. Just don’t get carried away and accidentally redecorate the entire ceiling.
Cut the Exterior Vent Location
Here’s where things get a bit more exciting—you’ll be taking this project outside! First, pinpoint the exact spot where your exhaust duct will exit. A little trick: poke a small hole from the inside out with a long screw or small drill bit, just to mark the exact position.
Now, use a saw or drill with a hole-cutting attachment to create a neat opening for the vent. Remember, measure twice, cut once. You don’t want to turn your house into Swiss cheese.
Once the exterior vent location is cut out, slide the vent hood into place. Seal any gaps with weather-resistant caulk to keep out drafts, bugs, and other unwanted guests. Screw it securely to your house, and you’re all set for the next step. Quick, painless, and you get to be outside—consider it a tiny home improvement adventure.
Attach the Bathroom Fan to the Joist
Positioning and securing the fan to a ceiling joist might sound like carpentry gymnastics, but it’s simpler than assembling IKEA furniture—minus the mysterious leftover parts.
First, align the fan housing’s mounting brackets with the joist. Use a pencil to mark the spot. Now, grab your trusty drill and drive screws through the brackets into the joist, securing it snugly. Tight, but not too tight; you’re securing an appliance, not subduing a wild animal.
Ensure the fan’s exhaust port is correctly oriented to match your planned ductwork path. This isn’t just about airflow; it’s like aligning cosmic energies for optimum bathroom freshness. And don’t forget those rubber gaskets—they’re not just there for fun, they help minimize vibration noise. Less vibration, less drama when you’re trying to relax in the tub.
A bubble level can come in handy to ensure your fan isn’t tilted. Nothing more annoying than a lopsided exhaust fan glaring down at you.
Lastly, double-check all connections before you declare the battle won. Being meticulous here saves headaches later—and possibly another climb into the attic.
Wire the Switch
Alright, let’s get to the fun part—wiring the switch! This might sound intimidating, but think of it as a puzzle. With the right tools and patience, it’s a piece of cake.
First, make sure the power is off. Seriously, unless you’re the superhero who feeds on electricity, turn off the power at the breaker box. Safety first!
Next, identify your wires. Typically, you’ll have a black (hot), white (neutral), and green or bare (ground) wire. If this sounds like a code-cracking mission, you’re on the right track. Just follow the color codes.
Connect the wires to the respective terminals on the switch. Screw the black wire to the gold terminal, white to the silver terminal, and green (or bare) to the green terminal. Think of it as a color-by-numbers game.
Lastly, tuck the wires neatly into the electrical box, and secure the switch with screws. Voila! You’re now the master of bathroom switch wiring.
Browse More
 Baking Soda and Vinegar Drain Cleaning: Simple Steps for a Clog-Free Life
 How Long Does It Take to Tile a Bathroom: Your Ultimate Time-Saving Guide
 Smelly Drain: Banish Odors with Easy Fixes
 How to Remove Bathroom Fan Without Losing Your Cool
 How to Remove Bathroom Vent Cover Without Losing Your Mind
Recap