Last updated on
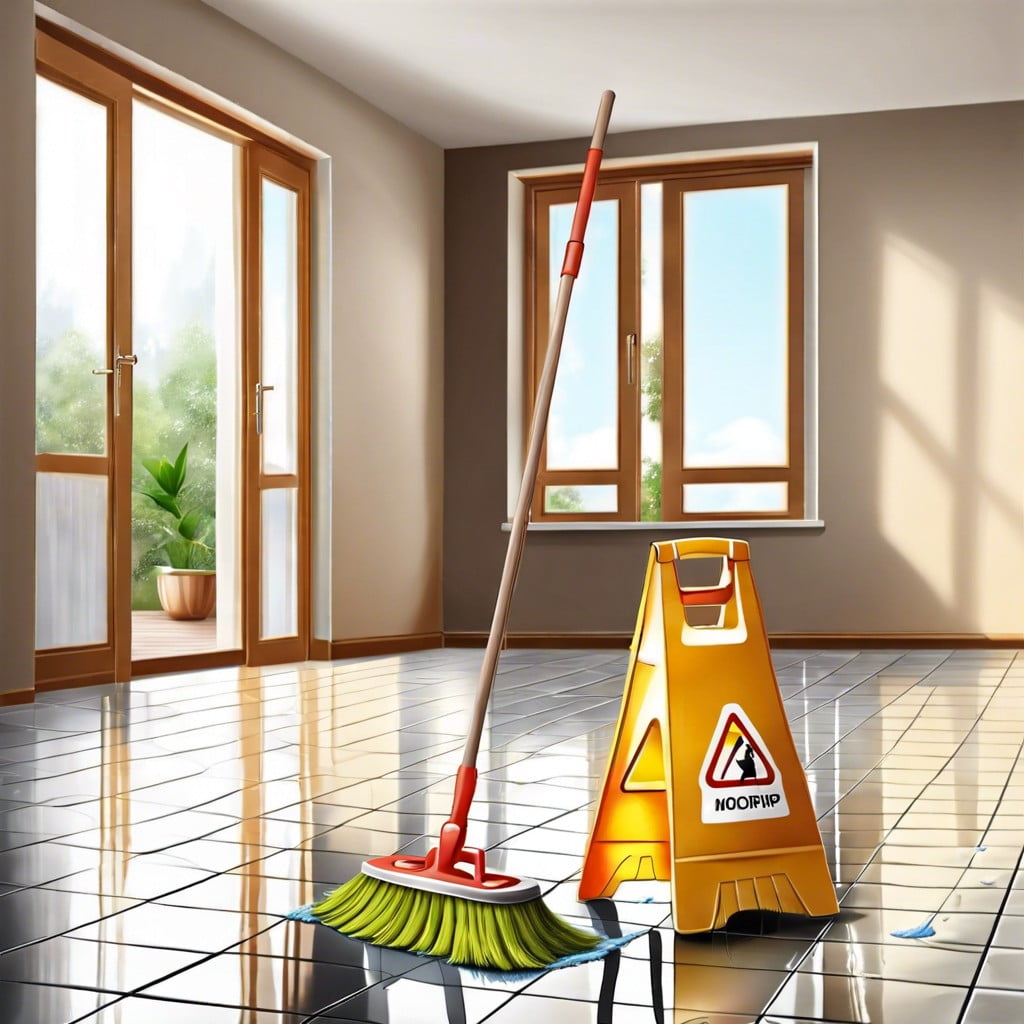
Learn how to maintain spotless tile floors with effective cleaning techniques and simple household products.
Key takeaways:
- Sweep or vacuum before mopping to remove dirt and pet hair.
- Choose the right cleaner for your specific tile material.
- Mop with gentle, even strokes and avoid using excessive water.
- Target tile grout specifically with the right tools and cleaning solutions.
- Clean between regular washes to maintain shine by sweeping and quickly addressing spills.
Sweep or Vacuum First
Before you bring out the big guns with water and cleaner, a thorough sweep or vacuuming session is paramount. This pre-clean maneuver dislodges dirt, dust, and pet hair that would otherwise create a muddy mess when mopping. It’s like clearing the stage before the main event—your tiles get their solo without distractions. Always use a soft bristle broom to prevent scratching or a vacuum cleaner set for hard surfaces to avoid leaving marks. Remember, your tiles will thank you for removing the coarse particles that could scratch their shiny surface during the wet cleaning process.
Choose the Right Cleaner
Diving straight into the nitty-gritty, a common blunder is grabbing whatever cleaner is handy, which can wreak havoc on your tiles. The key lies in selecting a solution that’s a match made in heaven for the material of your tiles. For ceramic and porcelain, playing it safe with a mild detergent and hot water hits the sweet spot for cleaning.
Now, if you’re tiptoeing around natural stone tiles, acidity is your arch nemesis. Avoid vinegar and opt for specialized pH-neutral cleaners to prevent dulling their sparkle. The mantra here is ‘gentle is genius.’
Also, let’s burst a myth — more soap doesn’t equate to cleaner tiles. In fact, soap residue can invite a film of grime; think of it as a party for dirt where you don’t want an invite sent out. Aim for the Goldilocks amount — just right.
Homemade concoctions can be a mixed bag; however, a drop of dish detergent in warm water has been a humble hero for many. For a touch of DIY disinfecting, diluting a bit of hydrogen peroxide with water is like giving your floor a mini spa treatment.
And for those pesky stains that laugh in the face of your average mop? Baking soda and water make a paste with the grit to say, ‘not on my watch.’ It’s simple, sparing your purse and the planet while doing a sterling job. Remember, the cleaner you choose sets the stage for how your floors age. Make it count.
Mop With Gentle, Even Strokes
Dive straight into the heart of mopping – it’s all about rhythm and pressure. Picture mopping like you’re painting a canvas, stroke by stroke. You don’t press too hard, or the bristles bend and miss spots; too soft, and the paint won’t cover. Similarly, with tiles, a firm but gentle touch ensures thorough cleaning without scratching your floor’s surface. Use a figure-eight motion for maximum efficiency, covering more ground while conserving your energy.
Be stingy with your water – a sopping mop creates more mess and risks seeping into the grout, potentially causing damage. Instead, wring it out until it’s damp, not wet. This technique protects your tiles and speeds up drying time, warding off any would-be slips or skids.
Remember, the mop is your ally, not a magic wand. Regular passes over the same area might be necessary to dismiss stubborn dirt. But don’t wage war on your tiles; repeated forceful scrubbing can dishearten your mop and dull your tiles. Instead, treat tough spots with a spot cleaner and a softer touch before the regular mopping routine.
Finally, wash the mop head after each session. A clean mop ensures no dirt gets invited back to the party on your pristine floors.
Target Tile Grout Specifically
A sparkling floor is often betrayed by dingy grout that traps dirt and grime, declaring a silent war on your cleaning efforts. When the mop and bucket routine doesn’t cut it, consider these points for effectively tackling grout.
Firstly, your tool of choice matters. A stiff-bristled brush will be your ally, steering clear of metal bristles that can harm grout. Dip it in a solution of warm water and hydrogen peroxide – an unsung hero for busting grout grime sans the harsh fumes.
Recall those science fair volcanoes? A similar reaction between baking soda and vinegar can be repurposed for grout cleaning. This fizzy duo lifts stains and does the heavy scrubbing for you. Just apply, wait, and scrub.
For an even deeper clean, oxygen bleach is a trusty friend. It has the brawn to battle stubborn stains. Dissolve in warm water, apply to grout, then allow it to introduce itself to your grout stains for about 15 minutes before brushing and rinsing.
Remember, grout needs a good rinse post-scrubbing to prevent residue. Finally, getting grout sealed is like giving it armor against future stains – a smart move once grout is clean and dry. Keep it in mind; your future self will thank you for the easier cleaning rounds.
Cleaning Between Regular Washes to Maintain Shine
Keeping your tile looking spick-and-span isn’t a once-in-a-blue-moon affair. It’s an ongoing game of vigilance. Think of it like brushing your teeth: you don’t just visit the dentist; you brush daily to prevent build-up. Similarly, for tiles, a daily sweep can prevent grit from becoming a permanent guest.
In high-traffic areas, quickly passing a microfiber cloth can nab that dirt before it gets cozy. Imagine these tiny particles as the uninvited guests at your floor party; the sooner you show them the door, the shinier your shindig remains.
And if you see spills, pounce on them like a cat on a mouse. Water might be the elixir of life, but it’s the bane of tile shine when left to pool and piddle. A swift wipe prevents the spill from settling in for a long stay.
Remember, your floor doesn’t need a bath, just a quick freshening up. This routine care keeps your tiles twinkling without breaking into a full-blown cleaning workout.
Browse More
 Baking Soda and Vinegar Drain Cleaning: Simple Steps for a Clog-Free Life
 How Long Does It Take to Tile a Bathroom: Your Ultimate Time-Saving Guide
 Smelly Drain: Banish Odors with Easy Fixes
 How to Remove Bathroom Fan Without Losing Your Cool
 How to Remove Bathroom Vent Cover Without Losing Your Mind
Recap