Last updated on
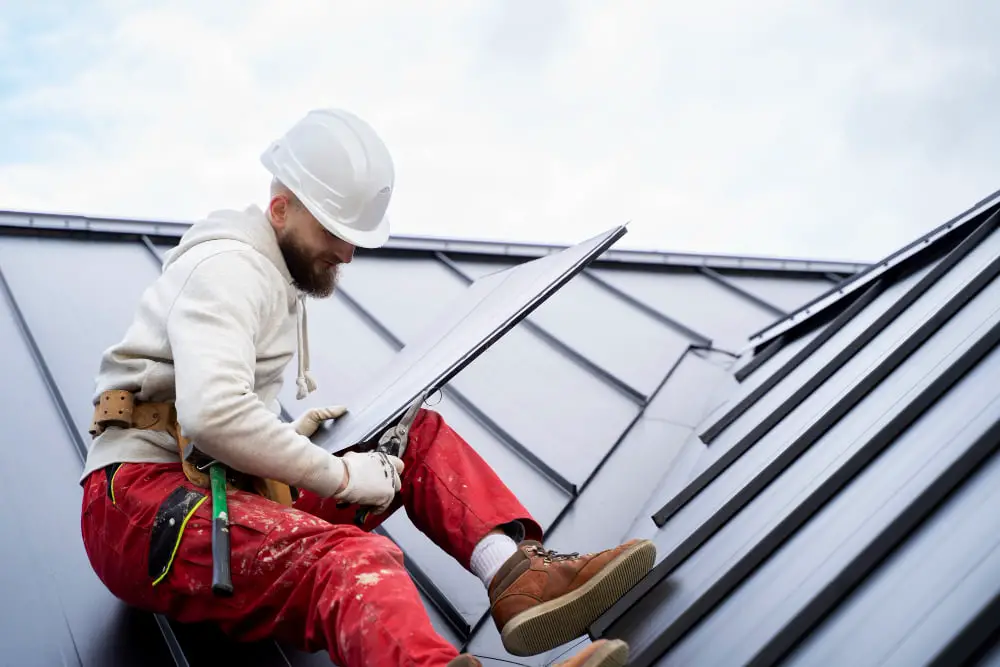
Metal roof panels are renowned for their durability, low maintenance, and overall longevity. They stand as a testament to modern building materials that have evolved to not only protect our homes from the harsh elements but also to do so with an aesthetic flair.
However, the real beauty of a metal roof may only be fully realized when installed correctly. In contrast to traditional roofing materials, metal roofs generally require a different approach when it comes to installation. Follow these comprehensive steps to ensure your metal roof installation goes smoothly and your roof stands the test of time.
The Installation Process Explained
Before you start, there are a few vital steps to ensure the success of your metal roof installation. If you are wondering how to install metal roof panels, the important aspects involve preparation, including acquiring the necessary permits, selecting the right materials, and safety measures, and understanding the intricacies of laying the panels. It’s also essential to have the appropriate tools on hand, including a drill, hammer, and snips.
Obtain Necessary Permits and Materials
To begin, it’s crucial to familiarize yourself with local building codes and secure the required permits for your project. This is non-negotiable, as failing to comply can result in significant fines and even having to redo your work. Once you’re in the clear legally, gather all the materials you’ll need. This includes the metal panels, fasteners, underlayment, drip edge, ridge cap, and any additional accessories for your specific installation type.
Prioritize Safety First
Safety should be your top priority, right from the start. Make sure the roof is clear of any debris or loose shingles. You’ll want to have a safety harness, sturdy ladder, and appropriate footwear at your disposal. Never work on the roof alone, and always tell someone you trust that you will be working on the roof in case something goes wrong.
Lay Underlayment and Overhangs
The underlayment acts as a water-resistant barrier and must be laid over the roof decking, starting from the bottom and moving upward. Overhangs should then be installed, ensuring that they extend far enough to direct water away from the roof and the walls of your structure.
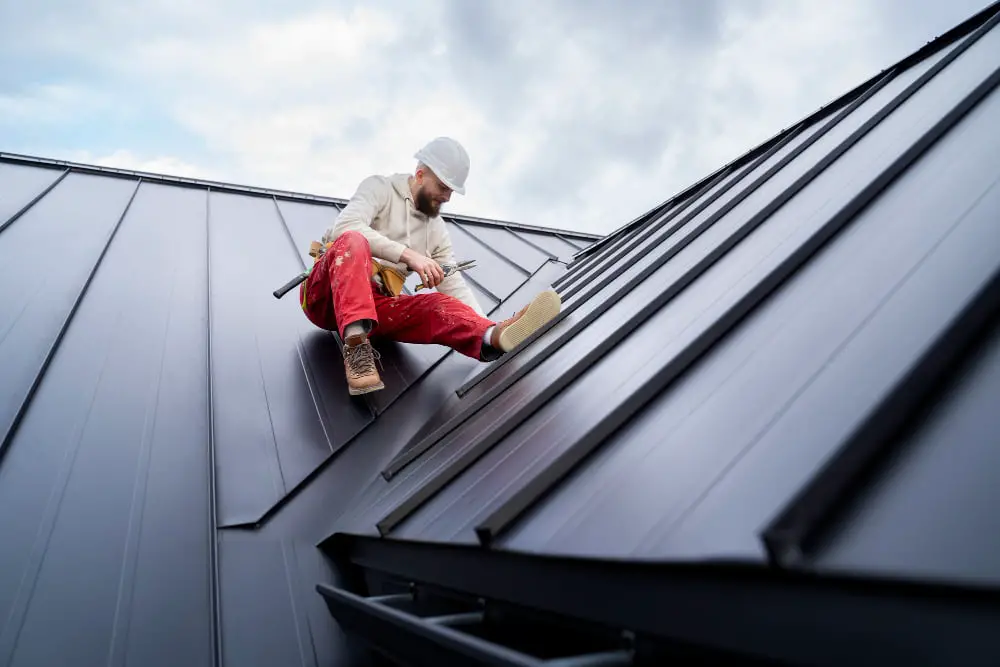
Align and Start Attaching the Panels
Alignment is key to a successful installation. Use string lines and chalk to make sure your placement is level and straight. Start at the eaves, overlapping the panels according to the manufacturer’s instructions. Secure the panels at every ridge with the appropriate fasteners, and be sure to use enough and correct type per the manual’s guidelines.
Ridge Cap and Finishing Touches
Once you’ve completed laying the main panel sections, it’s time to finish with the ridge caps. These provide a protective barrier for the roof’s peak. Overlap them correctly, secure them tightly, and seal the edges to keep out the elements. Ensure all the exposed fasteners are covered to maintain the aesthetic and functionality of your roof.
Advanced Tips for a Professional Finish
When aiming for a truly professional result, a few advanced tips can make all the difference. Here’s what you need to know to elevate your installation.
Use the Right Type and Number of Fasteners
The type and number of fasteners used play a critical role in the success of your metal roof. Under-fastening can cause panels to come loose and leak while over-fastening can damage the panel and void warranties. Each manufacturer provides guidelines on the correct number and type of fasteners to use; ensure you follow these meticulously.
Addressing Expansion and Contraction
The metal expands and contracts with temperature variations. Failing to account for this can lead to structural issues. Incorporate techniques such as using wider fastener holes or installing expansion clips to allow for movement without compromising the roof’s integrity.
Weather Considerations During Installation
Weather is a significant factor that can influence the metal roof installation process. Strong winds, rain, or extreme temperatures can make the installation more challenging and affect the outcome. Check the weather forecast before starting and plan your installation accordingly, avoiding work during adverse conditions.
A well-installed metal roof not only protects your home but also adds value and curbside appeal. By carefully following these steps and considering the advanced tips, you can achieve a professional finish that ensures the resilience and attractiveness of your roof for years to come.
Remember, while DIY can be rewarding, there are instances when professional expertise is the most prudent choice, especially when it comes to something as vital as your home’s roof. If at any point you feel uncertain about the process, don’t hesitate to reach out for assistance. With the right approach and preparation, your metal roof installation can be a successful and fulfilling project.
Browse More
 How to Style Your Patio for Outdoor Entertaining
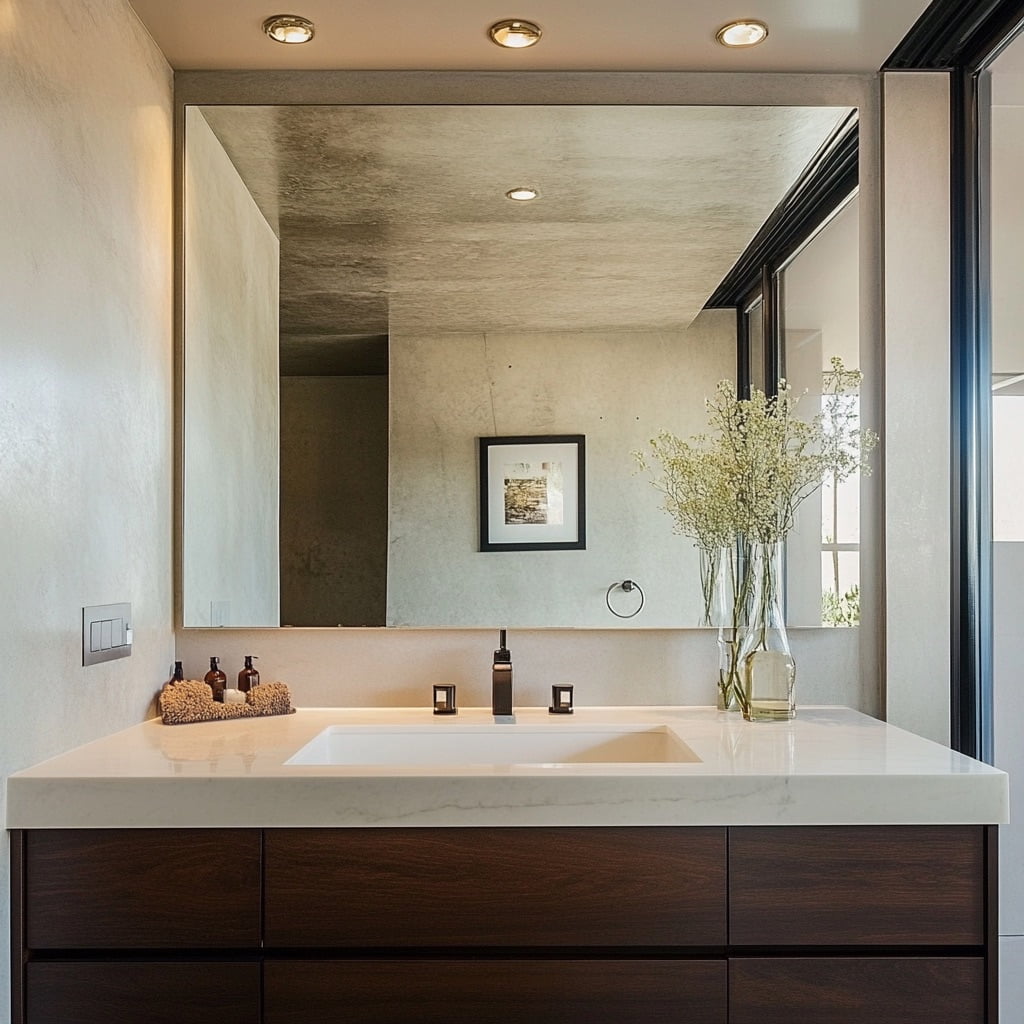 How to Find the Best Discounts on High-Quality Vanity Mirrors
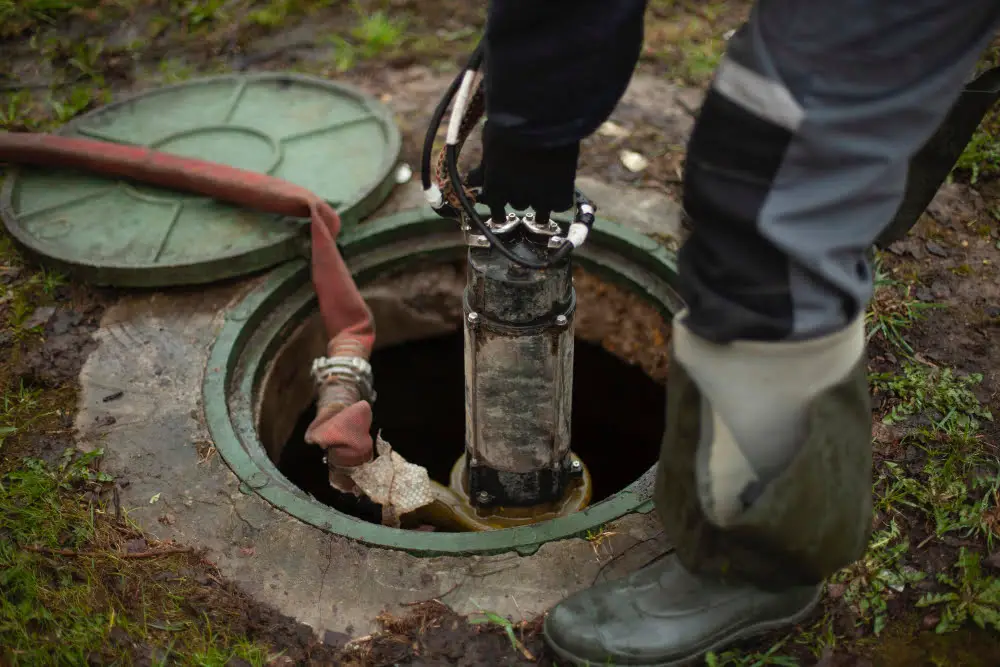 How to Choose the Right Service for Your Root Sewer Needs
 Best Tools for Your Replacement Water Pumps Project
 From Quick Fixes to Lasting Solutions: Why Professional Pest Removal Is worth It
Recap