Last updated on
Learn how to frame a bathroom mirror step-by-step, adding both style and character to your space.
Key takeaways:
- Measure mirror accurately for perfect frame fit.
- Choose frame materials based on style, moisture resistance, and budget.
- Cut frame pieces carefully for seamless assembly.
- Paint or stain frame to complement bathroom decor.
- Attach frame securely with adhesive for a polished look.
Measure the Mirror
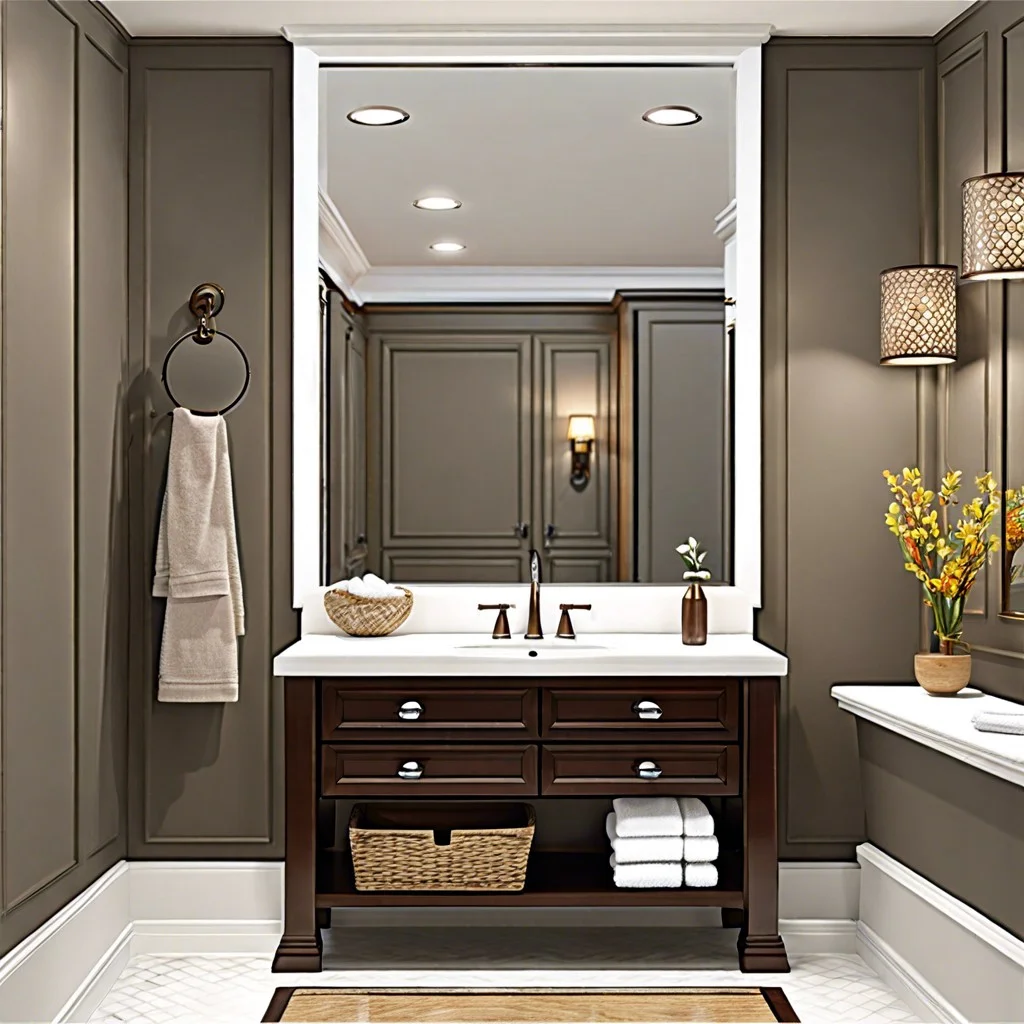
Start by taking accurate measurements of your mirror. You don’t want to be stuck with a beautiful frame that doesn’t fit.
First, measure the length and width of the mirror itself. Take these dimensions twice just to be sure.
Next, consider any light fixtures or obstacles around the mirror. You don’t want your fabulous new frame clashing with your bathroom vanity lights or bumping into a wall sconce.
Finally, think about the depth. If your mirror sits flush against the wall, you’ll need a different approach than if it’s extended outward.
Having precise measurements will save you from a world of frustration later on. Plus, it’s a great excuse to use that fancy tape measure you’ve been saving for special occasions.
Select Frame Materials
Consider the vibe you’re aiming for in your bathroom. Rustic? Go for distressed wood. Modern? Sleek metal or acrylic might be your jam. Classic? A painted wood frame could do wonders.
Next, think about moisture. Bathrooms are practically steam factories. That’s why treated or sealed wood is a good idea. No one wants a warping, moldy frame.
Budget matters too. Wood can get pricey, but plastic and MDF options can give you the look for less. And don’t shy away from upcycling; an old picture frame might make a unique mirror frame with a bit of elbow grease.
Lastly, think about color and finish. Do you want this to blend in or stand out? A bold color might make your mirror pop, while a neutral could add subtle elegance. Simple, right? Get the kids involved, make it a family affair. Who knew bathroom mirrors could be so fun?
Cut Frame Pieces
Now, armed with your measurements and materials, it’s time to cut.
First things first: measure twice, cut once. Yes, it’s cliche, but trust me, it’s the DIYer’s ultimate mantra. Lay out the trim pieces and mark them with a pencil. Miter saws work wonders for those crisp 45-degree angles at the corners.
Keep the outside edges longer than the inside; that’s where the magic of the frame happens. Labeling each piece after cutting can save a lot of head-scratching later on.
Always dry-fit the pieces to ensure they meet perfectly. If gaps appear, a little sanding can go a long way. Better safe than sorry, right? And speaking of safe, use goggles. This isn’t a Hollywood movie; sawdust in your eye is not glamorous.
Paint or Stain the Frame
Get ready to unleash your inner artist. Whether you choose paint or stain, the goal is to make the frame pop and complement your bathroom’s style.
First, pick a color or stain that aligns with your bathroom decor. Want a coastal vibe? Go for a whitewash or light blue. Feeling bold? Opt for a bright, eye-catching color. Whatever you choose, make sure it sings in harmony with the rest of the space.
Next, prep your frame pieces by sanding them down. This removes any rough spots and helps the paint or stain adhere better. No one enjoys a flaky frame.
Apply a primer before painting, especially if you’re switching from a dark hue to a lighter one. This gives a clean, even base for your masterpiece.
Then, go ahead and apply the paint or stain. Use even strokes and don’t rush it. Multiple thin coats are better than one gloopy mess. And don’t forget to let each coat dry completely before adding the next. Trust me, patience here pays off.
Lastly, seal the deal with a protective finish. A clear varnish or polyurethane will keep your handiwork looking fresh and guard against moisture—after all, it’s a bathroom we’re talking about.
Attach Frame to Mirror
Now that the frame pieces are ready, it’s time to put them in place.
First, lay out the frame pieces around the mirror to ensure they fit perfectly. This dry run will save you from sticky mishaps later on.
Next, grab some strong adhesive. Construction adhesive works well here. Apply a thin bead of glue along the edges of the mirror where the frame will sit. Be careful not to use too much—no one wants oozing glue messing up your handiwork.
Press each frame piece firmly against the mirror’s edges. Make sure they align properly and hold them in place for a few minutes. It might help to use painter’s tape to temporarily secure the pieces.
Let the adhesive dry according to the manufacturer’s instructions. Depending on the glue, this could take a few hours. Don’t rush this step—patience is key for a sturdy frame.
A quick tip: If you notice any gaps between the frame pieces, a little caulk can work wonders to fill them and give a seamless look.
Caulk and Touch Up
Caulk is like the icing on your bathroom mirror cake. It seals the gaps and gives your frame that polished, professional look. It’s the unsung hero of framing.
First, grab a tube of paintable caulk. Run a thin bead along the edges where the frame meets the mirror. This fills in any tiny gaps and makes everything look seamless. Just don’t go overboard and make it look like your mirror is suddenly growing frosting.
Next, smooth the caulk line with a wet finger or a caulking tool. Remember, the goal is to make it look like the frame grew straight out of the mirror, not like you had a caulk explosion in your bathroom.
Paint over the caulk after it dries to match your frame. This hides the caulk and blends everything together like a perfect dance routine.
Finally, check for any tiny imperfections. A little touch-up here and there can make all the difference. You’re like a bathroom Michelangelo, putting the finishing touches on your masterpiece.
Clean and Polish Framed Mirror
Now that your mirror is fabulously framed, it’s time to make it sparkle.
First, grab a soft, lint-free cloth. Microfiber works wonders. Spray a gentle glass cleaner directly onto the cloth. Spraying directly onto the mirror can lead to drips and streaks, and no one likes a streaky mirror.
Gently wipe the mirror in a zigzag pattern. Straight lines tend to leave more streaks. For the frame, use a slightly damp cloth to remove any dust or residue. Be gentle so you don’t chip the paint or stain.
Finally, give everything one last polish with a dry microfiber cloth. Your reflection never looked better.
Browse More
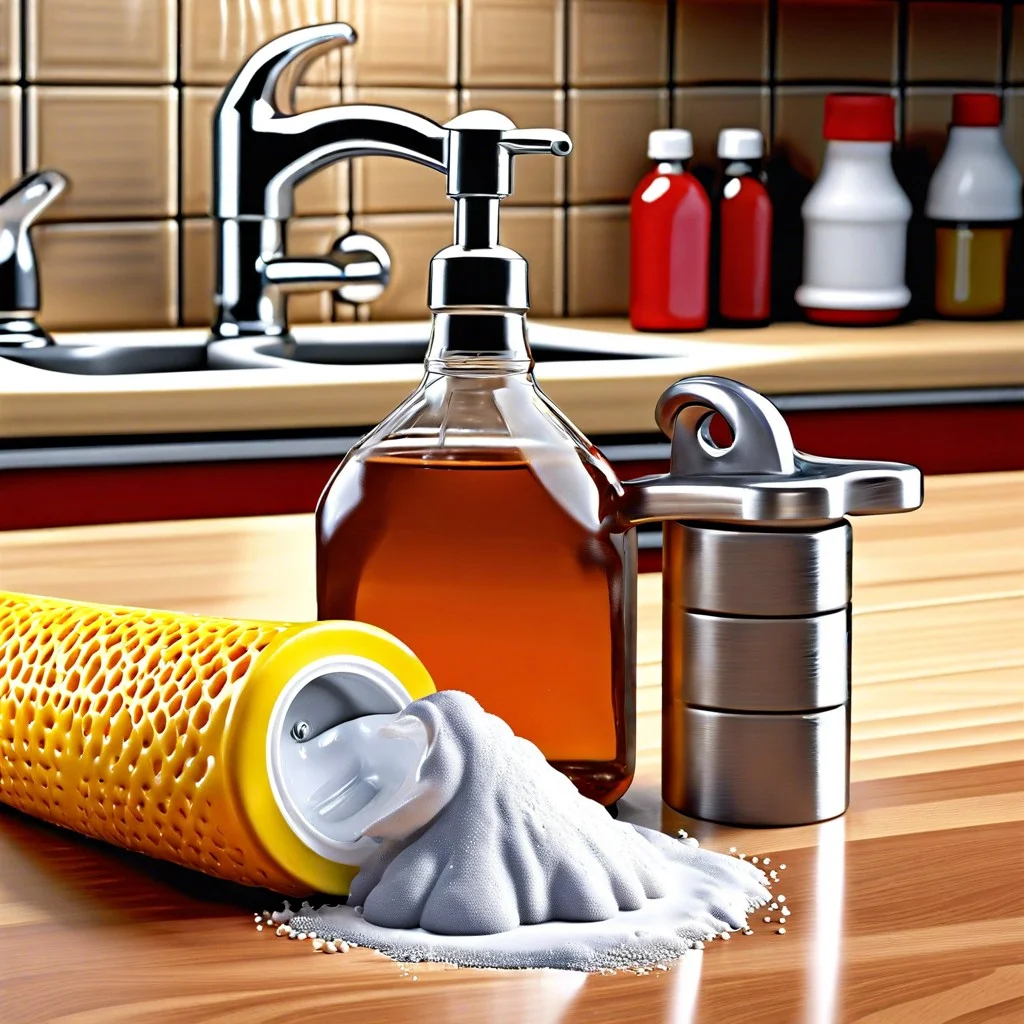 Baking Soda and Vinegar Drain Cleaning: Simple Steps for a Clog-Free Life
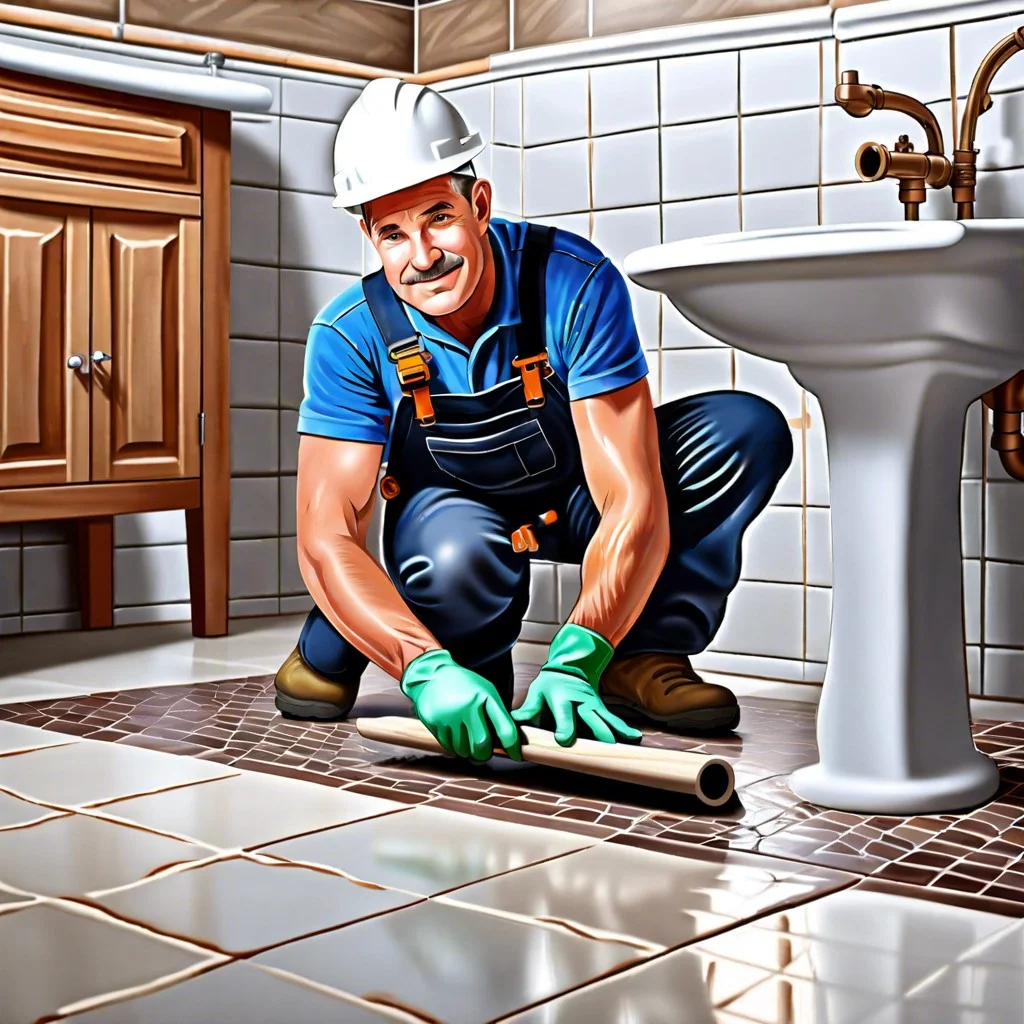 How Long Does It Take to Tile a Bathroom: Your Ultimate Time-Saving Guide
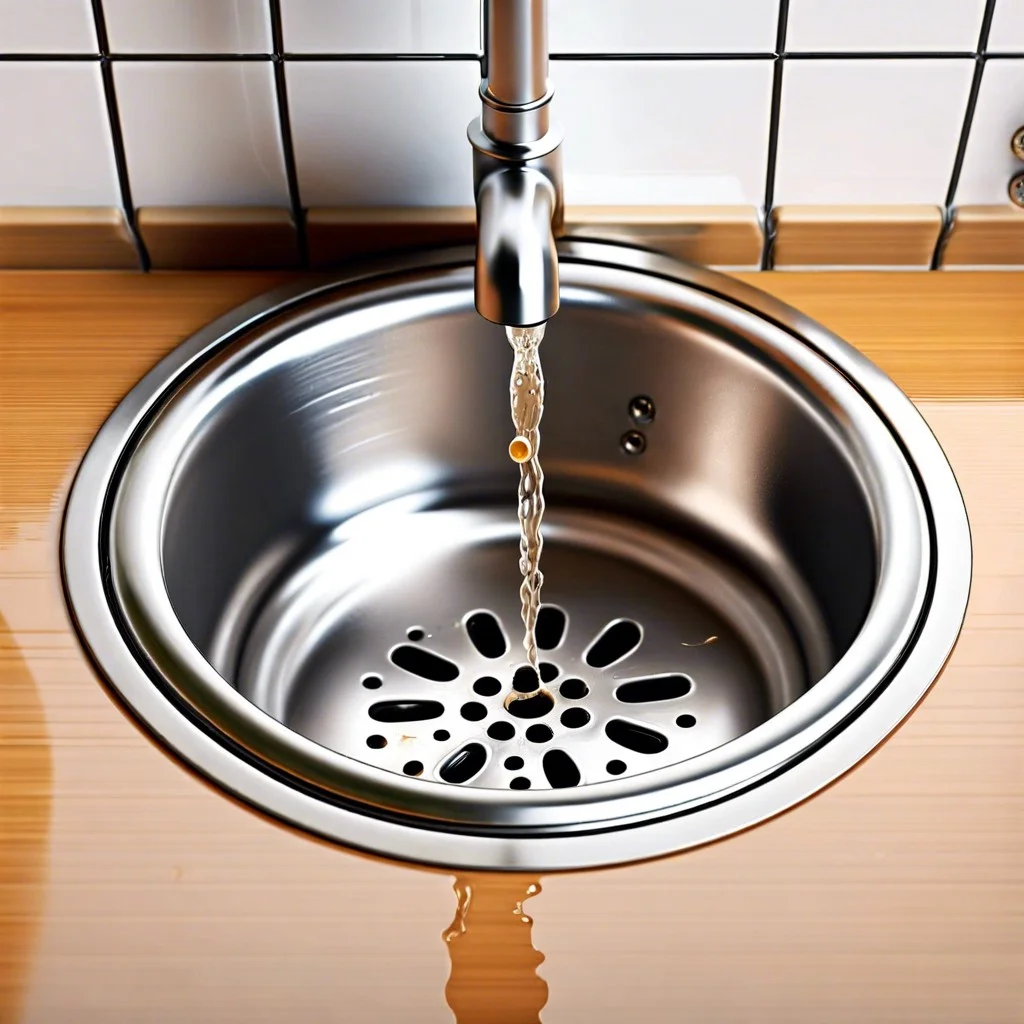 Smelly Drain: Banish Odors with Easy Fixes
 How to Remove Bathroom Fan Without Losing Your Cool
 How to Remove Bathroom Vent Cover Without Losing Your Mind
Recap