Last updated on
Learn the steps to effectively clean your bathroom exhaust fan with light for improved performance and air quality.
Key takeaways:
- Safety first: Turn off the circuit breaker.
- Vacuum the light fixture before cleaning.
- Disassemble the fixture with care.
- Dust and wipe down the motor and fan blades.
- Restore power and test the fan and light.
Safety First: Circuit Breaker Switch Off
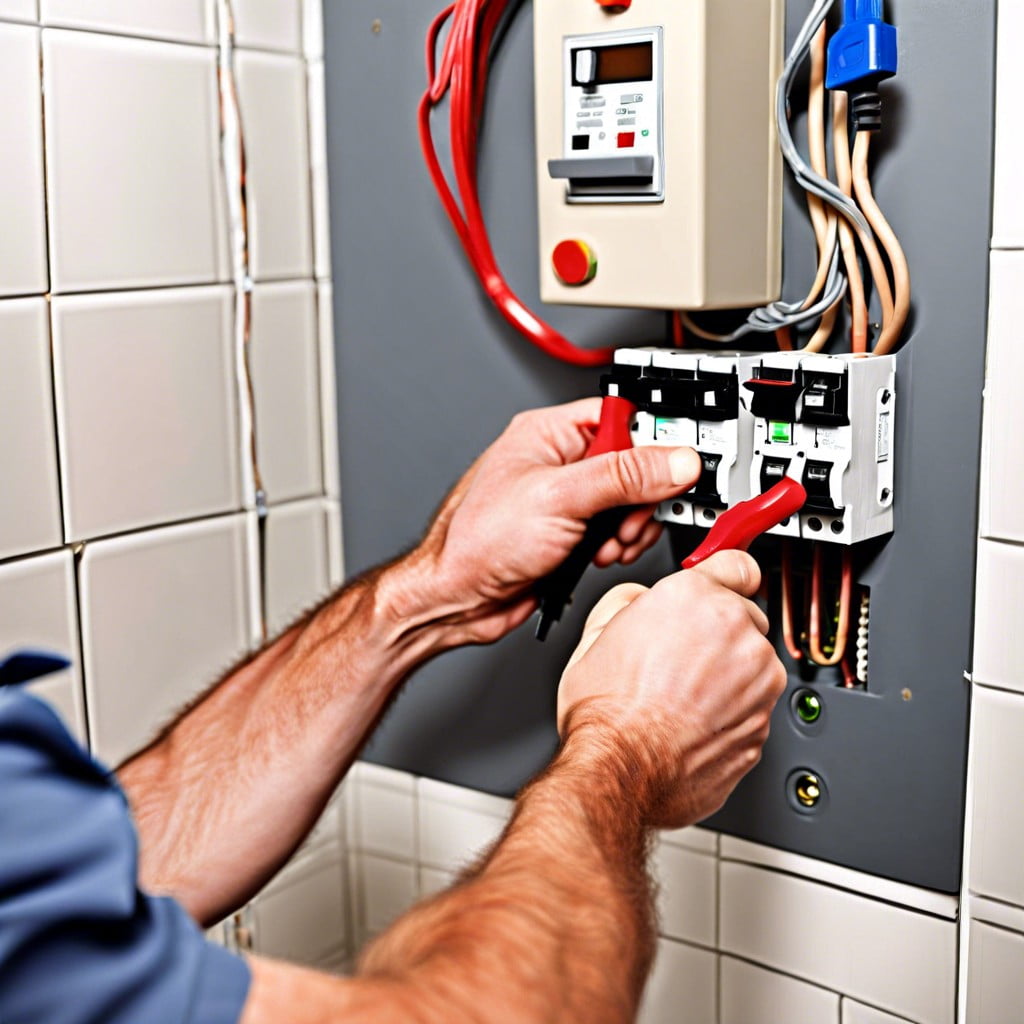
Before you dive into cleaning, hit the pause button on power flow. Locate your home’s circuit breaker and flip the switch for the bathroom. This crucial step is like telling your bathroom, “Let’s keep things calm while we freshen up.” It’s all about creating a safe environment so you can clean without the unexpected ‘buzz’ of electricity – figuratively and literally. This isn’t playing it safe; it’s playing it smart. Remember, water or cleaning solutions and electricity are archenemies, and your job is to keep the peace.
Pre-Cleaning Step: Vacuuming the Light Fixture
Before you dive into the nitty-gritty, grab your trusted vacuum cleaner with a brush attachment. Why? Well, it’s a swift way to deal with loose dust and cobwebs that have made a cozy home out of your light fixture. Run the vacuum gently across the surface; you don’t want to bully the dust into sticking around. Remember, light touches—think of it as sweeping away cobwebs from a haunted house, nice and easy. This step is about making the road less gritty for when you get down to the real scrub-work. It’s like scouting the terrain before the battle. With the larger particles now history, you’re setting yourself up for a smoother cleaning journey. Keep in mind the phrase ‘dust to dust’; with a vacuum, you’re just expediting their trip.
Disassembling the Fixture: Taking Off the Cover
Cracking open the case of your bathroom’s overhead sentinel should be done with the finesse of a cat burglar on a velvet rope. Begin by locating the fasteners; these could be clips or screws camouflaged in the design. If screws are present, a screwdriver will do the trick—turn them left (remember: lefty-loosey, righty-tighty). For clips, a gentle but firm pressure will release the hold. Keep everything you remove in a safe spot— the last thing anyone wants is a midnight rendezvous with a stray screw.
Ensure not to pull the cover forcefully; that’s a no-brainer. It’s not a pull door in a push world. Finesse is king, and with a gentle tug, the cover should come away like the Petronas Towers emerging from a Kuala Lumpur mist. If there’s resistance, stop. Take a breath. Sometimes the cover has a hinge or catches you might’ve missed, and the solution is a well-orchestrated wiggle, not brawn.
Motor and Fan Blades: Dusting and Wiping Down
With the cover off, you’re face-to-face with the nitty-gritty: a motor and fan that have been silently collecting dust. Grab a soft brush or a microfiber cloth – they’re your trusty sidekicks ready to banish grime without leaving a scratch. Gently but firmly, swipe away the dust bunnies taking residence on the fan blades; these uninvited guests are notorious for making your fan sluggish. Keep in mind, a soft touch is key here; pushing too hard is like wrestling with your delicate grandmother – someone’s going to get hurt, and it’ll probably be the fan.
Now, pivot to the motor. This is not the place for water – introducing liquid here could start an unwelcome electric ballet. Use a dry toothbrush or a can of compressed air instead to send the dust packing from those nooks and crannies. It’s like tickling the ivories of a piano; a light touch can lead to a beautiful result—a smoothly running exhaust fan. Keep it dry, keep it gentle, and your motor will be revving to go again.
After the dust is just a memory, dampen your cloth slightly—emphasis on slightly—and give everything one last loving swipe. This isn’t a dive into the pool; it’s just a quick spritz to grab any lingering dust particles that think they can outstay their welcome. Wipe with the care of someone holding a first edition comic book – with respect and a hint of awe for the delicate mechanics.
Before reassembling, pause and admire your handiwork. The fan blades should look ready to slice through the air like a ninja, while the motor sits clean and dignified, prepared for its quiet sentinel in your bathroom.
Final Step: Restoring Power and Testing the Fan
After giving your exhaust fan and light a good scrub, the finish line is just ahead. First, ensure the fan is completely dry to prevent any short circuits. Head back to the circuit breaker and flip the power back on. It’s showtime! Flip the switch in your bathroom to reunite electricity with your newly cleaned fan and light.
Now it’s a good idea to linger a moment and listen. The fan should hum smoothly, with nary a rattle to hint at leftover debris. And observe the light – it should shine brightly without flickering. If it stutters or sounds like it’s caught a hiccup, power down and double-check your reassembly. Odds are a loose screw or a misplaced wire is throwing a wrench in the works.
If the sound is more purr than kerfuffle, you’ve aced it! This test run confirms that the path to fresher air and brighter lights is clear. Pat yourself on the back; your bathroom thanks you for the breath of fresh air.
Browse More
 Baking Soda and Vinegar Drain Cleaning: Simple Steps for a Clog-Free Life
 How Long Does It Take to Tile a Bathroom: Your Ultimate Time-Saving Guide
 Smelly Drain: Banish Odors with Easy Fixes
 How to Remove Bathroom Fan Without Losing Your Cool
 How to Remove Bathroom Vent Cover Without Losing Your Mind
Recap