Last updated on
Learn the smartest strategies for brightening up that grimy grout in your bathroom or kitchen using simple, everyday products.
Key takeaways:
- Identify the type of grout before cleaning.
- Gather baking soda, hydrogen peroxide, a brush, and cloth.
- Create a paste with baking soda and hydrogen peroxide for cleaning.
- Apply the paste to the grout lines and scrub vigorously.
- Give your grout regular maintenance for long-lasting cleanliness.
Before You Begin
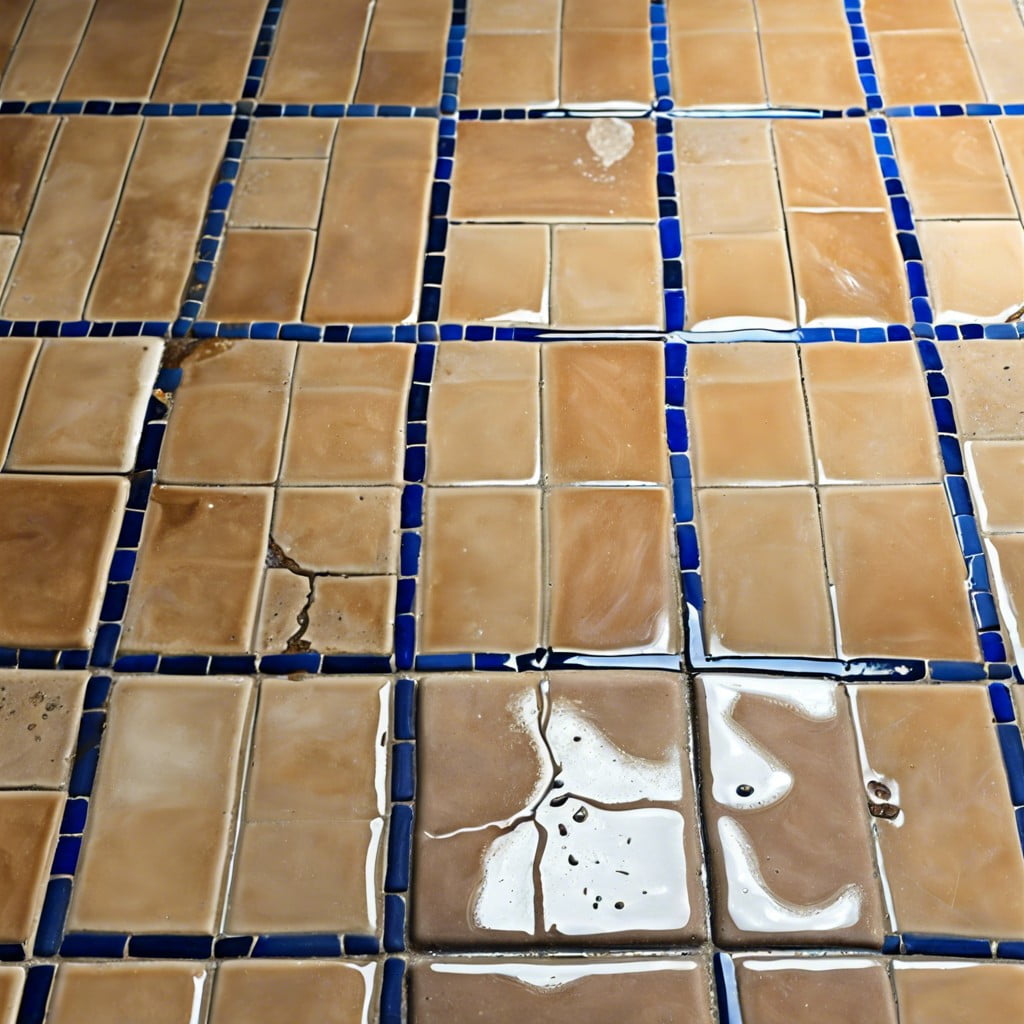
Grout cleaning is like preparing for a small battle; you need a strategy. This isn’t just about elbow grease; it’s about being smart. First, you need to identify the type of grout: is it sanded or unsanded? This will dictate the vigor of your scrubbing – you don’t want to scratch unsanded grout with overly aggressive scouring.
Check the manufacturer’s guidance for cleaning solutions that are safe for your grout to avoid damage. Preparation also involves wearing the right gear. Yes, rubber gloves are your best friends here, as well as safety goggles to shield your peepers from splashing peroxide or vinegar.
Timing is crucial. Opt for a spell when the bathroom won’t be needed for a while. This allows the cleaner of your choice to sit and break down the grime properly. Lastly, ventilation is key. Throw open a window or kick on the exhaust fan; your lungs will thank you.
What You Need
Gather these essentials: baking soda, hydrogen peroxide, a small bowl, a toothbrush or grout brush, and a clean cloth or towel. Start by conjuring up a potent concoction of baking soda and hydrogen peroxide; think of it as your magic potion against the grime. The gentle abrasiveness of baking soda combined with the bubbling action of hydrogen peroxide works wonders. No need for elbow grease; let these common household items do the heavy lifting. A firm-bristled toothbrush serves as your trusty sword, small yet mighty against the grout’s dark forces. After the skirmish, a clean cloth or towel will restore order, wiping away any residue and revealing a brighter landscape. These simple tools are your allies in the battle for pristine grout lines.
How to Clean Grout With Baking Soda and Hydrogen Peroxide
Let’s roll up our sleeves and dive straight into the nitty-gritty. The magic mixture of baking soda and hydrogen peroxide is your trusty sword and shield against the grime that lurks in the grout. The soda’s mild abrasive nature gently exfoliates the crud, while our bubbly pal peroxide swoops in like a disinfectant superhero, zapping away germs with gusto.
Now gather your weapons—baking soda, hydrogen peroxide, and a stiff-bristle brush—and march confidently into battle. Blend these two ingredients in a small bowl until they form a paste with a consistency reminiscent of toothpaste. Think of it as a spa treatment for your tiles.
Slather that paste generously onto the grimy grout lines and brace yourself for a mini arm workout. Use the brush to scrub with firm yet loving circular motions. Imagine you’re an archaeologist, uncovering the pristine grout lines of an ancient, soap-scented civilization.
After your mini excavation, wash away the frothy remnants with warm water, and pat yourself on the back as you bask in the glow of grout that looks like it’s straight out of a home decor magazine. Remember, regular maintenance is the secret ingredient for a long-lasting relationship with your pristine grout.
Step 1: Mix the Cleaning Solution
Dive straight into your pantry because that’s where the magic happens. Grab a small bowl to concoct a paste that could put commercial cleaners to shame. A half-cup of baking soda is your abrasive warrior here. It scrubs without the harshness of sandpaper. Now for the secret weapon: hydrogen peroxide, which you’ll pour in slowly while stirring. You’re aiming for a consistency reminiscent of toothpaste—thick enough to cling to vertical surfaces, yet still spreadable.
Don’t eyeball the amounts; precision is key. Pour in enough peroxide to fully saturate the baking soda without making it too runny. If it drips like a leaky faucet, it’s too thin. Think about the mixture’s staying power; after all, this isn’t a race, it’s more of a leisurely stroll through Dirtville.
As you mix, you’ll notice bubbles fizzing up. That’s chemistry at work, my friends. The two substances are reacting to unleash a cleaning powerhouse. But remember, patience is a virtue. Give it a stir that Goldilocks would approve of—not too vigorous, not too gentle. Just right to let the chemistry do its thing.
Step 2: Apply and Scrub
Dive right in with your trusty toothbrush or a grout brush—something with bristles that mean business. Saturate the grout lines with your homemade paste and let it sit for a few minutes to break down the dirt and grime. Then, channel your inner Mr. Clean and scrub with gusto. Work in small sections to maintain consistency, giving each area the elbow grease it deserves.
This step isn’t for the faint of heart; it requires a bit of sweat equity. However, it’s the game changer in transforming dingy lines into pristine seams. Remember, it’s the friction, not just the concoction, that lifts the stubborn filth. So, put on your favorite tunes and make it a grout-scrubbing party!
Browse More
 Baking Soda and Vinegar Drain Cleaning: Simple Steps for a Clog-Free Life
 How Long Does It Take to Tile a Bathroom: Your Ultimate Time-Saving Guide
 Smelly Drain: Banish Odors with Easy Fixes
 How to Remove Bathroom Fan Without Losing Your Cool
 How to Remove Bathroom Vent Cover Without Losing Your Mind
Recap