Last updated on
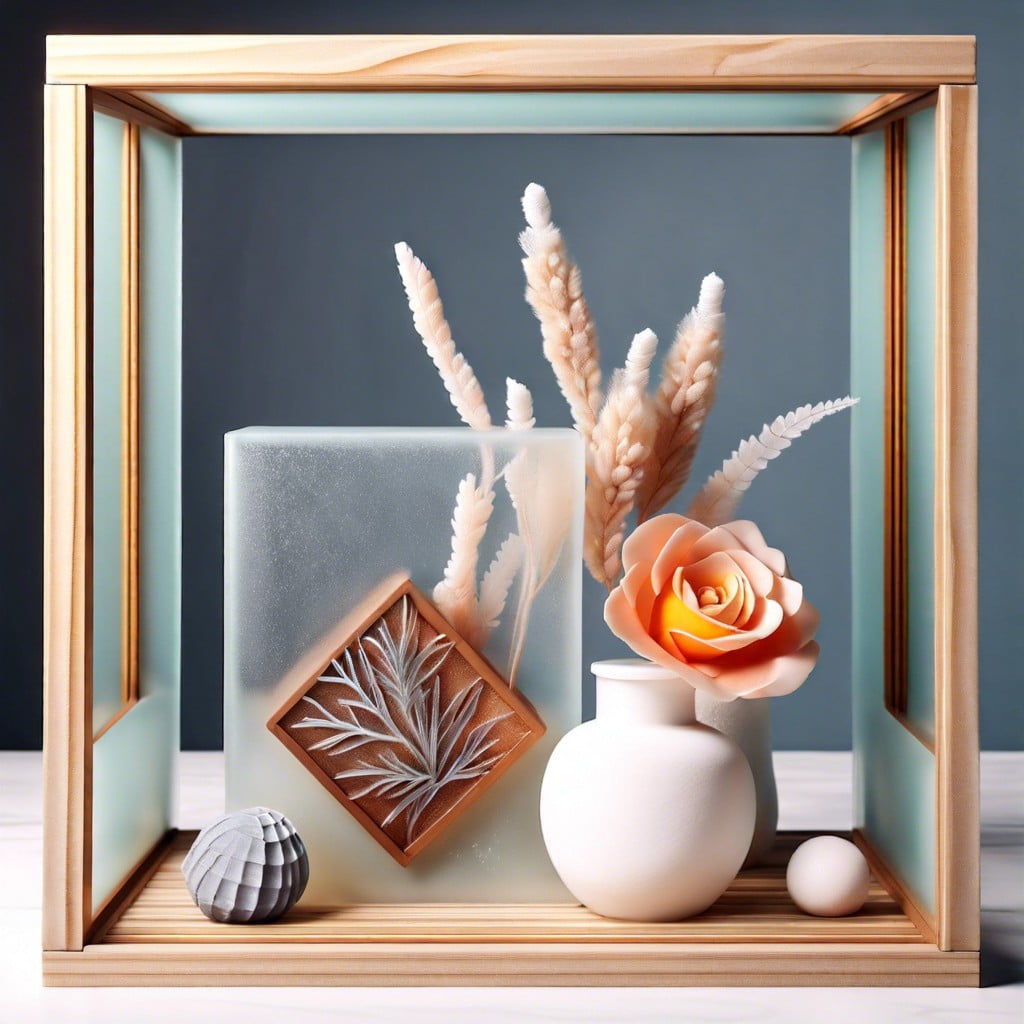
Discover the craft of frosting a glass block because it transforms an ordinary item into a piece of eye-catching décor, adding an extraordinary touch to your aesthetics.
Key takeaways:
- Gather necessary materials: glass block, stencils, etching cream, gloves, brush, timer.
- Prepare the glass block: clean, dry, protect work area, wear gloves and safety glasses, mask off areas.
- Apply stencils onto the glass block: clean stencil, apply stencil to block, use painter’s tape for protection, position custom stencil.
- Apply etching cream: clean stencil, spread cream evenly, wait specified time, avoid touching cream.
- Rinse off the etching cream: remove block, rinse under lukewarm water, rotate for even rinsing.
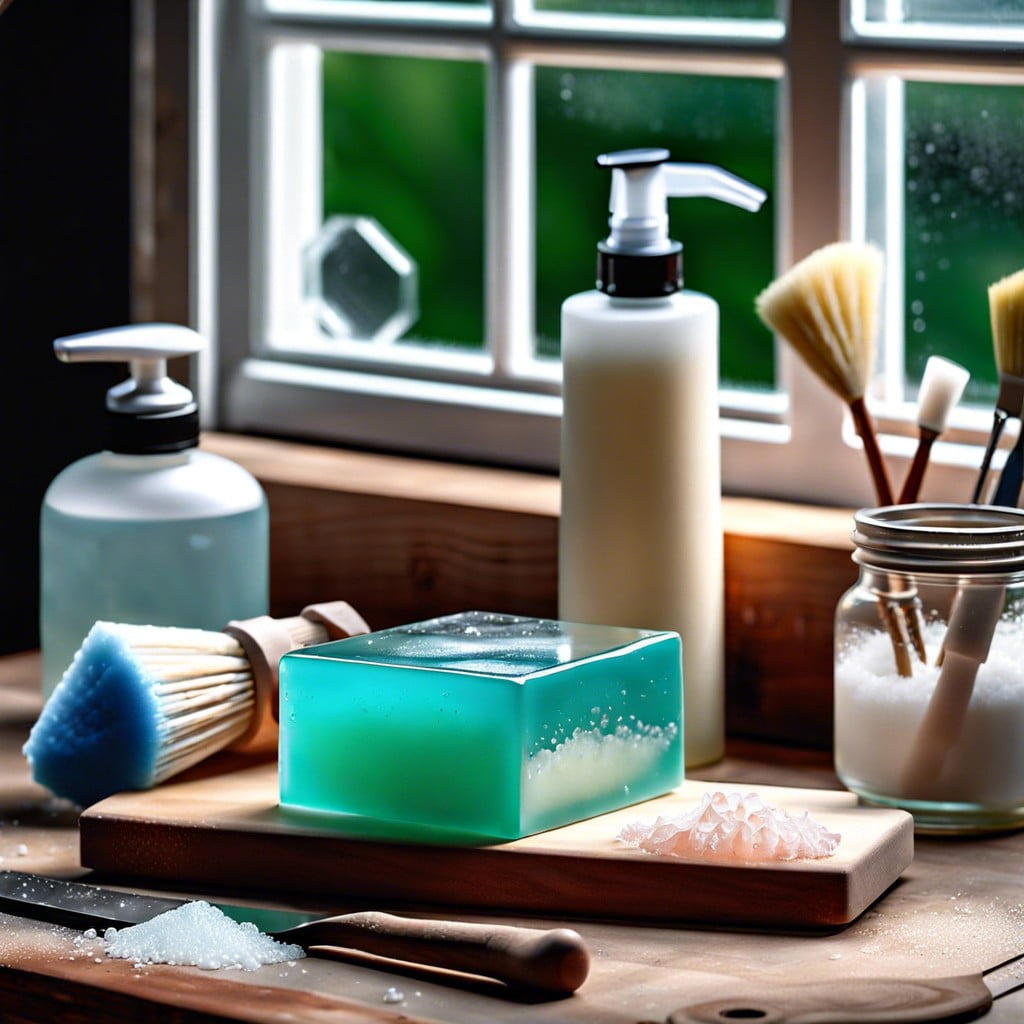
Materials Needed for Frosting a Glass Block
Begin by gathering the following items:
- A clean, plain glass block, which will serve as your canvas.
- Stencils of your chosen designs, crucial for achieving precision in your frost effect.
- Etching cream, the key substance used to create a permanent frosted effect by reacting with the glass surface.
- Gloves and a brush, safety equipment, and tools for applying the etching cream evenly.
- A timer to monitor the etching cream’s application, ensuring consistent results.
- Vinyl film, if desired, for an additional design element post-frosting.
- A clean cloth or paper towels for wiping down surfaces and potential spills.
- A well-ventilated workspace, important for safety when handling chemicals.
Remember to double-check you have all materials before starting to ensure a smooth and uninterrupted process.
Tools Required for Frosting a Glass Block
Before diving into the transformative process of frosting your glass block, gather the following tools to ensure a smooth and efficient workflow:
- Stencils: Select a stencil that matches the design you wish to feature on your glass block. Adhesive stencils are ideal for crisp edges.
- Etching cream: This is the primary agent that will create the frosted effect on the glass. Opt for a high-quality brand for best results.
- Gloves: Protect your hands from the etching cream, which is corrosive and can cause burns.
- Eye protection: Safety goggles are crucial to shield your eyes during the application process.
- Small paintbrush or foam brush: Use this to apply the etching cream with precision.
- Timer: Keep track of the etching cream’s set time for consistent results.
- Clean cloth: Have a lint-free cloth for cleaning the glass before application and for wiping away any excess cream.
- Paper towels: Useful for cleaning up spills and blotting excess cream.
- Glass cleaner: To ensure your glass block is free from fingerprints and dust before you start.
Having these tools at arm’s length will help create a professional-looking frosted glass block.
Preparing the Glass Block for Frosting
Before diving into the creative process, ensuring your glass block is primed will yield the best results.
1. Begin with a thorough cleaning – use a glass cleaner to remove fingerprints, dust, and any other residues. This step is crucial for a clear, professional-quality finish.
2. Dry the glass completely – any moisture can interfere with the frosting process, so ensure it’s completely dry. A lint-free cloth works wonders for this step.
3. Protect the work area – lay down newspapers or a drop cloth. Etching creams can damage surfaces, so covering your workspace is a smart move.
4. Don gloves and safety glasses – safety should always come first. Protect your hands and eyes from the etching cream that will be used later.
5. Mask off areas – if you’re only frosting a certain part of the glass block, use painter’s tape to define the borders. This keeps the design neat and the lines crisp.
By taking the time to do these preparatory steps, you’re setting yourself up for a flawless frosted finish on your glass block.
Creating the Frosted Design With Stencils
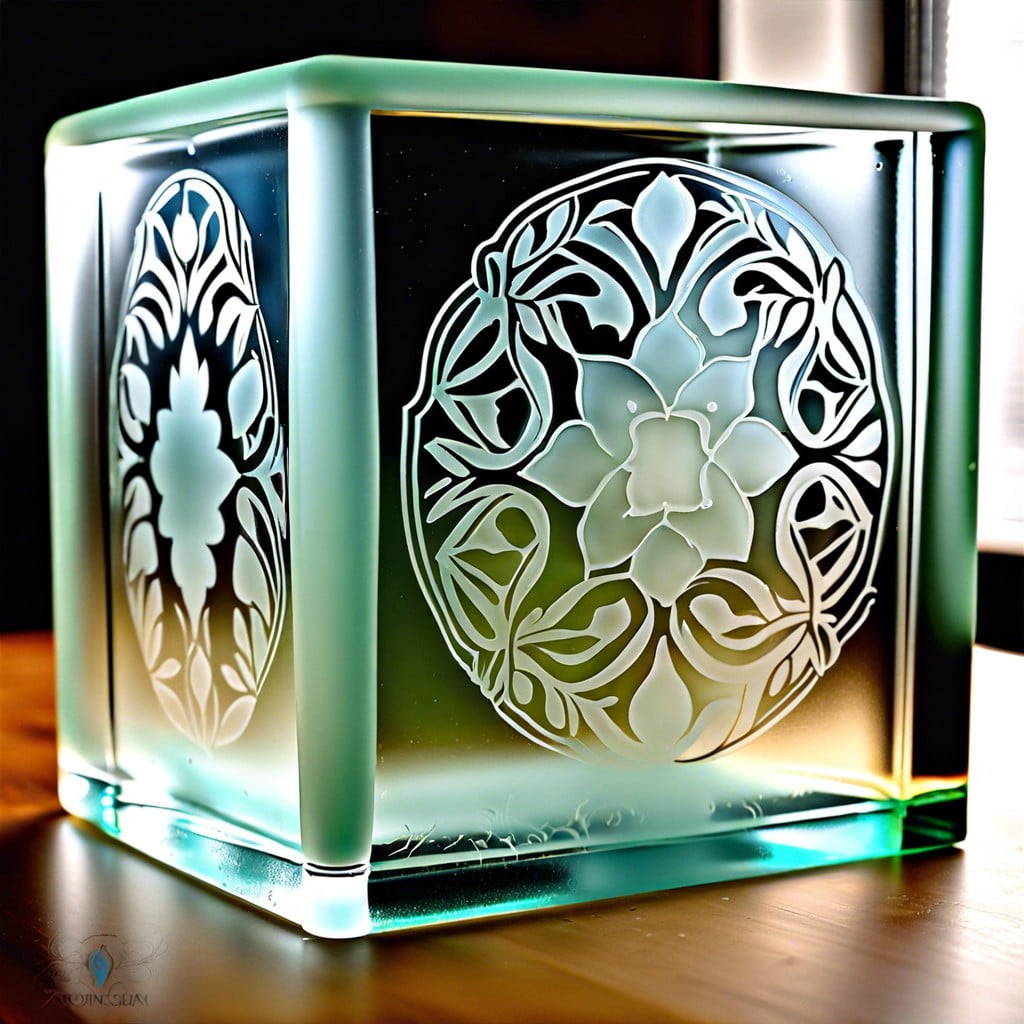
Choose a stencil that fits the glass block size and design preference. Adhesive stencils are ideal for creating sharp lines and avoiding cream bleed.
Clean the stencil with soapy water and dry thoroughly to ensure it sticks well to the glass.
Carefully apply the stencil onto the glass block. Smooth it out from the center towards the edges to eliminate air bubbles and creases, securing a tight seal.
Use painter’s tape around the stencil’s edges for added protection against etching cream seepage.
If designing a custom stencil, use a craft knife to cut out the design from adhesive vinyl or contact paper, ensuring all cut lines are smooth to prevent irregularities in the pattern.
Position the custom stencil on the glass, ensuring it is centered or aligned according to your design plan, and press firmly to secure.
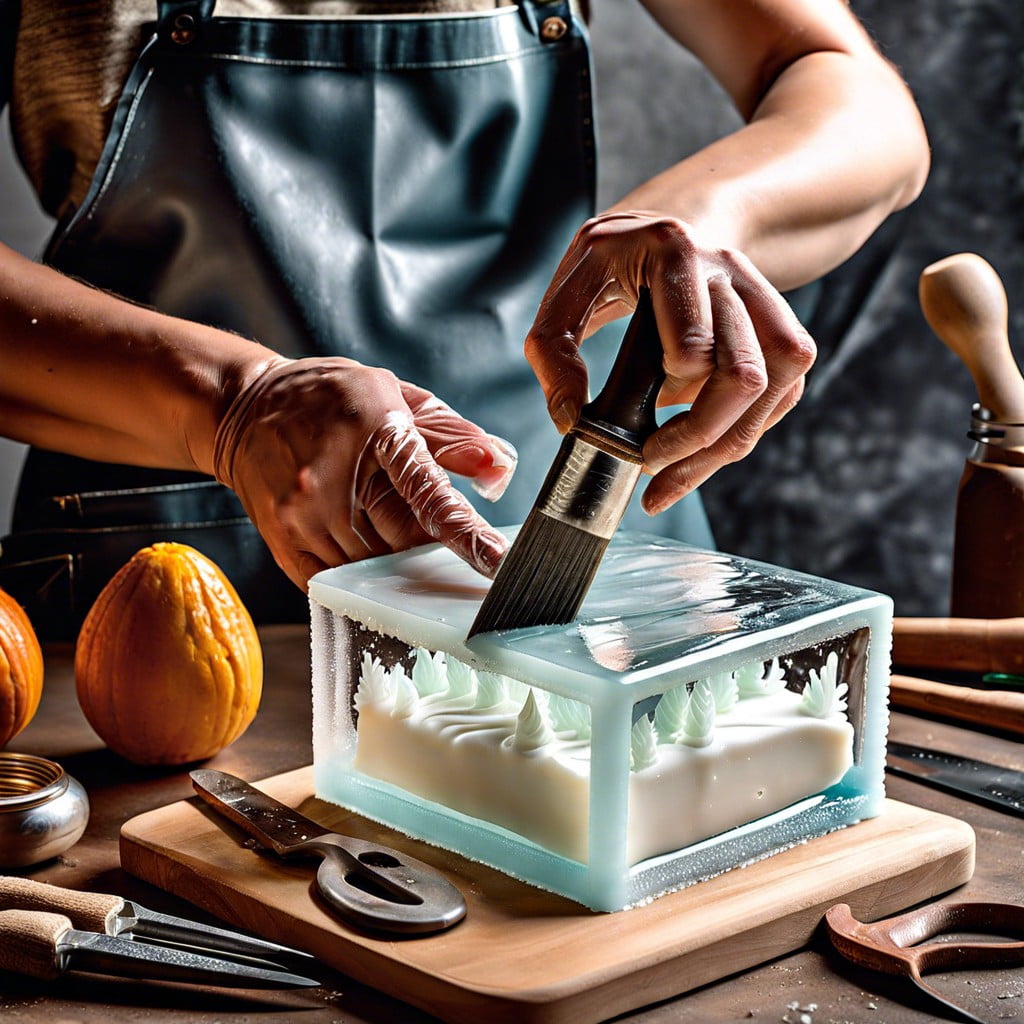
Applying Etching Cream to the Glass Block
Ensure your work area is well-ventilated and you’re wearing protective gloves and eyewear. Clean the stencil’s open areas with isopropyl alcohol to get rid of any oils or fingerprints, as they can repel the etching cream.
Shake the etching cream container to mix it well before applying. With a brush or spatula, spread a thick, even layer over the stencil. Aim for about 1/16 to 1/8 inch thickness. Consistency is key – too thin and the etching may be uneven; too thick and it can be wasteful and more difficult to manage.
Leave the cream on for the amount of time specified by the manufacturer, usually around 5-10 minutes. While waiting, keep stillness in mind; vibrations or movements can cause the cream to slide, potentially blurring your design.
During the wait time, do not touch the cream. It contains potent chemicals that can cause burns or damage surfaces. Be ready with a trash bag and paper towels for the cleanup process.
Setting the Etching Cream
Once the etching cream covers your desired area, let it sit to work its magic. Adhere closely to the manufacturer’s recommended timeframe—usually around 15 to 30 minutes—for the cream to etch the glass properly.
During this time, the cream’s acidic components react with the glass surface, creating the frosted effect.
It’s essential not to rush this process; a consistent frosted look depends on an even application and sufficient setting time.
While waiting, keep the area well-ventilated to avoid inhaling fumes, and resist the urge to poke or prod the cream. Patience during this stage will ensure a professional and satisfying result for your glass block project.
Rinsing Off the Etching Cream
Once the set time for the etching cream has elapsed, carefully remove the block from its secure location and hold it under a steady stream of lukewarm water. The water pressure should be strong enough to wash away the cream but gentle enough not to damage the etched surface. Use clean, gloved hands to assist in the removal of any resistant patches of cream.
A thorough rinse is crucial to ensure that no cream remains, as it can continue to etch the glass if not completely washed off. Rotate the glass block to ensure all sides are rinsed evenly. Keep the workspace well-ventilated and avoid splashing the water to prevent the spread of etching cream to unintended areas or onto your skin.
Drying and Curing the Frosted Glass Block
Once you’ve thoroughly rinsed off the etching cream, ensure no residue remains on the glass. Gently pat the surface with a lint-free cloth to remove any excess water. This step prevents water spots from forming on your newly frosted design.
Now, it’s crucial to allow the glass block to air dry completely. Find a dust-free environment where the glass can sit undisturbed. This drying process can take upwards of an hour, depending on the room’s humidity and temperature. Patience here ensures that any additional decorations you plan to add, like vinyl or paint, will adhere properly without smudging or peeling.
As the glass dries, the frosting effect becomes more prominent. It’s important not to rush this stage in your excitement to see the final product. Complete drying is integral to the curing process, solidifying the frosted effect and ensuring durability.
Applying Vinyl to the Frosted Glass Block
Ensure your frosted glass block is thoroughly clean before applying vinyl to avoid any particles interfering with adhesion. Select your vinyl design, which could be a decal or custom-cut pieces, for an added personal touch to your project.
To begin, peel the backing off the vinyl and position it carefully on the glass. For the best placement, use tape to hold the design in place before you fully commit to sticking it down. Smooth out the vinyl with a squeegee or credit card, working from the center outward to eradicate any air bubbles.
For intricate designs, transfer tape works wonders. Place the tape over the design, use a squeegee to ensure the design adheres to the tape, and then place it onto the block. Slowly peel back the tape at an angle to leave the design on the glass.
Finally, if your design has multiple layers or colors, start with the bottom layer and work your way up, ensuring each layer is firmly pressed down and any edges are firmly sealed to the frost. This layering technique will create a dynamic, multi-dimensional effect on your glass block.
Adding Lights to Create a Glass Block Night Light
Transform your newly frosted glass block into a captivating night light with these simple steps:
1. Select the Perfect Light: Choose a string of LED lights for their long life and cool temperature. Opt for battery-operated if you prefer a cord-free option.
2. Drill a Hole: Carefully drill a hole in the back of the glass block to thread your lights through. Use a glass drill bit and keep the speed slow to prevent cracking.
3. Thread the Lights: Gently feed the string of lights into the hole, dispersing them evenly inside the block for a uniform glow.
4. Secure the Light String: Apply a small bead of clear silicone caulk around the hole to secure the light string in place and prevent it from moving.
5. Arrange for Power: If using plug-in lights, make sure the cord’s exit point is near an outlet. For battery-operated lights, ensure the battery pack is accessible for when the batteries need changing.
6. Enjoy the Ambiance: Place your lighted glass block on a sturdy surface away from any flammable materials and bask in its soft, frosted luminescence.
Safety Tips for Working With Etching Cream
When handling etching cream, prioritize your safety and well-being using these guidelines:
1. Protective Gear: Always wear gloves and safety goggles. Etching cream contains hazardous chemicals that can burn skin and eyes upon contact.
2. Ventilation: Work in a well-ventilated area to avoid inhaling fumes, which can be harmful to your respiratory system.
3. Clothing: Don full-length clothing to protect your skin from accidental splashes.
4. First Aid: Keep a first aid kit handy. If skin contact occurs, rinse immediately with water and seek medical advice.
5. Manufacturer’s Instructions: Follow the etching cream’s instructions meticulously for safe and optimal use.
6. Storage: Store the cream in a secure location, away from children and pets, to prevent accidental ingestion or contact.
Remember, taking the proper precautions ensures a safe and enjoyable crafting experience.
Maintenance of Frosted Glass Blocks
Regular dusting with a soft cloth helps maintain the clarity and beauty of your frosted glass blocks. For smudges or fingerprints, a mixture of equal parts vinegar and water can be used effectively; spray onto the glass and wipe away with a clean cloth. Avoid abrasive cleaners or pads that could scratch the frosted surface.
Should the frosting appear dull over time, a quick polish with a microfiber cloth can rejuvenate its finish. Be mindful of the edges and corners where dust can accumulate more heavily—gentle brushing can dislodge any buildup.
For deeper cleaning, a mild detergent diluted in water is safe to use. Apply with a soft sponge, then rinse thoroughly with clean water to prevent any soapy residue from clouding the frosted effect.
In the event of accidental scratches, you can reapply etching cream to the affected area. Follow the original application steps, ensuring you protect the already-frosted surrounding areas.
Keep the glass away from direct heat sources or prolonged exposure to sunlight, as this can cause the frosting to fade or become uneven over time. Regular care will extend the life and appearance of your frosted glass blocks, keeping them a point of interest in your space.
FAQ
What is the best way to frost glass?
The most effective method to frost glass permanently is by using etching cream, ideally suitable for smaller surfaces or creating frosted patterns.
What materials are required to DIY frost a glass block at home?
To DIY frost a glass block at home, you’ll need a glass block, frosted glass spray, painter’s tape, a drop cloth, and a well-ventilated workspace.
Can you explain the technique of frosting glass using etching cream?
Frosting glass using etching cream involves applying the cream evenly onto the glass surface, allowing it to sit for a suitable time and then rinsing it off, resulting in a frosted, opaque effect.
What are some design ideas when frosting glass blocks for decoration?
Design ideas when frosting glass blocks for decoration can include creating patterns, adding lights inside for a glowing effect, using them as part of a centrepiece, or incorporating painted designs for a more personalized touch.
Browse More
 Baking Soda and Vinegar Drain Cleaning: Simple Steps for a Clog-Free Life
 How Long Does It Take to Tile a Bathroom: Your Ultimate Time-Saving Guide
 Smelly Drain: Banish Odors with Easy Fixes
 How to Remove Bathroom Fan Without Losing Your Cool
 How to Remove Bathroom Vent Cover Without Losing Your Mind
Recap