Last updated on
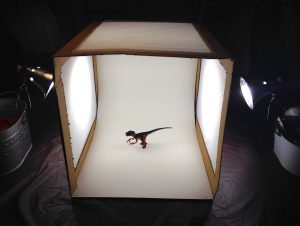
As promised from my article, I am going to show you how to make a simple photography lightbox. Most people will find having a lightbox useful for photographing items for eBay, blogging, taking stock of their personal inventory for insurance records or to enhance their photography hobby. For my son, who made me the lightbox, it was originally an assignment at school. I encourage you to find the items below in your home and re-use them. If you don’t have something on the list you can improvise. For example, instead of tissue paper, use an old thin sheet that isn’t useful for bedding anymore.
What you will need:
- A large cardboard box (mine was approx 24″x 24″ x 22″)
- Shipping or Duct Tape
- White tissue paper or white fabric (like an old sheet)
- X-Acto knife (a.k.a. box cutter)
- 2 Daylight bulbs —(see tips below for specifics)
- 2 utility lamps w/ clamp bottoms
(we bought lights like these) - matte poster board or something similar that is approx twice the length of your box (needs to be able to curve without creasing)
- pen or pencil
- right angle ruler or just a large ruler
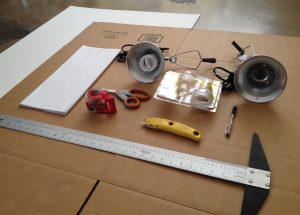
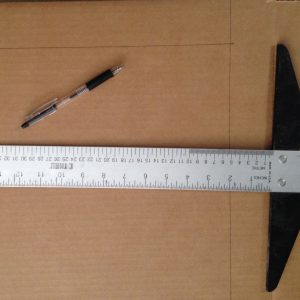
The first thing you need to do is measure and mark a 2-inch border on the edges of 3 sides of the box.
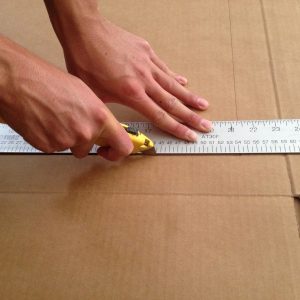
Proceed by cutting out the marked sides with your box cutter. Be careful.
Next cut off the box flaps.
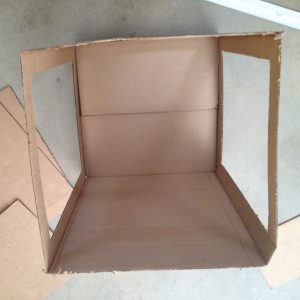
Cut your poster board to match the width of your box, but wait to cut the length. When you’re happy with the fit, insert poster board backdrop. It will stay in place due to the tight fit. If not, staple the poster board to the box. You will have a seamless background now. This sounds complicated and confusing but it’s not.
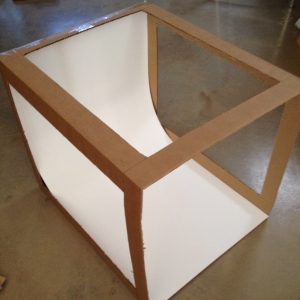
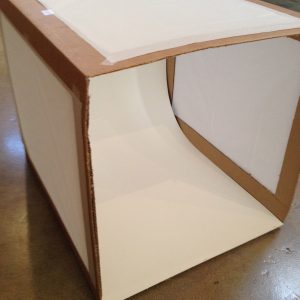
Now tape the tissue paper to the outside of the 3 box openings. (trim to fit if needed)
Next, find some random household objects to attach your utility lights to. We used small ice buckets filled with random junk like sunblock that was laying around. Place one on each side of the box. If you happen to have a third light to use on the top of the box that would be great. It’s not necessary though. We just happened to have a ceiling one above our pool table where we set up. It worked out perfectly.
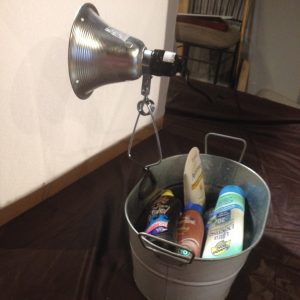
You officially have a working lightbox!
Tips:
- You can use regular table lamps instead of utility lights as long as you change the bulbs out to be the right kind. Light bulbs will make all the difference with your lightbox color. You want clean white. After 3 trips to Home Depot, you might want to take our advice. we bought bulbs similar to these
- Be sure the bottom surface of your objects is always clean.
- You can change out the white poster board for black or other colors.
- Use chairs to hold the utility lights.
- You can move the lights closer and further to the box to adjust lightening.
- Do not leave lights on unattended. The tissue paper can get hot!
Recap
