Last updated on
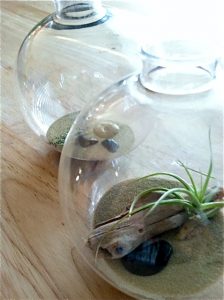
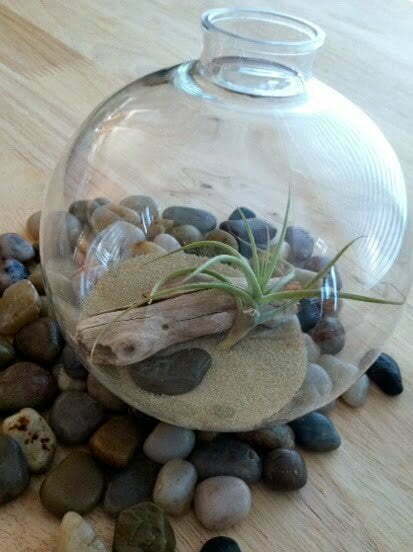
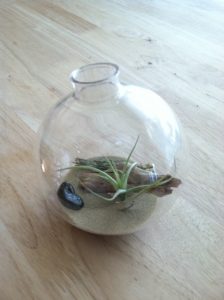
Making a DIY terrarium is very easy. Just follows these tried and tested steps and you’ll do just as good as I did!
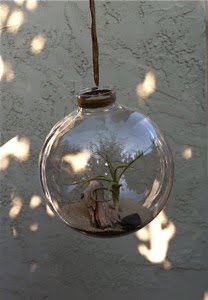
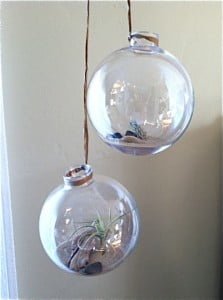
Thanks to designer Shane Powers and his Hanging Glass Bubble Collection at West Elm for the inspiration behind this DIY project. At first, I tried using the glass ornaments from Michaels but found the glass to be too fragile. They kept breaking which I decided is too dangerous especially if you want to use around children or outside near a swimming pool. Also, they lacked a lip around the edge of the opening which if you want to make your planter into a hanging one rather than a tabletop one, is vital to prevent slippage of the twine.
You will need:
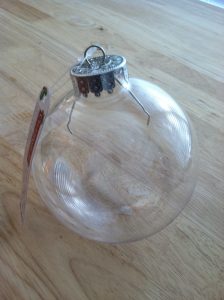
- Plastic craft ornament ($2.99 at Michael’s)
- Décor sand (also found at Michael’s)
- Small rocks, driftwood, shells, moss, etc.
- Tillandsias (air plants, found at most nurseries)
- Twine, raffia, wire, etc.
- Funnel
- Chopsticks or long tweezers
How to assemble:
- Remove the cap from ornament by gently tugging.
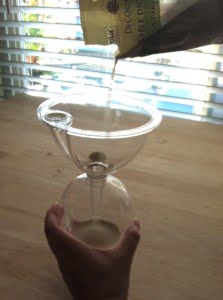
- Using a funnel, pour a small amount of sand into the bottom of the ornament, approx. ¼ cup.
- Add your embellishments (rocks, shells, etc.) If you plan on hanging it, don’t make it too heavy.
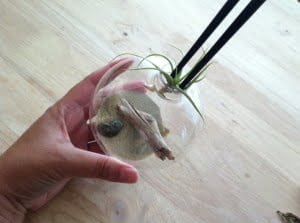
- Lastly, carefully add your Tillandsia using chopsticks or tweezers.
- Leave the ornament unsealed. The Tillandsia need air circulation.
Tillandsia’s care:
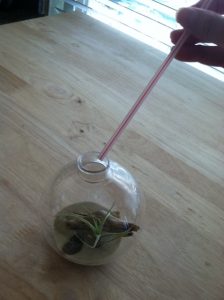
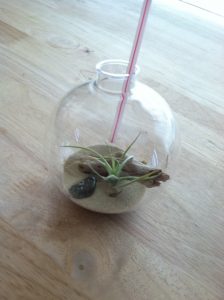
- Tillandsias absorb water through their leaves not roots. To water your plant, dip a straw into the water to collect a VERY small amount of water. Place your finger at the top of the straw to suction the water into the straw. Drop the water directly onto the plant once a week. It is important that you use a small amount of water otherwise the sand will get soggy and stick to the globe.
- Monthly, during spring and summer, you can fertilize with orchid food diluted to half strength.
- They prefer bright, filtered light, not direct sunlight.
