Last updated on
Learn how to transform your outdated bathroom countertops with these straightforward painting tips for a fresh, new look.
Key takeaways:
- Use high-quality epoxy or acrylic paint for bathroom surfaces.
- Know the specific paint and primer needed for your countertop material.
- Clean the countertop thoroughly before painting.
- Tape off the sink, faucets, walls, and surrounding areas to prevent paint splatter.
- Apply multiple thin coats of paint and allow for proper drying time.
Materials and Tools to Paint Vanity Countertop and Bathroom Sink
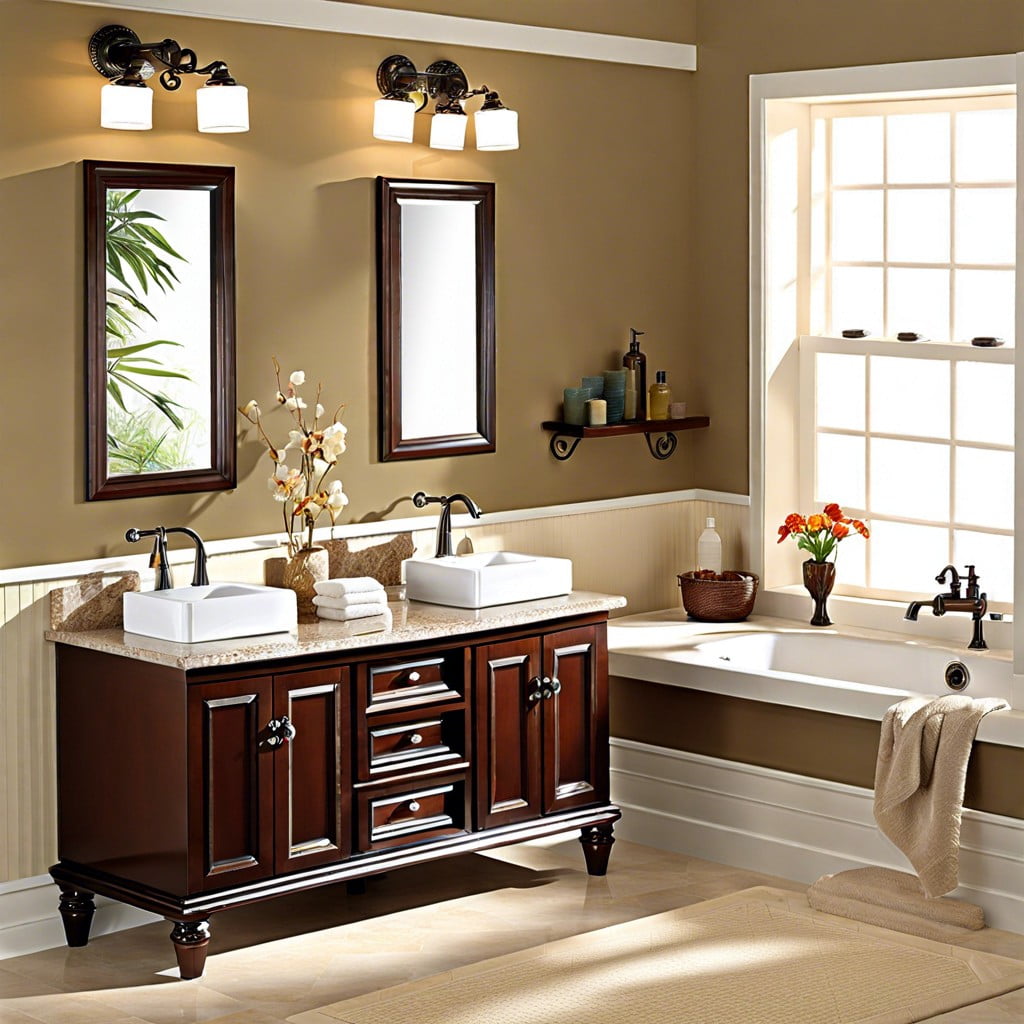
Grab your superhero toolkit because transforming your bathroom countertop and sink requires a few trusty sidekicks. First on the list is a high-quality epoxy or acrylic paint—these are the dynamic duos for bathroom surfaces. Choose the colors that match your style; after all, this is your masterpiece!
Next, you’ll need a good primer. Think of it as the glue holding this entire plan together. Sandpaper, preferably fine-grit, is essential. It’s like giving your countertop a little spa day, smoothing out imperfections.
A couple of paint rollers and brushes are also essential. Tiny foam rollers work best for even, streak-free application. Brushes help tackle those tight corners and edges.
Drop cloths? Absolutely. You don’t want your bathroom looking like a modern art exhibit, and painter’s tape will keep everything perfectly tidy.
Don’t forget safety gear: gloves, masks, and maybe even some funky goggles. After all, who said you can’t look stylish while upgrading your bathroom sanctuary?
What You Should Know Before Painting Your Bathroom Countertop
First off, know your materials. Different countertops require different paints and primers. If you’re working with laminate, you’ll need a specialized primer for proper adhesion. For natural stone, sanding beforehand is crucial.
Ventilation is your friend. Bathroom spaces are usually quite compact and can trap fumes. Open windows, use fans, and take breaks. Trust me, you don’t want to be woozy with a paintbrush in hand.
Prepare for some disruption. These projects can span multiple days due to drying times. Make sure you have alternative plans for your bathroom needs unless you enjoy showering next to a countertop in dry-time limbo.
Last but not least, test a small, inconspicuous area first. Colors can look very different under your bathroom lighting, and you want to avoid any mini-heart attacks when you realize that “subtle eggshell” looks more like “diner mustard.”
Scrub the Countertop and Sink Clean
Grab your elbow grease and let’s get cleaning! Before you can transform your bathroom countertop into a masterpiece, it needs to be spotless. Think of it as giving the canvas a fresh start.
First, mix warm water with a bit of dish soap. This simple solution will help lift dirt and grime without leaving a residue. If you’ve got stubborn stains or soap scum, a gentle scrub with a non-abrasive sponge should do the trick.
Don’t forget to get into the nooks and crannies. Use an old toothbrush to reach tight spots around the faucet and edges. Remember, clean corners mean smooth edges when you paint!
Once you’re happy, rinse thoroughly with water to make sure no soapy film is left behind. Let it dry completely before moving on to the next step. Damp surfaces and paint are like cats and dogs—just don’t mix them!
Tape Off Everything
Trust me, you don’t want your beautiful new countertop color splashing onto unwanted areas. Here’s how to keep things tidy and professional.
First, make sure you have painter’s tape – the blue one, not the tan masking tape from your junk drawer. The blue tape will protect surfaces better and come off cleaner.
Start by taping off the sink and faucets. Any metal fixtures that can’t be removed should be covered too. An errant brushstroke here will only cause headaches later.
Next, tape all the edges where the countertop meets the walls and any surrounding cabinetry. Believe it or not, paint craves walls in the worst way. Protect them!
For the truly meticulous, use plastic sheeting or newspaper to cover larger areas like the floor or any nearby appliances. It’s a small step that saves bigger cleaning woes.
Finally, double-check everything! A little extra caution now means a lot less cleanup later. Plus, nothing screams “DIY disaster” like a wobbly paint edge.
Apply Bathroom Sink Countertop Paint
Applying paint to your bathroom sink and countertop is like frosting a cake — it’s all about the technique and patience. First, ensure you have a good quality paintbrush and a foam roller. The brush is for the nooks and crannies, while the roller handles the broad surfaces.
Start by using the brush to cover the edges and corners where the roller can’t reach. Think of it as sketching an outline before coloring in a picture. Once the tricky parts are done, roll on the paint in smooth, even strokes. Thin coats are key here. Too thick and you’ll end up with unsightly drips and streaks.
Allow the first coat to dry thoroughly before adding a second. This isn’t a race, and rushing could turn your masterpiece into a disasterpiece. Two to three coats should do the trick for a smooth, durable finish. And remember, ventilation is your friend. Keep the bathroom well-aired to help the drying process along. Patience, painter! Your bathroom counter will thank you.
Follow the Recommended Drying Times
Patience is not just a virtue; it’s your countertop’s new best friend. Once you’ve applied the paint, resist the urge to start using the countertop immediately.
First, allow the surface to dry to the touch, which usually takes a few hours. However, this isn’t the green light to throw your toiletries back on. Complete drying might take 24 hours or more, depending on the paint type and room humidity.
Temperature matters too. A well-ventilated bathroom set at room temperature works wonders for drying times.
If your paint manufacturer suggests a curing period, follow it to the letter. Curing could take days. Activating your countertop too early can lead to smudges, scratches, or worse, a total redo.
Lastly, ensure no one else in the house, especially curious pets or children, tampers with the drying process. Sticky paws or tiny fingerprints are not part of the chic look.
Drying times might test your patience, but a perfect finish makes it all worth it.
How the Countertop Paint Holds Up
You might wonder how durable your fresh paint job will be. Well, it depends on a few factors that are as crucial as remembering to put the cap back on your toothpaste after each use.
First, the type of paint plays a huge role. High-quality, specifically designed countertop paint is like the superhero of coatings – tough and resistant to water, scratches, and daily abuse.
Second, the prep work. If you’ve spent some quality time scrubbing, sanding, and priming, your painted countertop should stand the test of time, or at least the test of countless dropped toothbrushes and soap bottles.
Third, your habits. If you’re the type who uses the countertop to practice your Olympic shot-putting skills with bathroom items, expect a little more wear and tear. But for the average user, a well-done paint job can last several years before needing a touch-up.
Finally, maintenance matters. Gentle cleaning with non-abrasive cleaners will keep your countertop looking fresh and vibrant, unlike those energetic yet destructive scouring pads.
Browse More
 Baking Soda and Vinegar Drain Cleaning: Simple Steps for a Clog-Free Life
 How Long Does It Take to Tile a Bathroom: Your Ultimate Time-Saving Guide
 Smelly Drain: Banish Odors with Easy Fixes
 How to Remove Bathroom Fan Without Losing Your Cool
 How to Remove Bathroom Vent Cover Without Losing Your Mind
Recap