Last updated on
Learn how to remove a faucet aerator quickly and easily with this straightforward guide.
Key takeaways:
- Identify the type of aerator (male or female threaded).
- Gather necessary tools: adjustable wrench or slip-joint pliers, duct tape, lubricant, and a bowl or cup.
- Turn off the water supply before removing the aerator.
- Use pliers or a wrench for stubborn aerators, but be gentle.
- Clean the aerator by soaking in vinegar and scrubbing with a toothbrush.
Identifying the Type of Aerator
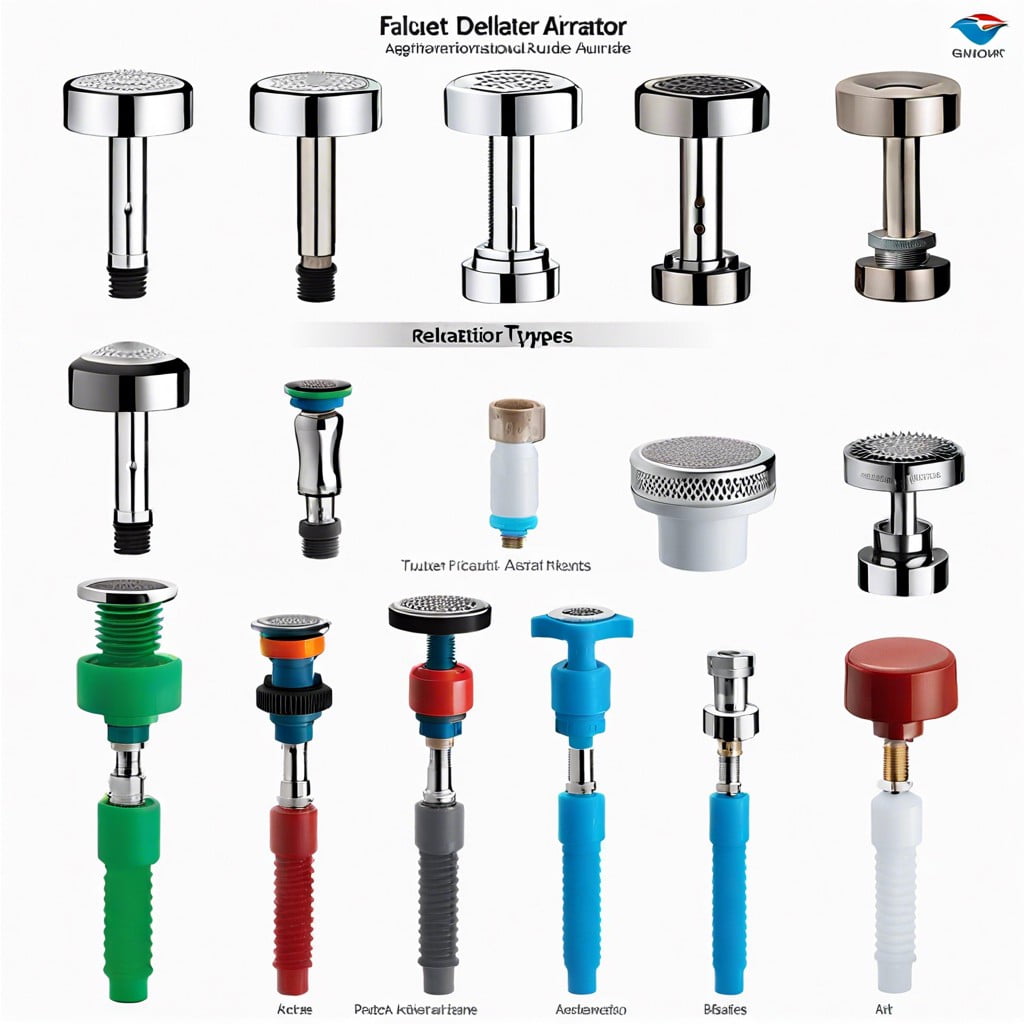
Spotting the type of aerator you’re dealing with is like identifying whether you’re a screw-top or a pop-off kind of person—it’s essential for the next steps! Most commonly, you’ll find that aerators are either male threaded (threads on the outside) or female threaded (threads on the inside), depending on how they cozy up to your faucet’s spout.
Some aerators sit proudly on the tip of the faucet, easy to see and remove, while others play hide and seek; they’re recessed or hidden inside the spout. A quick look should tell you which team your aerator plays for. If it’s playing hard to get, shining a flashlight into the spout might just reveal its secrets. Remember, knowing your opponent is half the battle won in the world of faucet maintenance!
Necessary Tools for Aerator Removal
It’s tool time! Luckily, we’re only looking at a light toolkit for this job. Most commonly, you’ll need an adjustable wrench or a pair of slip-joint pliers. These help grip and twist without causing damage, especially if the aerator is being a bit stubborn.
Sometimes, aerators are friendly and just need a nudge to unscrew by hand. If that’s not your luck today, wrap the tool’s jaws with a bit of duct tape or use a rag to protect the aerator’s finish from scratches.
And let’s keep it all smooth – a little lubricant like WD-40 can work wonders if things feel stuck. Just a quick spray, let it sit for a minute, and then give it a go.
Lastly, don’t forget a small bowl or a cup to catch any escapee parts or water. No one wants to go on a mini scavenger hunt under the sink!
Turning Off the Water Supply
Before you get too hands-on with your faucet, remember to play it safe with the water supply. A simple twist of the valve under the sink should halt the water flow. This step is like the safety lock on power tools — essential and oftentimes overlooked!
If your under-sink area is a perplexing jungle of pipes, focus on the two valves directly connected to your faucet’s lines. Righty-tighty (clockwise) does the trick here, and it keeps you from an unplanned mini-flood.
Doing this also gives you a clear battlefield. Having no water pressure means you can work without the surprises that water often brings when tinkling with plumbing components. Now you’re all set to conquer that aerator!
Using Pliers or Wrench for Stubborn Aerators
Sometimes, aerators cling to faucets like a toddler to a candy bar; they just won’t let go! When facing a stubborn aerator, employing pliers or a wrench can be your best bet. Wrap the aerator in a cloth first—this protects its finish from scratches. Then, gently adjust your tool to fit around the aerator. Firm, steady pressure is key; no need to impersonate a weightlifter! Twist counterclockwise, but keep it civil—overzealous twisting could turn your faucet repair into faucet shopping.
Cleaning the Aerator After Removal
Once you’ve successfully detached the aerator, a mini spa session for this little guy isn’t just beneficial—it’s necessary. Sediments and minerals can build up, so soaking it in white vinegar for a few hours can help dissolve these stubborn deposits. Simply place it in a small bowl of vinegar; let the acidic magic happen.
After the soak, grab an old toothbrush (its non-lucrative second life) and gently scrub away any lingering particles. This process ensures a sprightly flow and pristine water, because who wants to wash their hands under a trickling spout? Rinse the aerator with clean water before reattaching, and voila, it’s like giving your faucet a fresh start!
Browse More
 Baking Soda and Vinegar Drain Cleaning: Simple Steps for a Clog-Free Life
 How Long Does It Take to Tile a Bathroom: Your Ultimate Time-Saving Guide
 Smelly Drain: Banish Odors with Easy Fixes
 How to Remove Bathroom Fan Without Losing Your Cool
 How to Remove Bathroom Vent Cover Without Losing Your Mind
Recap