Last updated on
Learn how to make your bathroom ADA-compliant by following key requirements designed to ensure accessibility for all users.
Key takeaways:
- Dimensions: Door widths, turning spaces, and fixture distances must meet ADA standards.
- Fixtures: Grab bars, mirror placements, and sink heights should meet ADA standards.
- Ventilation and lighting: Proper ventilation and lighting are important for a well-functioning bathroom.
- Clear floor space: Leave enough space beyond the swing of the door for smooth transitions.
- Signage: Use visual and tactile elements with high contrast for easy identification.
Required Compliance
Required Compliance means adhering to a set of standards. Like following a recipe, but one that makes your bathroom accessible to everyone. So, what’s in the mix?
First, dimensions matter. The ADA requires specific measurements: think about door widths, turning spaces, and fixture distances. These specs aren’t just random numbers—they ensure that someone using a wheelchair can move easily.
Second, you need specific fixtures. Grab bars, mirror placements, and sink heights must all meet ADA standards. Tall tales say it’s about avoiding lawsuits, but really, it’s about inclusion.
Lastly, don’t forget proper ventilation and lighting. Why? Because a well-lit, well-aired bathroom is a happy bathroom—and happy bathrooms make happier users.
Safety, accessibility, and convenience—these are the secrets behind ADA compliance. Now, let’s move on to the tangible components and understand the nitty-gritty details of each!
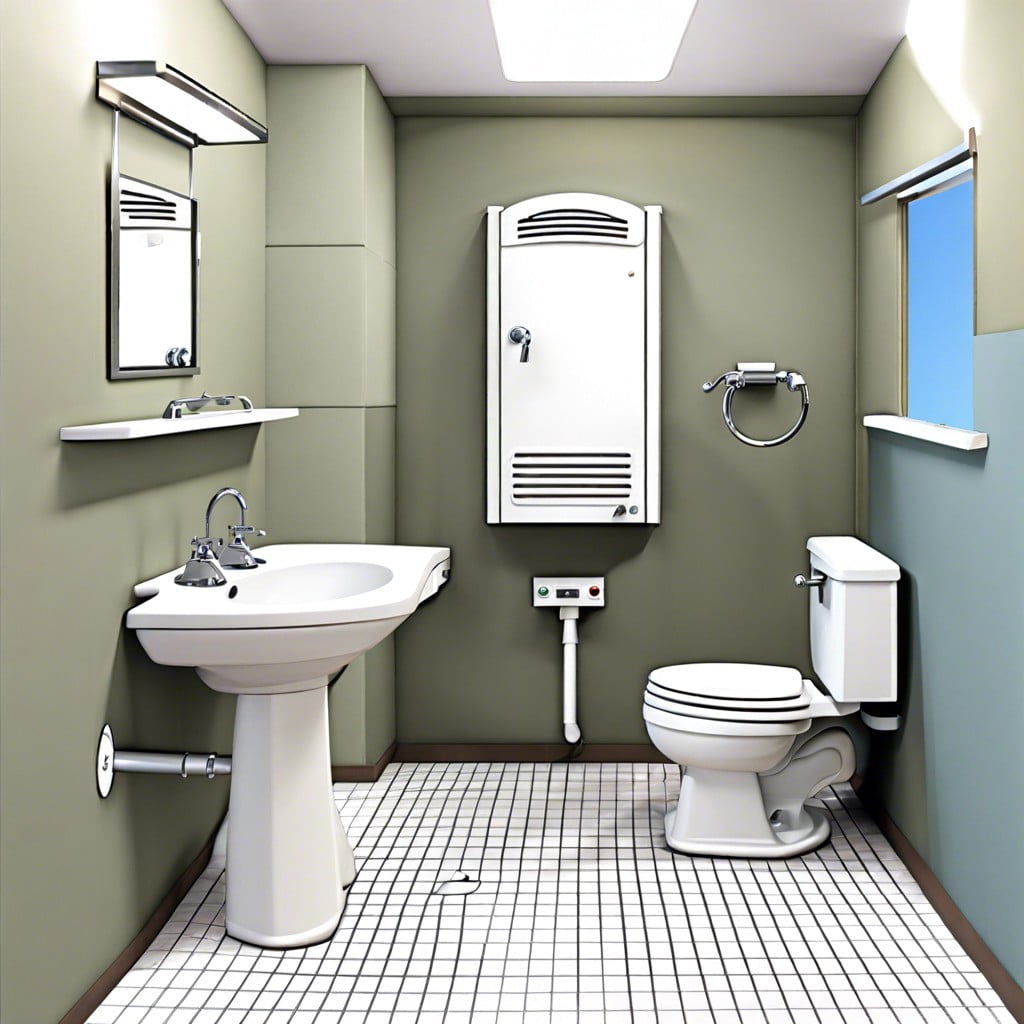
Components of Accessible Single User Toilet Room
Alright, let’s talk about what makes a single user toilet room truly accessible.
First up, the door. It needs to be wide enough for a wheelchair to easily pass through, typically 32 inches minimum when the door is open at 90 degrees. Don’t you just hate getting stuck halfway through a doorway?
Next, the toilet. Position it 16-18 inches from the centerline of the toilet to the adjacent wall to ensure room for transfer from a wheelchair. A high-tech throne!
Sink or lavatory? Your hands should be able to roll up to the sink with clear space underneath. No banging knees this time.
And yes, the mirror. Place it with the bottom edge no higher than 40 inches from the floor. Everyone needs to check their look, right?
These elements form the backbone of an accessible single user toilet room. Easy to remember, right?
Water Closets
When it comes to water closets, aka toilets, the ADA has some very specific rules. First, the height must be between 17-19 inches from the finished floor to the top of the toilet seat. This ensures that folks with mobility issues can transfer with ease.
The location matters too. Center the toilet 16-18 inches from the side wall or partition. This helps in providing enough space for maneuvering.
Flush controls? Easy to operate, with one hand, and no tight grasping or twisting required. Preferably, they should be automatic—touchless for that high-tech vibe.
Toilet paper dispensers should be within reach, placed between 7-9 inches in front of the water closet and at a height of 15-48 inches from the floor. Because nobody wants to do yoga to grab tissue in a public restroom.
In essence, the goal is to create a user-friendly space where accessibility meets comfort. Now, imagine the flow if all bathrooms were this thoughtful!
Grab Bars
Grab bars are a small addition with a big impact. They save the day, and sometimes people, when it comes to safety in bathrooms. The ADA dictates that these bars must be mounted securely to support a static load of at least 250 pounds.
Placement is crucial. They should be installed on the side wall closest to the toilet and the rear wall behind the toilet. Imagine them as the trusty sidekick to the toilet. These heroes of the bathroom need to be 33-36 inches from the floor, ensuring accessibility for everyone.
Length matters too. Side grab bars must be at least 42 inches long, extending 54 inches from the back wall. The rear grab bars? They should stretch no less than 36 inches, centered on the toilet.
Don’t forget about those ends. They need to extend 12 inches past the centerline of the toilet to offer full support.
In essence, grab bars are the unsung heroes of bathroom safety, making sure everyone, regardless of mobility, can navigate with confidence.
Clear Floor Space
Now, imagine trying to navigate a bathroom with a blindfold on. That’s how it can feel for someone in a wheelchair if clear floor space isn’t properly accounted for. It’s not just about making room; it’s about making the right kind of room.
One of the key requirements is ensuring there is at least a 30 by 48-inch space beyond the swing of the door. This might sound like we’re planning a dance floor, but in reality, this space ensures smooth transitions and easy maneuvering.
To add some flair, corners shouldn’t become unintended trap zones. Hence, positioning fixtures like sinks and toilets so they aren’t crammed together or into a corner helps maintain that essential open space.
And what about that door? It should swing outwards when possible. This single move can transform a tight squeeze into a breezy exit.
In essence, think of the bathroom layout like a game of bumper cars, where space equals safety and comfort, keeping the experience bump-free.
Signage
Signage isn’t just about sticking a figure on the door and calling it a day. It’s about ensuring everyone can easily find and identify the restroom. Here’s what needs to be done:
Firstly, the signs should have both visual and tactile elements. That means raised characters and Braille for those who are visually impaired.
Secondly, placement is crucial. Install the signs on the wall adjacent to the latch side of the door. If there’s no room, put it on the nearest adjacent wall to make sure it’s reachable and identifiable.
Lastly, contrast is key. High contrast between text and background helps everyone, not just those with visual impairments, to read the signs more easily. Plus, it looks slick and professional.
Dispensers and Receptacles
And now, let’s dive into the nitty-gritty of where to place dispensers and receptacles.
First off, let’s talk heights. The magic number is usually between 15 and 48 inches from the floor. Think about it: somewhere in that range makes it easy for a seated person to reach without stretching or a standing person to reach without bending.
Next, consider the location. Dispensers, be they soap or towel dispensers, should be within arm’s reach of the sink. Nobody wants to play an impromptu game of hopscotch after washing their hands.
Grab-and-go efficiency is key. No one wants to fumble around for a toilet paper roll located halfway across the room. Place it adjacent to the toilet, within easy reach.
Trash receptacles should be just as accessible. They shouldn’t impede movement or end up as tripping hazards. Place them in a corner or along a wall but still within easy reach.
Keep it simple, practical, and user-friendly. Getting these details right makes a huge difference in creating a space that’s truly accessible and convenient for everyone.
Browse More
 Average Bathroom Size: Find Your Perfect Fit
 Why is a Toilet Called a Head? Unlocking the Nautical Origins
 How to Get Rid of Poop Smell in Bathroom Fast: Simple Hacks for Fresh Air
 Why Is My Bathroom So Dusty: Simple Solutions
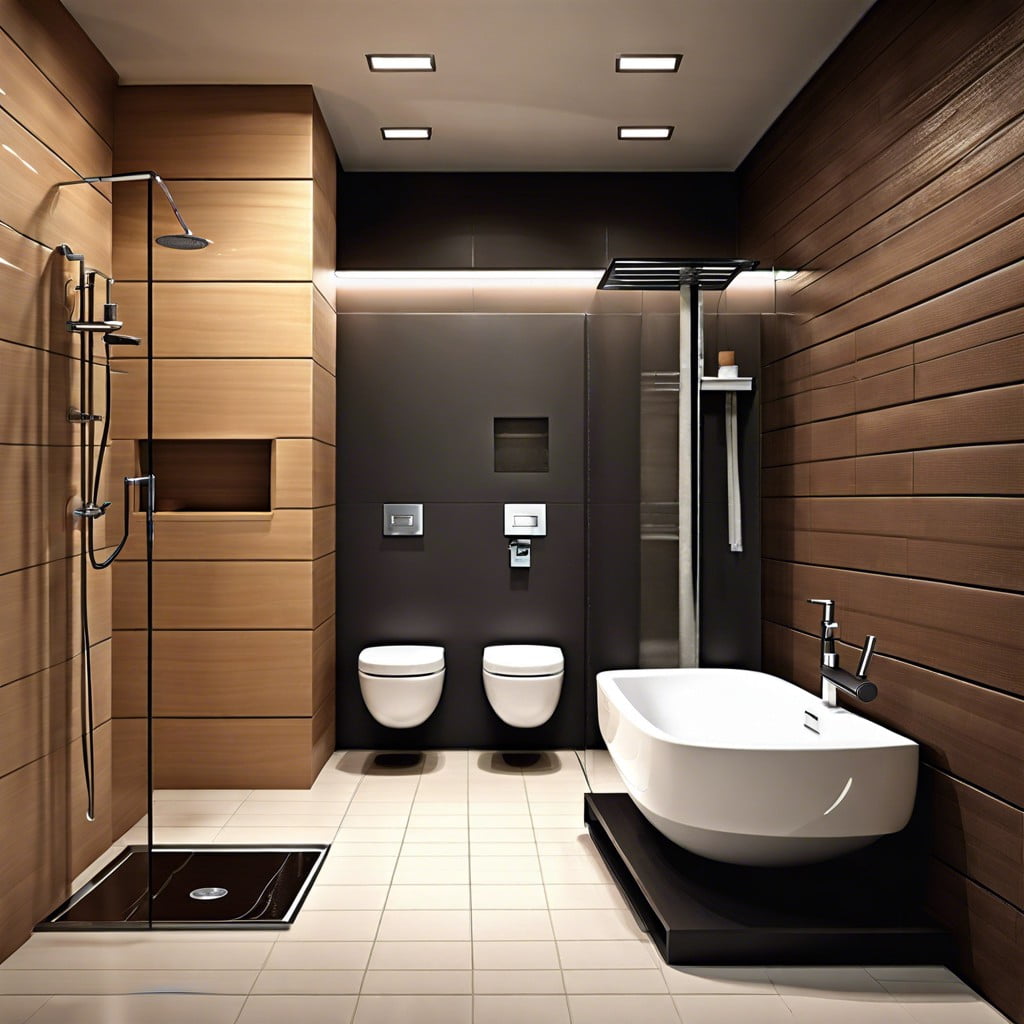 Bathroom Cleaning: Quick Tips for a Sparkling Throne
Recap