Last updated on
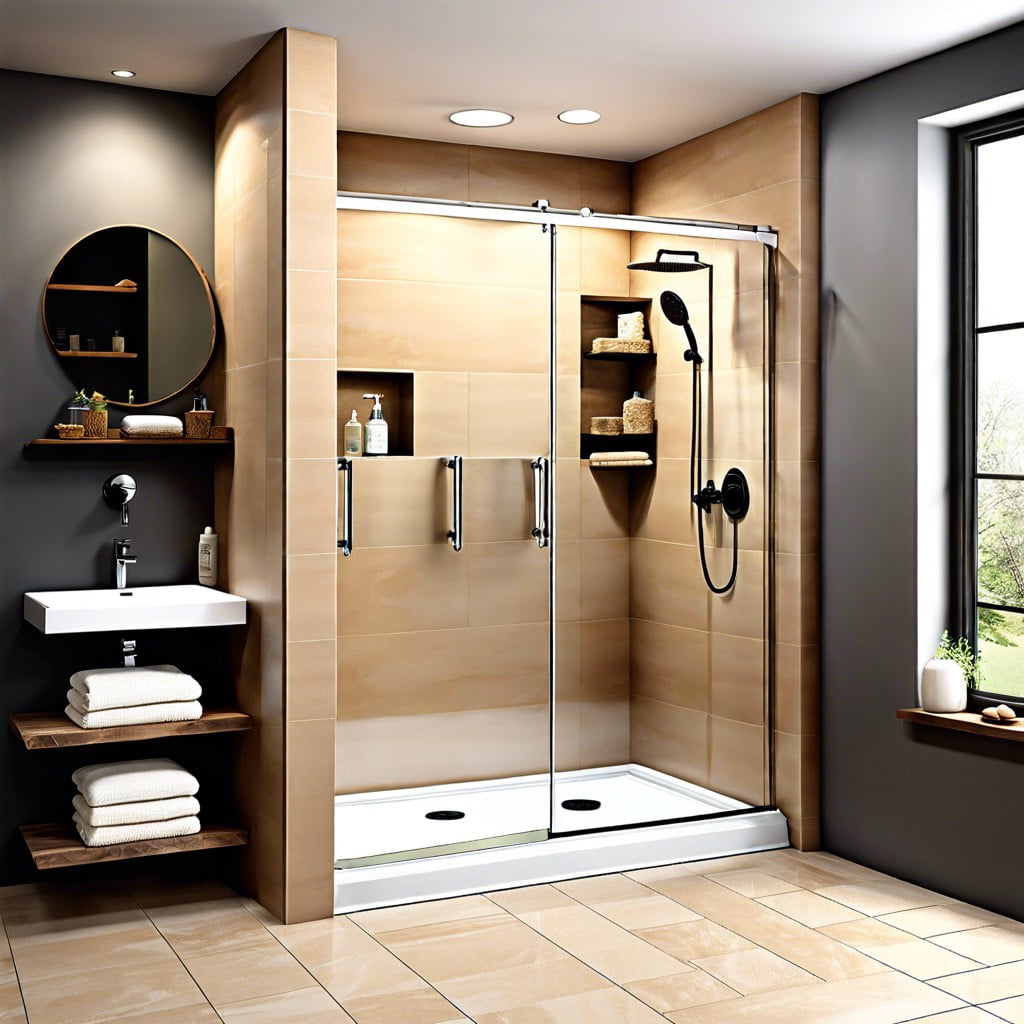
Dive into the world of curbless walk-in showers because not only are they a functional element in any bathroom, but also a design feature that can elevate your overall décor to a new level of sophistication.
Key takeaways:
- Curbless showers offer accessibility and easy cleaning.
- They enhance the modern aesthetic of a bathroom.
- Consider privacy options and slip-resistant tiles.
- Proper installation and drainage are key for success.
- Curbless showers can increase home value and marketability.
Benefits of a Curbless Shower
Stepping into a seamless shower space offers more than just aesthetic appeal; it significantly enhances accessibility. Without barriers, individuals with mobility challenges enjoy greater independence during their routine, making the design as practical as it is stylish.
The absence of a curb facilitates the cleaning process immensely. No longer will you have to contend with the corners and crevices that traditional showers often present. A swift wipe down is all that’s needed to maintain the sleek look of your space’s floor.
Curbless showers lend themselves to a minimalistic and contemporary style which can be a striking focal point in any modern bathroom. The open and airy feel can make even small bathrooms appear larger and more inviting.
This design also encourages creativity with tile patterns and allows for a continuity of floor design that unites the shower area with the rest of the bathroom for a cohesive look.
Accessibility for All
Curbless showers shine when it comes to universal design, ensuring ease of use for individuals of all mobility levels. By eliminating the threshold, these showers provide a seamless entry and exit point, making them wheelchair accessible and reducing tripping hazards for everyone, including the elderly and young children.
The open concept also allows for aid from a caregiver if necessary, offering more independence to those with limited mobility. Additionally, strategically placed grab bars and non-slip flooring add layers of safety and comfort, creating a bathroom environment that’s inclusive and accommodating for every member of the household.
Easy Cleaning
With no ledge or door to maneuver around, maintaining a pristine space becomes much simpler. All you need to do is sweep debris directly towards the drain, eliminating the nooks and crannies where mold and mildew can hide.
For an even easier cleanup, a handheld showerhead allows you to rinse down walls quickly. By using mildew-resistant caulk and selecting large format tiles, you minimize grout lines, further reducing scrubbing time.
Regular squeegeeing after use can keep glass panels crystal clear and minimize water spots. Embrace a minimalist design for fewer items to clean and consider incorporating non-porous materials that resist soap scum buildup.
Modern Aesthetic
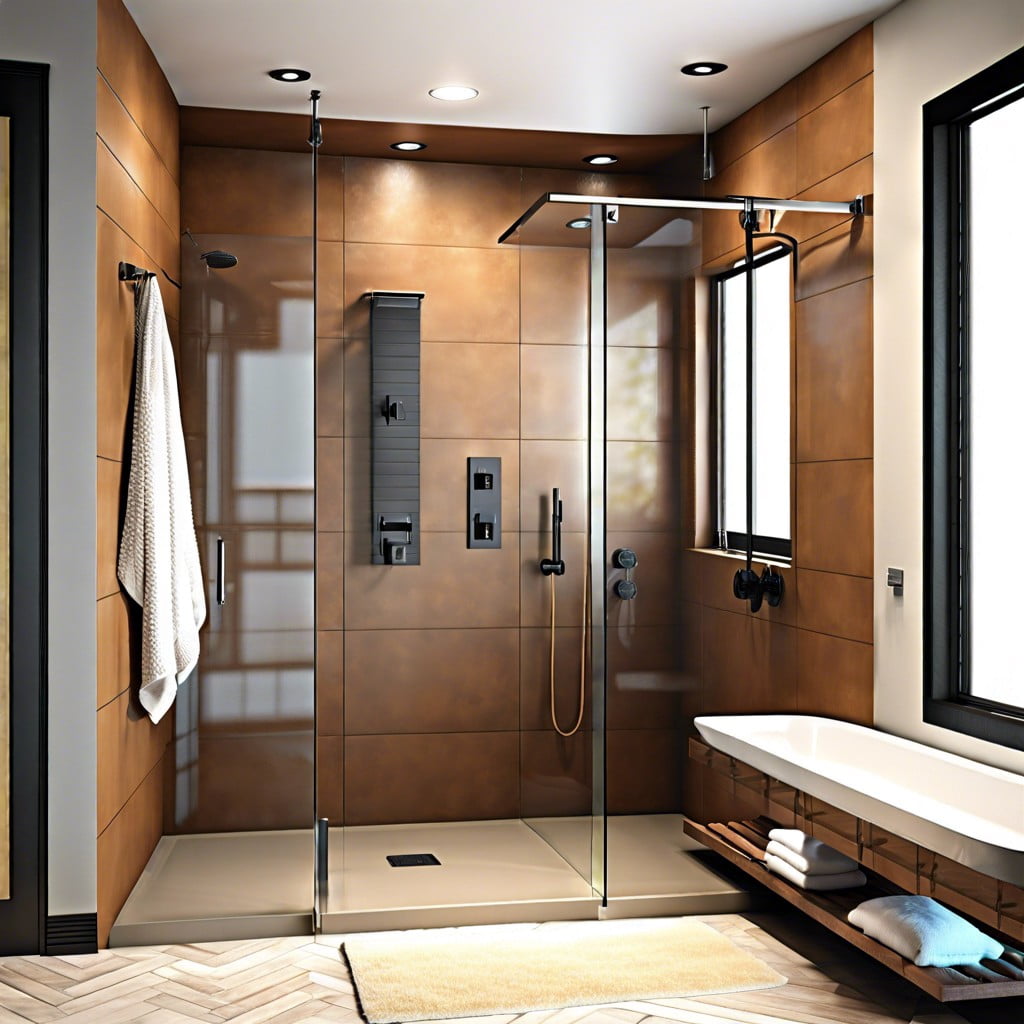
The allure of a curbless walk-in shower lies partly in its sleek, minimalistic design. Embracing a modern aesthetic, these showers complement a variety of decors, from contemporary to classic. Open-concept designs expand visual space, making even small bathrooms appear larger and more inviting.
To achieve this look consider the following:
- Streamlined Fixtures: Opt for simple, fixtures with clean lines to contribute to the modern vibe.
- Neutral Palette: Use neutral tones for tiles and surfaces to create a tranquil atmosphere.
- Frameless Glass: Incorporate a single glass panel or go completely open for uninterrupted lines and light flow.
- Hidden Drains: Select linear or tileable drains that blend seamlessly with the floor.
These elements come together to create a space that is as functional as it is striking, proving that beauty can be found in simplicity.
Disadvantages of a Curbless Shower
Curbless showers, while sleek and accessible, do have their drawbacks. Without the barrier of a curb, water may spread across the bathroom floor, necessitating extra care in floor design and drainage to prevent slip hazards. The open nature can also mean less privacy, which may not be ideal for everyone. Additionally, the installation requires precise workmanship to ensure proper slope and water containment, potentially increasing the cost and complexity of the project. Understanding these aspects is crucial in making an informed decision about whether this stylish feature suits your home and lifestyle.
Little Privacy
While the open nature of curbless showers can contribute to a sleek, minimalistic bathroom design, one potential drawback is that they offer less privacy than traditional showers. Here are some points to consider:
- Visibility: The absence of a curtain or threshold means that shower activity is potentially more visible, which can be a concern in a shared bathroom environment.
Solution Options: Frosted or textured glass can be installed to increase privacy without compromising the seamless look. Another option is to include a partial wall or to place the shower strategically in a less visible corner of the bathroom.
Remember, the aim is to balance your desire for an open shower concept with your comfort level for privacy.
Wet Floors
Mitigating the risks of slippery surfaces is a key concern with curbless showers. Here are practical steps you can take to address this issue:
- Use Non-slip Tiles: Choose floor tiles with a high slip resistance rating designed for wet areas.
- Incorporate Mats or Decals: Place non-slip mats or apply adhesive safety decals in and around the shower area.
- Proper Sloping: Ensure the shower floor is properly sloped towards the drain to prevent water pooling.
- Regular Maintenance: Keep the bathroom floor dry by using a squeegee after showering or installing a bathroom fan to reduce moisture.
Implementing these measures can significantly reduce the risk of slips and falls, ensuring a safer bathroom environment.
Remodeling Considerations
When embarking on a curbless shower remodel, drain selection is crucial; a linear drain often complements the seamless look, while a point drain may be more practical.
With showerheads, consider models that minimize splashing to keep the bathroom dry.
For tile choices, opt for non-porous options that provide slip resistance for safety.
Moreover, select a “frameless” glass panel to maintain the sleek aesthetic and ensure it’s high enough to contain water spray.
Remember, a successful curbless shower melds functionality with style, so take the time to weigh each element against your daily needs and design preferences.
Drain Selection and Placement
Choosing the right drain for your curbless shower is a crucial step to ensure proper water management. Linear drains offer a sleek look and allow for more flexible placement, as they can be positioned on any edge of the shower.
On the other hand, center drains require a four-way pitch in the floor, which may limit tile size and pattern choices. When deciding on placement, consider the shower’s layout and how water flows in the space to avoid pooling.
Opting for a slightly larger drain than required can accommodate higher water flow and reduce clogging risks. For a cohesive look, select a finish that complements your fixtures and consider a tile-in option that blends seamlessly with the shower floor.
Showerhead Selection
Selecting the right shower head transforms the experience of your curbless walk-in shower. Opt for a model that provides a satisfying water flow while minimizing splashing outside the shower area. An overhead rain-style shower head offers an immersive experience and keeps the water directed downwards.
For targeted rinsing, consider a hand-held shower head with an adjustable height bar. It enhances flexibility, especially for households with varying user needs. Water-saving shower heads are also an excellent choice—they reduce water consumption without compromising performance.
Incorporate multiple shower heads if space permits. A fixed head, combined with body sprays, ensures a spa-like environment. Prioritize models with easy-clean nozzles to combat hard water build-up, ensuring longevity and ease of maintenance. Remember, coordinating the shower head finish with other bathroom fixtures creates a cohesive design aesthetic.
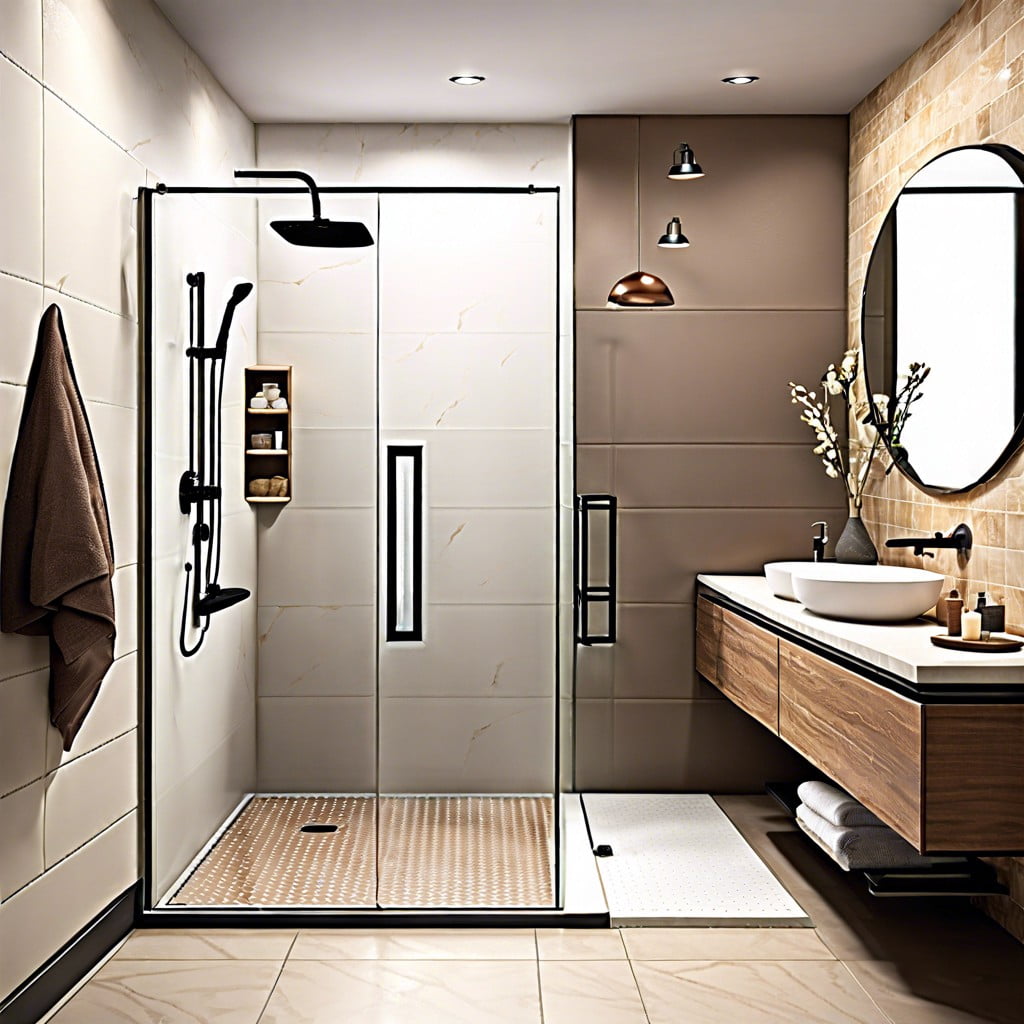
Choosing Tiles and Glass
Selecting the right tiles and glass for your curbless shower not only dictates style but also function. Opt for slip-resistant tiles to ensure safety when the floor is wet. Larger tiles may give a sleek look but consider the grout lines for added grip.
For glass, clear panels create a spacious feel and display tile work, while frosted or textured glass offers privacy without sacrificing light. Consider the glass thickness and safety features; typically, a minimum of 3/8″ thickness is recommended for stability and durability. Remember that the coating can affect cleanability — some glass comes with a protective layer that repels water and resists staining, cutting down on maintenance time.
Choose materials that complement the overall design of your bathroom and align with your practical needs. Quality installation is key to avoid leaks and to ensure the longevity of your chosen products.
Are Curbless Showers Worth It?
Despite their sleek look, curbless showers are more than just a trend; they’re a long-term investment in your home’s functionality and style. For individuals with mobility issues, they’re a game-changer, eliminating the need to step over a barrier. Plus, their minimal design translates into less time spent scrubbing nooks and crannies—a boon for the busy homeowner.
However, the installation of curbless showers can be more complex and, at times, costlier. The need for precise floor grading and drainage solutions to prevent water from spilling into the rest of the bathroom requires expert execution. Evaluate the initial costs against the added value to your home, both in terms of property value and quality of life.
Remember, a well-designed curbless shower isn’t just a statement piece—it’s a practical, accessible feature that may serve you well for years to come.
Tips for Creating an Effective Curbless Shower
To ensure your curbless shower functions beautifully and fits into your bathroom’s ecosystem, start by closely examining your existing layout. Make sure it can accommodate the space and slope requirements for proper drainage.
Investing in quality waterproofing is non-negotiable. Your system should include a waterproof membrane beneath the tiles and around the shower area to protect against leaks and water damage.
When managing water flow, consider a linear drain positioned at one end of the shower or a centered trench drain to effectively capture and channel water. This setup typically requires the floor to be sloped in one direction towards the drain, allowing for efficient water removal.
For the flooring, select slip-resistant tiles to enhance safety and use larger tiles to minimize grout lines and reduce the risk of water seepage. Ensure continuity by having the bathroom floor and the shower floor at the same level, which not only looks sleek but also simplifies movement for those with mobility issues.
Finally, glass panels are a stylish way to contain water spray without the need for a curb. Ensure they are tall enough to protect the rest of the bathroom from splashes while still offering the open, airy feel characteristic of curbless designs.
Assessing the Existing Bathroom Layout
To determine if your current bathroom can accommodate a curbless shower, assess the space for:
Floor Structure: Ensure the floor can be lowered to create a gentle slope towards the drain without affecting the structural integrity of the space.
Drainage: Check if the existing plumbing allows for a central or linear drain that aligns with the design of a curbless shower.
Shower Size: A larger area can help contain splash and may require less modification to the floor slope.
Waterproofing Necessities: Identify areas that will need extra moisture protection to prevent water damage.
Door Position: Note the door’s location relative to the shower to avoid water escaping into other areas of the bathroom.
Heating & Ventilation: Verify that your current systems can handle increased moisture from a curbless design.
Assessing these elements will guide the adjustments needed and help create a seamless transition from concept to reality.
Waterproofing Strategies
Ensuring your curbless walk-in shower remains watertight is paramount to prevent costly water damage. Begin by selecting a quality waterproofing membrane, a critical barrier that prevents water from seeping into the subfloor and walls. There are two primary types: sheet and liquid. Sheet membranes are large pieces of waterproof material, like CPE (chlorinated polyethylene) or PVC, that you lay out over the surface, while liquid options are applied with a roller or brush, creating a rubbery coating once cured.
Regardless of type, make sure it covers the entire shower area and extends at least 6 inches up the walls and outward onto the bathroom floor. Seams and edges need special attention—use manufacturer-recommended sealant or tape to ensure a seamless barrier.
Another strategy lies in carefully sloping your shower floor towards the drain. A gradient of at least 2% (or 1/4 inch per foot) will aid in water efficiently flowing into the drain without pooling. This not only upholds waterproofing effectiveness but also enhances safety by reducing slip hazards.
For the threshold area, where water is most likely to escape, consider a subtle dip or a collapsible water dam. These features discreetly direct water back into the shower space.
Remember, proper installation is key – even the best materials can fail if not installed correctly. It’s worth hiring a professional or thoroughly educating yourself on the installation process for peace of mind and a successful waterproofing endeavor.
Managing Water: Containment and Drainage
Ensuring that water stays where it’s supposed to be is critical in curbless showers. Here’s how to nail water management:
- Go for a linear drain: Positioned at one end of the shower, it efficiently channels water away without interfering with the shower’s aesthetics.
- Slope the floor right: A gentle, consistent slope towards the drain is crucial to prevent pooling.
- Choose non-porous tiles: They are less likely to absorb water, reducing the risk of moisture damage.
- Seal it tight: Use quality sealants around edges and where the floor meets walls to create a watertight enclosure.
- Consider a collapsible water dam: An inconspicuous rubber strip that sticks to the floor when you need a little extra water containment.
Each strategy plays a part in keeping your bathroom dry and slip-free while maintaining the seamless elegance of a curbless design.
How to Prepare a Floor for a Curbless Shower
Preparing your floor for a curbless shower is crucial to ensure functionality and safety. Initially, assess the shower location to determine the necessary slope for drainage. The standard slope is a quarter-inch per foot towards the drain. Use a self-leveling compound for any low spots and ensure the entire area is level.
Next, incorporate a waterproof membrane, which is critical to prevent leaks. This step typically involves laying a membrane over the subfloor and up the walls, followed by sealing all seams and connections meticulously.
For the shower pan, consider a prefabricated unit, which can simplify the process. If opting for a custom pan, use a mortar bed installation, ensuring the proper slope and smoothness.
Remember, if you’re unsure about this process, consult with a professional to guarantee your curbless shower functions efficiently and remains watertight.
The Impact of a Curbless Shower On Home Value
Incorporating a curbless shower can enhance the marketability of your home by aligning it with current trends in bathroom design, which often highlight minimalism and clean lines. This modern touch can catch the eye of potential buyers who value contemporary aesthetics and accessibility.
Moreover, these showers attract a demographic who may be seeking homes that can adapt to their needs as they age, making the property appealing to a broader audience. It’s an investment that not only improves function and style but may also increase the return on investment at resale.
Additionally, curbless designs can make a bathroom appear larger because they seamlessly extend the floor’s visual plane, an appealing feature in real estate where spaciousness is a selling point.
However, it should be noted that the financial impact will vary depending on local market trends, the quality of the installation, and the overall design of the bathroom. It’s important to balance the upfront costs with the potential increase in home value.
Cleaning and Maintenance of a Curbless Shower
Maintaining the luster and hygiene of your curbless shower is straightforward with consistent care. Make it a habit to regularly squeegee the floor to remove excess water and decrease the likelihood of mold and mildew growth.
Use a gentle, non-abrasive cleaner to prevent damage to the tiles and glass surfaces. Aim for a weekly deep clean, focusing on the grout lines where dirt can accumulate, and consider a diluted vinegar solution to tackle soap scum and water spots without harsh chemicals.
Inspect the drain periodically for clogs and remove debris to ensure proper water flow. Regularly check for any sealant wear around the edges and fixtures to prevent leaks. With these simple steps, your curbless shower can remain both beautiful and functional for years to come.
Safety Features for Curbless Showers
Incorporating non-slip tiles can drastically reduce the risk of falls. These tiles have a textured surface that provides extra grip underfoot, an essential feature for any shower space.
Adding a handheld showerhead not only enhances convenience but also allows for easier control of water direction, which can help prevent slippery conditions.
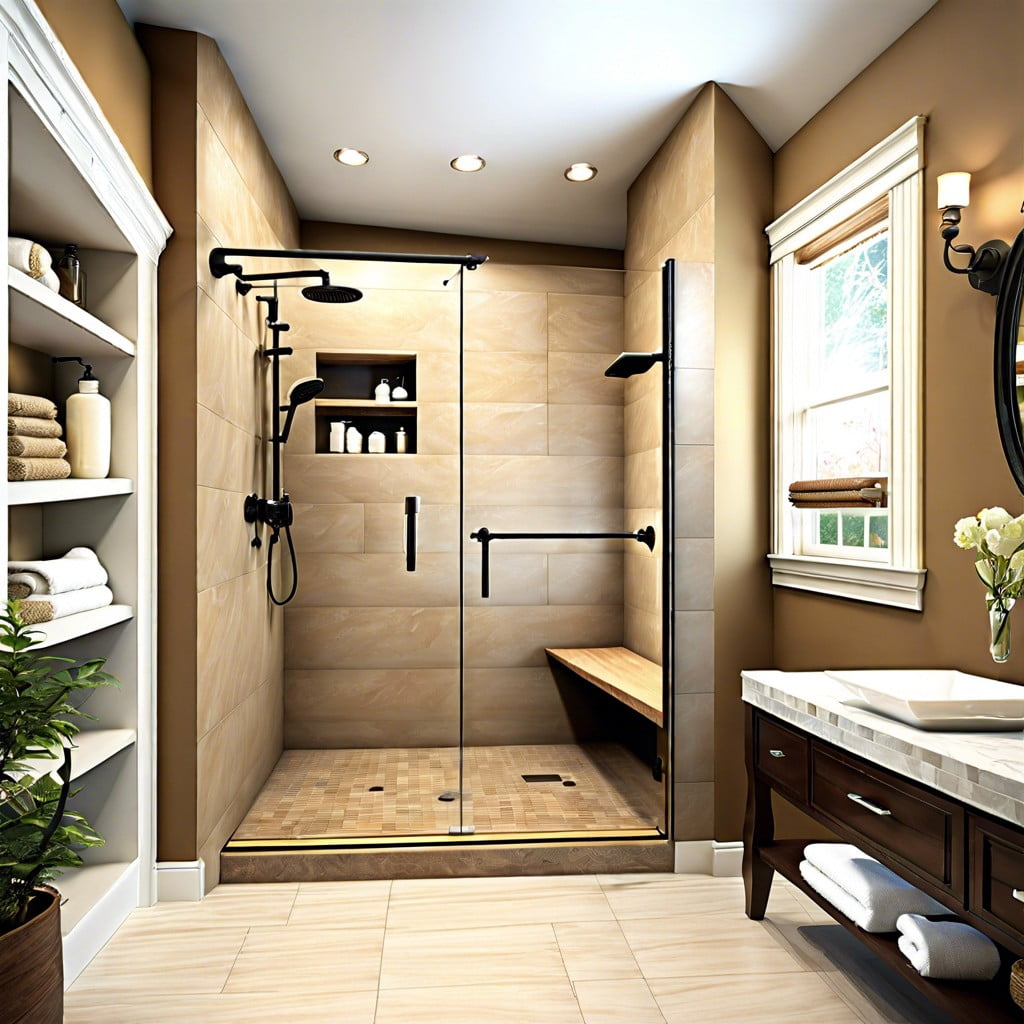
Considering the installation of a built-in seat not only offers a restful spot but also serves as an additional safety measure, especially for those with mobility issues.
Including grab bars within the design is a proactive move to ensure added stability and support for all users, making entering and exiting the shower a safer experience.
Opting for a flat and even transition between the shower and the remaining bathroom floor minimizes tripping hazards, ensuring that those with mobility aids can navigate the space effortlessly.
FAQ
Is a curbless shower a good idea?
A curbless shower is an excellent idea for a bathroom remodel as it maximizes space, offers design flexibility, and increases accessibility for those with mobility impairments.
How does water stay in a curbless shower?
In a curbless shower, water is contained by using a conjunction of a sloped floor, a trench drain or a rubber water dam, and a shower curtain.
Is it more expensive to do a curbless shower?
Yes, installing a curbless shower is typically more expensive than a traditional one due to the necessity of more time-consuming work and potential permit costs.
How much slope is needed for curbless shower?
The required slope for a curbless shower with a linear drain is 1/4 inch per foot.
What are some primary design considerations when planning a curbless shower?
When planning a curbless shower, primary design considerations include determining the shower’s size and location, ensuring the proper slope for drainage, selecting water-resistant materials, and considering the installation of a waterproof membrane under the shower floor.
How does maintenance of a curbless shower differ from a traditional one?
The maintenance of a curbless shower involves regular cleaning of the drain due to its linear design, while a traditional shower requires cleaning of smaller, separate drain holes and careful attention to the caulking.
Can convertible or adjustable features be incorporated into a curbless shower design?
Indeed, curbless showers can be designed with convertible or adjustable features to enhance accessibility and versatility.
Browse More
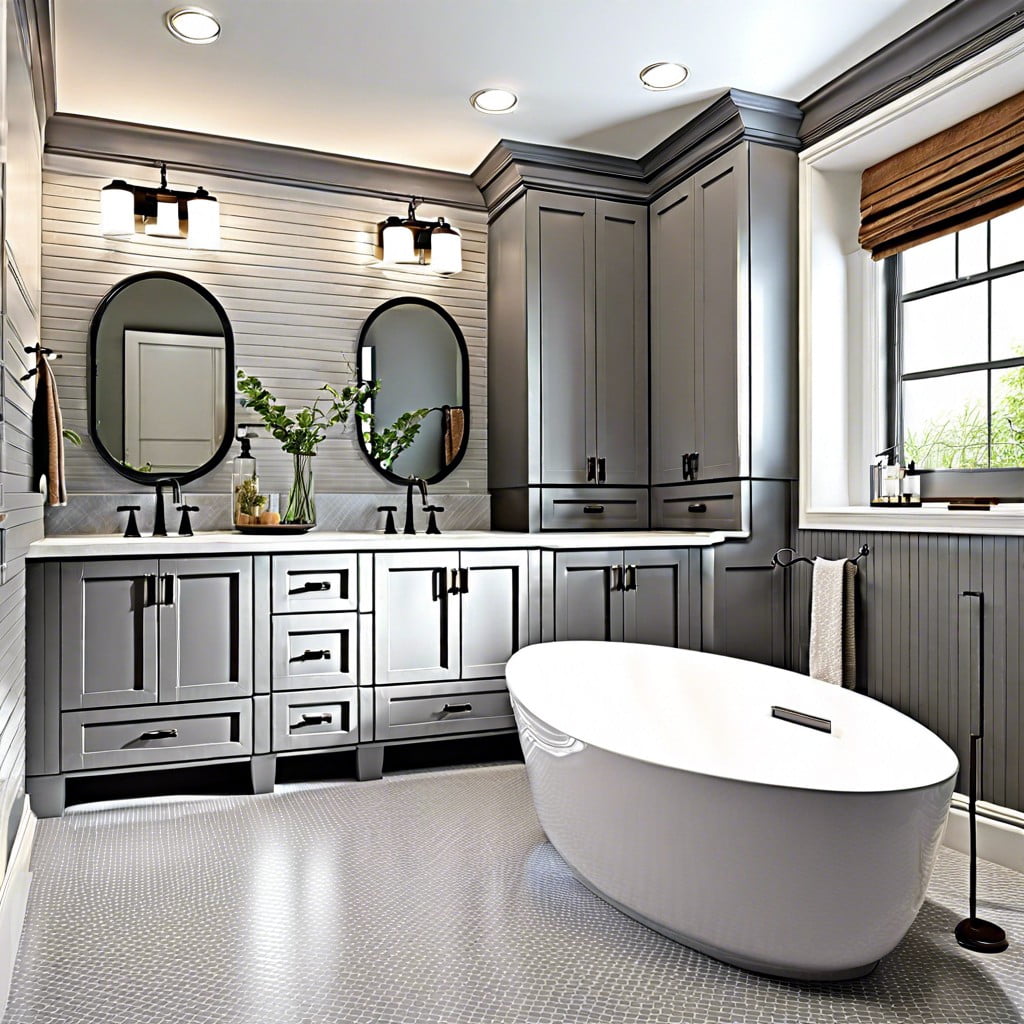 Gray Bathroom Cabinets: What Color Walls Complement Best
 What Is a Vanity and Why You Need One
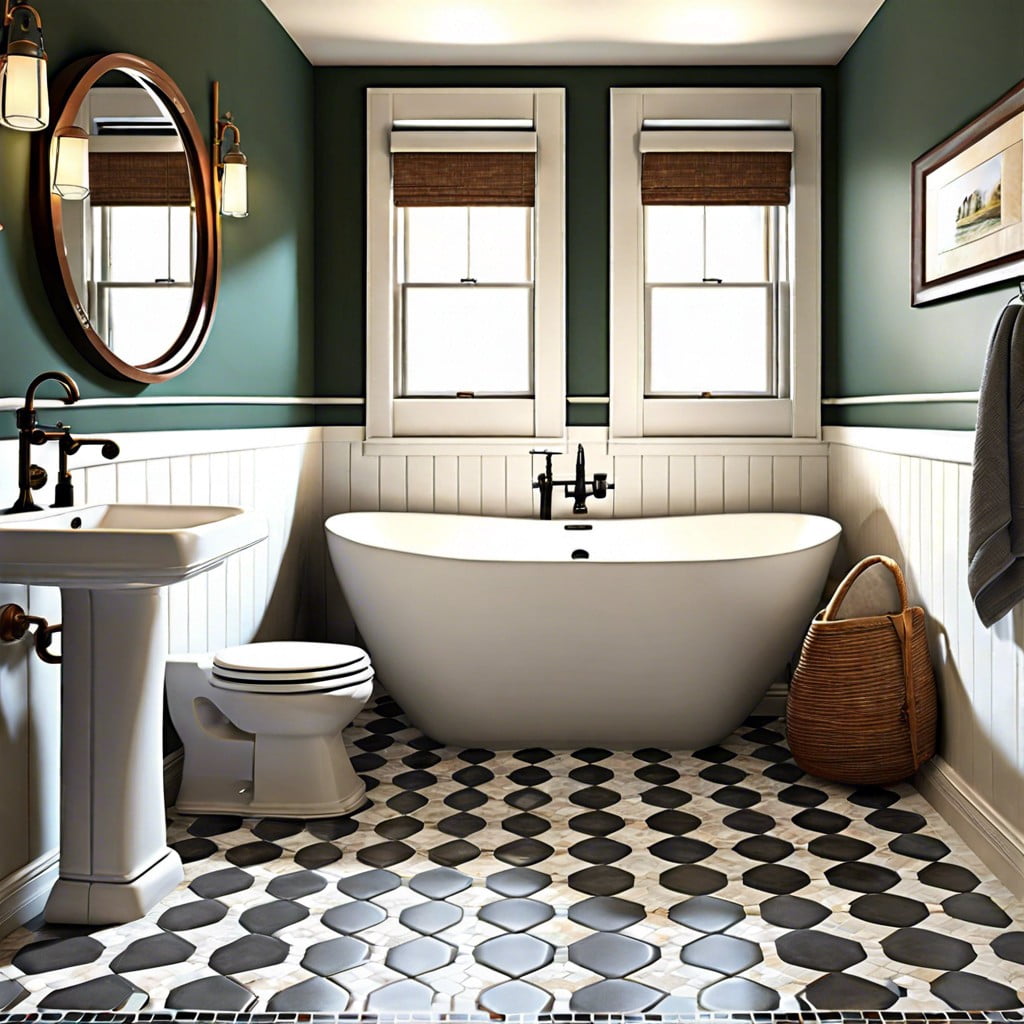 15 Ideas: What is the Best Flooring for a Small Bathroom
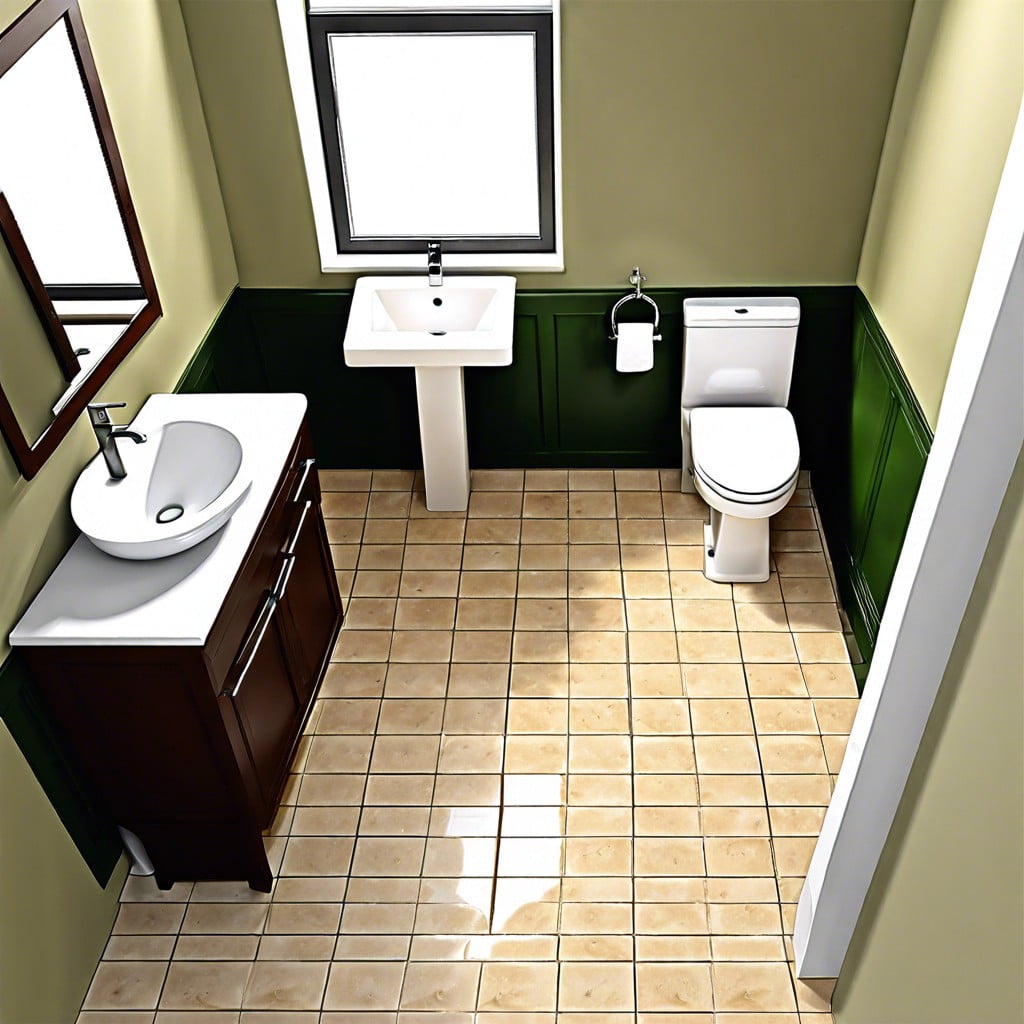 What is a Half Bath: Maximizing Your Home’s Space
 Best Flooring for Bathroom: Your Essential Buying Guide
Recap