Last updated on
Discover how a front opening shadow box can transform your living space into an irresistible display of cherished mementos, because every home deserves a unique focal point.
Unlock the potential of front opening shadow boxes with these creative ideas that can transform your home into a stylish dwelling.
This article will guide you through a variety of innovative ways to utilize these versatile décor pieces, from showcasing cherished memories to creating a unique piece of wall art.
Whether you’re a seasoned DIY enthusiast or a beginner, you’ll find detailed instructions and insightful tips to help you create a stunning display.
So, let’s dive into the world of front opening shadow boxes and explore the myriad of possibilities they present.
Military Medals Showcase

A front-opening shadow box not only offers a secure way to store precious military medals, but it also elegantly showcases the achievements and dedication symbolised by these tokens.
Here’s an uncomplicated way to do this:
- 1. Select a shadow box that contrasts or complements the color of your medals. If you have many metals, consider a larger box, or create a thematic series with smaller boxes.
- 2. Arrange your medals within the box. Play around with different patterns – you could line them up or create a circular display. Remember, the key is to make the medals the focal point.
- 3. Use fabric or velvet as a background to add depth and texture. This will also make your medals stand out.
- 4. Attach each medal firmly. You can use hooks or adhesive depending on the weight of the medal and what you’re comfortable with.
- 5. Consider placing nametags or cards with the name, date, or details of each medal. It’s an educational addition and can stir up conversations about every achievement represented.
Wedding Memorabilia Box
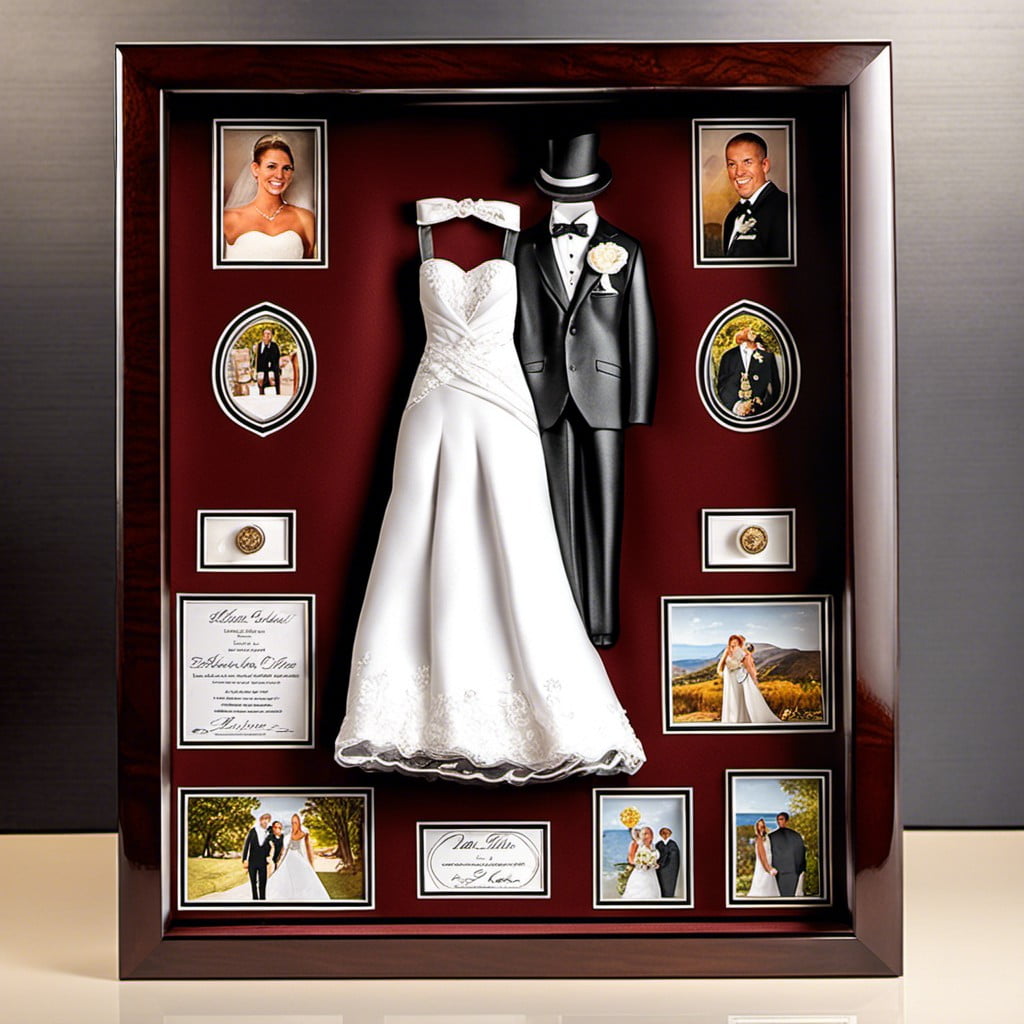
Capturing special moments, like your journey to the altar, can make great artistic expressions. Transform your vows, invitations, dried flowers from your bouquet, and small trinkets like ring boxes or table markers, into a romantic display. Arrange each item in a manner that tells your love story in a 3D collage, giving life to timeless keepsakes that may otherwise lay hidden away.
1. Carefully select items that convey your wedding’s mood and theme.
2. Organize your cherished mementos harmoniously inside the box.
3. Consider using a layout that chronologically mirrors your wedding day.
4. Add wedding photos to enhance the visual narrative.
5. For an extra touch of romance, include small notes, poems or song lyrics that held significance to your day.
6. To secure items, use adhesive dots or hot glue.
7. Frame your collective story with a beautiful and sturdy front-opening shadow box.
The overall idea is not to fill up every inch of your shadow box but to display everything in a representative and aesthetically pleasing way. Clean, simple, intricate, whatever your style, it can be achieved with careful placement. There is no right or wrong—only your unique expression of that memorable day.
Vintage Jewelry Collection Display
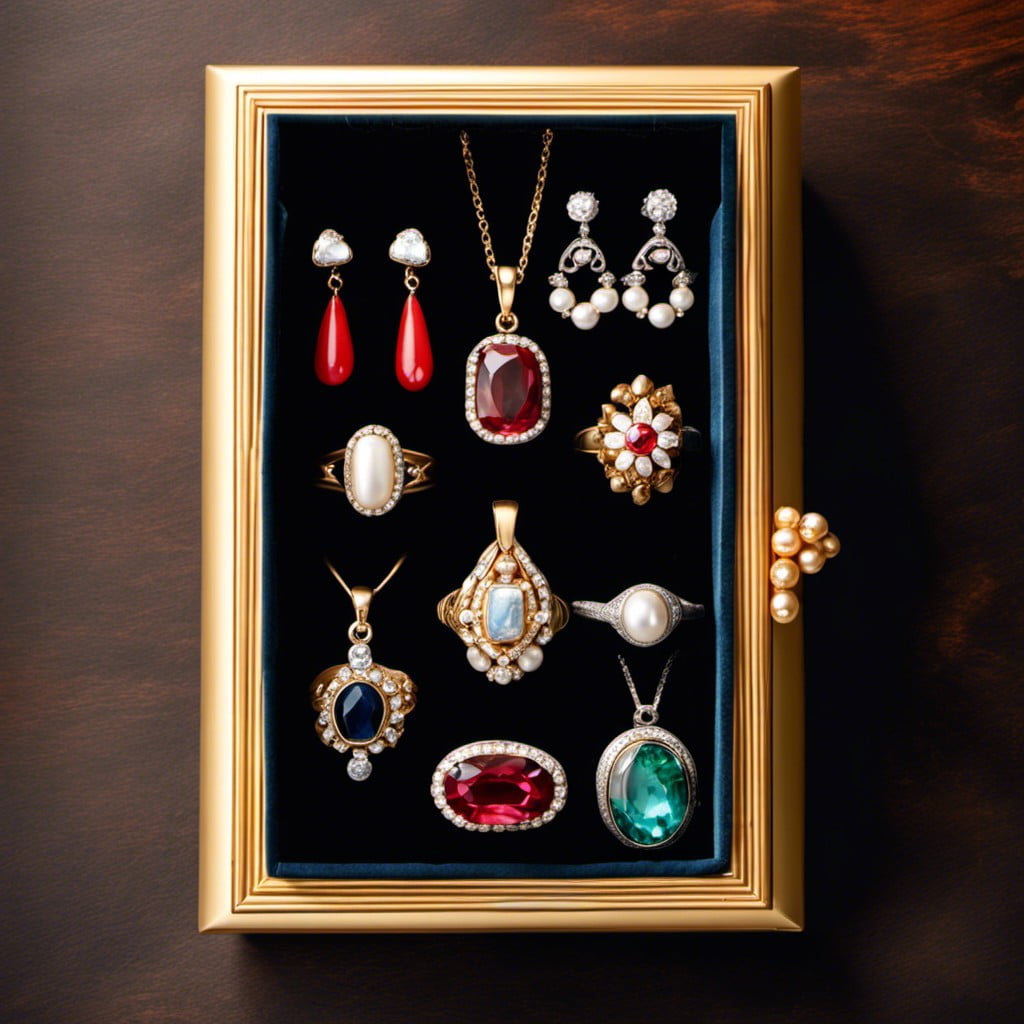
Dedicating a front-opening shadow box to antique or vintage jewelry can be a stunning way to both store and display cherished pieces. The trick is to arrange each piece thoughtfully to truly highlight its charm.
1. Arrange according to color: The biggest statement can be made by aligning similar tones together for a color-coordinated spectacle.
2. Group by type: Earrings, bracelets, necklaces, and brooches deserve their own spaces. For necklaces, ensure there’s enough depth so they can hang freely.
3. Use fabric backing: Consider a velvet or satin fabric in a contrasting color to the jewelry for a dramatic effect.
4. Include details: If specific pieces have memorable stories, consider adding tiny descriptive labels for a personal touch.
5. Opt for quality: Choose a shadow box with UV-protective glass to maintain the quality of your vintage pieces.
6. Regular Cleaning: Keep your box looking its best by regularly dusting the pieces and the box’s interior.
Remember, the goal is to create an attractive display that gives these timeless pieces the appreciation they deserve.
Graduation Keepsake Shadow Box
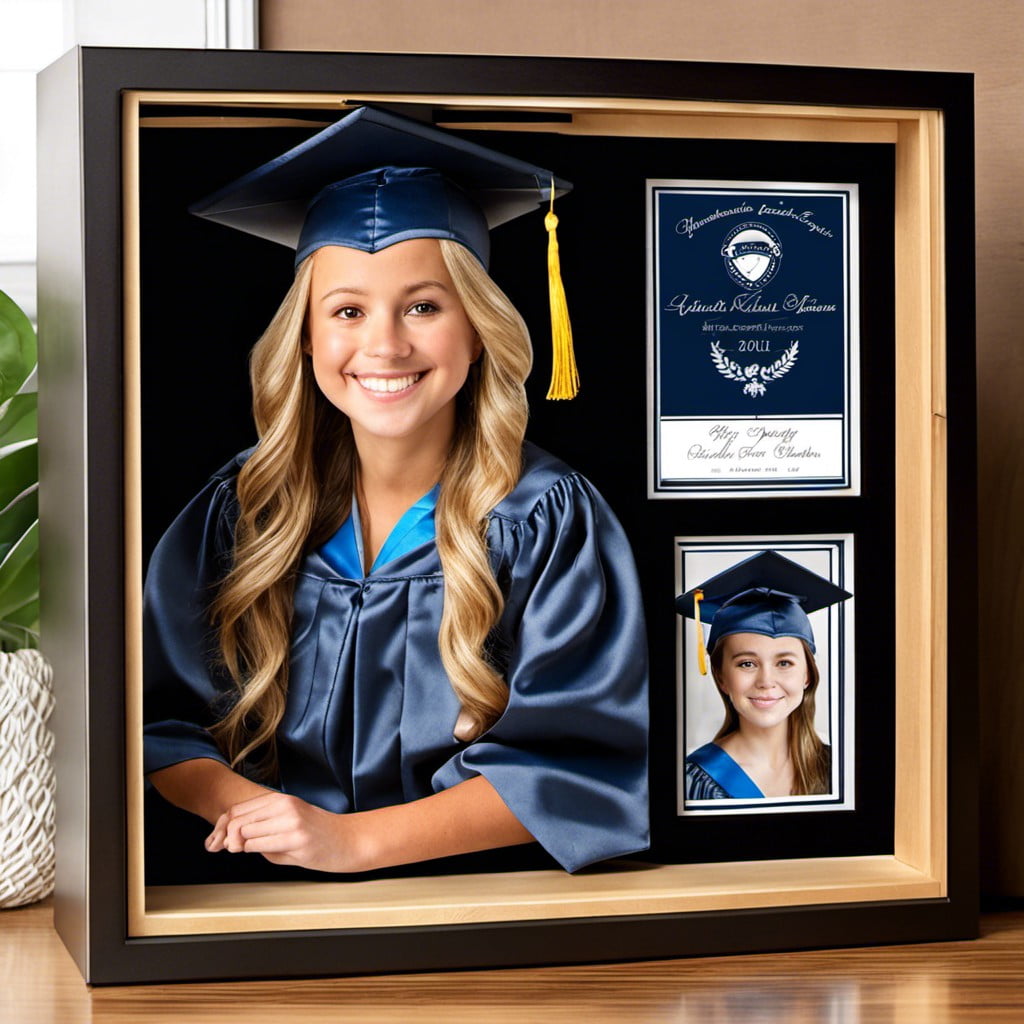
A graduation keepsake shadow box is an ingenious way to preserve those memorable moments of academic success. Here’s a step-by-step guide on the elements to include in such a display:
1. Diplomas or Degrees: These are the highlight of any graduation keepsake box. Be sure to keep them in good condition by using document protectors.
2. Cap and Tassel: You can pin these items onto the back of the shadow box for a striking visual element.
3. Graduation Photographs: Choose your favorite photographs from the graduation day. These could be solo or group pictures.
4. Academic Awards: If you’ve received any honors or awards during the academic journey, include them too, be it certificates or trophies.
5. Miscellaneous Items: Include small mementos that signify the student life, it could be a concert ticket, a library card, or part of the gown.
Remember, the goal of a shadow box is to form a visual narrative of your academic experience. So, arrange the items carefully, giving prominence to the most significant mementos.
Baby First Year Milestones Shadow Box
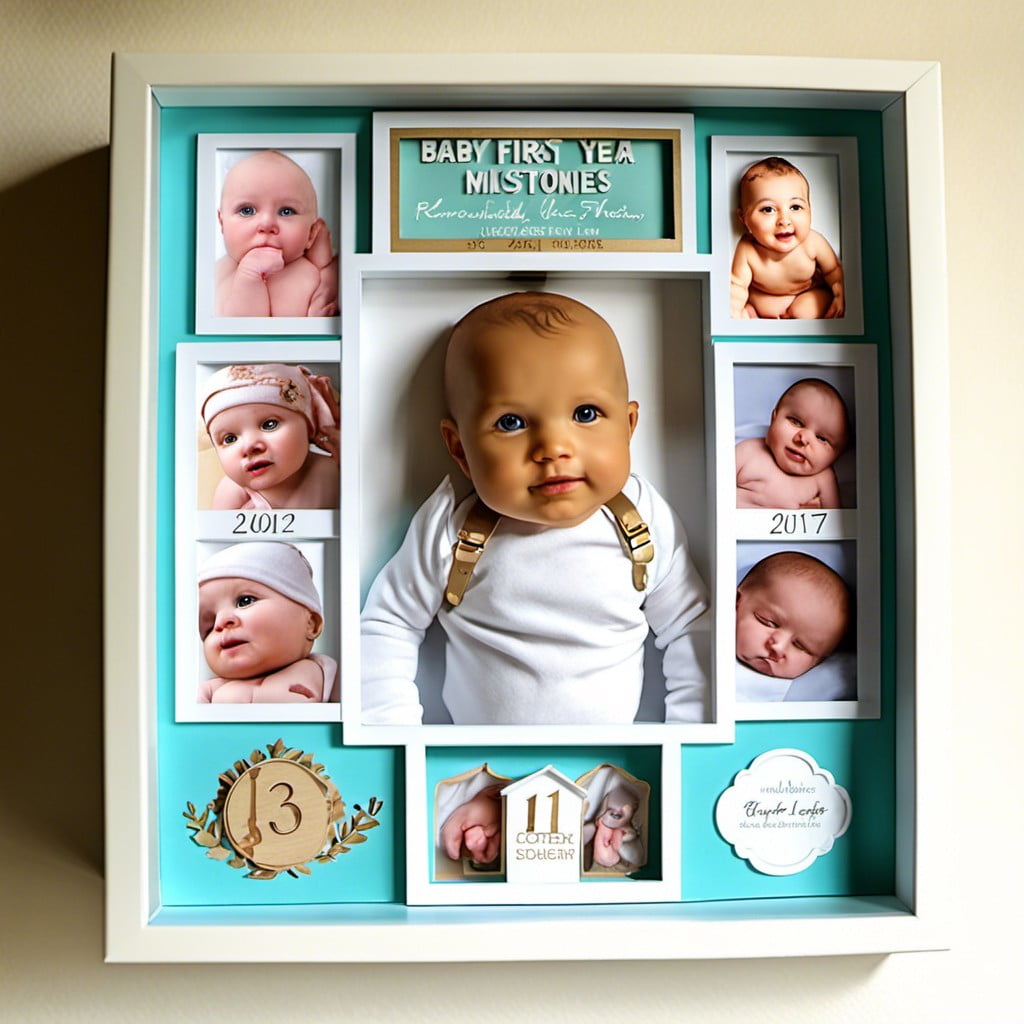
In curating items for this box, consider including keepsakes such as the first bib, hospital bracelet, footprint or handprint, favorite pacifier, first locks of hair, and first birthday candle. You may also choose to add a monthly progression of baby photos to visually document the rapid growth in the first year.
Position everything meticulously to tell a story and ensure any written notes are legible. This is a bittersweet project that lovingly preserves the ephemeral infant year as a cherished keepsake. To enhance the shadow box, consider adding led lights for a visually appealing effect.
Seal the box when you’re happy with its contents, knowing you’ve created a tangible snapshot of those precious first moments.
Travel Souvenirs Box
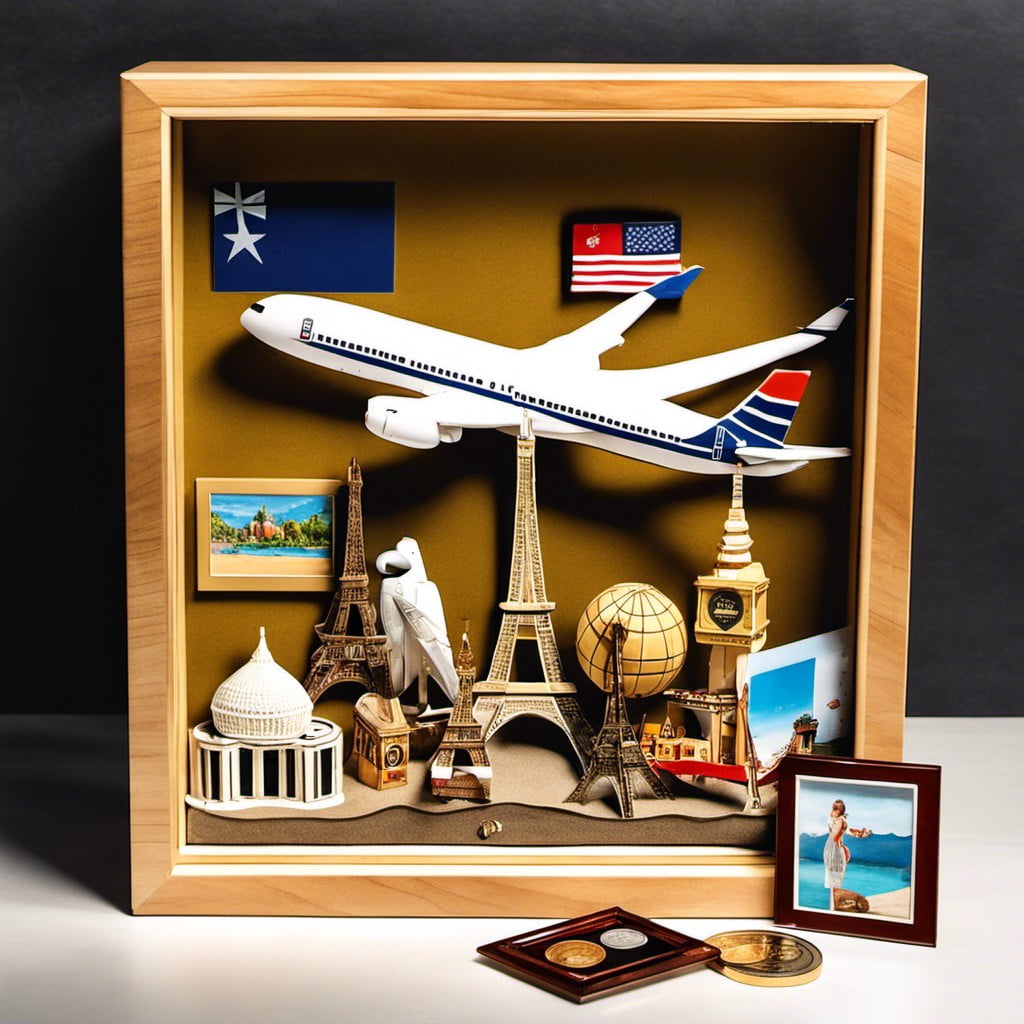
Having a variety of souvenirs, each one with its own story, you can create an inspiring visual narrative. Here are key points to consider:
1. Pre-arranged Design: Before gluing anything, plan on your arrangement. A great tip is to photograph your intended layout for reference.
2. Souvenir types: Not only postcards and fridge magnets make great additions. Consider more unique finds like small cultural artifacts, city maps or even foreign currency.
3. Background: Use a map or a printed photo of a landmark from your journey as a background.
4. Labels: Small handwritten or printed labels add a personal touch and help recall the name of the place or the date of the visit.
5. Layering: Don’t be afraid to overlap items slightly, as this gives a more 3D effect.
6. Filling Spaces: Use smaller items like tickets or coins to fill in gaps.
Remember, there’s no right or wrong way to create your travel souvenirs box. It is your story to tell.
Pressed Flowers and Leaves Display
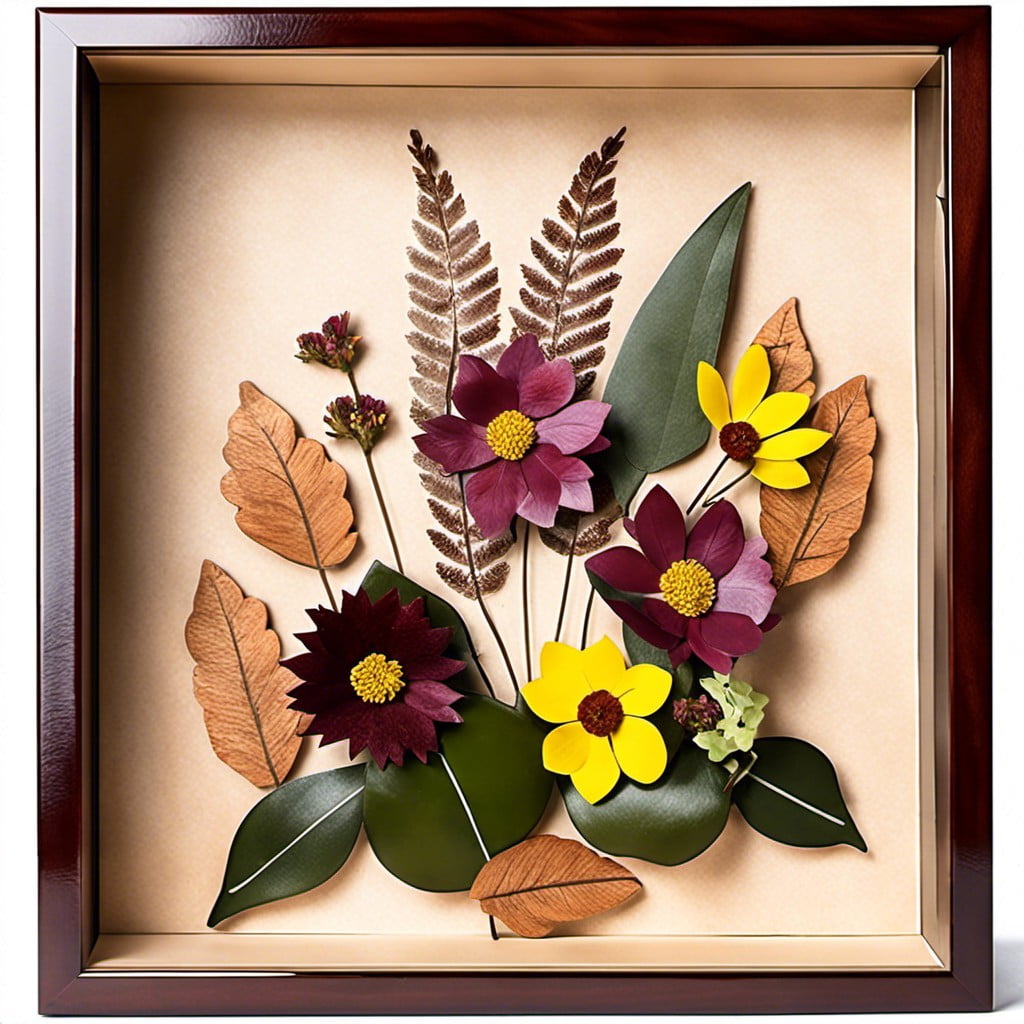
Harvesting and displaying pressed flowers and leaves in a front-opening shadow box is an exceptional method to capture and celebrate the charm of nature. The process is straightforward and enjoyable.
The steps include:
- 1. Choose a variety of flowers and leaves, ensuring they are fresh and undamaged.
- 2. Press the flowers and leaves using either traditional flower press or large heavy books, until they are flat and dry.
- 3. Arrange your dried pieces creatively in your shadow box, consider the color palette, shapes, and sizes to create an appealing display.
- 4. Securely attach them to the box’s backboard using archival quality glue.
- 5. Once everything is in place, close the front door and enjoy your artistic, and unique décor piece which brings a portion of nature’s beauty indoors.
Sports Memorabilia Shadow Box
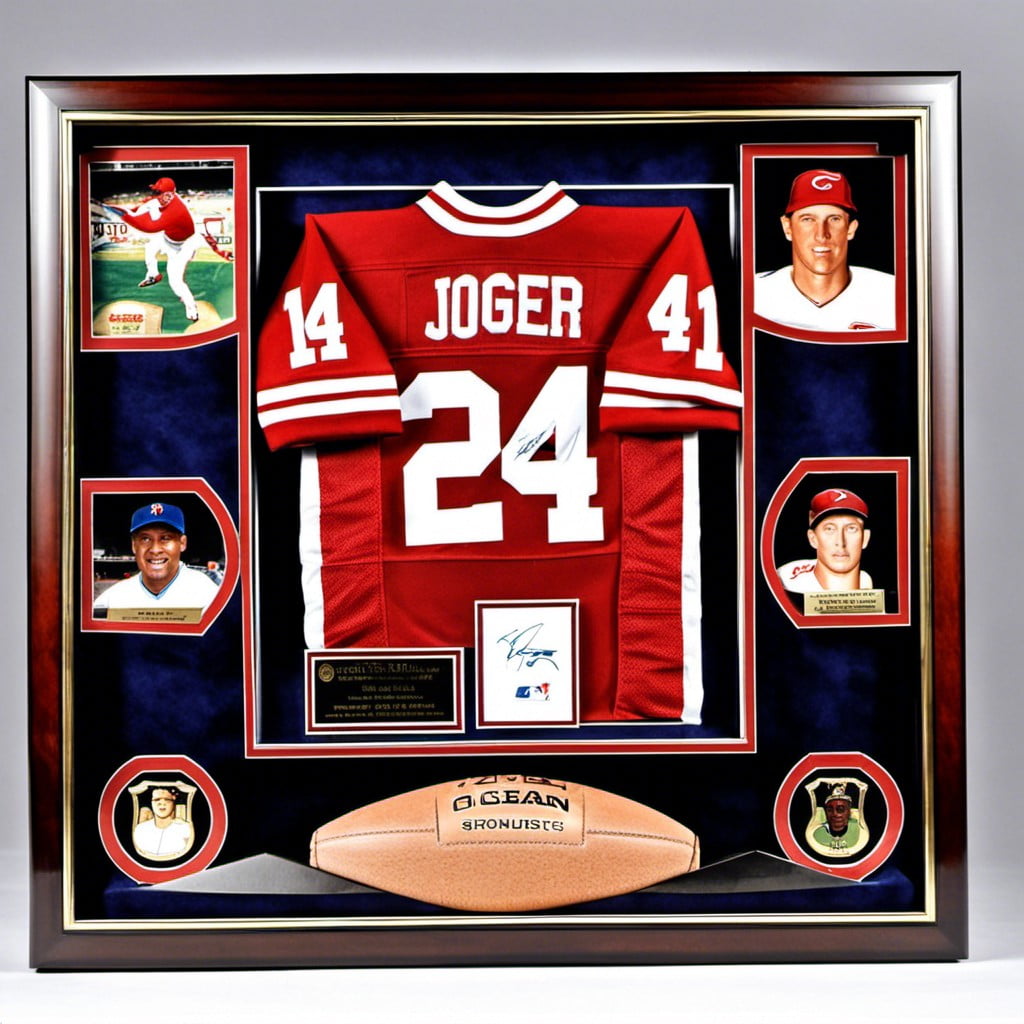
Using a front opening shadow box, you can curate the perfect display for all your prized sports memorabilia. These collectibles can range from signed baseballs, ticket stubs from unforgettable matches, autographed cards, or even a pair of used game gloves.
Here are some key points to creating an engaging sports memorabilia shadow box:
- Curate: Sort through your collectibles. Include only important pieces that represent pivotal moments or mean a lot to you. Limiting the number of items can give your display a more organized and visually appealing look.
- Arrange: Plan your layout before you start placing items in your shadow box. Typically, larger items should be at the center or back of the box while smaller items in front. This strategy creates balance and ensures every item gets the attention it deserves.
- Secure: Use adhesive strips or small hooks to secure items to backboard. This step guarantees the safety of your collection, especially if the box will be hung on a wall.
- Customize: Consider the background color that would best highlight your memorabilia. You can use team colors or stick to neutral shades for a minimalist approach.
Remember, your sports memorabilia shadow box is a snippet of your sporting passion and journey, make it as personal and special as you’d like it to be.
Miniature Art Gallery Shadow Box
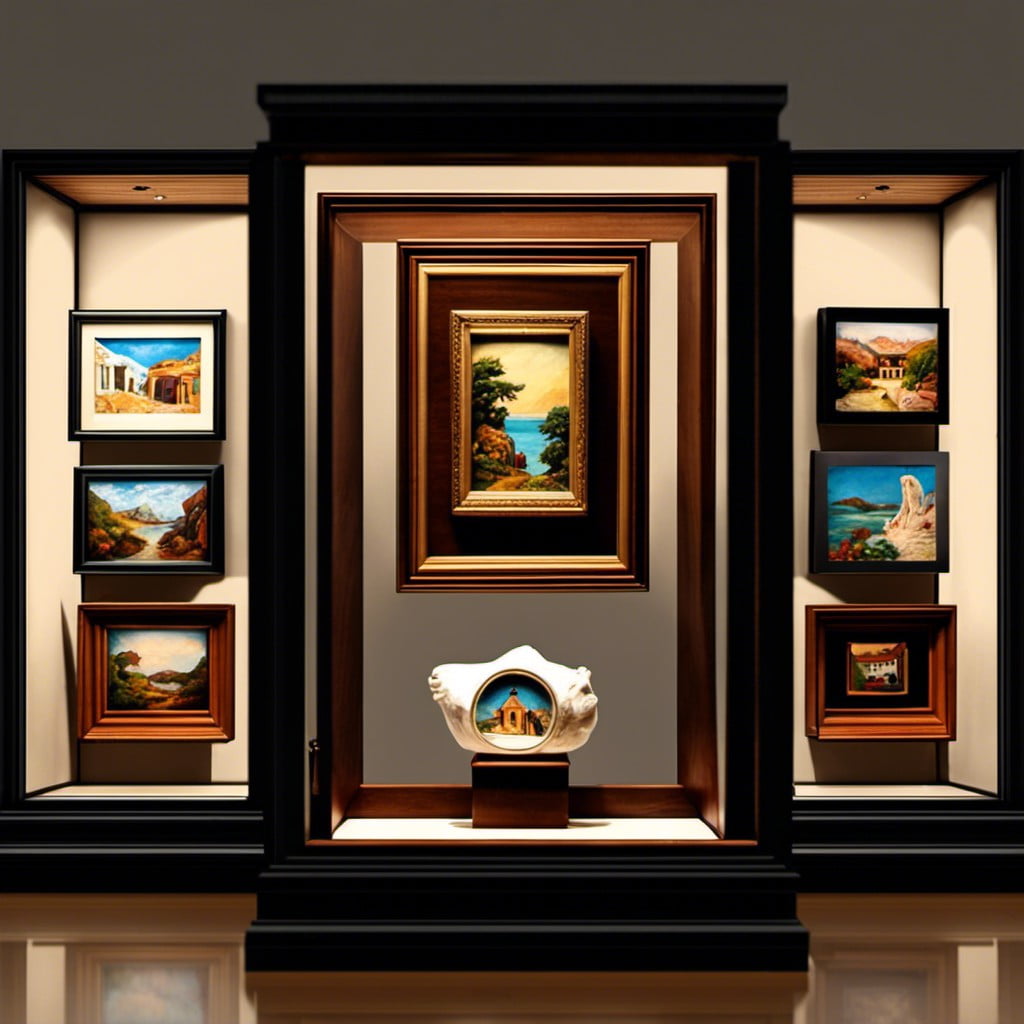
To bring an artistic element into your home, curating a showcase of small-scale artworks can create a visually arresting display. The process is simple yet enjoyable.
1. Choose pieces of miniature art: These can range from paintings, pottery, sculptures, or even hand-made paper art. A variety of textures and colors can enhance the overall look.
2. Arrangement: Prioritize balance and harmony when arranging your miniatures. A symmetrical pattern may look fantastic, but asymmetrical layouts can also draw in the viewer.
3. Lighting: Proper lighting is key to highlight the details of your miniatures. LEDs can be installed within the shadow box for this purpose.
Remember, every element should work together to highlight the beauty of the tiny masterpieces. Transform that simple shadow box into an eclectic, miniature museum right in your home.
Antique Cameras Display
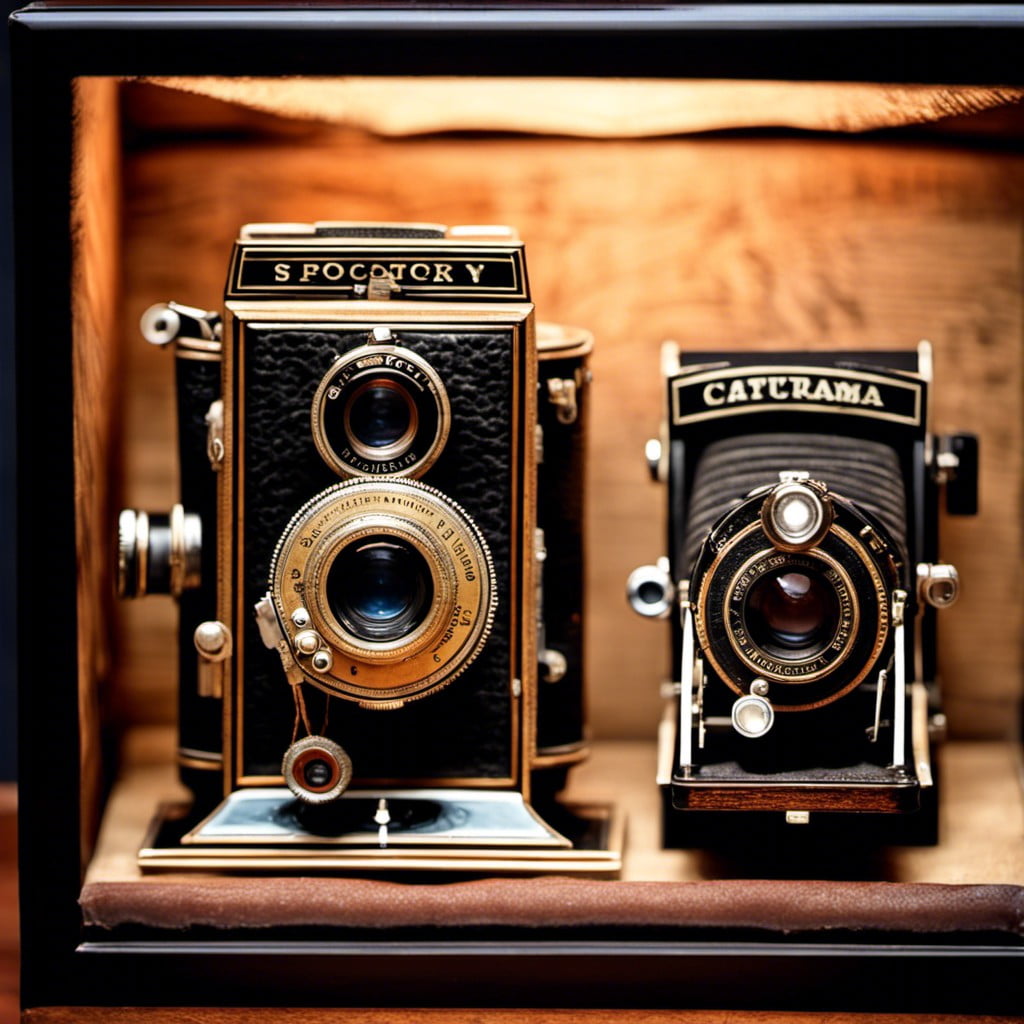
Creating an antique camera display with a front-opening shadow box brings a bygone era into modern-day decor. This can be an intriguing element in your room, especially if you’re a photography enthusiast.
1. Selection: Choose cameras that have unique features or historical significance. These could be the distinctive shapes of early daguerreotype cameras, retro-looking brownie cameras, or iconic Polaroids. Remember, it’s about showcasing different eras of photography.
2. Placement and Arrangement: The size of the cameras should guide the arrangement. You want to balance larger pieces with smaller ones for a harmonious display. Try creating a chronological timeline or mix and match to keep the viewer’s interest.
3. Backing: Consider a classic black or white backdrop, or opt for a neutral linen one. This will enhance the colours and designs of the cameras, while maintaining a polished look.
4. Accessorizing: Add photography ephemera like vintage film boxes, old picture reels, or a photographer’s journal. These accessories will give depth and context to your collection.
5. Lighting: Install soft LED lights within the box, highlighting the unique design elements of each camera and making your collection come alive.
With these points in mind, you’re well on your way to creating a one-of-a-kind antique camera display. Your shadow box will not only be eye-catching, it’s now a piece of history on your wall.
Family Heirlooms Shadow Box

Displaying your cherished family heirlooms in a shadow box not only enhances their visual appeal but also preserves them for future generations. These keepsake displays can house everything from granny’s antique brooch to grandpa’s old pocket watch. They offer a glimpse into the past while adding a personal touch to your home decor.
Here are a few quick tips for creating a beautiful family heirlooms shadow box:
- Consider using a vintage-style or wooden shadow box to complement the age and history of the heirlooms.
- Arrange the items in a manner that tells a story or represents your family’s history.
- Ensure each item is secure within the box to prevent damage.
- When dealing with delicate heirlooms like old photographs or paper documents, consider having them professionally conserved.
- Always remember to keep the box out of direct sunlight to avoid fading and degradation.
Remember, each piece you include tells a part of your family’s story. Make it a memorable one with a thoughtfully arranged shadow box.
Concert Tickets Collection Box
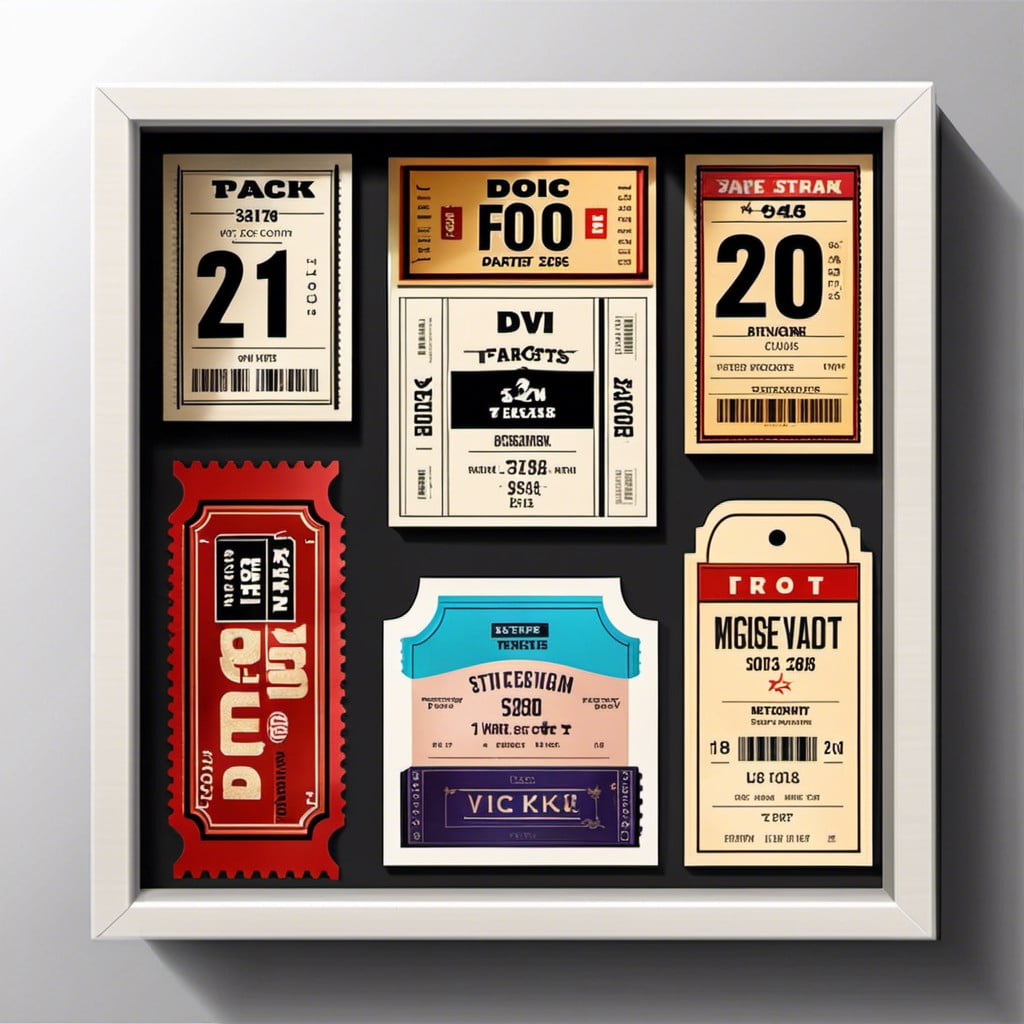
Preserving and showcasing accumulated concert tickets is an artistic way to transform them into a memento of those memorable nights. Here’s how:
1. Choose a front opening shadow box that accommodates all the tickets comfortably. A fan layout is often visually appealing.
2. Consider arranging the tickets chronologically or by genre. This creates a journey-like narrative every time you view it.
3. To add depth and interest, incorporate other concert memorabilia such as wristbands, setlists or small posters.
4. Utilize a neutral background to allow the colors of the tickets to pop. Alternatively, use a concert T-shirt as an impactful background.
5. Attach the tickets using adhesive putty or mount corners. This avoids damage and allows repositioning later.
Remember, it’s more than just a collection box. It’s a tangible less of musical history and personal experiences.
Photo Collage Shadow Box
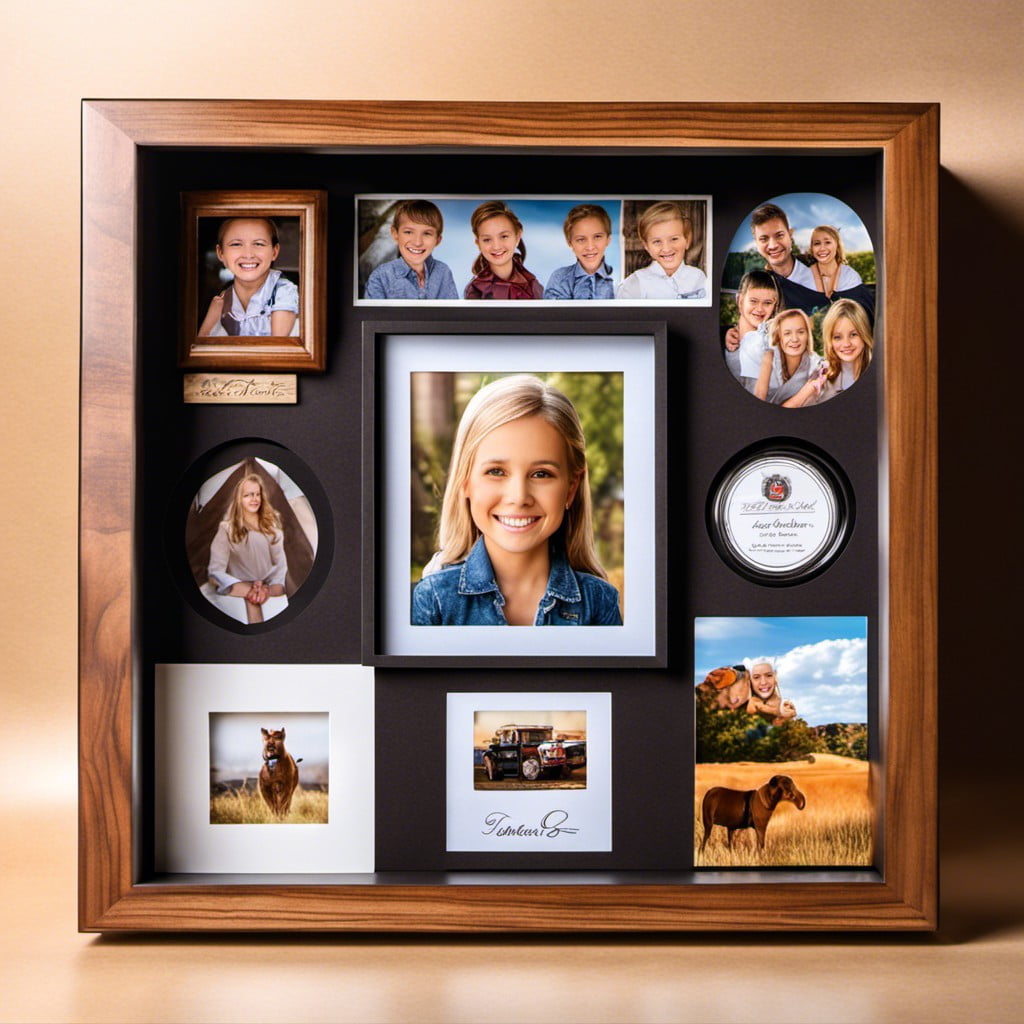
To create a heartfelt display, collect your favorite photos, whether they’re candid moments, family portraits, or snapshots of memorable events. Ensure that your pictures are high quality for great visual impact.
Choose a color scheme or theme for a cohesive look. Arrange them in a captivating layout. For instance, chronological order can tell a story, while a mix-match approach can keep eyes wandering.
Secure your photos using photo corners to preserve their condition. Adding small mementos or descriptions next to the pictures can bring your stories to life. Remember, your shadow box can be rearranged and updated, making it a dynamic decorative piece that evolves over time.
Wine Corks Collector Box
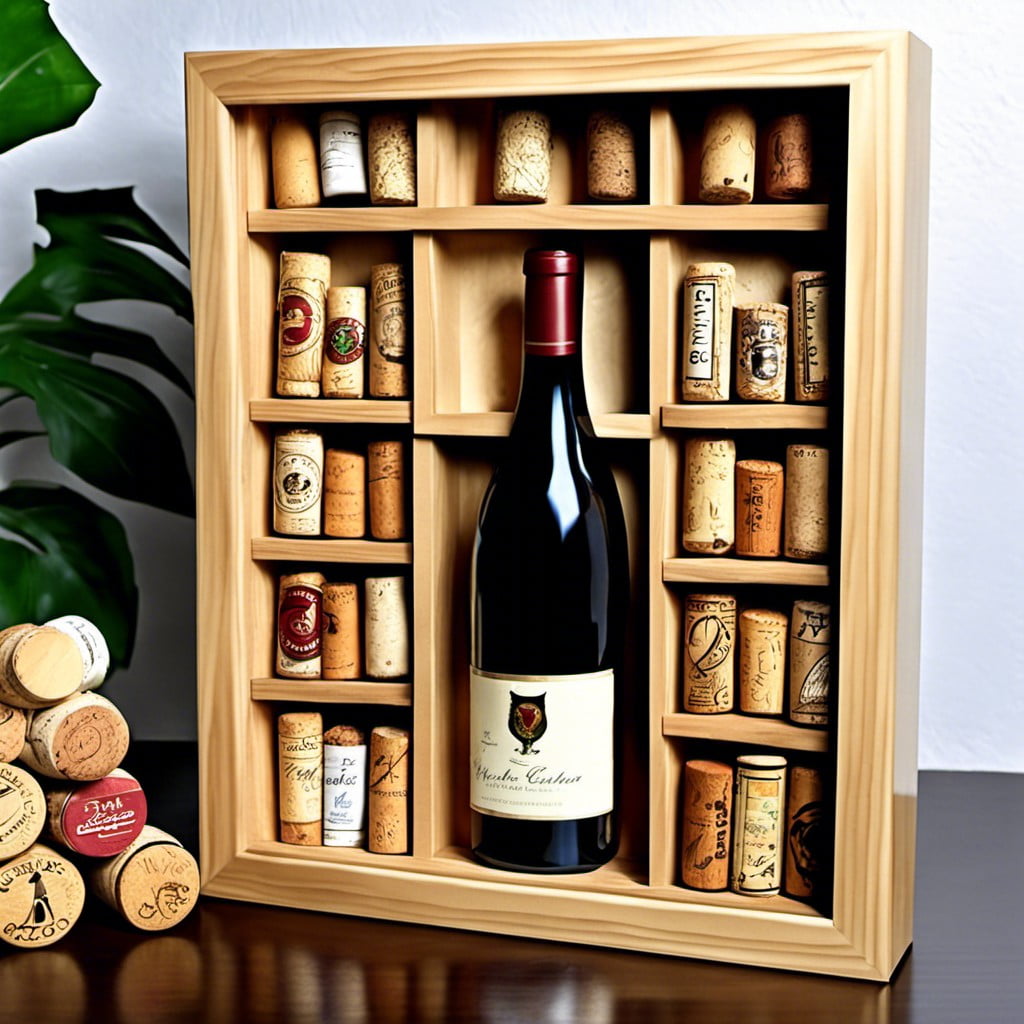
A Wine Corks Collector Box offers a fascinating and aesthetic way to preserve those special moments associated with each uncorked bottle. It’s an innovative yet simple project, bearing a certain nostalgic charm.
1. Materials: An open-front shadow box, and your collection of wine corks.
2. Organizing: No need for fancy arrangements. Toss in wine corks randomly to create a captivating potpourri.
3. Personal Flare: Consider jotting down the date and event associated with each cork for a charming, personal touch.
4. Revamp: As your collection builds, periodically rearrange the corks. This infuses freshness and ensures significant additions aren’t hidden.
5. Display: Hang or place your shadow box in a relevant space, such as your home bar or dining room, to evoke conversations and memories.
This fun DIY project takes minimal effort but creates a dynamic piece of décor, encapsulating lovely memories while accentuating the aesthetics of your home.
Handwritten Letters Display
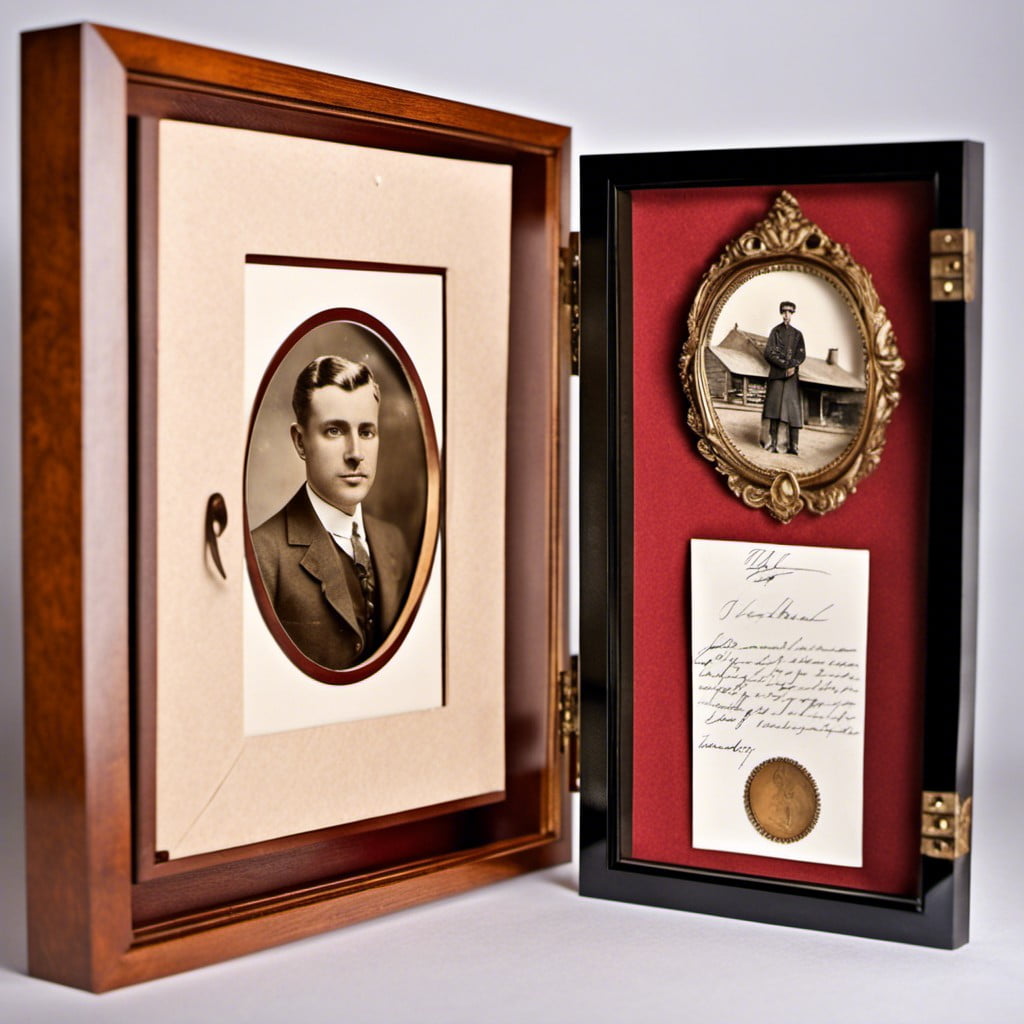
Creating a Handwritten Letters Display is a beautiful way to preserve heartfelt correspondence. This can include love letters, cherished notes from loved ones, or even special greeting cards. Here’s how you can turn these precious pieces of paper into a captivating display:
1. Letter Selection: Choose pieces that hold a sentimental value. A handwritten note from your grandmother, a love letter from your partner, or your child’s first handwritten greeting card.
2. Arrangement: Display in chronological order or by the sender for an organized visual impact.
3. Box Depth: Make sure the depth of your shadow box accommodates the thickness of your letters.
4. Secure Placement: Use repositionable adhesive to keep the letters intact without causing any damage.
5. Complementing Items: Accompany the letters with a corresponding photo or small memento to embellish the display.
6. Visibility: Fold the letters in a way to display the handwriting or an important part of the correspondence.
Remember, this should reflect the heartfelt memories behind these letters rather than serving as just another decorative piece.
Baby Shoes Memory Box
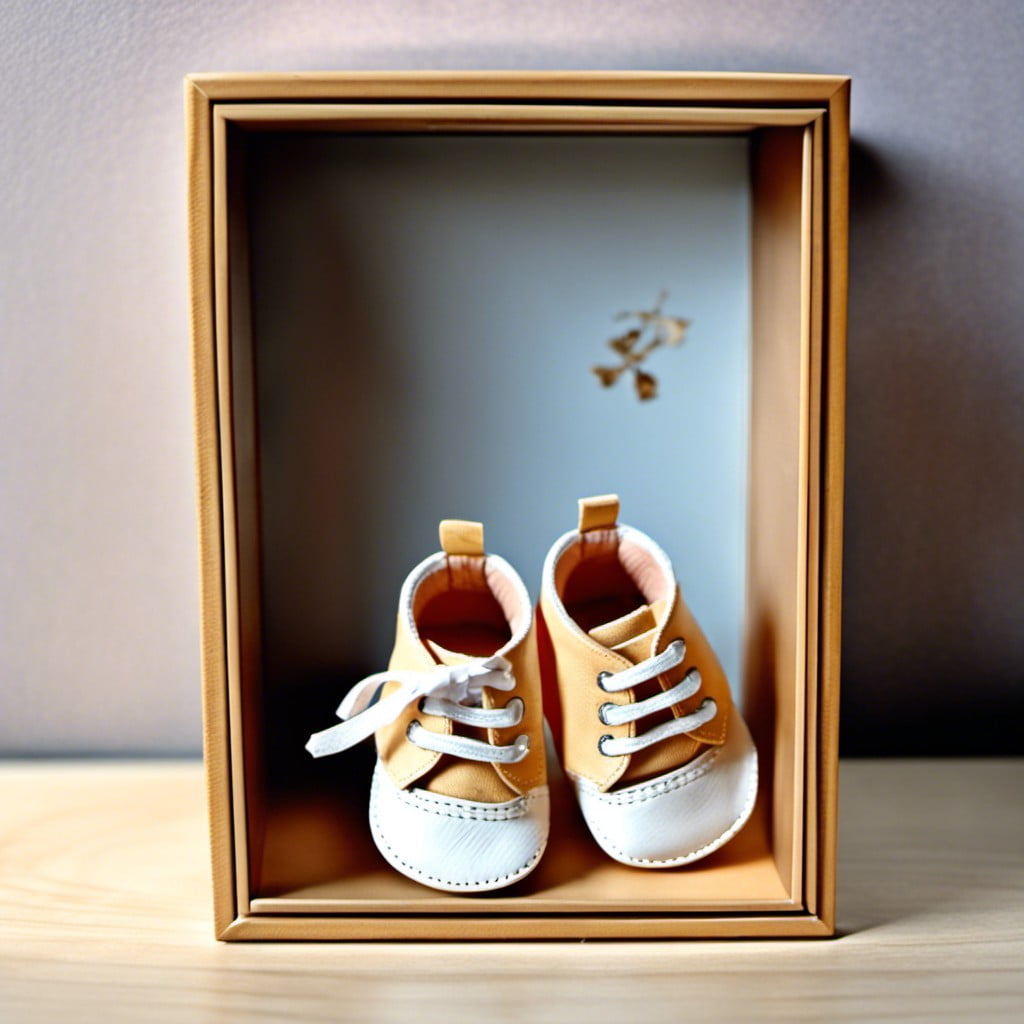
To create this charming keepsake, start off by choosing a pair of your beloved’s first baby shoes. Alongside, think of including memorable items such as the hospital bracelet, a favorite pacifier, or a cherished piece of clothing. Take care to arrange these items with creativity and aesthetics in mind — you’re not just storing, but making a display.
Important to remember, light and dust can deteriorate fabrics over time, hence, choose a front-opening shadow box with a protective glass front. The front opening feature allows easy changing and rearranging of items as you wish, making it… yes, that’s right – a living memory box!
Make this memory box personal – consider a background color that complements the shoe color or the nursery theme. If you’re the sentimental type, add a short handwritten note describing the memory.
This box immortalizes your child’s first steps into a timeless piece of home decor, teeming with nostalgia, love, and a personal story. Remember – the beauty of a shadow box lies in its individuality. So don’t rush, take your time, and create a keepsake you’re proud to showcase.
Themed Figurines Display Shadow Box
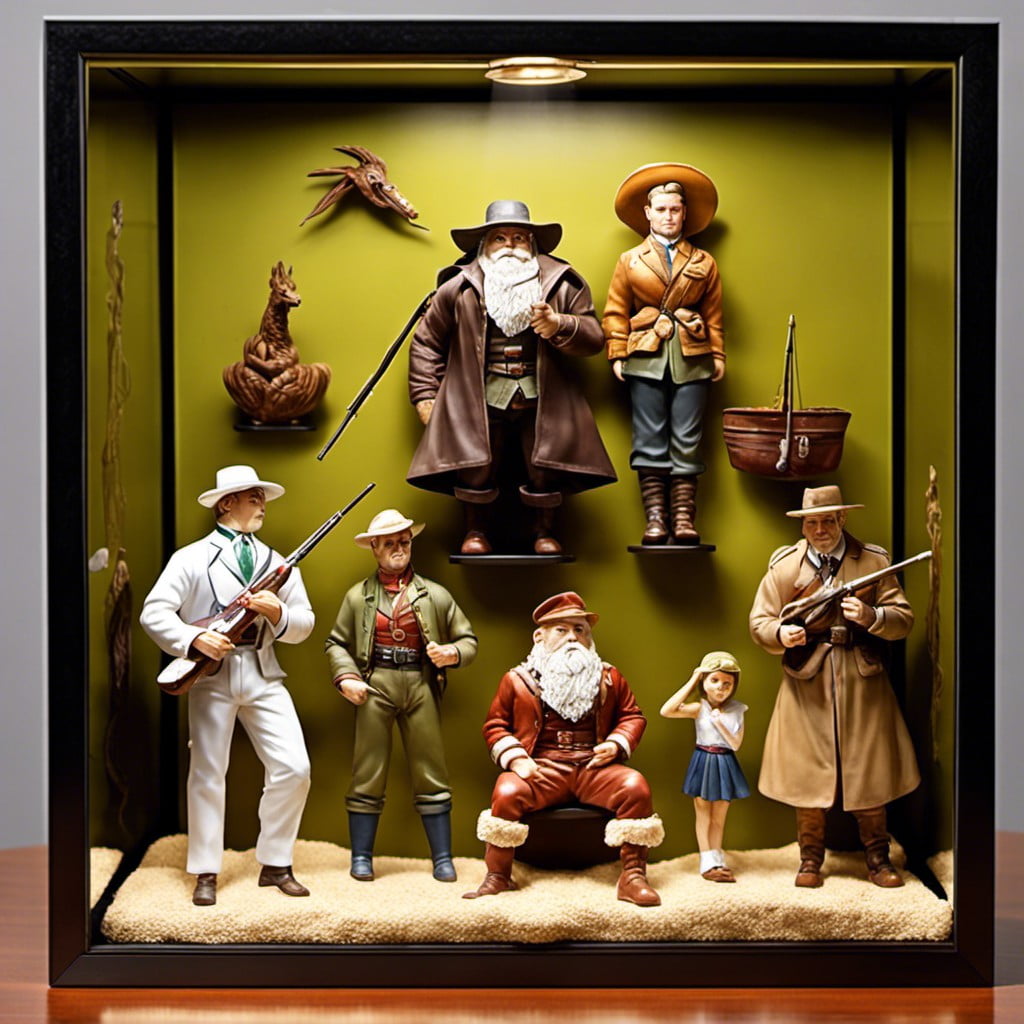
Opt for a sturdy shadow box, since figurines can be quite weighty. Consider a mirrored back or sides for a fuller view of your three-dimensional subjects.
Light, natural colors tend to accentuate the figures. For a harmonious display, group by theme, size, or color.
Diverse collections can add intrigue, employing a “mini-museum” approach. Mount larger or favorite pieces at the centre, encirling with smaller ones.
Keep necessary cleaning and dusting in mind when deciding on the placement of each piece. Consider occasional updates or rotations to keep your display dynamic and engaging.
Shell and Beach Finds Shadow Box
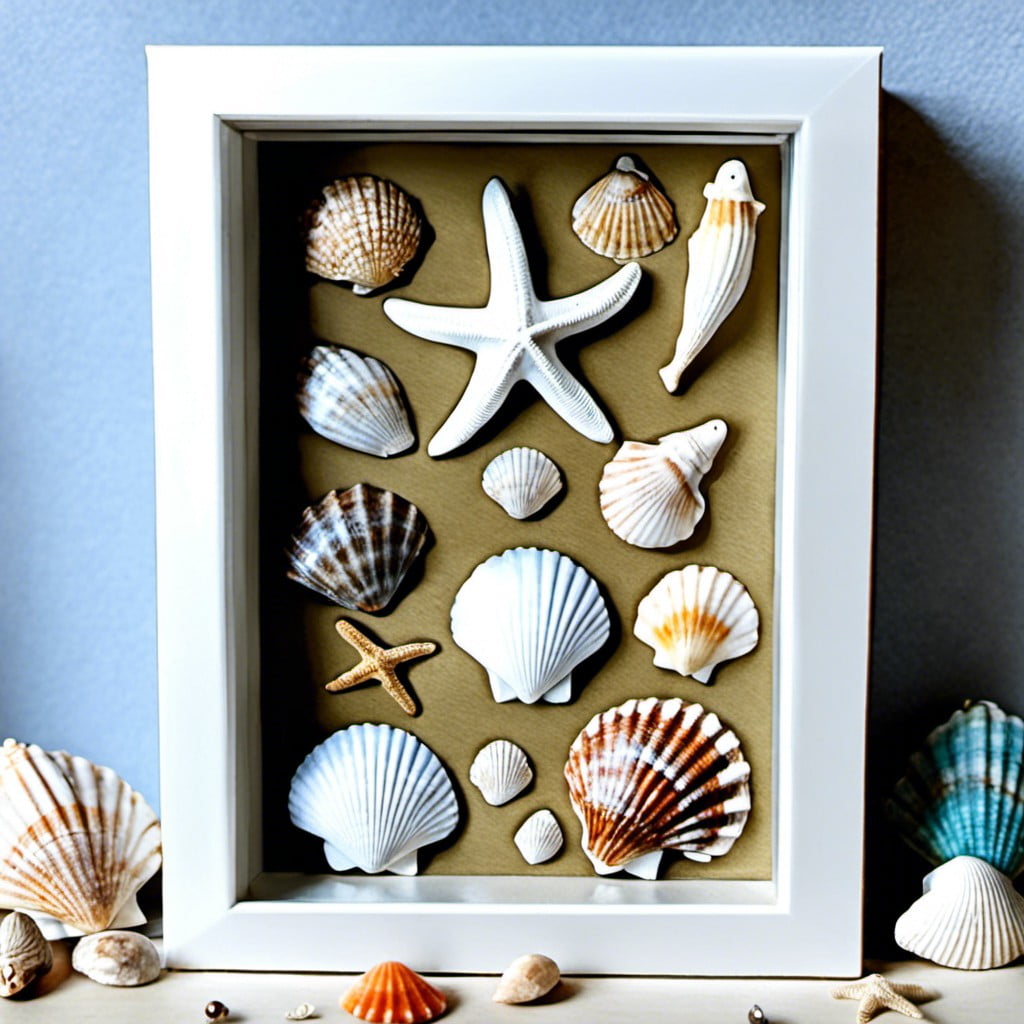
Showcasing beach finds like shells or tiny pieces of driftwood in a front-opening shadow box can lend your home a slice of coastal charm. To get started, you’ll need to gather your beachcombing treasures. Different colors, shapes, and sizes add dynamism to your display.
The design can be as simple or complex as you want. Consider sorting your finds by color, size, or type for a more organized look. Creating a gradient from light to dark or arranging the item to resemble a beach scene can add a touch of sophistication.
Next, secure your shells and other beach finds to the back of the box. A hot glue gun should suffice for smaller items, but larger ones might need a full-strength adhesive. Avoid clumping your items together; space them out in your box for visual appeal.
For that finishing touch, consider placing a layer of sand at the bottom of the box, especially if you have more space to fill. Not only does it help set the beach scene, but it also anchors your shells and driftwood in a cohesive landscape.
Vintage Coin Collection Display
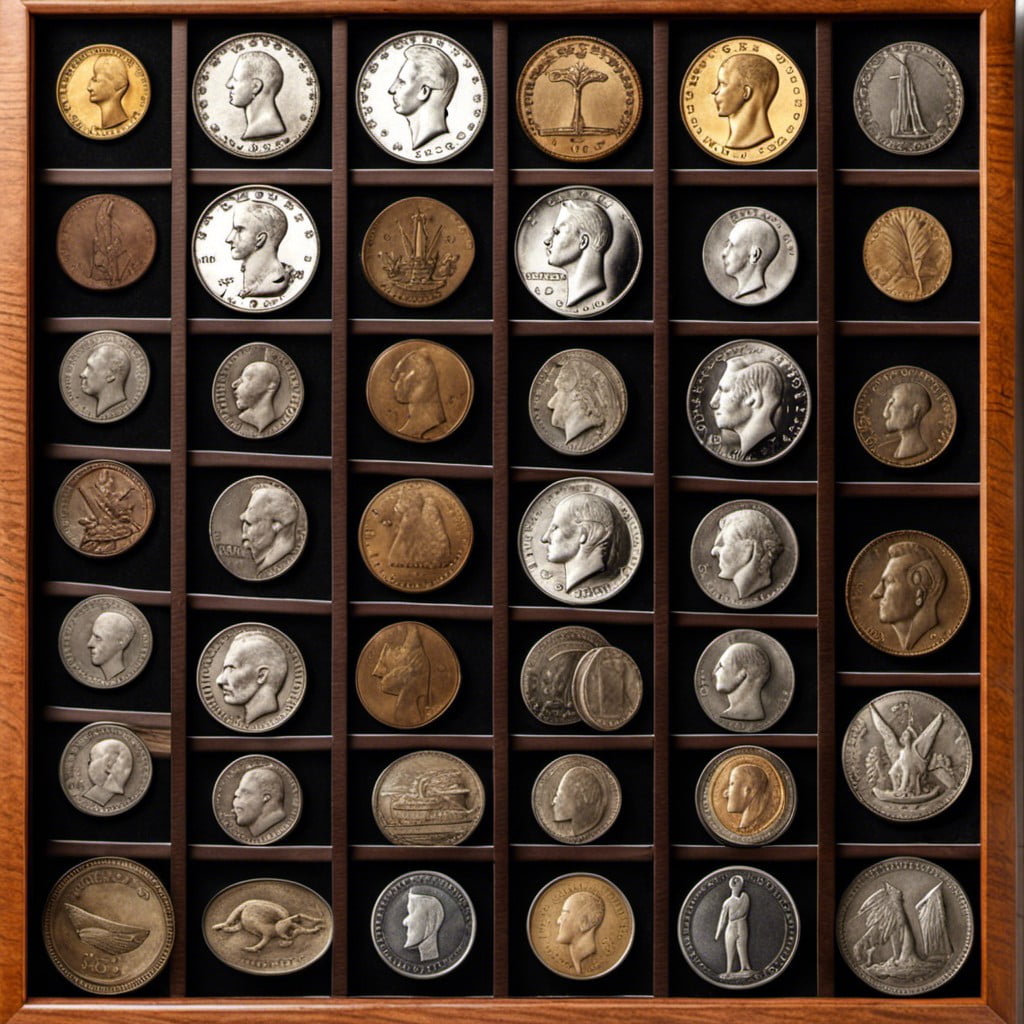
Harnessing the beauty of vintage coins can be an enriching endeavor. Start with a neat arrangement, perhaps by date, country or coin size, to give a defined structure to your display. You’ll want the coins to lie flat, securely affixed with a non-damaging adhesive.
The backdrop of the shadow box is as important. Black or deep blue velvet will provide an elegant contrast for silver or gold coins. Alternatively, a vintage map can serve for coins collected from different countries.
Consider lighting within the box for extra sparkle; low-heat, LED adhesive strip lighting works wonders here – it’s effective and easy to install. Finally, add labels with key details about each coin: year, country of origin, or history. This turns your display into an educational piece that sparks conversation. The result is a front-opening shadow box that’s more than just a collection, it’s a story of history unfolding before your eyes.
Knitted Scarves and Mittens Shadow Box
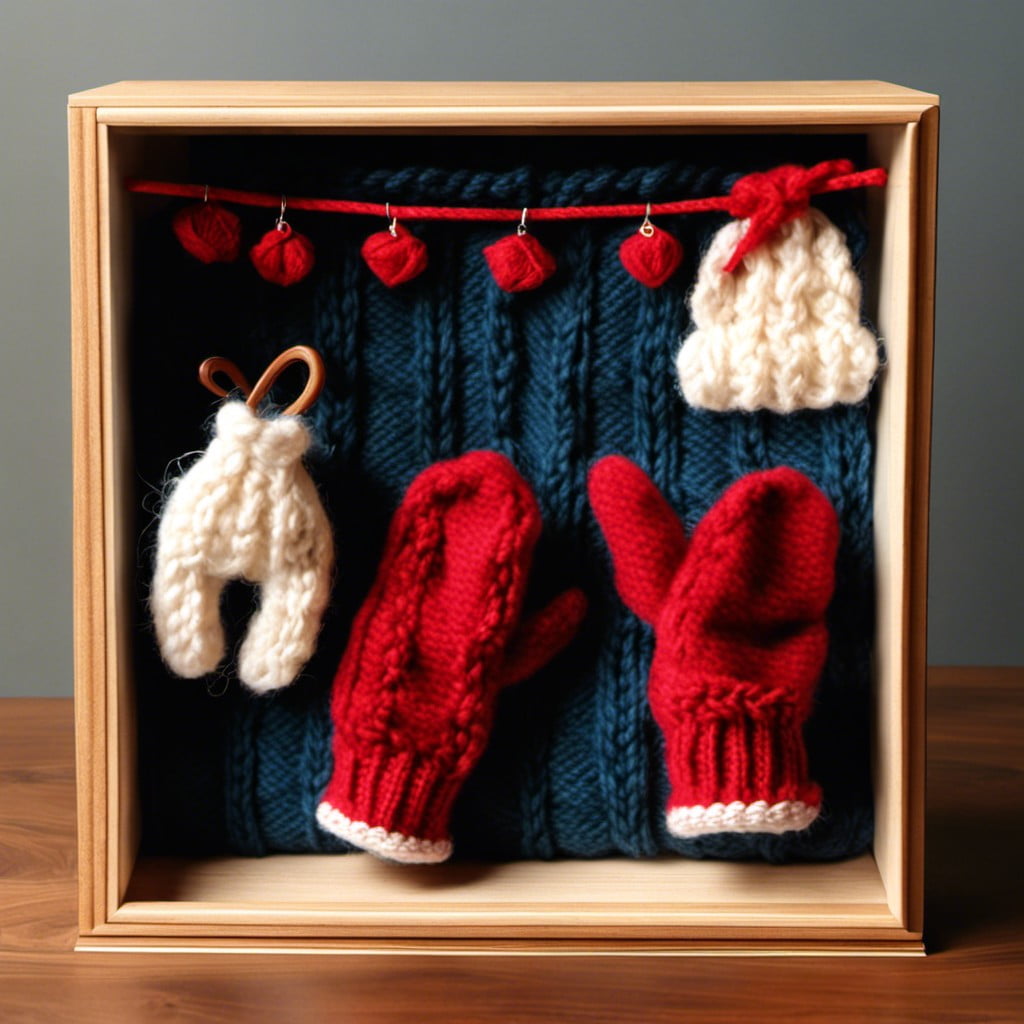
Designing a shadow box with knitted scarves and mittens can serve two purposes – a unique display of knitting skills and a stylish warmth reminder during colder months.
Several key points ensure the perfect set-up for this DIY project.
1. Use a deep box: Depth is crucial when dealing with chunky items like scarves and mittens. A shadow box with enough depth will keep the items from looking squished.
2. Choose a neutral background: Light or pastel backgrounds like white, beige, or pale blue work best to highlight the colors and patterns of your knitwork.
3. Fold and arrange: The display’s elegance lies in how you arrange these items. Try interesting folds, presenting patterns in ways that capture attention. An alternative is “action placement,” where the items give a look as if they’re in use.
4. Secure your items: Use fabric-safe adhesive or pins to secure the knitted pieces in place. This helps to maintain the display’s aesthetics over time.
5. Placement: Generally, placing larger items like scarves at the back and smaller ones like mittens in front, provides a balanced view.
A shadow box filled with knitted scarves and mittens not only showcases your handiwork, but brings a cozy vibe to your space. Experiment with placement, colors, and patterns to develop a display that reflects your style and skill.
Browse More
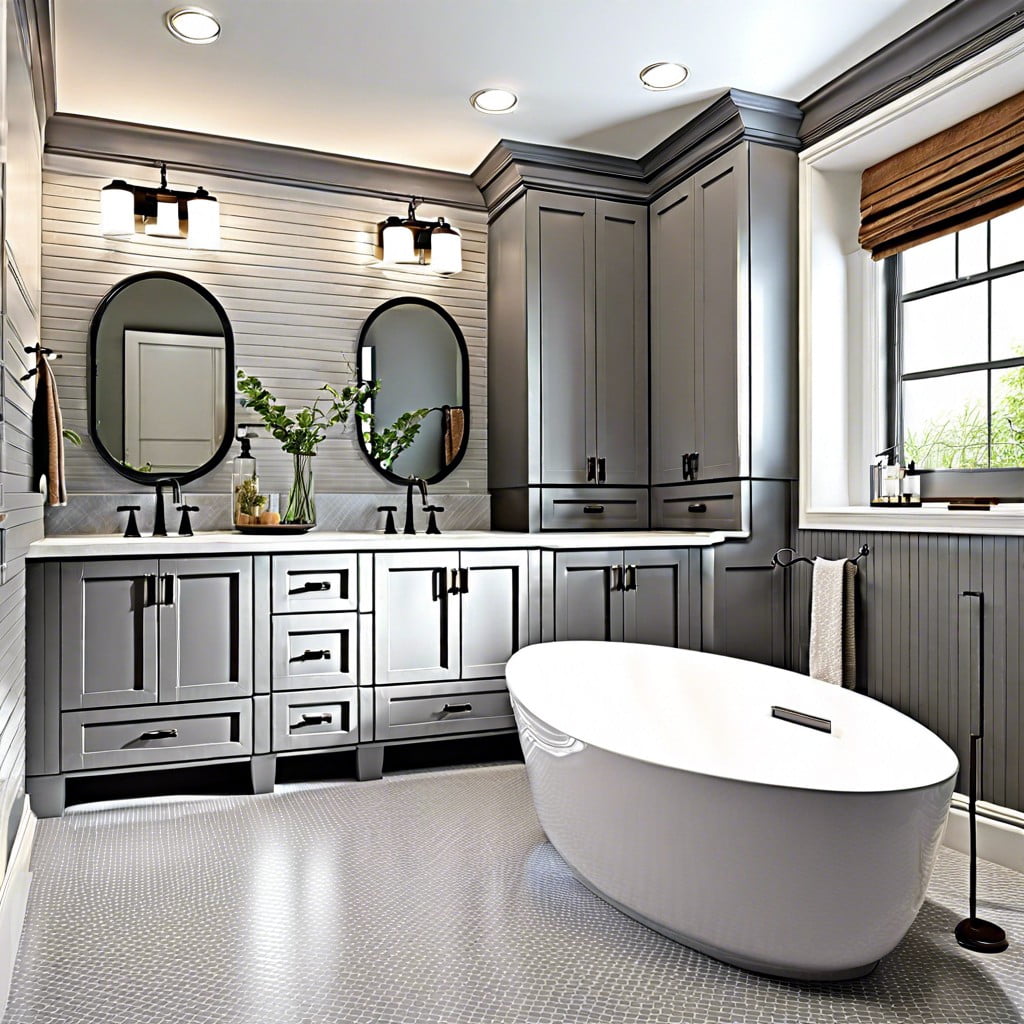 Gray Bathroom Cabinets: What Color Walls Complement Best
 What Is a Vanity and Why You Need One
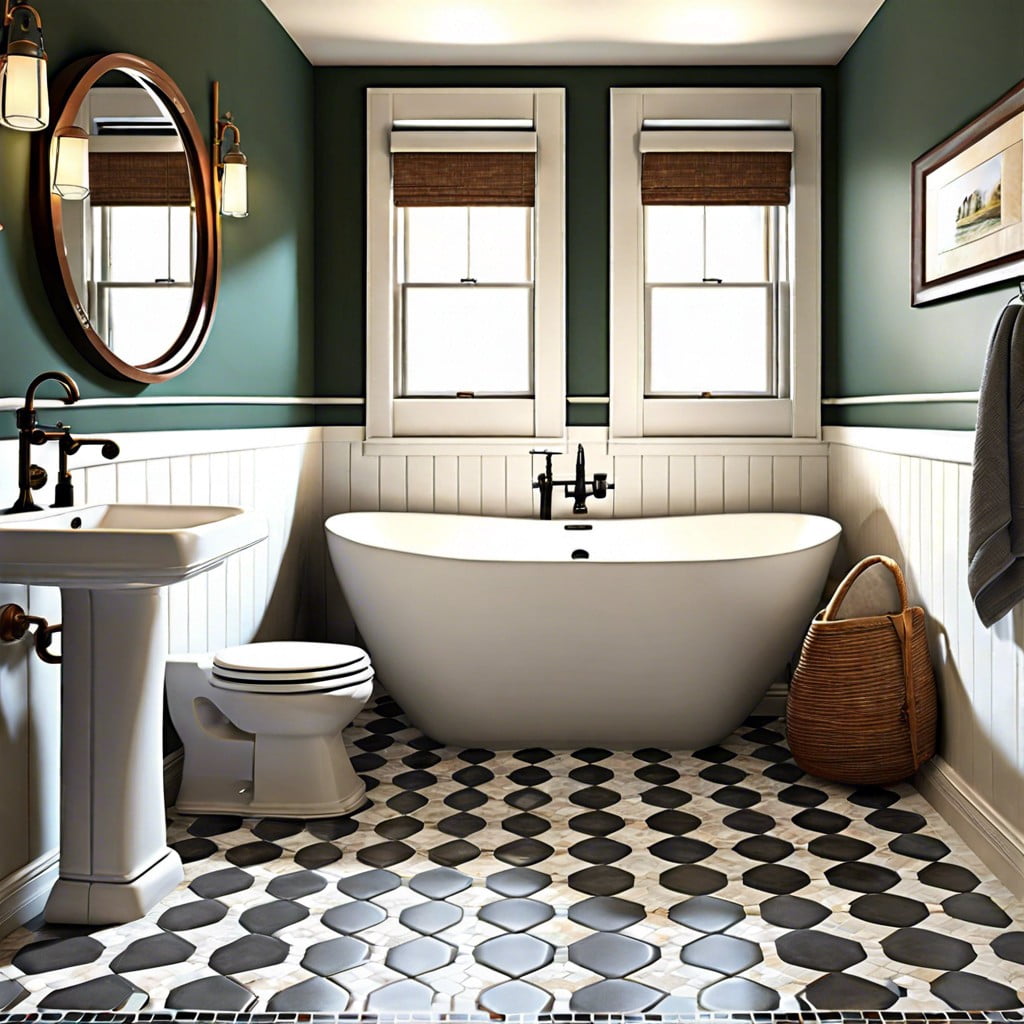 15 Ideas: What is the Best Flooring for a Small Bathroom
 What is a Half Bath: Maximizing Your Home’s Space
 Best Flooring for Bathroom: Your Essential Buying Guide
Recap