Last updated on
This article explains how a bathroom fan works to ventilate your space and prevent moisture buildup.
Key takeaways:
- Bathroom fans control humidity and remove odors.
- Key components: motor, fan blades, housing unit, vent duct.
- Fans draw air out of the bathroom to remove moisture and odors.
- Proper duct installation is crucial for effective fan function.
- Bathroom fan installation is straightforward if done correctly.
Essential Functions of a Bathroom Exhaust Fan

Bathroom exhaust fans serve two primary purposes: controlling humidity and removing odors. By pulling excess moisture from the air, these fans help prevent mold and mildew growth, which can adversely affect your bathroom’s surfaces and overall air quality. Equally, by venting out unpleasant odors, they maintain a fresher, more pleasant environment. This combo enhances the cleanliness and comfort of the space, making it a crucial feature in any modern bathroom.
Key Components of a Bathroom Fan
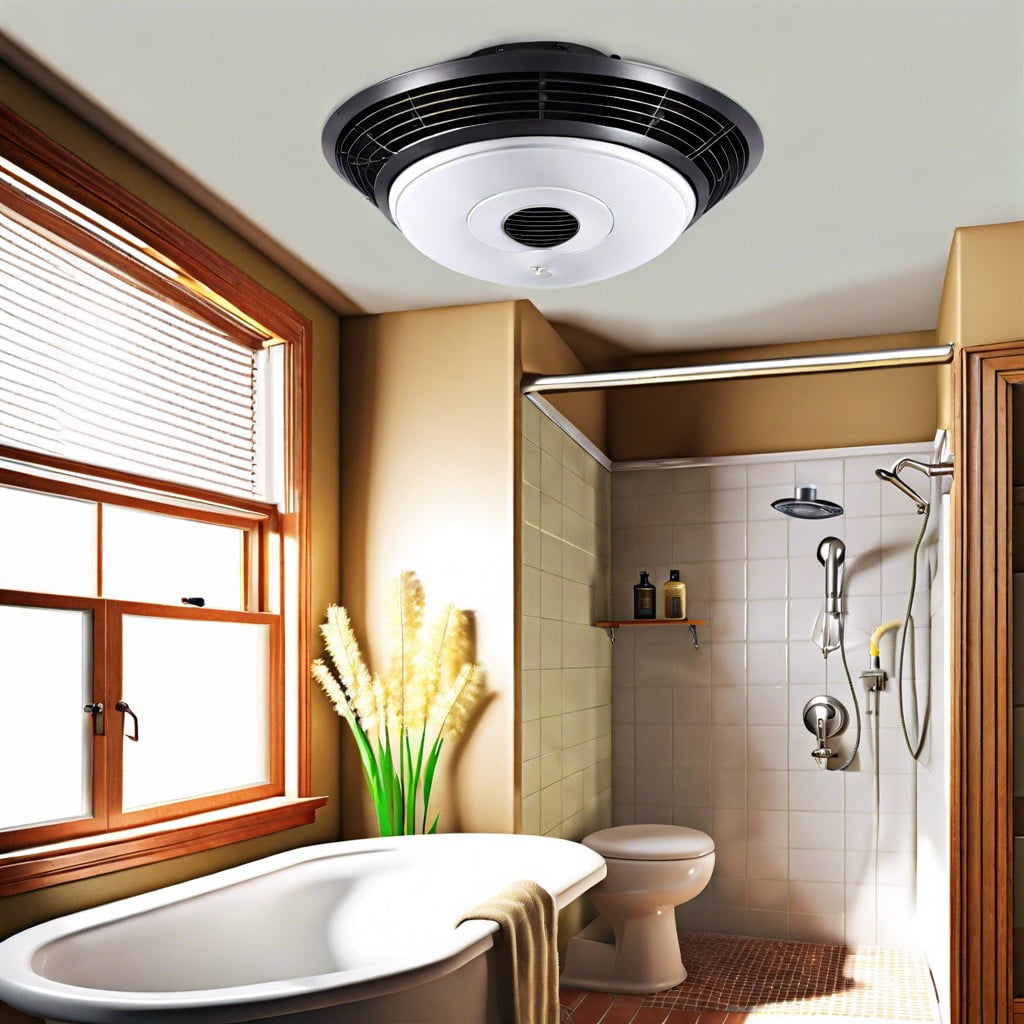
A bathroom fan typically comprises several components that work together to keep your space fresh and dry.
First, there’s the motor, essentially the heart of the fan, which powers the blades to draw air out of the bathroom. This crucial piece needs to be robust enough to handle moisture without faltering.
Then, the fan blades come into play. Their job is to pull the air towards them, effectively capturing both humidity and odors. The design of these blades can vary, aiming for efficiency in air movement.
The housing unit acts as a protective shell around the motor and blades. It also aids in directing the airflow properly through the duct.
Lastly, the vent duct is pivotal. It’s the exit route for all the air pulled from your bathroom, channeling it outside your home. The duct’s integrity is vital to prevent any backdrafts or leakage of moisture back into your home.
Each component is essential, working synchronously to maintain a clean and moisture-free bathroom environment.
The Process of Moisture and Odor Extraction
Bathroom fans play a crucial role in maintaining a comfortable and mold-free environment by removing excess moisture and odors. The process starts when you flip on the fan switch, typically when the space feels steamy or immediately after a bath or shower.
As the fan operates, it creates an airflow that draws the humid, odor-laden air from the bathroom interior. This air is then funneled through the fan’s blades and directed into the ductwork system of your home.
The properly installed ducts transport the air outside, preventing it from circulating back into your home. This not only helps in preventing moisture accumulation that could lead to mold growth but also keeps your bathroom fresh and hygienic.
Importance of Proper Duct Installation
Proper duct installation is crucial for your bathroom fan to function effectively. If the ducts are not correctly installed, moisture can become trapped, leading to mold growth and structural damage over time.
Firstly, ensure that the ducts lead outside your home, not just into the attic or between walls. This prevents moist air from causing damage to other parts of the building.
Secondly, keep duct runs as short and straight as possible. Long or convoluted paths can restrict airflow, reducing the efficiency of moisture removal.
Lastly, use the right duct size. A duct that’s too small can’t carry sufficient air, undermining your fan’s ability to clear humidity and odors effectively.
Bathroom Exhaust Fan Installation
Installing a bathroom exhaust fan is simpler than you might think, but it’s crucial to get it right to avoid moisture and mold issues later on. Start by choosing the location: ideally, the fan should be placed between the shower and the toilet. Make sure there is access to the attic or crawl space above the bathroom for easier setup and connection to the outside.
Use the template provided with the fan to cut an opening in the ceiling. Secure the fan housing to a ceiling joist for stability. If you can’t attach it directly to a joist, use metal brackets or wooden framing.
Next, connect the fan motor and ensure that the electrical wiring complies with local codes—usually this means connecting the fan to an existing switch or installing a new one. Attach the ductwork from the fan to an exterior vent. Be certain the duct path is as short and straight as possible to maximize efficiency.
Seal all joints in the ductwork with foil tape to prevent leaks and decrease noise. Finally, mount the fan cover on the ceiling and make sure it sits flush to prevent any air leaks.
This setup not only aids in removing moisture and smells but also helps in maintaining the structural integrity and comfort of your home.
Recap


