Last updated on
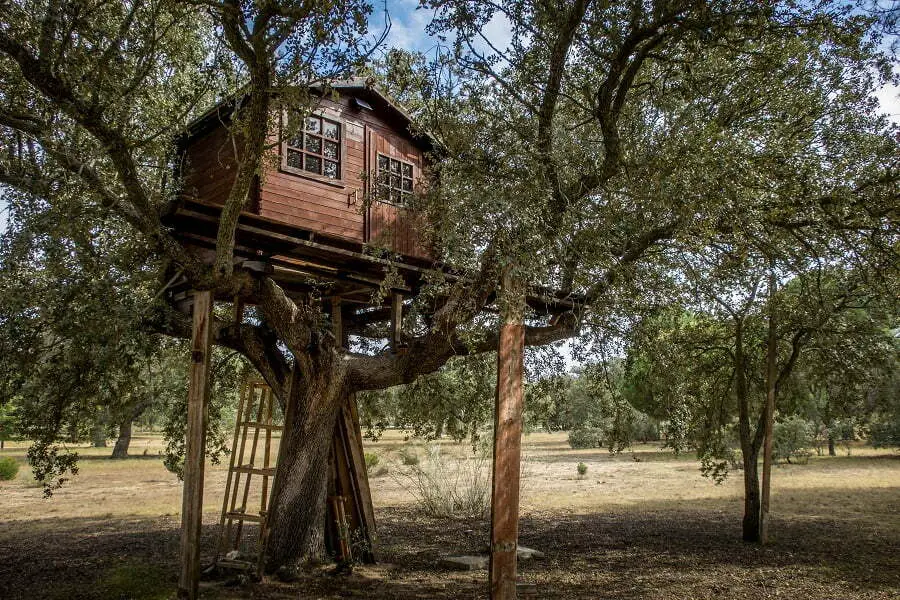
In today’s technologically saturated environment, a treehouse can be a way for your kids to connect with nature. In addition, playing at treehouses encourages physical activities and serves as an eco-therapy and natural light exposure for children. All of these improve your children’s optimal health.
However, building a treehouse could be worrisome for most beginners. Even people with experience still feel anxious about its risks. If things get awry and a treehouse breaks, somebody might get hurt. This is concerning if kids are the ones who will mainly use the treehouse.
For starters, you must learn the basics of building a treehouse. You can start by reading the following tips we gathered below. Know that this is not an exhaustive guideline. Your ideal treehouse depends entirely on your chosen tree, skills, and budget.
Here is a beginner’s guide on building a simple treehouse for your kids.
Pick the Right Tree

Trees like apple, fir, maple, and oak are the most common trees known to support treehouses well. Choose a tree that is mature but not too old. It should be alive, strong, and healthy, but avoid something too young.
Whatever tree you choose will determine the type of treehouse you will build. If you do not know what to choose, it is best to consult an arborist. They are professionals who can tell you whether a tree can support a treehouse and its growth so you can be aware of and prepare for how the tree and treehouse may change in the future.
Be Aware of Regulations
The last thing you want to do is exert all your efforts to build a treehouse, only to be legally told to demolish it. Know all the regulations related to treehouse building. This includes local building ordinances, your homeowner association’s guidelines, and your homeowner’s policy. It is best if you can make your treehouse insured.
It is necessary for you to courteously look into your neighbors’ buy-in to avoid future misunderstandings. Let them know about your treehouse building project, and make sure to adjust your plans if it affects them in any way.
Draw Up a Detailed Plan
If you already have an ideal treehouse in your mind, make sure it suits your chosen tree well. If you do not know how to check it, it is always good to seek professional help, especially if you are inexperienced.
If you want to DIY but do not have any plans yet, you can get many inspirations from several treehouse ideas online. You can work together with your kids and spouse. After deciding on the design, map out all the necessary information you need. This includes the needed materials and tools, chosen support, measurements, and a construction plan.
Gather Necessary Items
Since you are building outdoors, it is best to round up things you need within close reach to avoid wasting time moving to and fro your house. You need to have at least some or all of the following basic materials and tools:
- Hammer
- Saw
- Level
- Square
- Tape measure
- Adjustable wrench
- Joist hangers
- Fasteners
- Rafter ties
- Washers
- Lag screws
- Nails
- Ladder
- Timber or lumber
- Decking material
- Basic pulley
You also need power tools like a jigsaw and cordless drill. Miter saws, table saws, and routers are useful tools but not necessary equipment. They are only needed when you have to cut lumber to length, rip lumber, and round the edges of the lumber. Check your plan and add items that are not listed above.
Ensure that the tools are not blunt since we are dealing with a tree here. If you do not know how to sharpen tools and you do not know anyone who you can borrow tools from, we recommend buying from great brands like Engineered for Axemen rather than going for cheap but dull equipment. Always choose quality over quantity.
Start Constructing
Construction always starts with preparing the platform that supports your treehouse. Then, you have to add support. You can use a diagonal bracing technique to make branches sturdier or add support to the trunk or ground. Once the platform is fully secured and supported, you can now place the floor.
Once the floor is in place, you can start constructing the frame of your treehouse. Start from the walls, then the windows and doors, and the additional elements like porches, railings, slides, bridges, or fire poles.
Roofs and ladders will always come last. If this all sounds exhausting for you, you can always hire a professional to build your treehouse on your behalf. This is also a safe and smart way for you.
The Takeaway
Make sure to put your tree’s health in check as well. This is not only for the better of the overall structural implications of your treehouse but also eco-friendlier to the natural surroundings.
Recap


