Last updated on
Removing a bathroom vanity may seem daunting, but with the right tools and steps, you can accomplish this task efficiently and pave the way for an updated bathroom space.
Key takeaways:
- Safety and preparation are important for vanity removal.
- Gather the necessary tools before starting the removal process.
- Shut off the water supply and disconnect the water supply tubes.
- Remove the drain trap and the vanity top.
- Unscrew any screws or brackets and remove the old vanity.
Before You Begin

Embarking on the process of vanity removal requires careful consideration and preparation. Firstly, recognize the importance of safety. Ensure that all tools and work areas are secure to prevent injuries. Secondly, conduct a thorough assessment of your bathroom layout. This will help you comprehend the complexity of the task and identify potential obstacles. Lastly, allocate sufficient time for the project. Underestimating the effort can result in rushed jobs and poor outcomes. Keep in mind that patience and precision are key to a successful vanity removal.
What You’ll Need
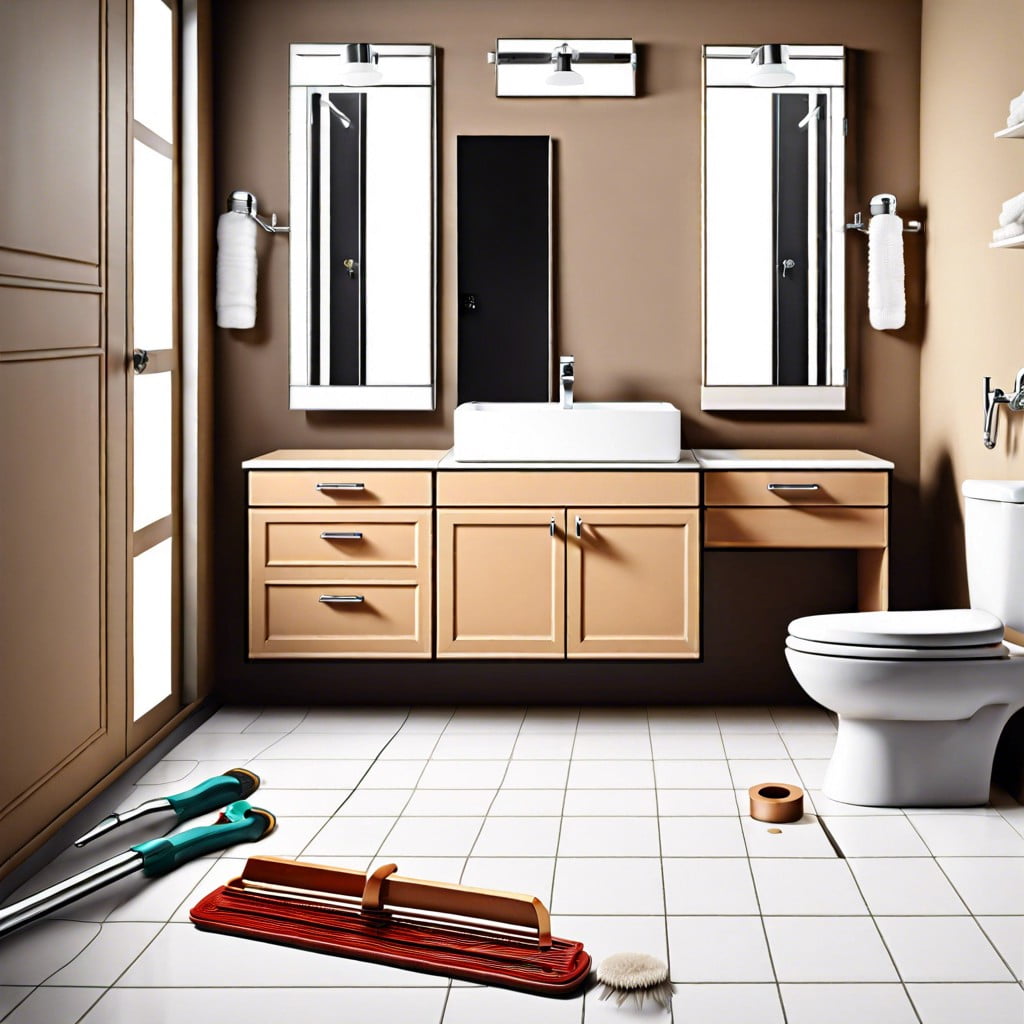
Equipping yourself with the proper tools before tackling your vanity removal ensures a smooth process. You’ll need:
- Adjustable wrenches for loosening and disconnecting the water supply lines to the sink.
- Channel-lock pliers to remove the P-trap under the sink, which might be stubborn due to long-term installation.
- A utility knife to cut through any caulk or sealant connecting the vanity to the wall, preventing damage during detachment.
- A drill or screwdriver to dismantle any screws or fasteners securing the vanity to the wall. Modern vanities might use a variety of screw types, so a multi-bit set is advisable.
- Bucket or towels to catch any residual water when detaching the water lines or P-trap, minimizing mess and preventing water damage.
- Gloves for a firm grip and protection against sharp edges or debris.
- Safety glasses to shield your eyes from any accidental projections or dust.
- Having these items on hand means you won’t have to pause mid-task, ensuring efficiency and safeguarding against potential water mishaps that could arise during removal.
Instructions
Shutting off the water supply is paramount; a flooded bathroom can lead to serious water damage. Search for the shutoff valves typically located beneath the sink and twist clockwise to turn off.
Next, the water supply tubes need your attention. A wrench will loosen the nuts connecting the tubes to the valves. Once loose, remove the tubes carefully to prevent any residual water from causing a mess.
The P-trap, the curved pipe under the sink, will be filled with water. Have a bucket ready as you unscrew the connectors to catch spills. With these elements detached, your vanity is one step closer to removal.
The vanity top is usually sealed to the cabinet with caulk or adhesive. Use a utility knife to cut through this, then gently lift off the top. If it’s a heavy material like stone, you might need an extra helping hand.
Then, focus on the cabinet. Screws or brackets that fix it to the wall must be unscrewed. If caulk was used along the edges, this also needs to be cut away.
With the fixtures free, you can now safely remove and discard or repurpose your old vanity. Without forgetting, patch up or repaint the wall if needed to make the space ready for a new installation or to leave it clean.
Shut Off the Water Supply
Turning off the water supply is a non-negotiable first step. This staves off potential floods and the ensuing renovation nightmares. Usually, you’ll find shut-off valves under the sink. Rotate these clockwise until they won’t budge. No valves? Then your main water supply needs to be shut off. It’s crucial to flip on the faucet after shutting off the valves to release any pressure and drain remaining water. A bucket or towel underneath catches drips, maintaining a dry workspace. This bit of foresight safeguards against unexpected water damage, allowing you to proceed with confidence.
Disconnect the Water Supply Tubes and Remove the Drain Trap
Tackling the plumbing connections isn’t as daunting as it seems—if approached with patience, you’ll steer clear of inadvertent indoor fountains. Begin by placing a bucket beneath the pipes; water trapped in the lines will have somewhere to go other than your floor. Use a wrench to loosen the nuts on the water supply tubes; some might fight back after years of service, but persistence pays off.
Once tubes are independent of their faucet moorings, shift focus to the P-trap. This U-shaped pipe is often a repository of small clogs—so mentally prepare for potential gunk encounters. Loosen the slip nuts at both ends of the trap with channel-lock pliers. If the trap is obstinate, a spray of penetrating oil might solve your standoff. Remember, keep that bucket in position until the coast is crystal clear of any water escapees.
Recap


