Last updated on
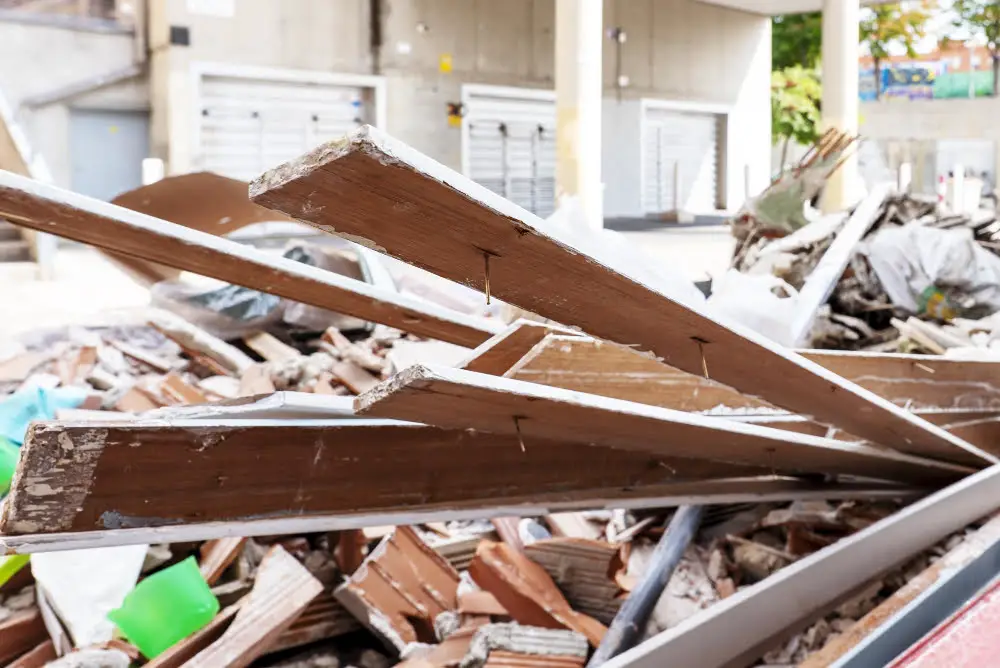
Embarking on a renovation project can inject new life into your space, be it a quaint home or a grand office complex. However, once the dust settles and the workers clear out, what’s often left behind is an unwelcome reminder of the transformation—a variety of construction debris.
Managing this post-renovation mess can be daunting, but with a strategic approach and a few expert tips, the clean-up operation can be tackled effectively. In this guide, we’ll discuss how to sort through the rubble, properly dispose of different types of waste, and bring back the shine to your newly transformed area.
Hiring a Professional Service

Sometimes the volume or nature of the post-renovation debris calls for professional intervention. Hiring a specialized waste removal service can be quick and efficient. These experts have the experience, equipment, and knowledge of local disposal laws to handle debris of all types.
When selecting a service provider, be sure to confirm their recycling policies, inquire about hidden costs, and ensure they are licensed and insured. A reputable company will not only facilitate a hassle-free cleanup but also help you stay compliant with waste disposal guidelines.
The folks at livejunkless.com note that a junk removal service can save you precious time and energy, allowing you to focus on settling into your newly renovated space. It also eliminates the need for multiple trips to landfills, which can be time-consuming and costly.
Sort and Segregate
Before diving headfirst into the post-renovation clean-up, it is essential to sort the debris into categories. Segregating materials into recyclables, hazardous waste, and general trash simplifies the subsequent disposal process. Metals, glass, and certain plastics usually fall into the recyclables category, while paints, solvents, and batteries require special handling due to their hazardous nature. The remaining mixed rubbish can be categorized as general waste.
Proper segregation not only streamlines the cleanup but also ensures that materials are disposed of responsibly, minimizing environmental harm. It can also be cost-effective if recycling services offer lower disposal fees compared to regular waste removal. Local regulations may dictate specific disposal methods for each type of waste, so it’s important to familiarize yourself with these guidelines early in the cleanup process.
Safe Disposal of Hazardous Materials
Hazardous materials require careful handling due to their potential to harm health and the environment. Items like old thermostats, aerosol cans, fluorescent bulbs, paint cans, and chemical containers should be set aside. Contact local waste management services to find designated drop-off centers or pick-up services for hazardous waste.
Educating oneself about the proper disposal of hazardous materials cannot be overstated. Improper handling can lead to serious health risks and environmental damage. The protection of waste handlers and adherence to legal requirements hinges on proper disposal practices.
Recycling Opportunities
Exploring recycling opportunities helps to reduce the environmental impact of renovation projects. Many construction materials, such as untreated lumber, concrete, and metal can be recycled, reducing the amount of waste that ends up in landfills. It’s beneficial to identify local recycling centers that accept construction debris and understand their material preparation guidelines.
By diverting salvageable materials to recycling facilities, the burden on local disposal sites is lessened. Additionally, certain recycled products from construction debris can be repurposed for future building projects, contributing towards a sustainable building practice.
DIY Cleaning Tips
For smaller renovation projects, you might opt for a do-it-yourself approach to cleanup. Begin with dust removal, using brooms and vacuum cleaners equipped with fine dust filters to manage airborne particles. Microfiber cloths and mops are also indispensable for wiping down all surfaces, including walls, trim, and fixtures.
After dusting, focus on deep cleaning the floors, windows, and any installed appliances following the manufacturer’s instructions. Regular household cleaning agents may suffice, but for tougher stains and debris, consider using a more robust cleaning product designed for post-construction clean-up.
Final Inspection and Maintenance
Once the initial cleaning is complete, conducting a thorough inspection is crucial. Check for any missed spots or debris that could cause future issues. Look over the functionality of any new fixtures and appliances to ensure everything is operating correctly. After the inspection, it’s wise to establish a regular maintenance routine to uphold the new space’s aesthetics and function.
Remember that post-renovation care is as important as the cleanup itself. Ensuring that the space remains clean and maintained will prolong the life of the renovations and continue to provide a pleasant environment for occupants. Keep a schedule for periodic deep cleans, especially for areas prone to accumulating dust and dirt.
The Takeaway
Managing and removing construction debris after a renovation project requires proper planning and execution. Whether hiring a professional service or tackling the clean-up yourself, it’s essential to follow local disposal guidelines and prioritize safety. With these tips in mind, you can efficiently manage post-renovation debris and enjoy your newly transformed space to its fullest potential.
Browse More
 How to Style Your Patio for Outdoor Entertaining
 How to Find the Best Discounts on High-Quality Vanity Mirrors
 How to Choose the Right Service for Your Root Sewer Needs
 Best Tools for Your Replacement Water Pumps Project
 From Quick Fixes to Lasting Solutions: Why Professional Pest Removal Is worth It
Recap