Last updated on
Discover the practical steps on how to retile your shower, transforming your bathroom with a fresh and updated look.
Key takeaways:
- Assess existing shower tile for damage and moisture issues.
- Gather necessary tools and materials before starting the retiling.
- Safely remove old tiles and prepare the surface for new tiles.
- Follow detailed steps for waterproofing, tiling, and grouting.
- Regular maintenance is necessary, but consider hiring a professional for complex projects.
Assessing the Current Shower Tile Condition
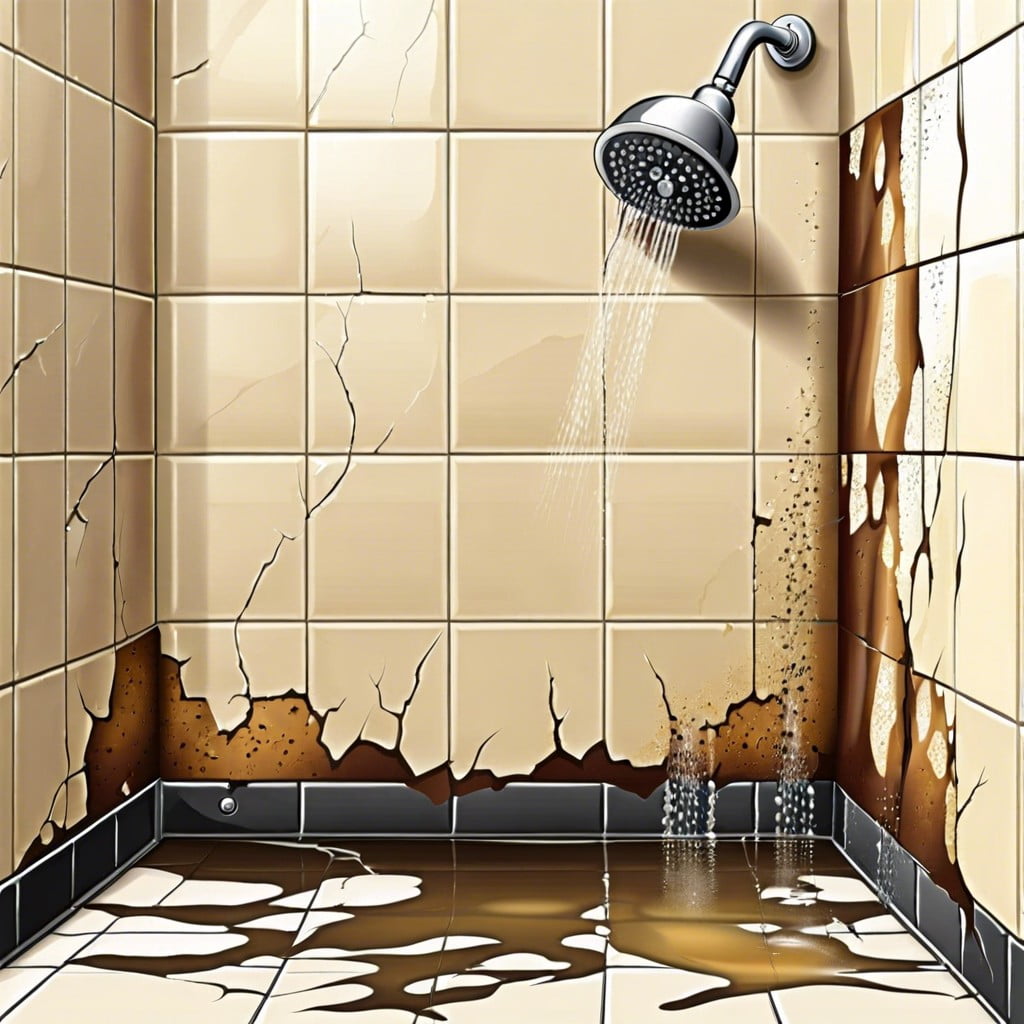
Determining the need for a retiling project begins with a careful observation of your shower’s existing tiles. Look for telltale signs of damage such as cracks, loose tiles, or missing grout, which could indicate underlying moisture issues or structural concerns. Pay attention to mold and mildew, too, as they’re often symptoms of insufficient waterproofing—a situation that must be corrected to prevent further damage. Stains or faded tiles might simply be an aesthetic concern but can impact the overall look of your bathroom. Make a note of any bubbling or peeling in the paint on the ceiling or walls near the shower, as this is also a sign of excess moisture that could be stemming from problems with the current tile work. Assessing these factors carefully will help you decide if a small repair job will suffice or if a full-scale retiling is necessary.
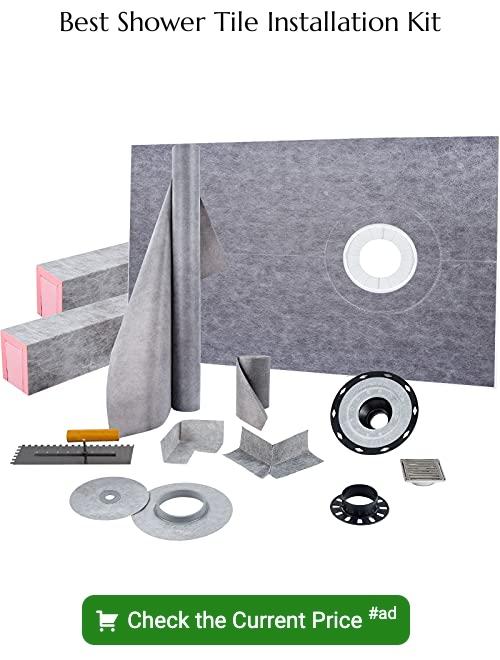
Necessary Tools and Materials for Retiling
Embarking on a shower retiling project demands a selection of specific tools and materials to ensure a smooth, durable installation. First and foremost, safety equipment like gloves and goggles can’t be overlooked. Imagine the frustration of a tile chip in the eye or a nicked finger, and you’ll understand why.
For the removal of old tiles, a hammer and chisel or a power drill with a chisel bit will be indispensable. Think of them as the key to unlocking your bathroom’s potential. A sledgehammer might overpromise and underdeliver, given the precision required, so best to steer clear.
Now, picture your new tiles adhering as if made for your shower. This vision starts with a notched trowel to apply thinset mortar evenly. Uniformity is king when laying tiles to avoid a wavy bathroom landscape. Additionally, tile spacers are the unsung heroes for achieving that perfectly symmetrical look – no more crooked lines or mismatched grout spaces.
Lastly, grout and a rubber float are the dynamic duo in this renovation tale. They fill the gaps, creating a seamless finish and barrier against moisture, a true knight in shining armor for your walls. Add in a mixing paddle and bucket for preparing your mortar and grout to the right consistency – because no one likes lumpy grout or watery thinset ruining the day.
Gather these tools and materials before diving into the actual retiling to save yourself the headache of pausing mid-project, which is as irritating as a half-done crossword. With your arsenal ready, you’ll be well-equipped to tackle the tiles and emerge with a stunning new shower space.
Steps to Remove Old Shower Tiles and Preparing the Surface
Starting with eye protection and a dust mask is crucial; safety should never be an afterthought. Use a hammer and chisel to chip away at the edges of the tile, working gently to avoid damaging the backer board. For larger sections, a power tool like an angle grinder with a diamond blade can be more efficient, but it requires a steady hand and confidence in tool use.
Once the tiles are removed, focus shifts to prepping the surface. This can’t be rushed – a smooth, clean, and stable surface is integral for a successful retiling job. Scrape off old adhesive and grout with a putty knife or paint scraper, being meticulous to get as smooth a surface as possible. Check the condition of the backer board; if it’s damaged, it must be replaced to prevent future water damage.
A flat, uniform surface is your goal. Fill in any depressions or cracks with patching compound, and let it dry completely. Finally, sand the area lightly to ensure the new tiles will adhere properly. A thorough wipe down with a damp cloth removes dust and debris, setting the stage for a fresh, well-executed tile installation.
The Tiling Process: Detailed Steps, Including Waterproofing and Grouting
Transitioning from tile removal to installation, the surface must be flawless for new tile adherence. Smoothen the walls, apply a waterproof membrane, and firmly secure the backer board. This step is non-negotiable for longevity and preventing costly water damage.
Begin laying tiles from the shower base upward, ensuring a level line to maintain uniformity. Use spacers for even gaps, crucial for a professional finish. After setting the tiles with thin-set mortar, allow them to cure as recommended, usually 24 hours.
Grouting is next; select sanded or unsanded based on tile spacing. Mix to the consistency of peanut butter, then push into the gaps using a rubber float. Work in sections and diagonally to compact grout fully into spaces, wiping away excess as you go.
Attention to detail here means a watertight bathroom, and skimping on any step could lead to a redo sooner than you’d wish. Each phase, from prepping to grouting, sets the stage for a shower that’s both functional and appealing.
Maintenance Tips and When to Consider a Professional Installer
Once your shower is beautifully retiled, maintaining its pristine appearance requires regular attention, but it doesn’t have to be laborious. Simple, quick, and intentional practices will suffice. For instance, sealing grout lines should become a routine activity every year or two, depending on the level of usage, to prevent water penetration and mold growth.
Daily habits make a difference. After showering, remove excess water from the tiles with a squeegee. It’s a minute’s effort that goes a long way in preventing water spots and mildew. Weekly, gentle cleaning with pH-neutral products will keep tiles and grout looking new without causing damage.
However, knowing when to call in a professional installer is as important as maintenance. If you’re encountering pervasive mold, tiles popping off, or persistent leaking despite patchwork fixes, it might signal deeper issues. A reputable professional can address sub-tile problems and ensure a watertight result that DIY efforts may not guarantee.
Especially with complex patterns or materials like natural stone, professional expertise is invaluable. They bring the tools and know-how to ensure each tile aligns flawlessly and all surfaces are adequately sealed. When a project involves significant structural changes or when high-end materials are in play, the cost of professional installation is a worthy investment to ensure the job is done right, safeguarding your home and investment.
Browse More
 Baking Soda and Vinegar Drain Cleaning: Simple Steps for a Clog-Free Life
 How Long Does It Take to Tile a Bathroom: Your Ultimate Time-Saving Guide
 Smelly Drain: Banish Odors with Easy Fixes
 How to Remove Bathroom Fan Without Losing Your Cool
 How to Remove Bathroom Vent Cover Without Losing Your Mind
Recap