Last updated on
Explore the versatility of your closet with shirt extenders because they hold the potential to revolutionize your daily styling routine!
Shirt extenders can be every wardrobe’s secret weapon, and today you’re in for a treat! Known ideas, although fantastic, are often recycled and seen everywhere. It’s time to innovatively alter those perceptions, presenting fresh and unique shirt extender ideas.
After all, who doesn’t love a good sprinkle of novelty in their styling hacks? This article promises a diverse compilation of inventive ideas, dissecting this topic from intriguing new angles. Bonus: the best of known ideas won’t be forgotten. You’ll find resources to those tucked neatly at the end.
Enjoy this journey to uncovering invaluable shirt extender ideas that will glamorize, transform and upgrade your fashion game from basic to dazzling. Dig in!
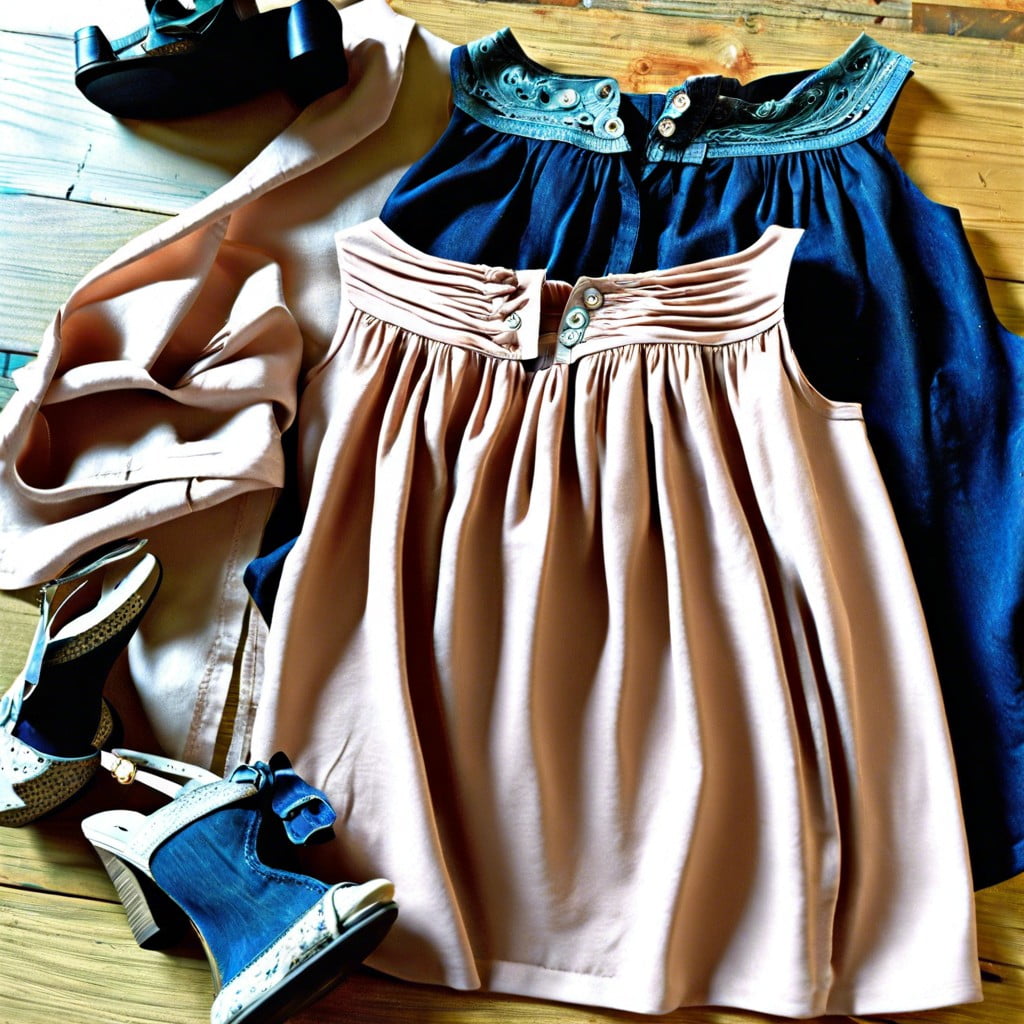
Using Fabric Scraps for Shirt Extenders
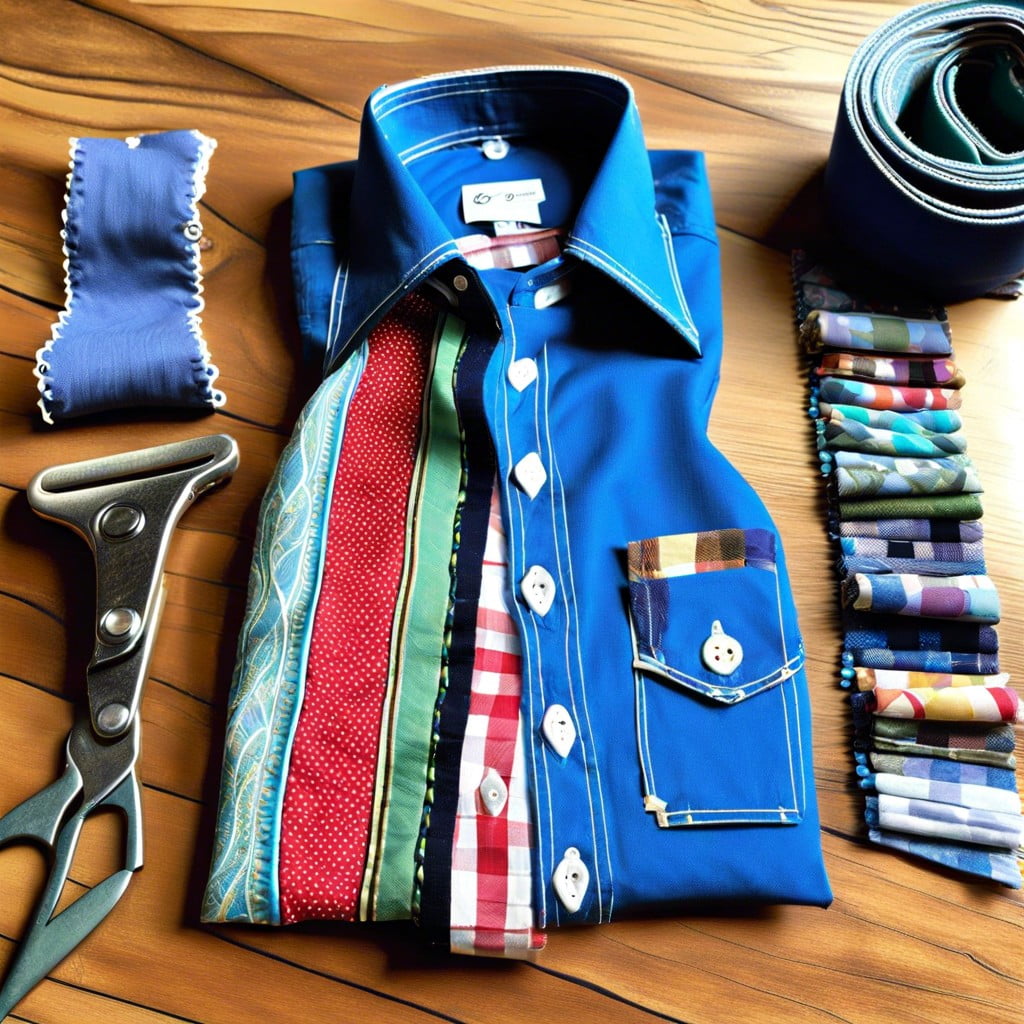
Transform leftover fabric pieces into a chic lower extension for your favorite tops. This sustainable approach allows you to add a pop of contrast or match the existing shirt pattern. Begin by measuring the desired width of your shirt and choose a length that complements your outfit, usually between three to six inches.
When selecting fabric scraps, consider texture and weight. A lightweight cotton or jersey blends seamlessly with most shirts without adding bulk. For a cleaner finish, hem the lower edge of the fabric, or if you prefer a casual look, go for a raw edge.
Stitch the fabric directly to the hem of your shirt, ensuring to align the side seams for a cohesive appearance. If the shirt has a curved hem, mimic this curve in your extension for a natural transition. Experiment with layering different colors or patterns for a statement piece that can revive any old shirt in your wardrobe.
Different Materials You Can Use for Shirt Extenders
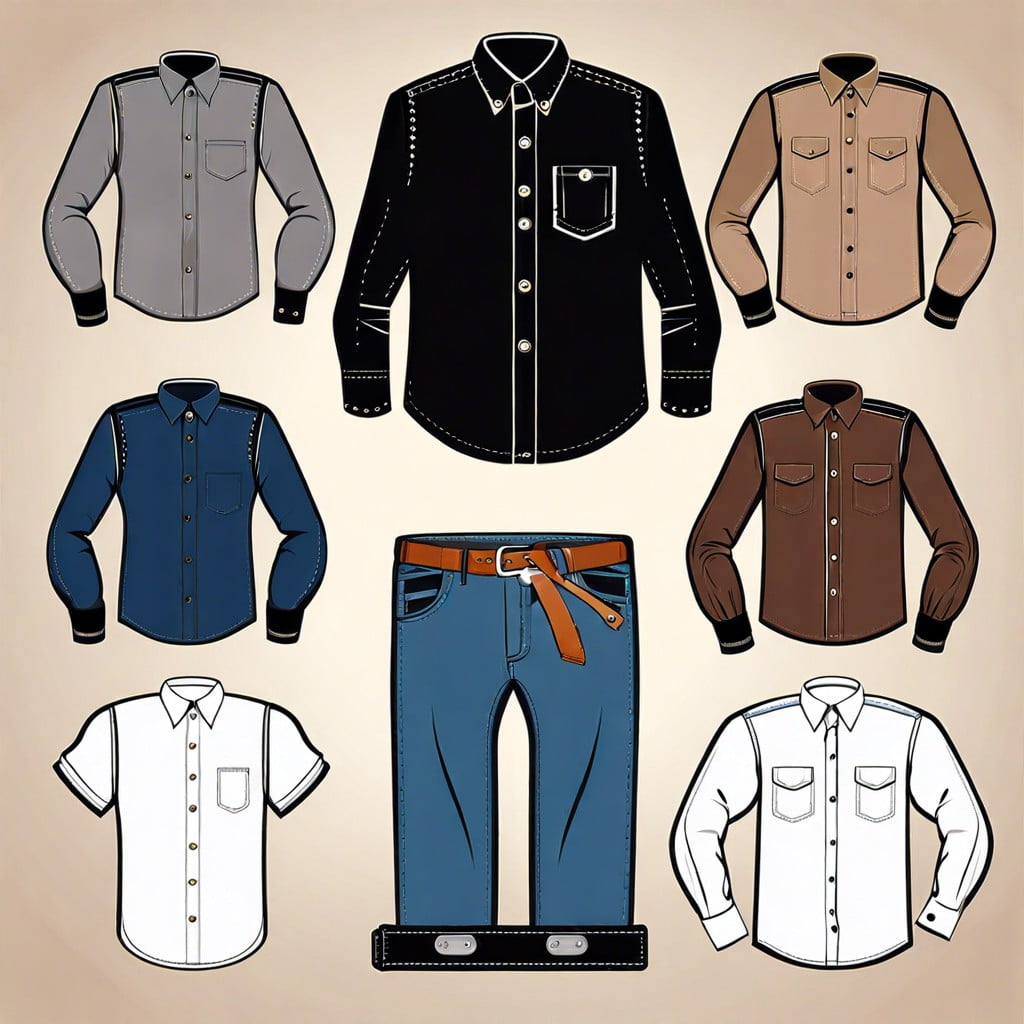
Explore the diverse textures and weights of fabrics to suit various shirt styles and occasions. Lightweight cottons offer breathability and a casual look, while lace adds a delicate, feminine touch. Jersey knit fabric stretches for comfort and a seamless blend with everyday attire. For a luxurious feel, silk or satin works perfectly, providing a smooth transition from top to extender. Chiffon presents a flowy, elegant extension, ideal for dressier events.
For cooler weather or a more structured look, consider heavier materials like denim or wool blends. Remember, the choice of fabric affects not just style, but also function and comfort.
How to Add a Ruffle Shirt Extender
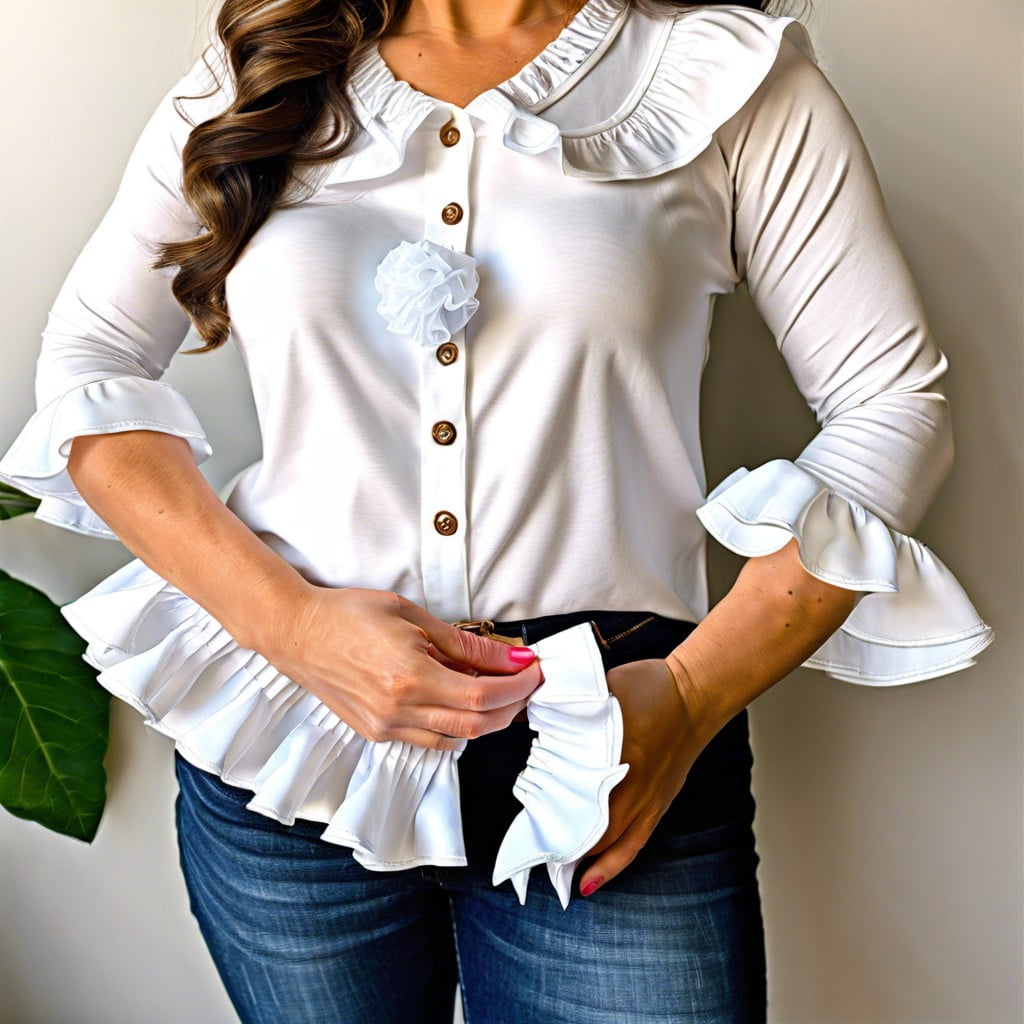
Transform a basic shirt with a touch of femininity by adding a ruffle extender. You’ll need a strip of fabric twice the width of your shirt’s hem and your choice of length for the ruffle. Follow these easy steps:
1. Measure the hem: Accurately measure the bottom hem of your shirt to determine the length of the fabric needed.
2. Cut the fabric: Cut a strip of fabric with a width that’s twice the measured hem length. The fabric’s width should be 8-10 inches, depending on the desired ruffle effect.
3. Prepare the ruffle: Hem one long edge of your fabric to give it a neat finish. On the opposite edge, sew a basting stitch and gently pull to create the ruffle.
4. Attach ruffle to shirt: Turn your shirt inside out and pin the ruffled edge to the shirt’s hem, right sides together, evenly distributing the fabric. Sew along the edge with a straight stitch.
And voilà, you now have a charming ruffle extender that instantly updates any shirt’s look.
Tips to Choose the Correct Size of Shirt Extender
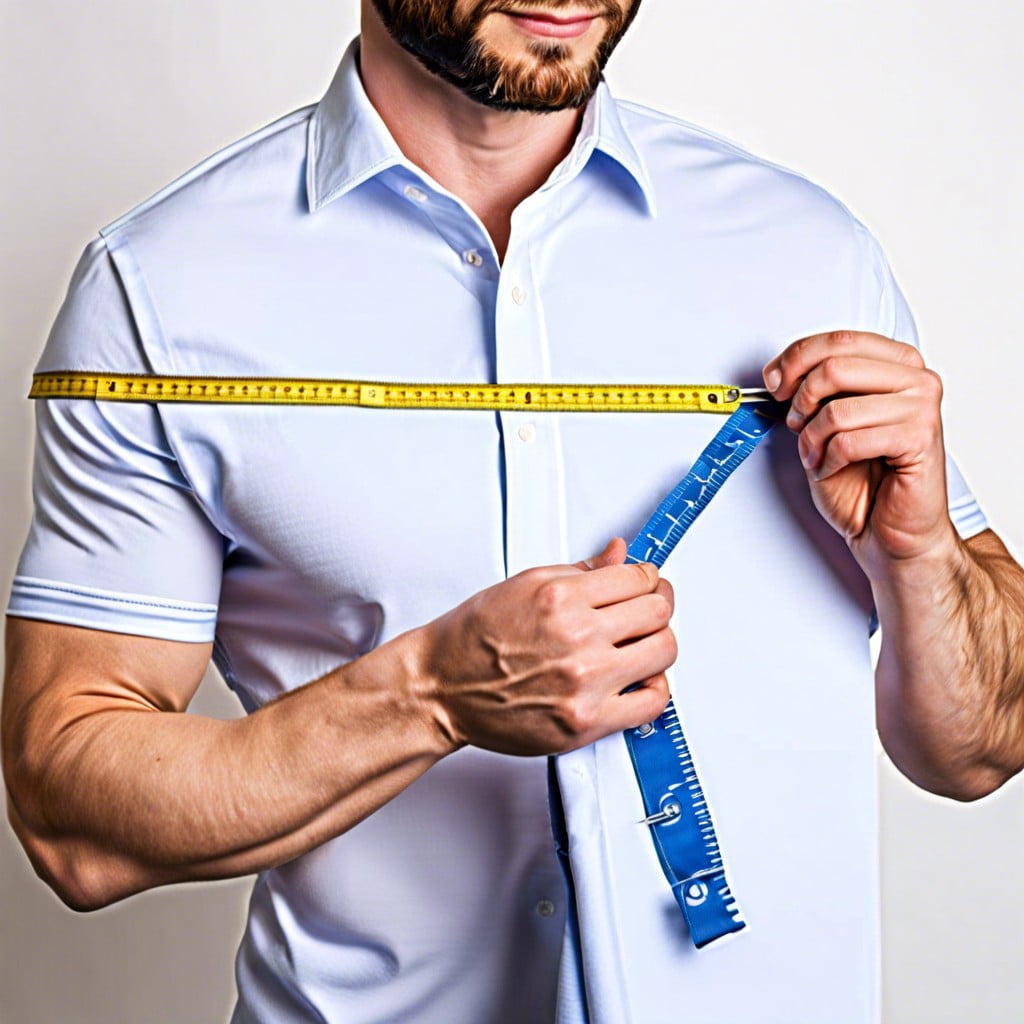
Select the right width to ensure your extender fits comfortably around your hips or waist, depending on where it will sit. Measure the bottom hem of the shirt you intend to extend for a perfect match.
Consider the desired length of your extender based on the look and function you want. Anything from a few inches to a longer, tunic-style can add versatility to your wardrobe.
Choose an extender with an elastic band if you need flexibility or are between sizes. It will give you leeway for movement and fluctuations in body size.
Examine the garment you’re extending and evaluate its drape and fit. A fitted shirt pairs best with a form-following extender, while a looser top may require an extender with a similar flow.
Keep in mind the fabric weight; a light, breezy top shouldn’t be paired with a heavy extender that might pull it down or look disproportionate.
Remember to check closure compatibility. If your shirt has a specific closure at the bottom, ensure the extender will align and not cause bunching or awkward gaps.
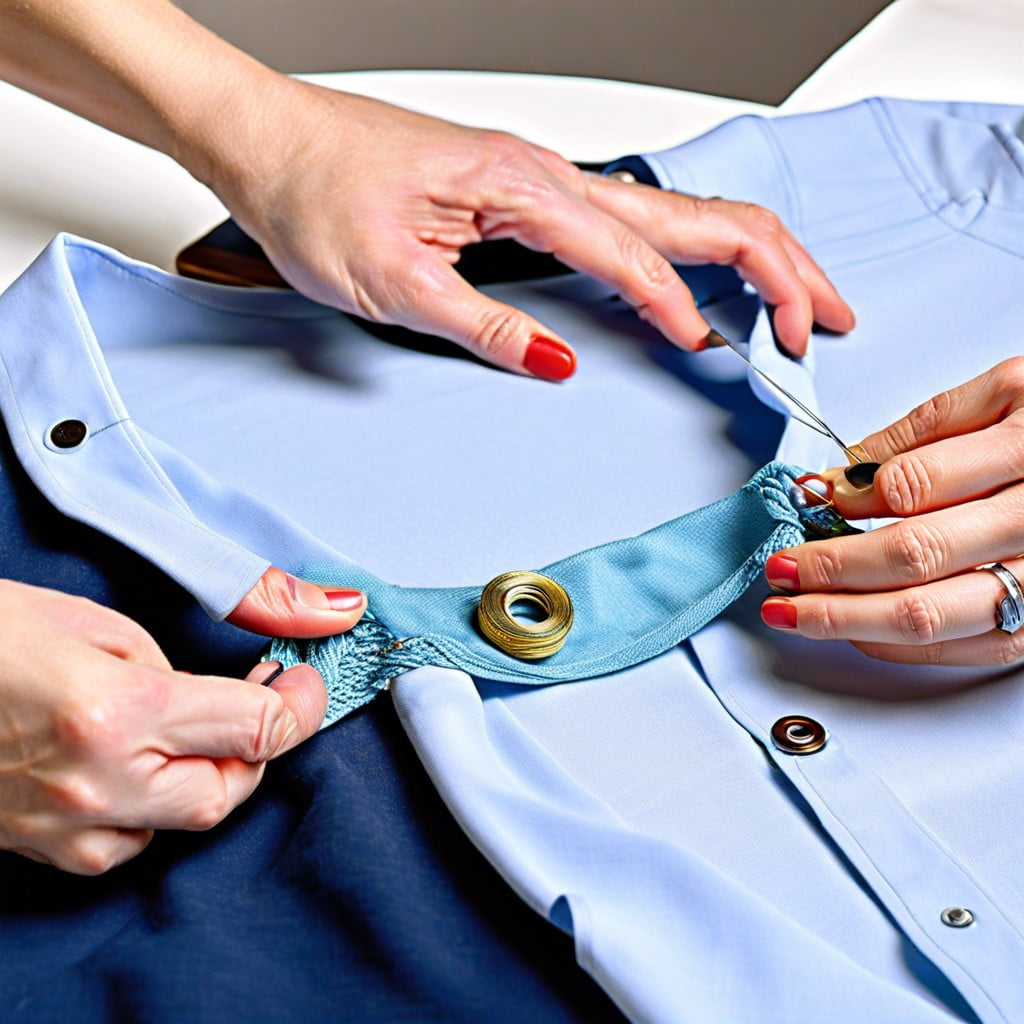
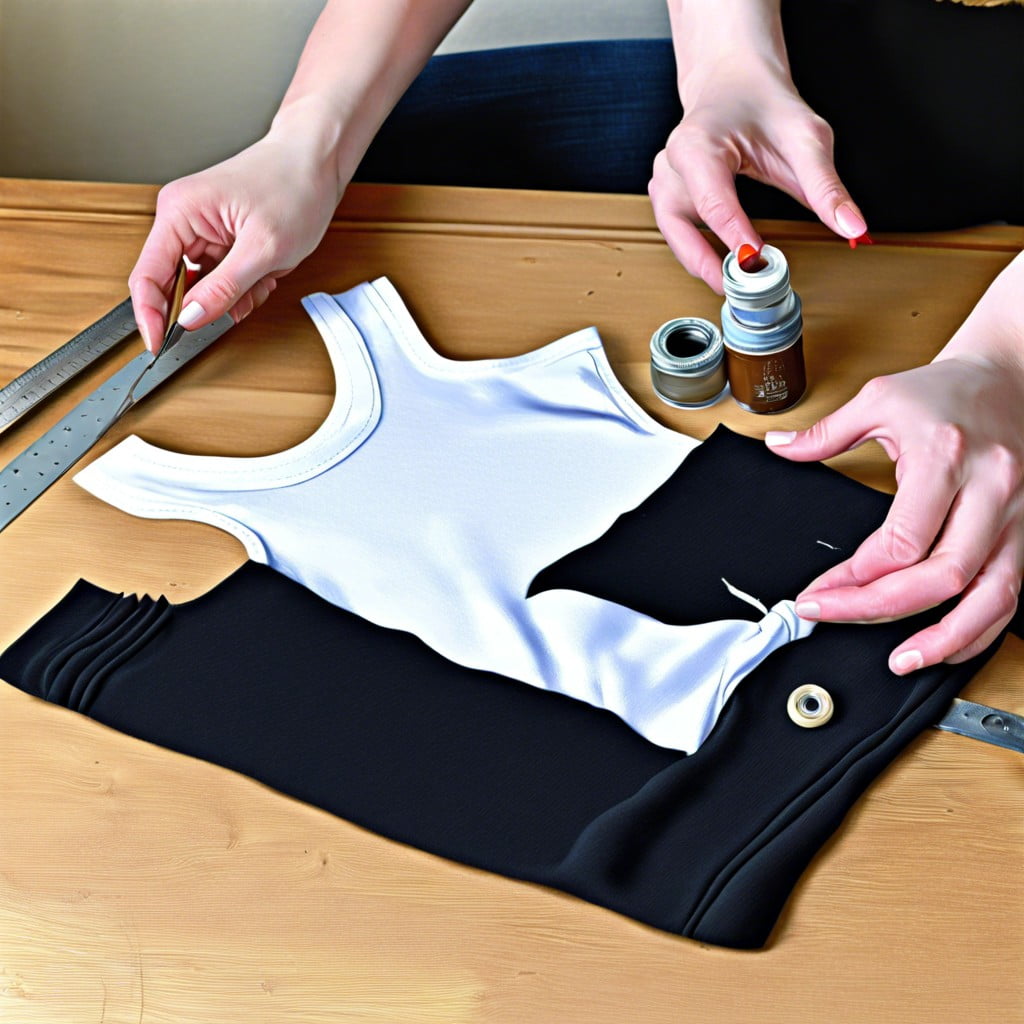
How to Make a Reversible Shirt Extender
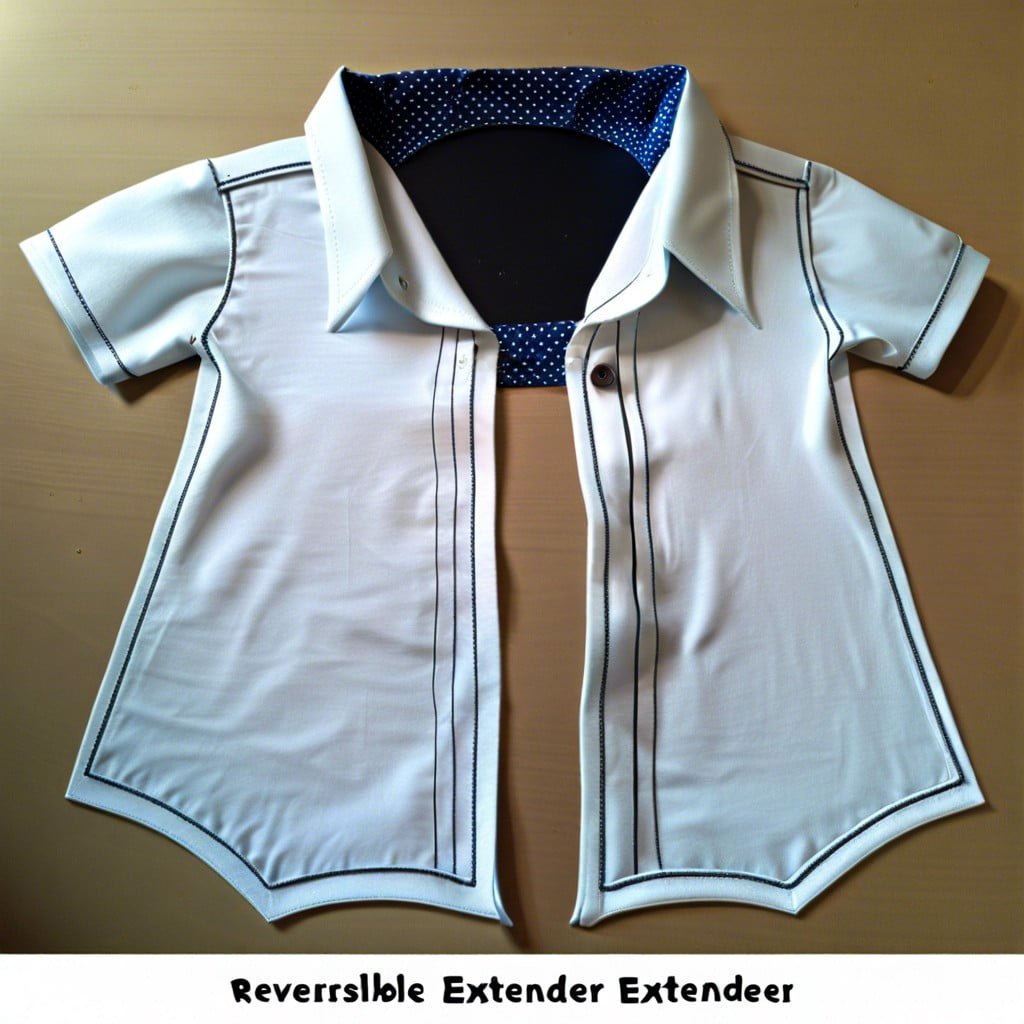
Select two contrasting or complementary fabrics that vibe with your existing wardrobe. Consider textures and colors that will work well on both sides.
Cut both fabric pieces to the desired width and length, ensuring they match. Add an extra inch on each side for seam allowances.
Place the two fabric pieces right side together. Stitch around the perimeter, leaving a small opening to turn it right side out.
Trim the corners and turn the extender right side out through the opening. Press the edges neatly with an iron for a crisp finish.
Topstitch close to the edge to close the opening and give the extender a polished look.
Attach snap buttons or hook-and-loop fasteners at the top edge of your reversible extender.
Experiment with layering the extender under various tops and dresses, flipping it to either side to reveal a new look.
Shirt Extenders for Kids: a Guide
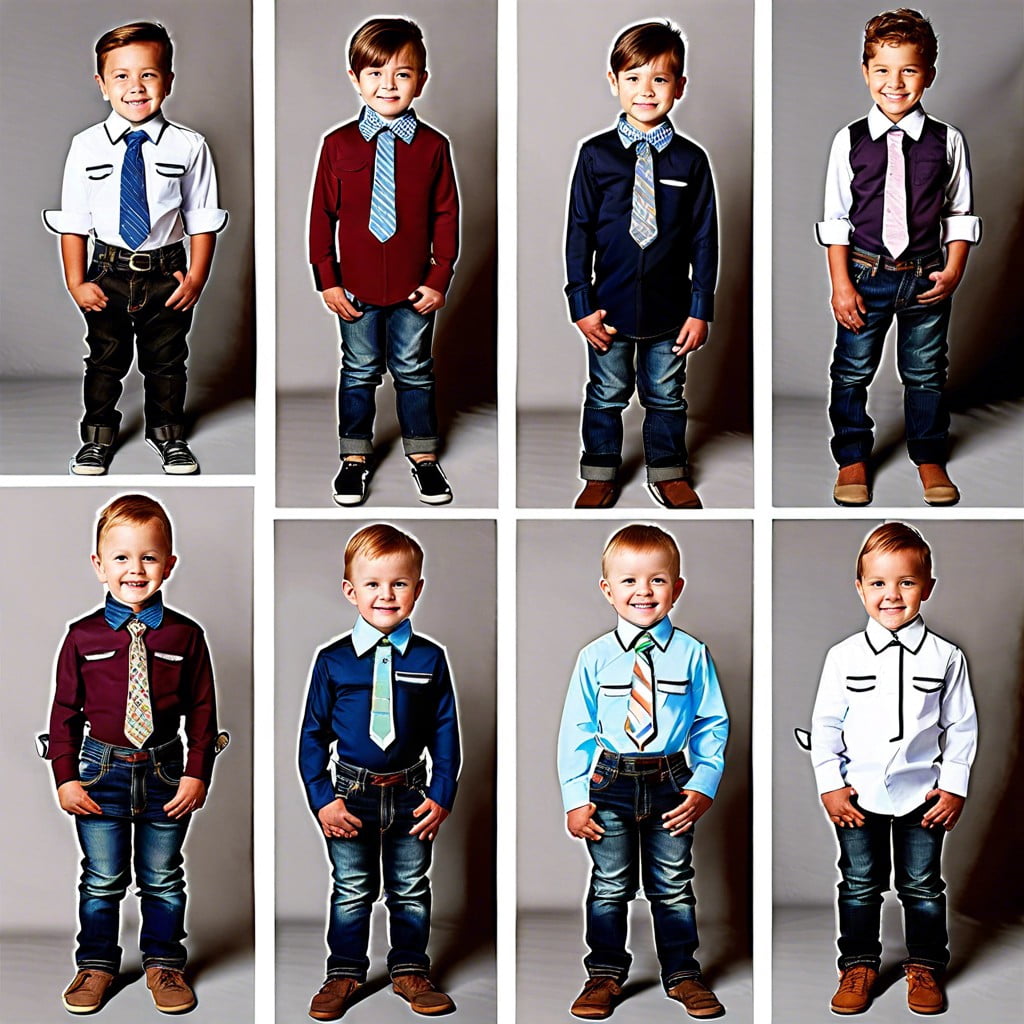
When it comes to keeping up with rapidly growing children, extenders can be a lifesaver. Opt for durable, soft materials that can withstand rough play and frequent washing.
Consider using adjustable snap-on or tie-on extenders on kids’ shirts, allowing for size adjustments as they grow. For added fun, choose extenders with patterns or characters that your child loves.
Remember, safety is paramount, so avoid small embellishments that could become choking hazards. Make sure the extender’s attachment method is secure so it won’t come undone during the day’s adventures.
These simple adjustability and personalization tips can make any child’s wardrobe more versatile, prolonging the life of their favorite shirts.
Making a Fashionable Shirt Extender
Transform a basic top into a chic layering piece with ease:
- Select a high-quality, breathable fabric that complements your existing wardrobe. Lace, chiffon, or even a lightweight cotton blend can add texture and interest.
- Consider the hemline. A high-low, asymmetrical, or scalloped edge can transform the extender into a statement piece.
- Aim for versatility. Neutral colors work with multiple outfits, but a pop of color or pattern can elevate a simple look.
- Add embellishments. Think about incorporating details like embroidery, sequins, or a trim of delicate beads to give your extender a personal touch.
- Play with proportions. Experiment with different lengths to create the illusion of a layered outfit or to give a more modest edge to shorter tops.
- Layer strategically. Wear your extender under cropped sweaters or jackets to add dimension to your outfit without compromising on style.
Following these pointers will ensure your shirt extender isn’t just functional but also a fashionable addition to your ensemble.
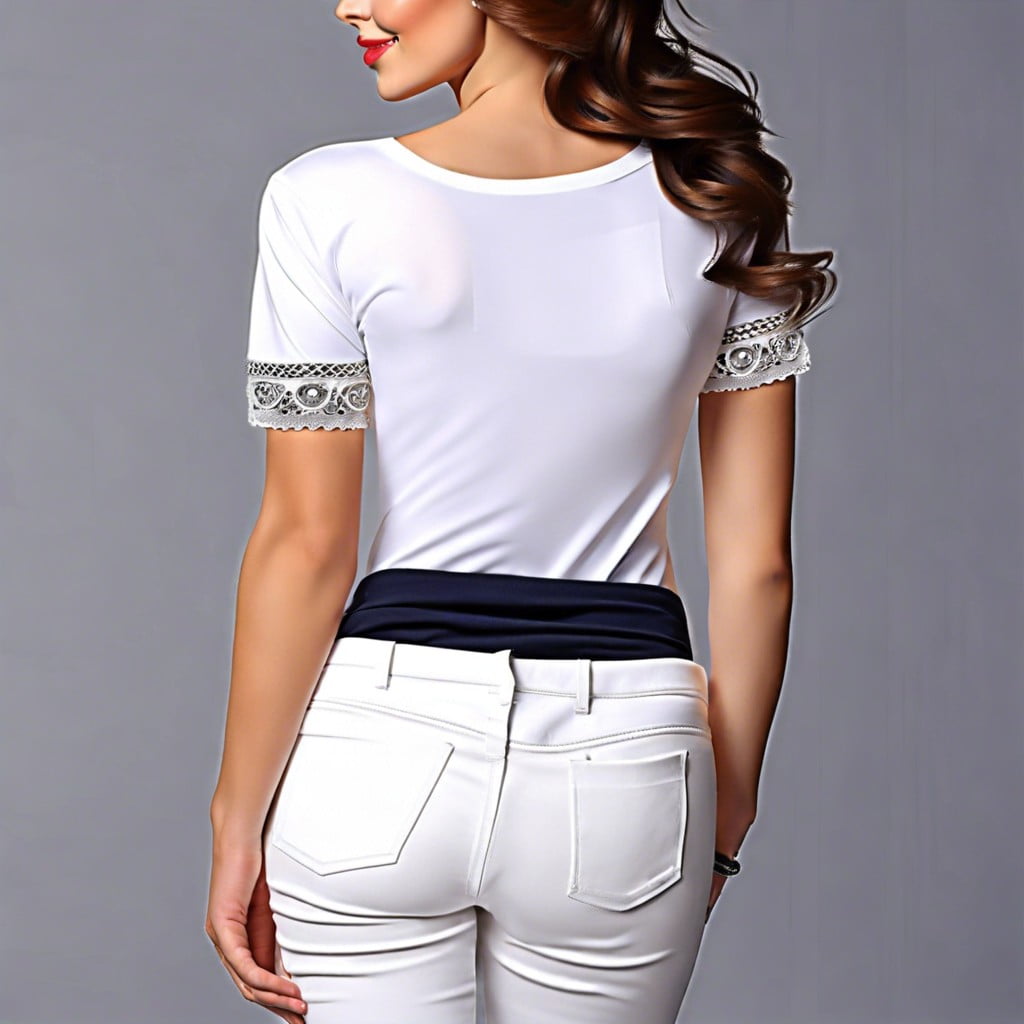
Maternity Shirt Extenders: How to

As your baby bump grows, so does the need for a comfortable wardrobe. A maternity shirt extender is a perfect solution to give your favorite tops a new lease on life throughout your pregnancy.
Here’s how:
- Start with a stretchy, wide band of fabric, ideally one that matches the colors and patterns of your existing tops.
- Measure the circumference of where the extender will sit, typically under your bust or around the hips, to ensure comfort and a proper fit.
- For added flair, consider using lace or elastic ruching, which not only looks great but also provides extra give.
- Attach the extender to your shirt by sewing it to the hem or using no-sew adhesive options for a temporary fix.
- If you’re handy with a crochet hook or knitting needles, craft a custom knit piece, which can add texture and interest.
- Opt for breathable fabrics to keep you cool and comfortable.
This addition to your wardrobe will allow you to wear your non-maternity tops for longer, saving you money and keeping you stylish.
How to Attach a Shirt Extender Without Sewing
Transform your shirts with easy, no-sew extenders using these simple methods:
1. Iron-on Hemming Tape: Cut a section from a complementary fabric to serve as your extender. Position iron-on hemming tape between the shirt’s hem and the fabric piece and press with a hot iron to create a bond without a single stitch.
2. Snap-on Extensions: Source snap tape from a craft store, which has snaps pre-attached at regular intervals. Simply align and press onto both the shirt hem and the extender fabric. This allows for a detachable option that’s also adjustable.
3. Fabric Glue: Choose a strong, washable fabric glue for a permanent solution. Apply along the edge of the shirt, then press the extender fabric onto the glue line, and allow it to dry completely before wearing.
4. Safety Pins: For a quick fix, fold the top edge of your extender fabric over and secure it to the inside of your shirt with safety pins. Ensure that pins are evenly spaced for an even hang.
5. Velcro Strips: Stick self-adhesive Velcro strips to your shirt and the extender piece. This provides a temporary, adjustable method that is easy to remove, wash, or change according to your preferences.
Each option allows for creativity and customization without the need for a needle and thread.
Shirt Extender Hacks: From Old Dresses
Revitalize your wardrobe and add extra length to your tops using old dresses with these practical hacks:
1. Cut the bottom portion of an A-line dress to create a seamless extender that flares out, perfect for adding a peplum touch.
2. Utilize the hemline of maxi dresses for a straight-cut extender that provides a layered look when slipped under shorter shirts.
3. Harvest lace or patterned sections from unworn dresses to add a decorative edge to your extenders.
4. For an instant extender, trim the top part of a dress, keeping the original hem intact for a professional finish.
5. Convert dress straps into tie-backs for adjustable extenders that allow you to customize the fit with each wear.
Repurpose with purpose, turning those forgotten dresses into chic, functional extenders.
Using a Fringed Scarf As a Shirt Extender

A fringed scarf offers a bohemian twist to the standard shirt extender. Here’s how you can use one to add layers and length to your top:
1. Selection: Choose a fringed scarf that’s wide enough to wrap around your hips and long enough for your desired extension length.
2. Positioning: Place the scarf around your waist, where the shirt ends. The fringe should hang down evenly along the hemline of your current top.
3. Securing: Knot the scarf at the side or in the front for a secure hold that adds a focal point to your outfit.
4. Layering: For a seamless look, layer the top over the scarf so that the fringe peeks out as a textured, stylish hem.
5. Accessorizing: Accentuate the extender with a belt or sash to add structure and integrate it into your look fully.
Remember, harmony is key — ensure your scarf complements the color and pattern of your shirt for a coordinated ensemble.
Maintaining the Original Style With a Shirt Extender
To preserve the aesthetic integrity of your original shirt while adding an extender:
1. Match the Fabric: Aim to find a material that closely resembles the shirt’s fabric, maintaining consistency in texture and weight.
2. Complementary Patterns: If your shirt sports a pattern, opt for an extender with either a matching design or a subtle, complementary pattern to avoid clashing.
3. Seamless Color Transition: Select a hue for your extender that effortlessly blends with the shirt’s color palette, ideally in the same shade or a coordinating tone.
4. Keep Proportions in Mind: The extender should proportionally align with the shirt’s cut to preserve its original silhouette and fit.
5. Consider the Hemline: Mirror the shirt’s hemline in your extender, whether it’s a straight cut, curved, or high-low, to ensure continuity in design.
By keeping these points in mind, the extension will appear as a natural part of your shirt, enhancing your outfit while staying true to its initial style.
Shirt Extenders That Blend Perfectly With Your Outfit
Achieving a cohesive look with a shirt extender hinges on color coordination and style selection. Opt for an extender that complements or matches the color palette of your existing wardrobe to ensure a seamless blend. Focus on patterns and textures that resonate with your personal style, whether it’s lace for a feminine touch or jersey for a casual flair.
Consider the occasion and adjust accordingly. A tailored, clean-lined extender suits professional settings, while a relaxed, bohemian style fits casual outings. For a smarter ensemble, match the extender’s fabric to your outfit, ensuring it looks like an intentional layer rather than an afterthought.
Finally, accessorizing strategically can unify your outfit and extender. A belt to cinch at the waist, a statement necklace, or a scarf can tie the look together, making your shirt extender a deliberate and stylish addition to your ensemble.
How to Choose the Color for Your Shirt Extender
Selecting the right shade for your shirt extender can make or break your outfit. Here are some key tips:
1. Match the Shade: Aim for an exact color match to the shirt for a seamless look. This creates an illusion of one continuous piece.
2. Opt for Neutrals: If an exact match isn’t possible, a neutral tone such as black, white, grey, or beige can easily blend with different shirts.
3. Contrast with Confidence: Alternatively, pick a contrasting color for a bold statement. Ensure it complements the shirt and fits within your overall style palette.
4. Embrace Patterns: If you’re feeling adventurous, patterns can jazz up a plain shirt. Stick to patterns with at least one color that matches the shirt to tie the look together.
5. Consider the Occasion: Lighter shades are ideal for daytime and casual settings, while darker extenders suit evening or formal events.
Remember, the goal is to enhance your outfit, not overwhelm it. Choose wisely to ensure your extender adds that perfect touch to your look.
Using Bead Trim for a Unique Shirt Extender
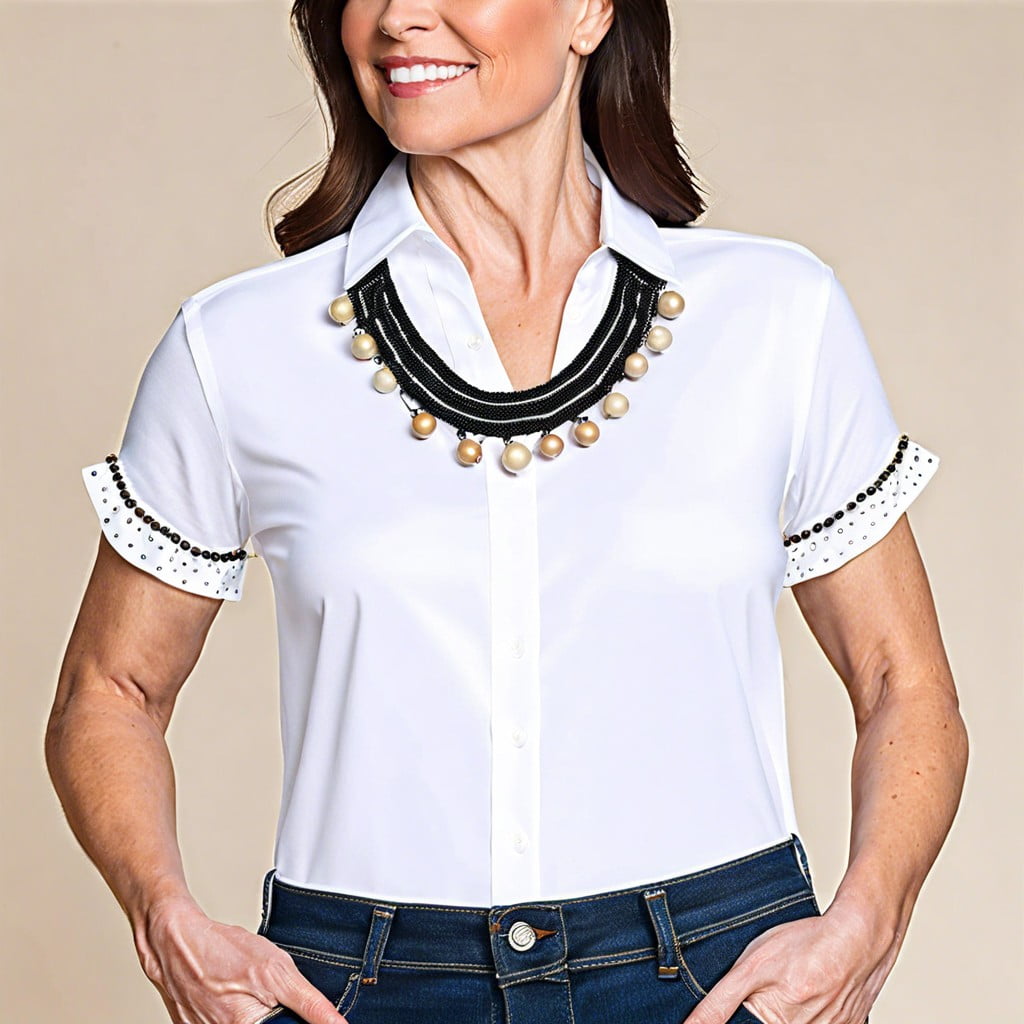
Add a touch of bohemian elegance to your wardrobe by incorporating bead trim into a shirt extender. Embellishing with beads offers a unique flair. Here’s how to elevate your shirt with this stylish detail:
- Select a bead trim that complements your shirt, considering bead size and color to match your personal style.
- Measure the hem of the shirt you wish to extend and cut the beaded trim to the appropriate length, allowing a little extra for attachment.
- Use a strong fabric adhesive or hand stitch the trim directly onto the bottom edge of your shirt for a durable finish.
- Consider layering different types of bead trims for a more intricate look. Mix and match with small and large beads or vary the colors.
- To prevent damage, hand wash your beaded shirt extender or opt for a gentle, cold machine wash in a laundry bag.
This simple addition can dramatically change the look of your garment, making it perfect for casual outings or dressier occasions.
DIY: Add Length to Your Shirt With an Extender
To easily add length to a shirt, begin by selecting a fabric that either complements or matches the original shirt in texture and weight. Opt for a material that has enough width to fit around your waist or hips, depending on where the shirt ends.
Measure the desired length you’d like to add, making sure to include seam allowances on both the top and bottom of the extender piece. Then, cut the fabric to these specifications.
If you’re familiar with a sewing machine, simply stitch the extender piece to the bottom hem of the shirt. For those seeking a no-sew option, fabric adhesives provide a quick and easy alternative. Apply the adhesive according to the instructions, ensuring a firm bond between the shirt and the extender.
For an adjustable solution, consider affixing buttons or hooks to the shirt and corresponding loops or eyelets to the extender. This detachable method allows for versatility and the chance to switch up the extenders for different looks.
Remember, finishing touches matter. Once attached, press the newly added fabric with an iron for a crisp, seamless appearance that makes it look like a natural extension of your original piece.
Master the Art of Shirt Extenders
Elevate your fashion game by integrating extender pieces into your wardrobe. These clever additions can transform the look and feel of your shirts, adding flair or extra coverage where desired.
Combine lace, chiffon, or other fabrics to create a seamless transition from shirt to extender. Play with patterns or stick to solids to customize your outfit.
Ensure that the extender complements the shirt both in terms of design and color. Remember, the key to a great extender is that it should feel like a natural extension of your shirt, not an afterthought.
With practice and experimentation, you’ll be able to create extenders that enhance your style effortlessly.
From an Oversized Tee to a Shirt Extender: an Easy Guide
Transforming an oversized tee into a shirt extender is a simple and cost-effective way to revamp your wardrobe without breaking the bank. Here are the steps to achieve this transformation:
1. Measure the desired length: Decide how much additional length you want your shirt to have and measure the tee accordingly.
2. Cut straight across: Once you have your measurements, cut the bottom section of the oversized tee in a straight line.
3. Finish the edges: If you prefer a neat finish, hem the raw edge. For a more casual look, you can leave the edge raw as most tees won’t fray.
4. Attach it to your shirt: Use fabric glue or quick hand stitches to connect the bottom of your chosen shirt to the new extender. Secure the stitches by reinforcing them or ensure the fabric glue is fully dry.
5. Flatter with layers: Style your new shirt extender under sweaters, tunics, or even dresses to add length and layered flair.
By repurposing an unused tee, not only do you save money, but you also add a touch of personal style to your outfit.
Converting Any Top Into a Shirt Extender
Select a top that fits well around your hips, as this will be the foundation for your extender. It could be an old tank top, a sleeveless shirt, or a fitted tee that you no longer wear as is.
Measure the amount of length you desire to add to your shirt. This will determine how much of the extender top will be visible below your main shirt.
Cut the top horizontally to the desired width of your extender. If you’re aiming for a layered look, a wider piece is ideal, while a narrower strip works for a subtle peek of fabric.
Finish the raw edge of the cut top by hemming, using fabric glue or hem tape for a no-sew option, or adding a decorative lace or trim.
Attach the extender to the inside of your main shirt’s hem using small stitches for a removable option, or use fabric adhesive to bond the pieces together permanently.
Ensure the extender is evenly placed all around the shirt hem by trying it on and making adjustments as necessary, achieving that seamless extension of your outfit.
Thrifted to Extended: Renew Old Shirts
Transforming a pre-loved shirt from your local thrift store into a chic extender is both eco-friendly and fashionable. Here’s how you can give those old shirts a new purpose:
1. Select a shirt with an interesting hemline, like scallops or lace, to add a unique touch to your extended top.
2. Cut the shirt straight across just below the armpits to create a wide band.
3. Choose a complementary or matching color to the shirt you’re extending to maintain color harmony.
4. If the thrifted shirt has a button placket, consider using it as a feature in the front or back of the extender.
5. Secure the cut piece to the bottom of your too-short shirt with pins, then stitch with a sewing machine or by hand for a permanent fix.
6. To make it detachable, add snap buttons or Velcro along the inside hem of both shirts for a versatile wardrobe piece.
With these steps, an old shirt can take on new life, adding flair and modesty to your existing wardrobe.
Ideas Elsewhere
- https://elizabethmadethis.com/diy-shirt-extender/
- https://beginnersewingprojects.com/how-to-make-a-shirt-extender/
- https://livingandlaughingandlearning.blogspot.com/2015/01/t-shirt-extender-diy.html
Browse More
 Baking Soda and Vinegar Drain Cleaning: Simple Steps for a Clog-Free Life
 How Long Does It Take to Tile a Bathroom: Your Ultimate Time-Saving Guide
 Smelly Drain: Banish Odors with Easy Fixes
 How to Remove Bathroom Fan Without Losing Your Cool
 How to Remove Bathroom Vent Cover Without Losing Your Mind
Recap