Last updated on
Dive into the transformative power of the perfect shower niche because getting your niche depth just right can elevate your bathroom from ordinary to extraordinary.
Key takeaways:
- Aim for 12×24 inches for a standard shower niche size.
- Depth of 3.5-4 inches provides ample space for products.
- Consider stud spacing and tile thickness for proper installation.
- Assess storage needs and shower dimensions for an ideal niche.
- Incorporate shelves for versatile and organized storage.
Most Popular Shower Niche Sizes and Dimensions
When it comes to the most sought-after niche sizes, standard dimensions are key for fitting a variety of shower products. Typically, these measurements are 12 inches wide by 24 inches high, a size compatible with most common tile sizes. This allows for straightforward installation without the need for cutting tiles.
For depth, aiming for a range between 3.5 inches to 4 inches is ideal, as it provides ample space for the majority of shampoo bottles and soaps while ensuring items are secure and won’t easily fall out. Remember that too deep a niche can be cumbersome, and too shallow may not serve its purpose effectively.
Additionally, a smaller, standard niche size is often 12 inches by 12 inches, perfect for holding smaller items or when wall space is limited. The key is to assess your storage needs and ensure that the size you select will accommodate your daily routine while integrating seamlessly with the bathroom design.
Determining Shower Niche Dimensions
To establish the right dimensions for your shower niche, start by assessing your storage needs. Consider the size and quantity of items you plan to store such as shampoo bottles, soaps, and razors.
Standard niche sizes often range from 12×12 inches to 12×24 inches, but customization is always an option for unique spaces or specific needs.
Take note of stud spacing in your wall, too, as this will impact the maximum width of your niche without additional structural modifications. Aim for a depth of 3.5 inches to align with standard stud depth, ensuring your niche doesn’t protrude into the room behind your shower. If you desire deeper shelves, be sure to plan for this during the initial construction phase.
Lastly, factor in the thickness of your tile and backer board. This is crucial to ensure that your finished niche aligns seamlessly with your tiled shower walls, achieving a polished look.
How Much Space Do You Need?
Assessing your shower routine is key to determining the requisite space for a niche. Consider the size and number of your daily products. For minimalists, a smaller niche of about 12 inches wide by 24 inches high might suffice. Families or those with larger product collections should contemplate a larger niche or multiple niches.
Next, evaluate your shower dimensions. The niche should not interrupt the structural integrity of the space. Ensure it fits between studs, typically 16 inches apart, unless planning to reframe.
Remember, depth is vital. Standard stud depth offers 3.5 inches, suitable for most bottles, but for bulkier items, a bump-out or custom build might be necessary. Always account for tile thickness in your calculations to avoid a cramped fit for your items. Consider a depth of 4 to 6 inches for ample room without encroaching on your shower space.
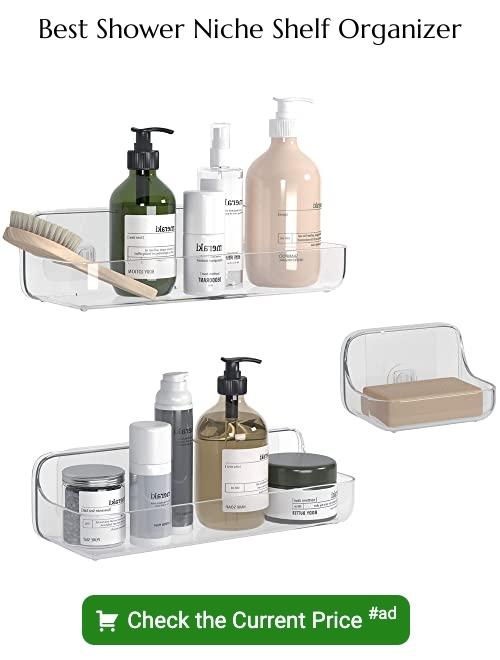
Shelves in Your Niche?
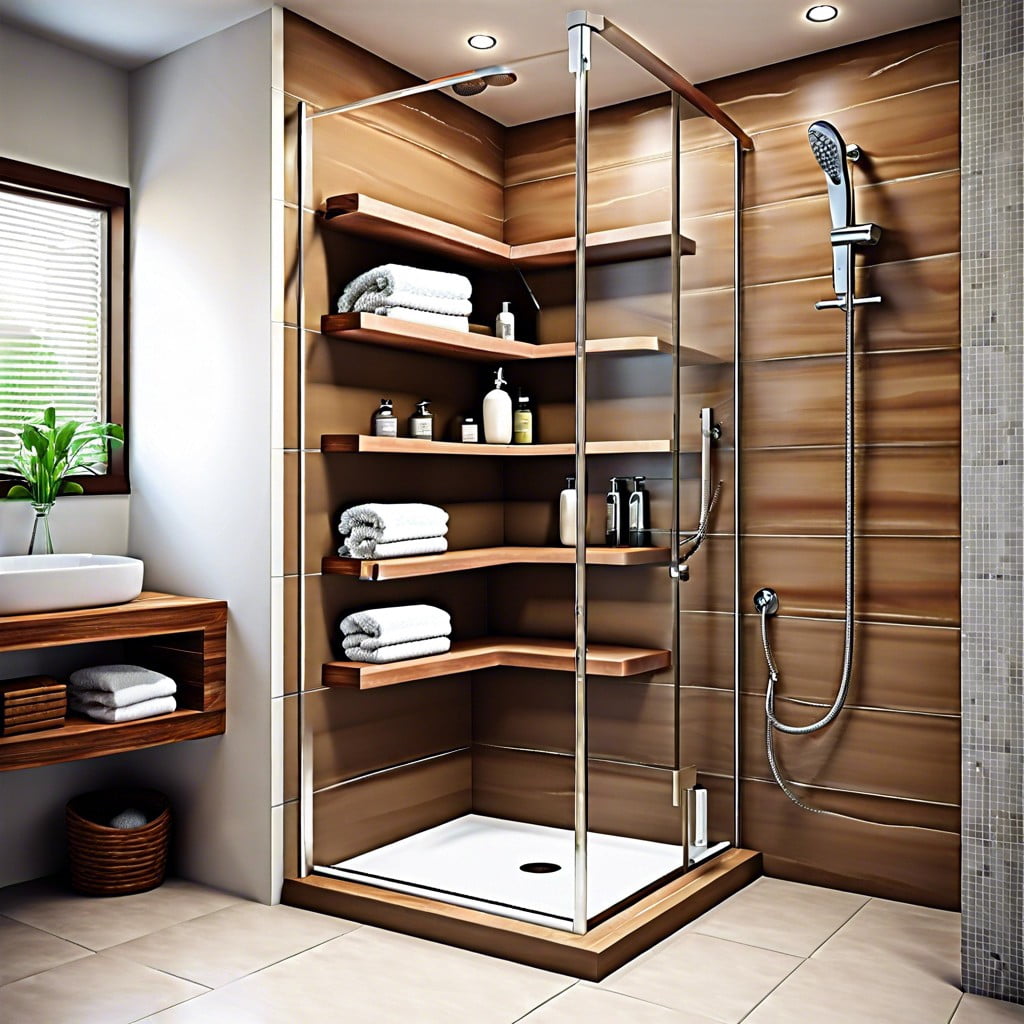
Incorporating shelves into your shower niche offers versatility and maximizes storage space. Consider adjustable shelving to accommodate products of various sizes. Glass is a sleek option that adds a modern touch, while matching tile shelves create a seamless look.
For support, ensure shelves are tilted slightly for water drainage and are secured with waterproof adhesive or grout. Remember to space shelves at a functional height, approximately 12 to 24 inches apart, to comfortably fit tall bottles while keeping daily essentials within easy reach.
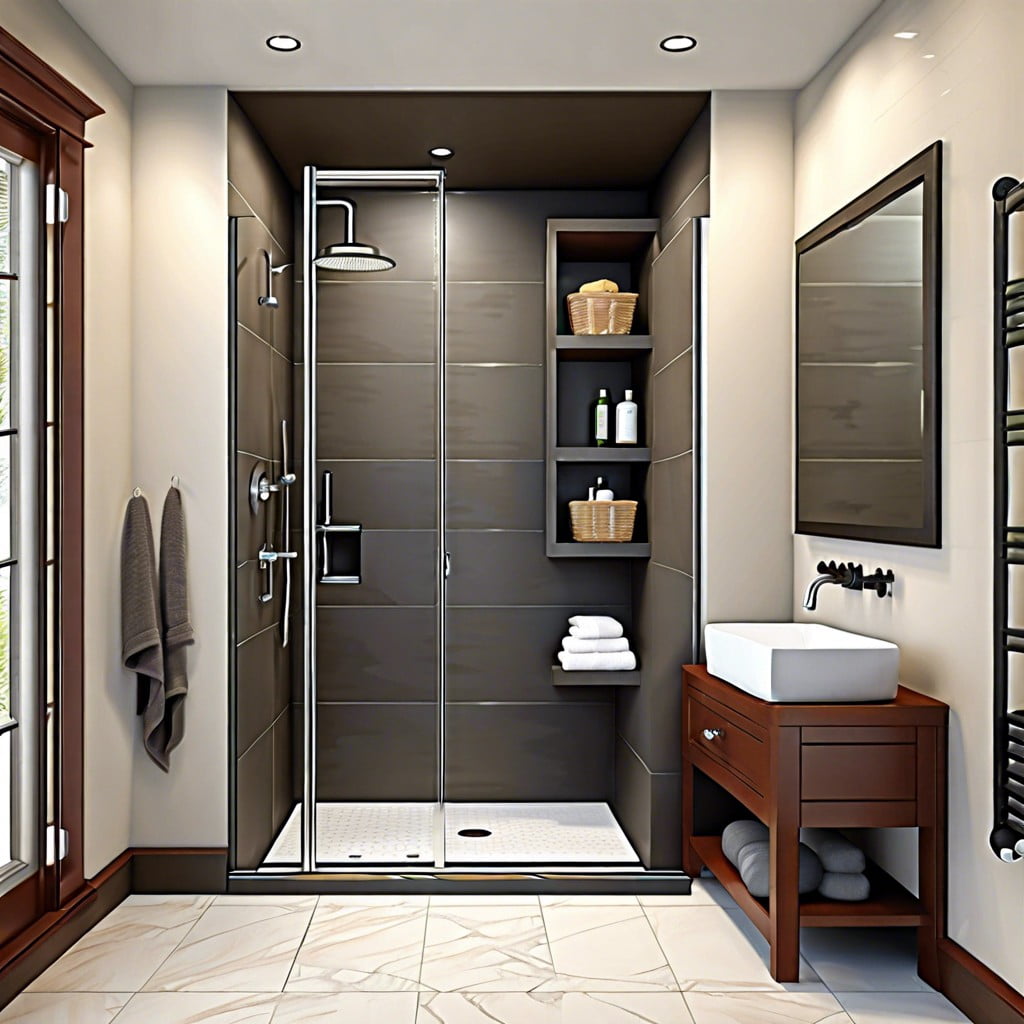
Horizontal Shower Niche
A horizontal shower niche offers an expansive storage area, allowing you to keep all your essentials within reach while creating a sleek, modern look. Here are key points to consider when opting for this layout:
- Extended Space: Stretching along the wall, they provide ample room for bottles and other larger items, reducing clutter.
- Elongated Aesthetic: This style can visually widen a shower space, making it appear larger.
- Strategic Placement: Ideal placement is at chest to eye level for easy access, and it works exceptionally well in conjunction with long wall tiles.
- Multiple Shelves Option: You can incorporate multiple shelves within a horizontal niche for organized storage layers.
- Seamless Integration: With careful planning, a horizontal niche can align with grout lines for a cohesive design.
Remember, the depth should be practical for storing your items without protruding into the shower space, usually around 3.5 to 4 inches.
Tile Ready Shower Niches
Tile ready shower niches offer a quick and hassle-free installation process, designed to fit seamlessly into your shower wall. They come pre-assembled and waterproof, saving you the effort and potential errors of building a niche from scratch. Whether you choose a single compartment or multiple shelves, these prefabricated units simply slot into the opening in your shower wall.
Consider the following when selecting a tile ready niche:
- Sizing: Match the niche size to your wall studs, ensuring it fits snugly between them.
- Material: Typically made from high-density polystyrene or ABS plastic, they provide a sturdy base for tile adhesion.
- Waterproofing: Built to resist moisture, preventing mold and mildew growth behind your tiles.
- Aesthetic: Think about how the tile pattern will align with the niche for a seamless look.
- Compatibility: Ensure your chosen tile can be easily cut to fit the niche, accommodating any size or shape.
By opting for a tile ready option, you efficiently eliminate the complexities of custom-building a shower niche, while achieving a polished, professional look.
Finished Shower Niches
When considering a finished shower niche, it’s all about achieving that seamless look with minimum effort. These niches are pre-assembled and ready to install, saving time and reducing the potential for waterproofing mishaps common with DIY efforts. They often come in a variety of standard sizes and are designed to fit between wall studs, typically measuring 16 inches apart.
To ensure the best fit, measure your space carefully before purchasing. Look for options with a slight slope towards the shower to avoid water pooling at the bottom. Quality finished niches should have a non-porous, easy-to-clean surface.
Choose a style that complements your bathroom aesthetic. Stainless steel gives a modern touch. It’s not just about utility; the materials and finish can add a dash of elegance or a coherent look to blend with your tile choices. Remember, a well-chosen niche can elevate the overall bathroom design while keeping your essential items neatly organized.
How to Choose a Shower Niche?
Selecting the perfect shower niche involves a blend of functionality and aesthetics. Keep these factors in mind:
- Assess Your Storage Needs: Consider the items you plan to store. For minimal needs, a single shelf niche may suffice, while an array of bottles might demand multiple shelves.
- Complement Bathroom Design: Ensure the niche complements your bathroom’s overall look. Cohesiveness in materials and color palette is key.
- Location, Location, Location: Placement is crucial. Opt for an area within arm’s reach from the showerhead but away from direct water flow to avoid constant water exposure.
- Installation Constraints: Before getting your heart set on a design, consult with a contractor. Structural and plumbing considerations might influence your choice.
- Waterproofing Priorities: A proper waterproofing system is essential. The niche should integrate with your shower’s waterproofing plan to prevent mold growth and water damage.
Remember, the niche should enhance your shower experience, not complicate it.
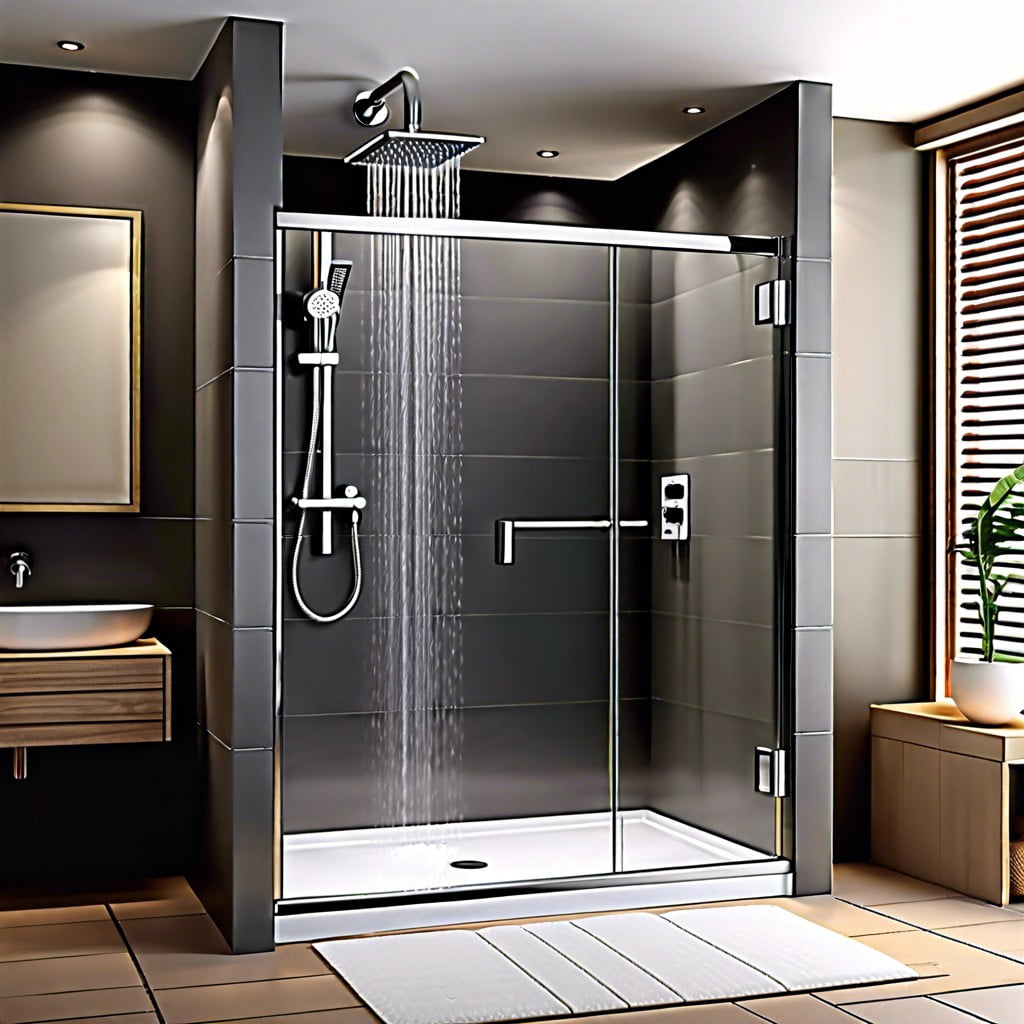
Shower Wall Recess Installation
Prior to installation, ensure your wall cavity is suitable for a recess and check local building codes for compliance. Waterproof the area to avoid future moisture issues.
For a secure fit, use a horizontal stud to support the bottom of the niche; vertical studs should flank the sides to reinforce the structure. Measure twice to cut once, ensuring a precise fit.
Adhere the recess into place with a quality construction adhesive, followed by securing it with screws into the studs for added stability. Apply waterproofing material around the edges to seal against leaks.
Tile or finish the niche to match or complement your existing shower design. Use a level throughout the process to maintain evenness, ensuring professional-looking results.
Benefits Of A Shower Niche
A shower niche ensures a clutter-free zone, offering a permanent home for your toiletries. This built-in shelf eliminates the need for clunky caddies and precarious bottle-balancing on shower edges.
Furthermore, it enhances the aesthetics of your bathroom, allowing you to seamlessly integrate your design elements within a functional space. Safety is another key advantage; by reducing the risk of slips and falls from loose items, a niche contributes to a safer shower area.
It also adds to property value, as prospective buyers often appreciate the blend of style and practicality a niche brings to a bathroom. Lastly, it’s a customizable feature – you choose the size and design that best suits your routine, making your daily shower experience effortlessly streamlined.
Functional Needs Of A Shower Niche
When considering the functional needs of a shower niche, focus on what items you regularly use. Here are key points to ponder:
- Size and Quantity of Products: Measure your tallest and widest bottles to ensure your niche accommodates them comfortably.
- Number of Users: More users typically mean more products. Plan a niche that can hold everyone’s essentials.
- Accessibility: Place the niche at a height that is reachable for all users without having to stretch or crouch.
- Water Drainage: Tilt the niche’s shelf slightly forward to prevent water from pooling and to facilitate drainage.
- Durability and Maintenance: Choose materials that withstand constant moisture and are easy to wipe down without extensive maintenance.
- Integration with Shower Routine: Think about your shower ritual. Position your niche to allow seamless access to products in the order you use them.
Shower Niche Design Choices
When considering the design of your shower niche, focus on coordination and functionality. Choose materials that either match or aesthetically complement your existing bathroom tiles and decor. Ceramic and porcelain tiles are popular choices due to their durability and ease of cleaning.
Opt for a single large niche or multiple smaller ones to accommodate various product sizes. Consider the use of accent tiles within the niche to create a focal point, or maintain simplicity with a seamless look that blends with the surrounding wall.
Ensure the design includes a slight slope towards the shower to prevent water accumulation and make cleaning easier. Incorporate shelving if needed, but keep these proportional to the overall niche size to maintain a balanced look. With these design choices, your shower niche can be both an attractive and practical addition to your bathroom.
To Introduce Contrast or Not?
Deciding on whether to add contrast with your shower niche can be a pivotal design decision. Here are some points to consider:
- Contrast can draw the eye and make a statement piece of your niche; vibrant tiles against a neutral background can achieve this.
- A contrasting niche can break up a monotonous wall, providing visual interest in a minimalist bathroom.
- On the flip side, a non-contrasting, blended niche creates a seamless look, expanding the visual space of your shower.
- Materials matter—a glossy finish on your niche against matte walls can add contrast through texture rather than color.
- Lighting can amplify contrast. Consider installing a small LED strip to highlight the niche and its contents.
- Remember, personal preference plays a significant role; choose what feels right for your own bathroom sanctuary.
Shower Ledge Vs Niche
When deciding between a shower ledge and a niche, consider both functionality and aesthetics. A ledge, also known as a shower bench, offers a flat surface that extends outwards, typically running along the length or corner of a shower. It’s ideal for larger items and for those who need a place to sit while showering.
In contrast, a niche is an alcove carved into the wall, providing a sleek and unobtrusive area for storing bathing essentials. It maximizes space without intruding into the shower area. Niches are excellent for maintaining a clean look and can be customized with accent tiles to enhance your bathroom’s design.
The choice boils down to personal preference and specific bathroom needs. If frequent, bulky item storage or seating is a priority, a ledge may be beneficial. For a streamlined, space-saving solution that cuts down on clutter, a niche could be the perfect fit. Keep in mind the ease of cleaning and waterproofing during decision-making as these factors will affect the longevity and functionality of your choice.
Ideal Height (for Most People)
When selecting the placement for your shower niche, optimal accessibility is key. Positioning the niche at chest to eye level when standing is typically best, which translates to about 48 to 60 inches off the shower floor. This height allows for easy reach without the need to stoop down or stretch up, accommodating the majority of users.
Consider the specific users of the shower. A lower placement might be more practical in a children’s bathroom, ensuring that kids can independently access bath products. On the other hand, for a shower frequently used by tall individuals, a slightly higher installation might be more comfortable.
Also, keep in mind the sight lines from outside the shower. You may want the contents to be discreet, so aligning the niche slightly above or below direct line of sight from the bathroom door can provide some privacy for your shower products.
Lastly, assess the shower’s architecture. Avoid cutting into any structural studs and ensure that the chosen height does not interfere with plumbing or electrical wiring behind the walls. A seamless integration into the existing tile work will yield the most aesthetically pleasing result.
Installing Your Niche
When it comes to installation, precision is key.
Measure twice and cut once to ensure your niche fits perfectly into the designated wall space.
Begin by framing the desired area with support behind the wall, making sure it’s level and well-supported to bear the weight of any stored items.
Waterproofing is essential to prevent moisture damage, so apply a waterproof membrane around the edges before setting the niche in place.
Use tile adhesive to secure the niche, then tile around it seamlessly for a polished look.
Allow adequate drying time for adhesive and grout to ensure a stable, mold-resistant niche, ready to enhance your shower experience.
How to Clean a Shower Niche
Maintaining the cleanliness of your shower niche is as straightforward as it is essential. Start with a simple wipe-down using a damp cloth to remove any surface debris and water spots.
For deeper cleaning, a non-abrasive cleaner is ideal to preserve the niche’s material. Apply the cleaner, let it sit for a specified duration according to the product instructions, then scrub gently with a soft brush. This will help address mildew or soap scum build-up, especially in grout lines.
Rinse thoroughly with water and dry with a clean cloth to prevent water stains. Regular cleaning, at least once weekly, will maintain the niche’s appearance and prevent the growth of mold and mildew.
If your shower niche includes metallic parts, use an appropriate cleaner to keep the metal bright and free from corrosion. Remember, always avoid harsh chemicals that can damage the niche’s surfaces.
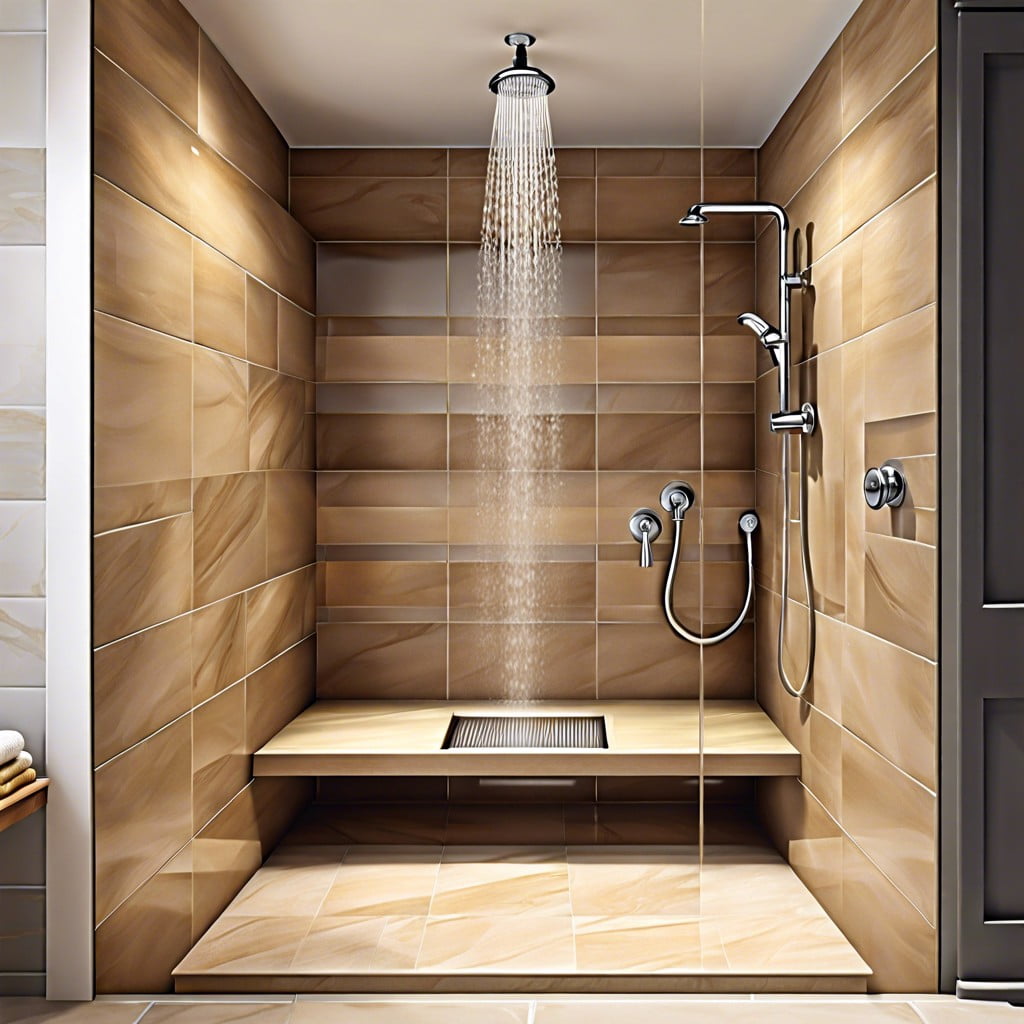
What Does a Niche in the Shower Look Like?
A shower niche is an inset in the wall of your shower, acting as a built-in shelf that seamlessly blends with the interior. It’s typically rectangular, but you might come across square or even arched designs. Essential features are clean lines and a neat appearance that doesn’t interrupt the shower’s flow.
Expect to find niches encased in the same tile or contrasting material as the rest of the shower for a cohesive or accentuating effect. They often feature a slight tilt towards the shower area to prevent water from pooling. These recessed shelves can be outfitted with subtle lighting to highlight your bath essentials while adding a touch of luxury.
What Size Should My Niche in the Shower Be?
Selecting the ideal dimensions for your shower niche requires a balance between your storage needs and the spatial limitations of your bathroom.
Typical niches measure between 12 and 24 inches in width, with a height of 24 inches being fairly standard.
The depth should comfortably accommodate your largest bottle, generally around 3.5 to 4 inches.
- Align niche size with commonly used items such as shampoo bottles or soap dispensers.
- Consider multiple niches if your storage needs exceed a single niche’s capacity.
- Factor in the wall stud spacing; standard spacing is 16 inches on center, influencing niche width.
- For seamless integration, the niche should complement existing bathroom tile and fixtures.
- Depth considerations are critical in avoiding water accumulation and ensuring ease of cleaning.
Choosing the right dimensions ensures your shower niche is not only practical but also enhances your bathroom’s aesthetics.
How Do I Make My Shower Niche Stand Out?
Embrace unique materials and textures. Opt for a striking contrast with the rest of your shower, like boldly patterned tiles or a striking mosaic.
Incorporate lighting elements. LED strips or small, waterproof spotlights can highlight the niche and transform it into a focal point.
Add a pop of color. Select a vibrant shade for the back wall of the niche that complements your bathroom’s color scheme.
Consider floating shelves. A sleek glass shelf or a piece of natural stone can enhance the niche’s aesthetic while adding functionality.
Play with the shape. Move beyond the standard rectangle and experiment with arched or hexagonal niches for a dash of architectural interest.
Frame your niche. Using a different tile or trim around the niche can make it appear as art on the wall.
FAQ
Can a shower niche be any size?
A shower niche can be any size, depending on your storage needs and available space.
Where should the shower niche be located?
The ideal location for a shower niche is on a wall different from that of the showerhead, positioned between two studs at a comfortable height for users.
Do shower niches leak?
While improper installation can result in shower niches leaking, employing correct waterproofing techniques ensures a leak-free niche.
How high should a shower niche be from the shower floor?
The optimal height for a shower niche is approximately 60 inches, or 5 feet, from the shower floor.
What materials are best for constructing a shower niche?
Ceramic tiles, natural stone, and glass are excellent materials for constructing a shower niche due to their durability and water-resistant qualities.
How can I waterproof a shower niche to prevent leakage?
To waterproof a shower niche and prevent leakage, install a waterproofing membrane securely over the niche, ensuring it overlaps with the main shower area, sealing all edges and corners thoroughly.
How many niches are typically recommended for a single shower space?
Typically, two or three niches are recommended for a single shower space.
Browse More
 Baking Soda and Vinegar Drain Cleaning: Simple Steps for a Clog-Free Life
 How Long Does It Take to Tile a Bathroom: Your Ultimate Time-Saving Guide
 Smelly Drain: Banish Odors with Easy Fixes
 How to Remove Bathroom Fan Without Losing Your Cool
 How to Remove Bathroom Vent Cover Without Losing Your Mind
Recap