Last updated on
Installing a walk-in shower on a concrete floor elevates your bathroom aesthetics and convenience because it embodies a practical approach to modern design and easy accessibility.
Key takeaways:
- Properly prepare the concrete floor for installation.
- Apply a waterproof barrier and design the correct drainage slope.
- Choose durable and non-slip tiles for the shower area.
- Incorporate accessibility features like grab bars and a zero-threshold entry.
- Regular maintenance and cost comparison for long-term value.
The List Already Contains Fewer Than 20 Items, but Here’s an Even More Streamlined Outline Without Any Excessive or Redundant Points
When considering the addition of a walk-in shower to your concrete floor, understanding the methodology behind the design and preparation is key. Starting with a properly prepared surface is vital. Ensuring that your concrete is level and free of cracks will lead to a successful installation.
Next, the application of a waterproof barrier is crucial to prevent water damage and maintain the integrity of your shower area. Designing the correct drainage slope ensures water flows directly into the drain, avoiding standing water that can lead to mold growth. Selection of a shower pan aligns with the chosen design aesthetics, while also playing a pivotal role in effective water management.
Tiles will not only add beauty but must also be chosen for their durability and non-slip properties. Sealing and grout application are the finishing touches that seal out moisture and solidify the tiles in place. Incorporating accessibility features such as grab bars and a zero-threshold entry enhances safety and convenience.
Regular maintenance will keep your shower looking great and functioning well, while a cost comparison offers perspective on the investment value of your installation.
Benefits of a Walk-In Shower On Concrete Floor
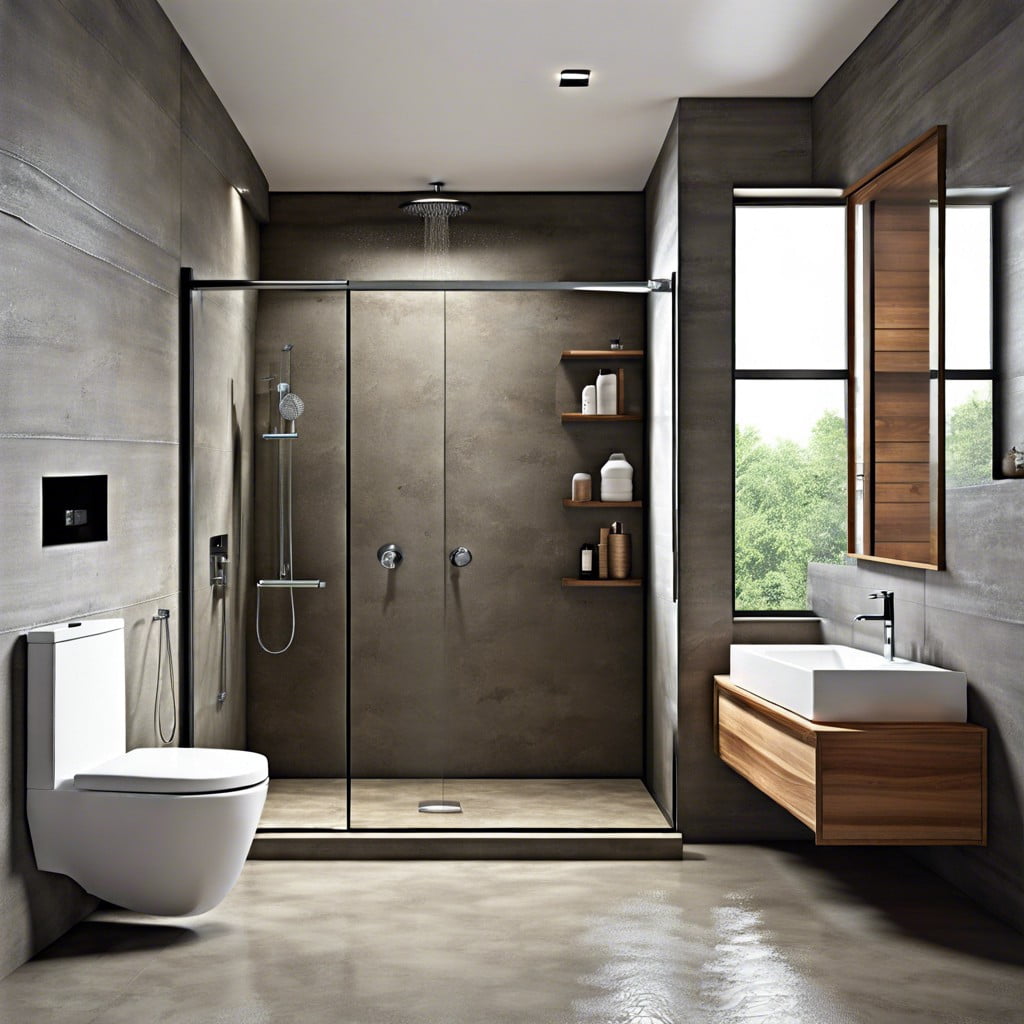
Opting for a walk-in shower built directly on a concrete floor pays off with both practicalities and aesthetics. First, the absence of a threshold makes entry safe and effortless, a feature that enhances accessibility for individuals of all mobility levels. Moreover, the durability of concrete means your foundation is robust and long-lasting, reducing the need for frequent repairs.
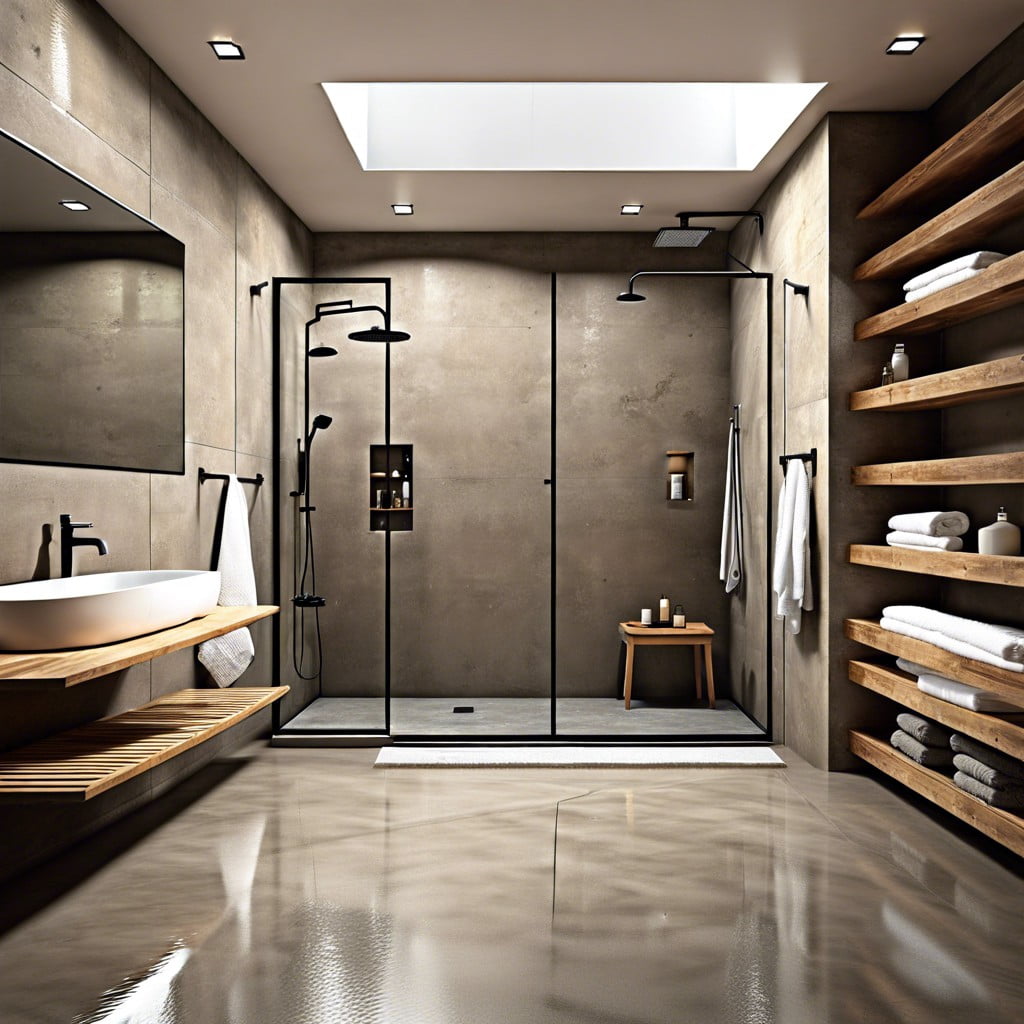
The versatility in design also stands out; concrete allows for a custom fit to any bathroom shape, creating a seamless and open-concept look that can make even smaller spaces appear more expansive. This adaptability extends to style options, with concrete providing a modern, industrial feel or a polished, minimalist charm, depending on the finish.
Cleaning becomes a breeze with fewer nooks and crannies for mold and mildew to hide. This means a healthier environment and less time spent on maintenance. Lastly, a well-built walk-in shower on a concrete floor can add considerable value to your home, proving to be a sound investment for the future.
Essential Tools and Materials Needed
Embarking on the installation of a walk-in shower necessitates a well-stocked toolkit to ensure smooth sailing throughout the process. You’ll need a sturdy tape measure for accurate measurements, a spirit level to guarantee perfect horizontal and vertical alignment, and a chalk line for precise marking.
Concrete demands specific treatment, so arm yourself with a concrete drill bit and hammer drill for anchoring purposes. A demolition hammer may also come into play if you’re breaking through existing concrete.
For waterproofing, adhesives and sealants are crucial—opt for high-quality options that cater to wet environments. Along with a notched trowel for adhesive application, equip yourself with a caulking gun for seals that won’t budge.
When it comes to creating the perfect grade for drainage, a trowel will help you finesse the slope. Don’t forget a pipe cutter and P-trap for the drain installation, essential to any shower setup.
Tiles are the finishing touch, requiring a tile cutter or wet saw for bespoke shapes and sizes, along with spacers to maintain uniform lines. Last but not least, for the final installation, a mixing paddle will ensure your thinset and grout reach the perfect consistency for a lasting hold.
Preparing the Concrete Floor for Installation
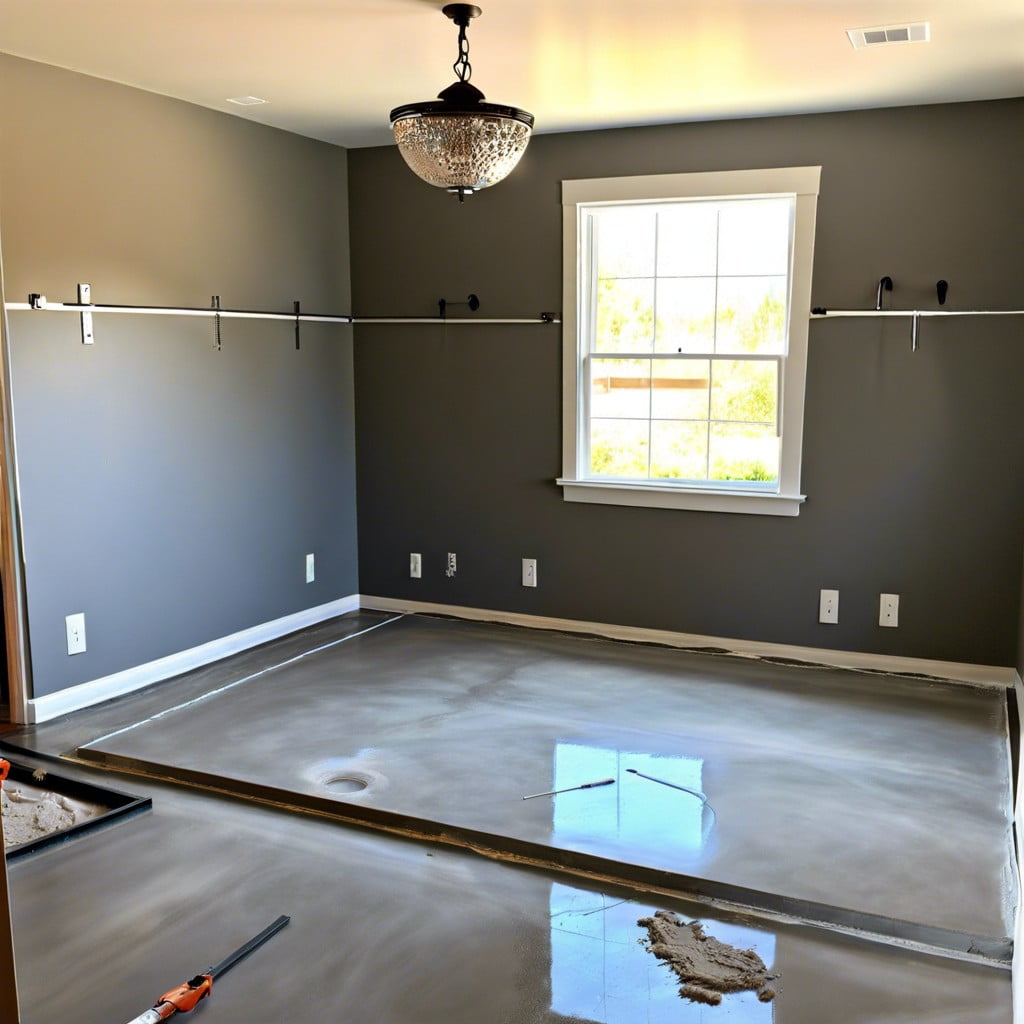
Before diving into the actual installation, ensuring your concrete surface is ready is crucial. First, inspect for any cracks or uneven areas; these could hinder proper drainage and affect the tile adhesion later on. Fill cracks with concrete filler and allow it to dry completely. For a smooth finish, a self-leveling compound works wonders in evening out bumps and dips.
Next, cleanliness is key. Sweep away any debris and dust. To promote optimal adhesion for waterproofing membranes or paints, scrub the floor with a concrete cleaner and a stiff-bristled brush, then rinse thoroughly and let it dry.
Once clean and level, it’s time to mark your shower’s layout. Use a pencil or chalk line to outline where your shower area will be. This visual guide ensures all your following steps—from laying the shower pan to tiling—are precise and within your desired boundaries.
Waterproofing the Shower Area
Ensuring your walk-in shower is a watertight space is crucial to prevent costly water damage. Start by applying a waterproof membrane, which acts as a solid barrier against moisture. This membrane can either be a liquid that you paint on, or a sheet you lay down, covering not just the floor but the lower sections of the surrounding walls.
Next, address the corners and seams where walls meet the floor, as these are high-risk areas for leaks. Use a sealing strip or special waterproofing tape to reinforce these junctions. Remember, attention to detail here is vital, as any gaps can lead to long-term issues.
After the membrane is in place and sealed, allow it to cure as per the manufacturer’s instructions. This step is not to be rushed, as a properly cured waterproofing layer provides a sturdy foundation for the tile or finishing material you choose next, ensuring your stylish walk-in shower stays dry on the outside and enjoys a long life with minimal maintenance.
Designing Drainage and Slope
Ensuring water flows effortlessly towards the drain is critical in any walk-in shower. Here’s how to achieve this:
1. Ideal Slope Consistency: Aim for a slope of 1/4 inch per foot, which allows water to drain quickly without pooling.
2. Pre-Slope Layering: Before installing the pan, apply a layer of mortar to create the initial slope and direct water to the drain.
3. Strategic Drain Placement: Position the drain at the lowest point of the shower to capitalize on natural water flow.
4. Use of String Lines: Employ string lines as guides to ensure the slope is even and consistent during the pre-slope stage.
5. Level Check: Regularly use a level throughout the process to maintain the proper slope and ensure accuracy.
6. Secondary Drainage Consideration: Utilize additional drains or trench drains for larger shower areas to avoid any stagnant water areas.
Remember, proper drainage prevents water damage and promotes a healthy shower environment.
Shower Pan Selection and Installation
Selecting the right shower pan is crucial for the functionality and longevity of your walk-in shower. Aim for a pan that complements the dimensions and design of your bathroom while ensuring it’s built for a concrete floor fixture.
Here are some key pointers:
- Material Matters: Acrylic, fiberglass, and stone resin are popular due to their durability and ease of maintenance. Acrylic offers a lightweight solution, whereas stone resin provides a more solid, luxurious feel.
Size and Shape: Consider the size of your shower space. Pans come in various shapes like square, rectangular, and neo-angle to fit corners. Ensure the pan size promotes efficient water drainage.
Drain Alignment: The shower pan must align with the drain location in your concrete floor. Offset drains require a pan with a matching design to avoid additional plumbing work.
Installation Insights: Properly level the pan and secure it to the floor. Use a mortar bed if recommended by the manufacturer for additional support and stability.
Testing for Leaks: Before proceeding with tiling and finishing, perform a water test to ensure the pan does not leak, preserving the integrity of your shower foundation.
Tiling for Durability and Aesthetics
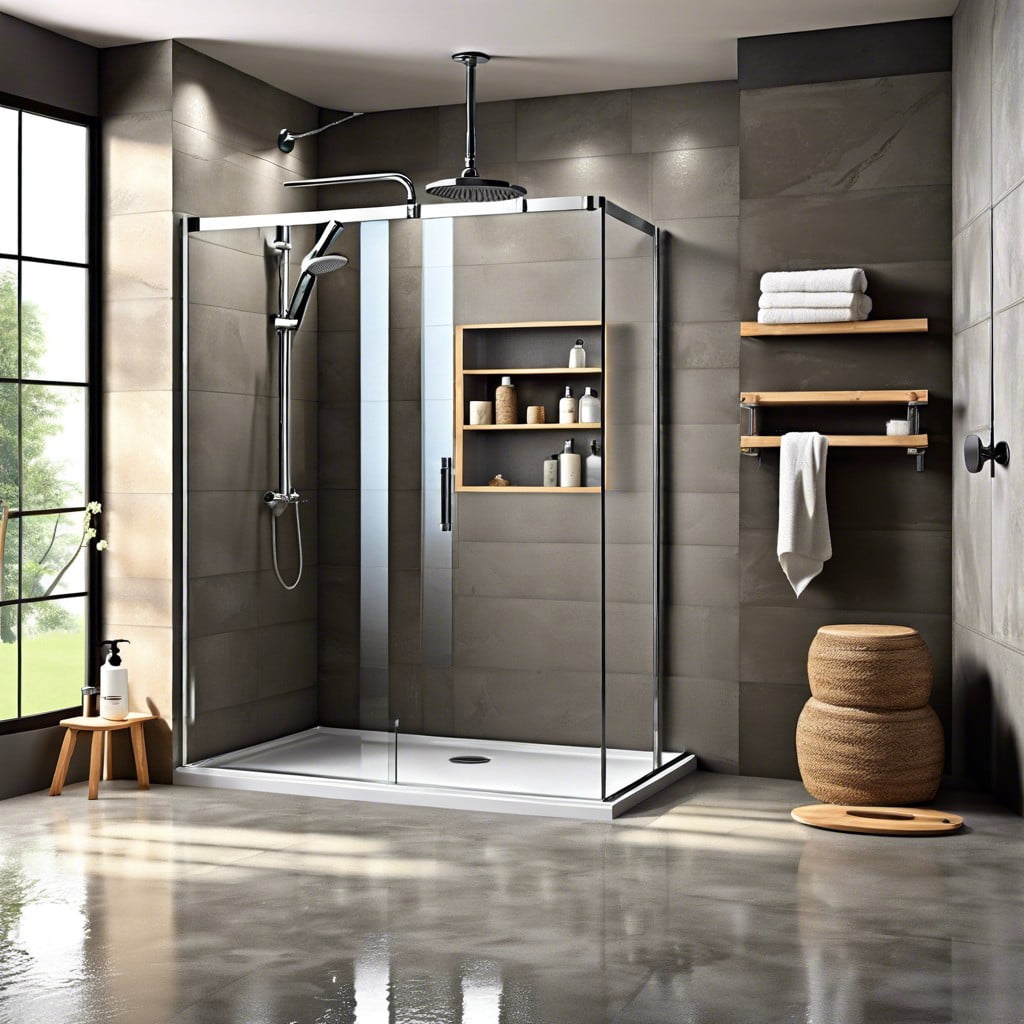
Selecting the right tile for your walk-in shower is pivotal not only for longevity but also for creating an inviting space. Porcelain or ceramic tiles are top picks due to their resilience against moisture.
Choose tiles with a textured surface to reduce the risk of slipping. For an elegant look, consider larger tiles which mean fewer grout lines and a cleaner finish. Mosaic tiles can provide a custom design element and improve grip due to their multiple grout lines.
Ensure your chosen grout is mold-resistant to uphold hygienic standards. To keep the look fresh and the structure sound, reseal grout lines annually. Opt for color schemes and patterns that complement the overall bathroom aesthetic for a cohesive design.
Sealing and Grout Application
After tiles are meticulously laid, sealing and applying grout become paramount for longevity and aesthetics. Sealant acts as a barrier, safeguarding against moisture and mildew. For concrete shower floors, use a high-quality penetrating sealant suited for both tiles and grout, enhancing water resistance.
Grout plays a dual role in filling gaps and contributing to the overall design. Opt for an epoxy-based grout, which is resilient against staining and doesn’t require sealing, unlike its cement-based counterpart. Here’s how to proceed:
- Evenly apply the grout using a grout float, pressing firmly to fill joints completely.
- Remove excess grout with the float at an angle.
- After about 10 minutes, gently clean tile surfaces with a damp sponge.
- Use a grout finisher tool to smooth joint lines for a professional look.
- Allow the grout to cure as recommended by the manufacturer before applying the sealant.
Remember, sealant application isn’t a one-time task. Reapply periodically as part of regular maintenance to keep your walk-in shower in prime condition.
Accessibility Features for a Walk-In Shower
Incorporating accessibility features is key in ensuring your walk-in shower is safe and user-friendly for individuals of all abilities. Consider these adaptations:
- Zero-threshold entry allows for smooth entry and exit, eliminating trip hazards and facilitating wheelchair access.
- Install grab bars for added stability and support, placing them strategically where users can easily reach them.
- Seating options, such as built-in benches or fold-down seats, offer comfort and security during showering.
- Adjustable showerheads and hand-held nozzles provide flexibility for users of varying heights and mobility levels.
- Nonslip floor tiles reduce the risk of falls, enhancing safety in wet conditions.
- Ensure ample space for maneuvering, especially important for those using mobility aids.
By integrating these features, your walk-in shower will be both stylish and adaptable to a wide range of needs.
Maintenance Tips for a Concrete Floor Shower
Maintaining the pristine appearance of your walk-in shower can be achieved with a few straightforward habits. Regularly squeegee the walls and floor after each use; this simple task can prevent water spots and reduce mildew growth.
Weekly, scrub the concrete with pH-neutral cleaners to safeguard the sealant and prevent the etching effect of harsh chemicals. Check the sealant and grout lines at least every six months, resealing when necessary to ensure water resistance.
Additionally, keep the drain clear of hair and debris to sustain proper drainage and prevent clogging, which can lead to water damage over time. For an easy refresh, occasional buffing can bring back the natural luster of the concrete without the need for extensive resurfacing.
Cost Comparison With Traditional Shower Installations
Understanding the financial implications is crucial when choosing between a walk-in shower on a concrete floor and a conventional shower setup. Here’s a breakdown to help navigate this aspect:
- Initial Investments: Concrete floor installations may involve higher upfront costs due to the necessary preparation and materials, especially if starting from scratch.
- Long-Term Savings: Durability is a hallmark of concrete, potentially leading to lower maintenance expenses over time compared to prefabricated showers.
- Customization Costs: While standard showers have fixed prices, walk-in showers can vary widely in cost based on size, design preferences, and chosen fixtures.
- Resale Value Enhancement: Homes with modern, walk-in showers often attract buyers willing to pay more, potentially increasing your home’s market value.
- Water Usage: Efficient drainage design in walk-in showers may result in less water usage, reflecting modestly in utility bills.
Compare quotes, factor in longevity, and weigh the aesthetic appeal against your budget to make an informed decision.
FAQ
Can you have a walk in shower with concrete floor?
Yes, it’s possible to have a walk-in shower with a concrete floor, though the installation process may be slightly more involved and require additional work.
How do you waterproof a shower floor on concrete?
To waterproof a shower floor on concrete, one needs to apply a concrete-specific waterproofing primer evenly across the shower floor using a brush or roller to ensure a strong bond between the concrete and the waterproofing membrane.
Can you tile a shower floor directly on concrete?
Yes, you can tile a shower floor directly on concrete, but the preferred method is using an intervening layer of uncoupling membrane or installing a cement board before laying the tiles.
Do I need a shower pan on concrete?
Yes, a shower pan is necessary on concrete to safeguard the floor and subfloor from potential leaks since grout or concrete utilized in shower installations isn’t completely waterproof.
What materials are needed for installing a walk-in shower on a concrete floor?
To install a walk-in shower on a concrete floor, you would need a shower kit, concrete backer board, waterproofing membrane, mortar, tiles, grout, caulk, and necessary plumbing fixtures.
How is the slope accomplished when constructing a walk-in shower on concrete?
The slope in a walk-in shower is accomplished by creating a gradual decline towards the drain using a pre-slope, which is constructed with a mixture of concrete and sand, then followed by the application of a waterproofing layer.
What are the best choices for sealing and finishing a concrete shower floor?
The best choices for sealing and finishing a concrete shower floor include penetrating sealers for waterproofing and Epoxies, Urethanes, or Polyaspartics finishes for durability and aesthetic appeal.
Browse More
 Baking Soda and Vinegar Drain Cleaning: Simple Steps for a Clog-Free Life
 How Long Does It Take to Tile a Bathroom: Your Ultimate Time-Saving Guide
 Smelly Drain: Banish Odors with Easy Fixes
 How to Remove Bathroom Fan Without Losing Your Cool
 How to Remove Bathroom Vent Cover Without Losing Your Mind
Recap