Last updated on
Embrace the elegance of wet room bathrooms because their functionality marries perfectly with suave contemporary design.
In the world of modern bathroom design, the allure of a sleek, functional wet room is unparalleled. Transforming your bathroom into a waterproof sanctuary not only elevates the aesthetic but also enhances the functionality of your personal oasis.
From integrating underfloor heating to keep your space comfortably dry to embracing minimalist sanitaryware for that uncluttered look, this guide is your go-to resource for creating a wet room that’s both chic and practical.
Dive into the realm of innovative surfaces like microcement, the strategic use of mirrors, and the visual expansion through light colors, as we detail the essentials for constructing a wet room that responds to your style and safety needs.
Key takeaways:
- Ensure the space is fully waterproofed
- Consider underfloor heating for a dry and safe space
- Explore alternative surfaces like microcement and stone slabs
- Choose the right sanitaryware for a minimalist aesthetic
- Maximize space by using mirrors and light colors
Ensure the Space You Intend to Use Is Fully Tanked
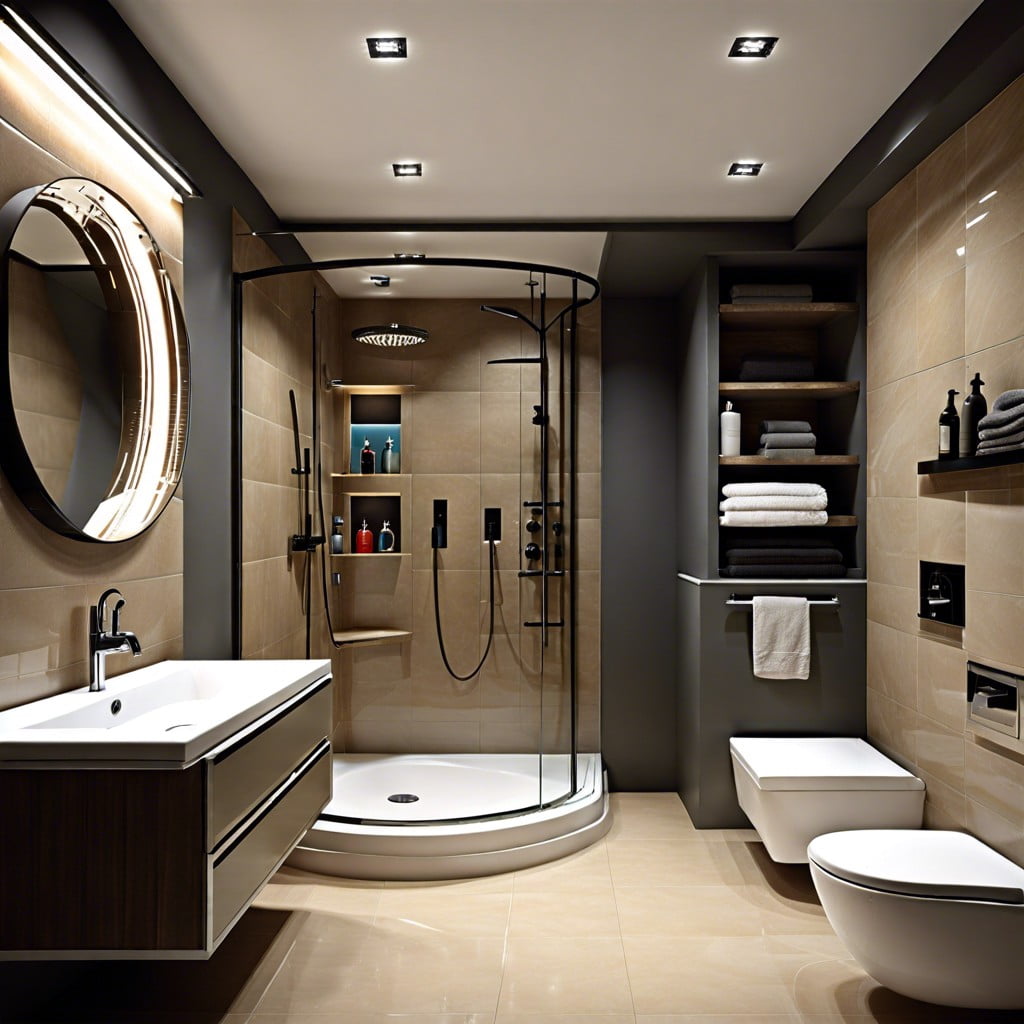
Waterproofing, or tanking, your wet room is crucial to prevent leaks and water damage. The tanking process involves applying a waterproof membrane to the floor, the lower section of the walls, and the entire shower area. This membrane should also wrap over the floor’s surface into the drain to create a seamless water barrier.
Be attentive to corners and junctions, as they are potential weak spots for leaks. Use a reputable waterproofing kit for guaranteed results and follow the manufacturer’s guidelines meticulously. Hiring a professional for this step can ensure a watertight finish that stands the test of time.
Consider Underfloor Heating to Keep the Space Dry
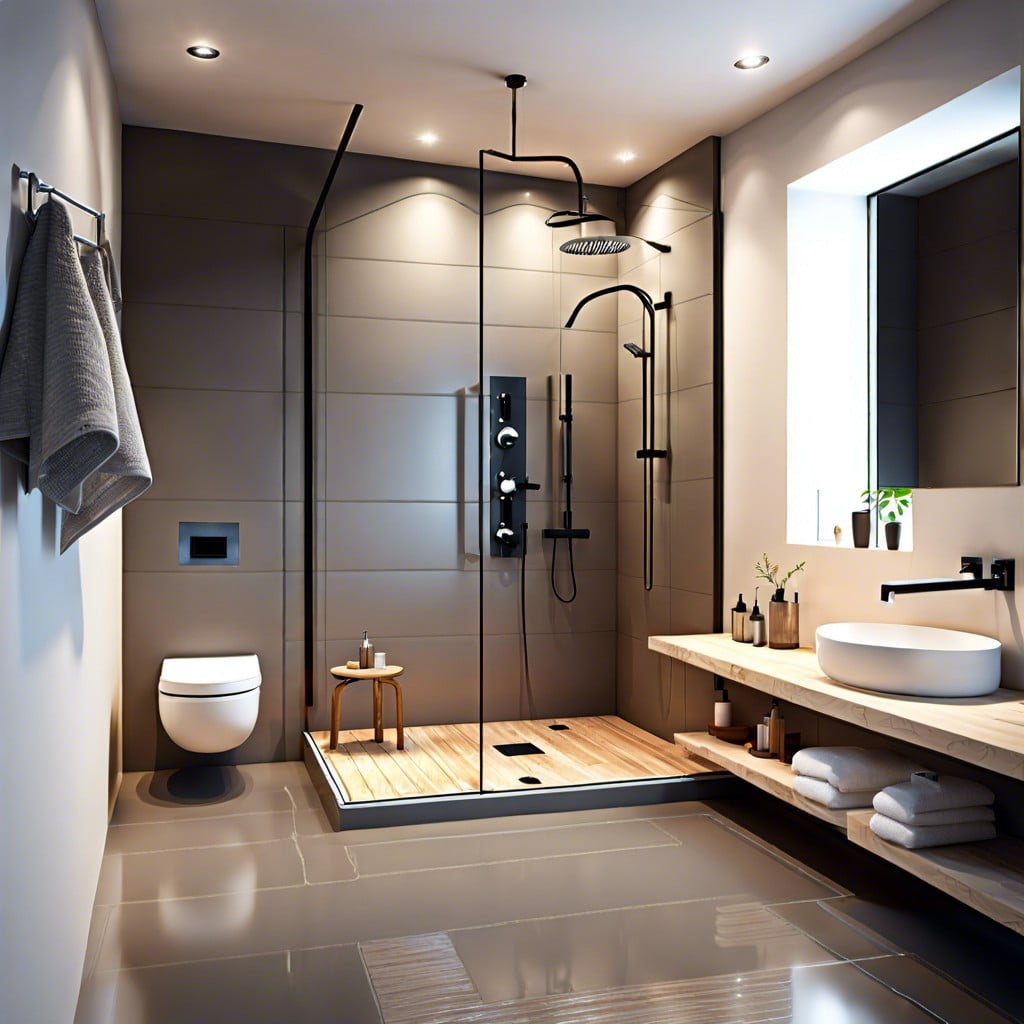
Underfloor heating not only offers the comfort of stepping onto a warm floor but also plays a practical role in a wet room. The warmth helps to evaporate water more quickly, reducing the risk of slips and keeping the room dry and mildew-free. Here’s why it’s advantageous:
- Quick Drying: Heated floors will speed up the drying process of standing water, minimizing puddles.
- Enhanced Safety: A dry floor is a less slippery floor, reducing the likelihood of accidents.
- Mold Resistance: With reduced moisture, the likelihood of mold and damp spots forming around your wet room is significantly lower.
- Consistent Temperature: It provides an even heat distribution, creating a cozy and inviting atmosphere throughout the space.
When installing, ensure that the system is compatible with your chosen floor finish and that it’s designed specifically for use in wet areas for longevity and safety.
Consider Different Surfaces Ideas, Not Just Tiles
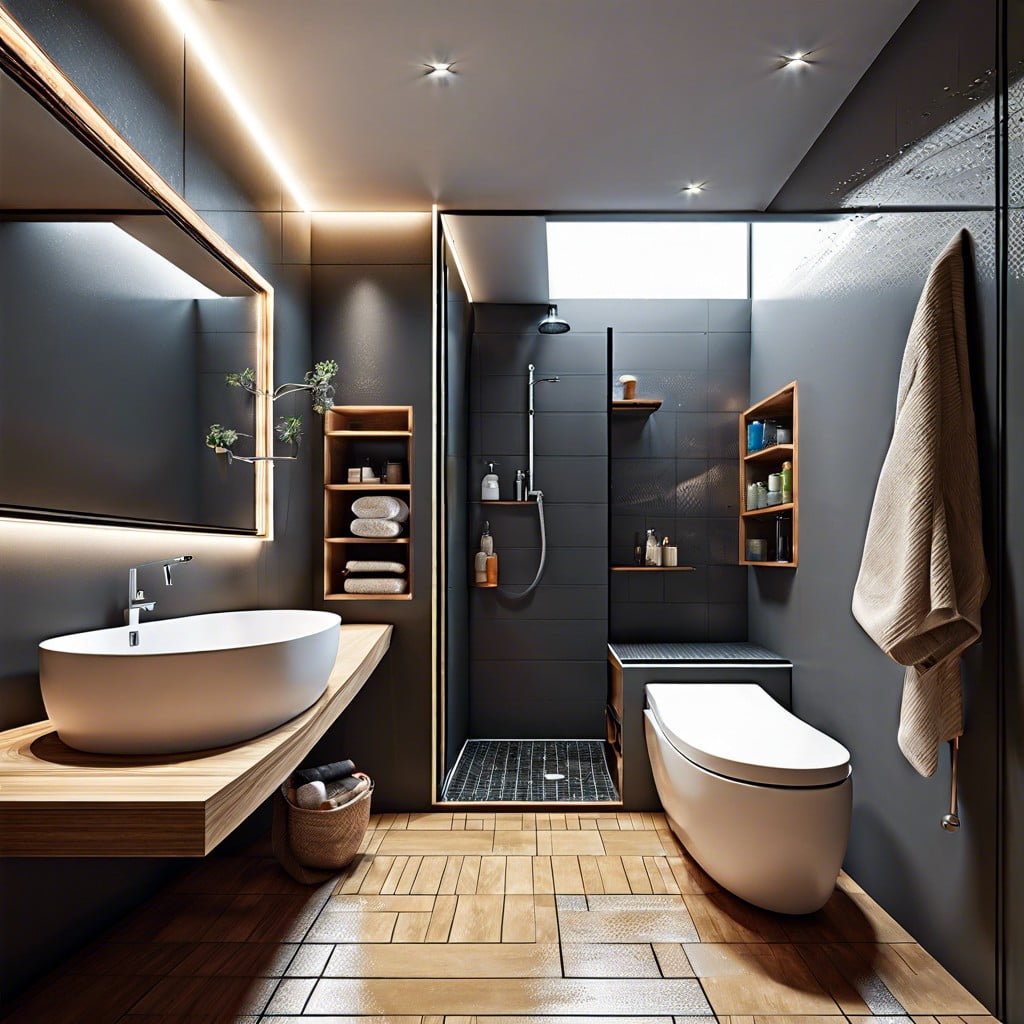
Diversifying the surfaces in your wet room may add aesthetic appeal and functional benefits. Here are a few alternatives to standard tiles:
- Microcement: This seamless material is waterproof and gives a modern, industrial vibe.
- Terrazzo: For those seeking a playful, sophisticated look, terrazzo offers unique patterns and is highly durable.
- Stone slabs: Natural stone delivers a luxurious touch and typically requires less maintenance over time compared to tiles.
- Glass panels: Using frosted or clear glass divides the shower area while maintaining an open feel.
- Acrylic wall panels: A wide range of colors and patterns are available. They are easy to install and create a sleek, uniform appearance.
Each material has distinct characteristics, so consider factors like maintenance, slip-resistance, and overall ambiance when making your selection.
Pick the Right Sanitaryware
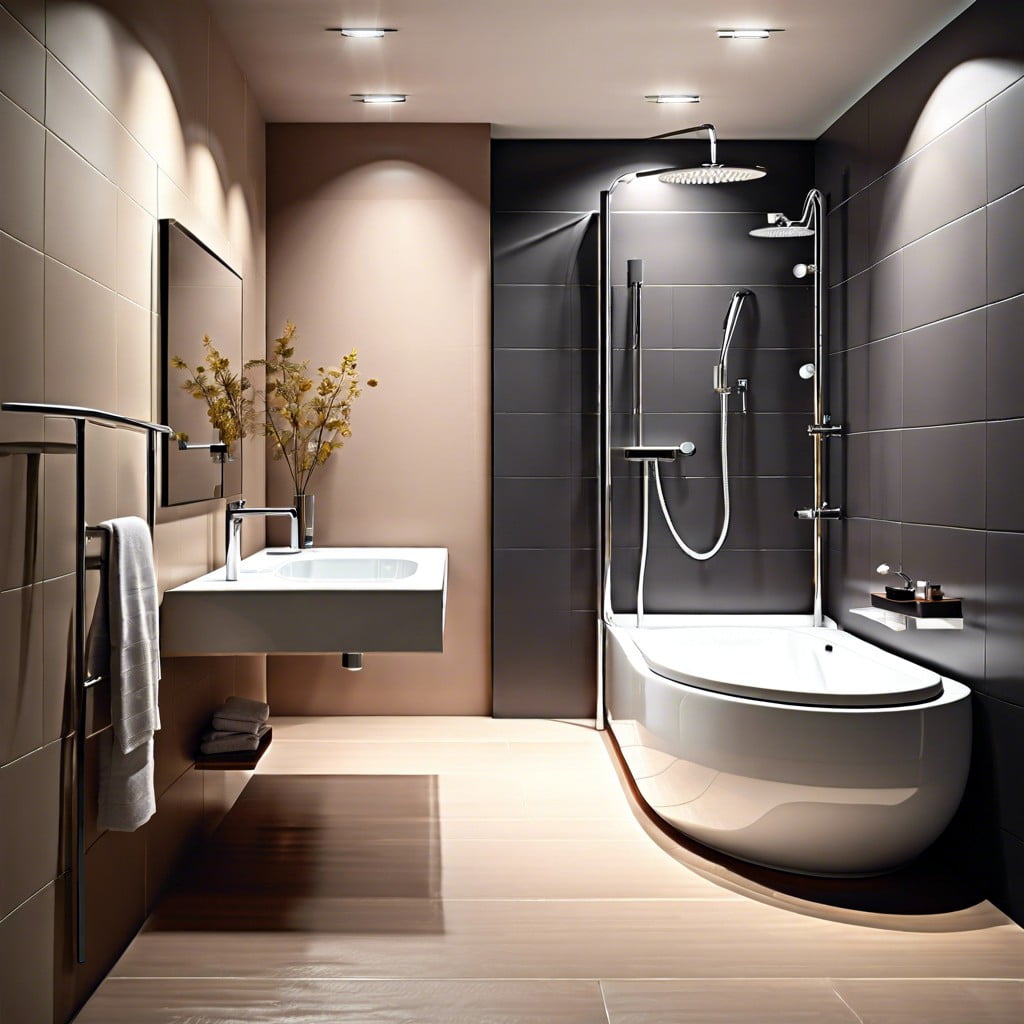
When selecting fixtures, opt for wall-hung versions to maximize floor visibility and enhance the room’s spacious feel. Keep in mind that streamlined designs not only contribute to a minimalist aesthetic but also simplify cleaning.
Consider the scale of the bathroom; a large, statement piece may suit expansive spaces, while compact models are perfect for snug areas. Explore concealed cisterns to maintain a sleek look.
For showers, choose thermostatic mixers for consistent temperature control and go for glass panels to delineate the shower space without interrupting the visual flow.
Prioritize durability and ensure all chosen fixtures are rated for wet room use to stand up to the increased moisture levels.
Choose the Right Size Sanitaryware to Enhance the Sense of Space
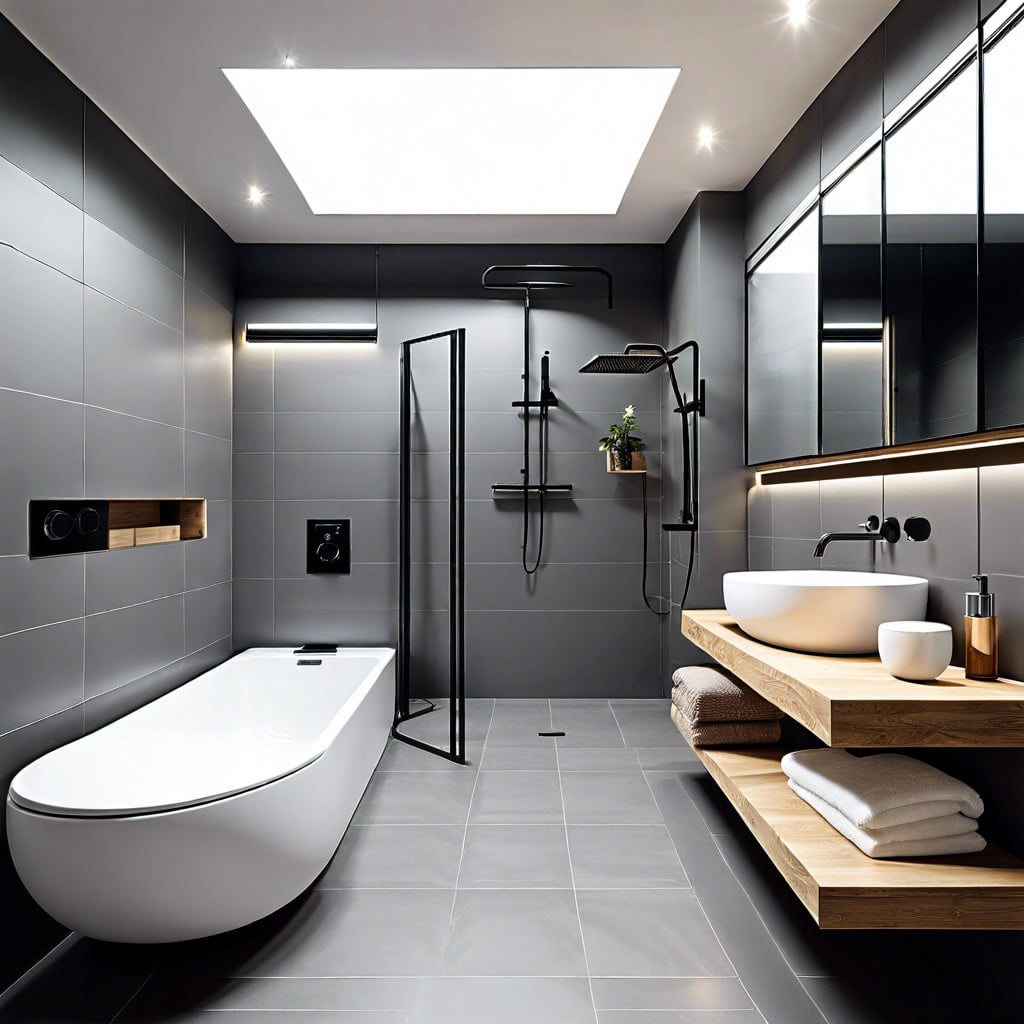
Opting for wall-mounted toilets and sinks can create an illusion of spaciousness, as they reveal more floor area. In smaller wet rooms, consider a compact, corner sink that doesn’t interrupt the flow of space.
If the room size permits, a floating vanity provides both style and storage without visually crowding the room. Additionally, ensuring there’s a clear glass panel or no shower enclosure at all will maintain a seamless look and feel throughout the space.
Remember, proportion is key—oversized fixtures can overwhelm, whereas appropriately scaled pieces promote a harmonious environment.
Play With the Illusion of Space
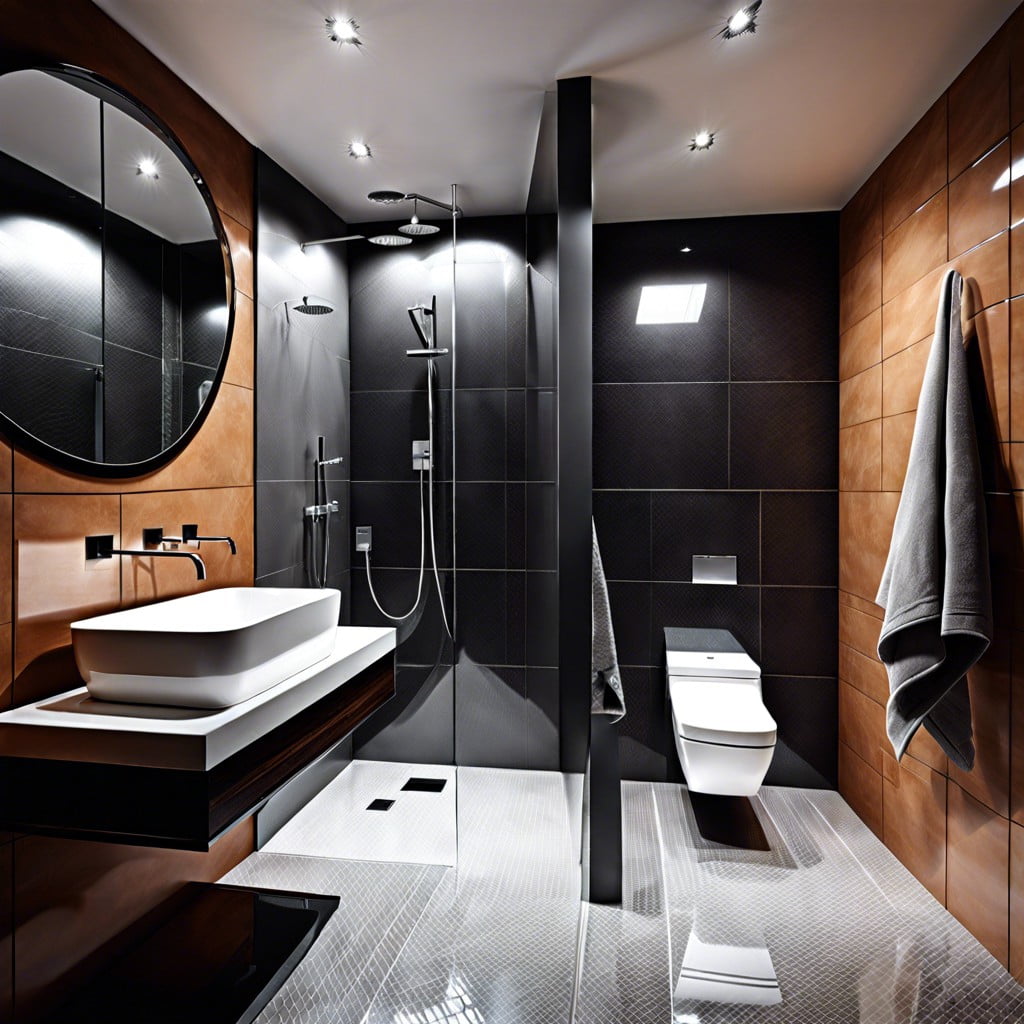
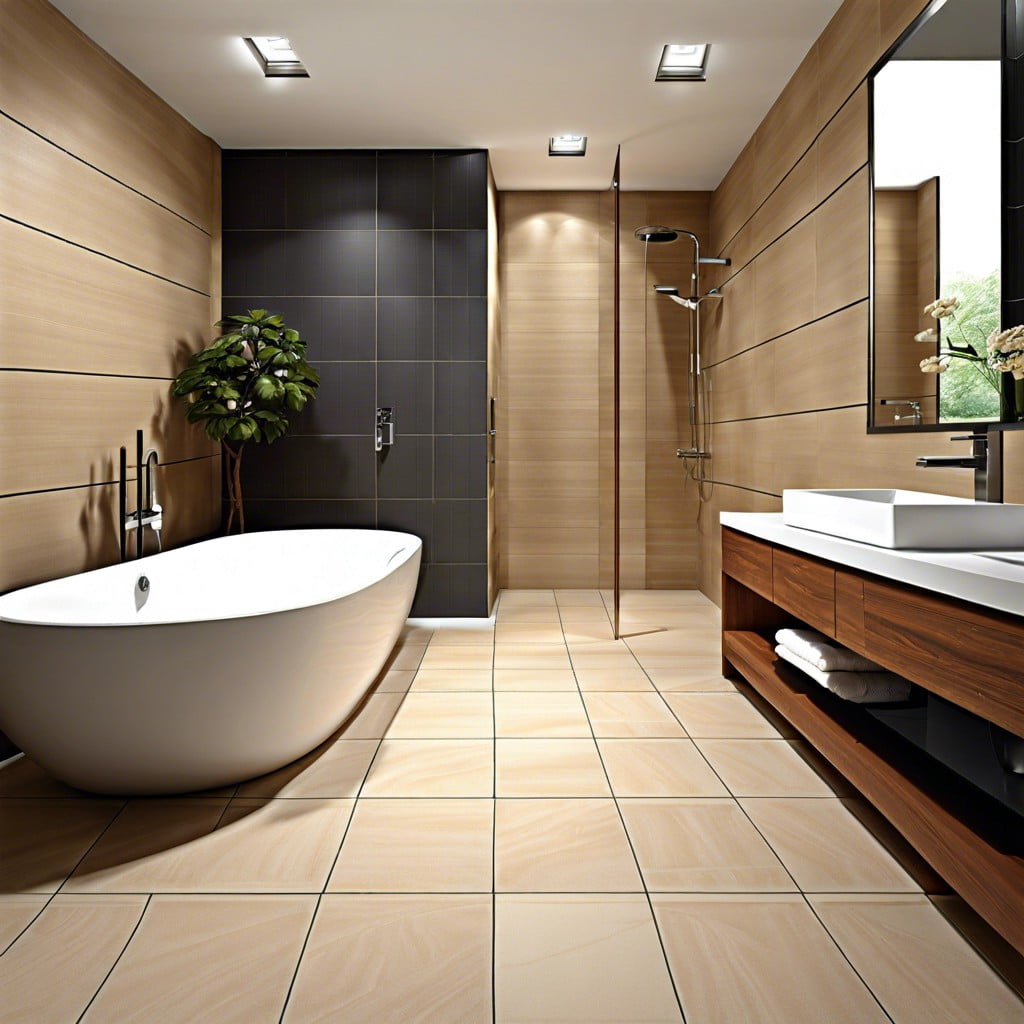
Maximizing the perception of space in a wet room can transform a compact area into a seemingly expansive retreat. Strategically placed mirrors reflect light and views, effectively doubling the visual depth of the room. Opt for large-format tiles, which minimize grout lines and allow the eye to perceive a larger, unbroken surface area.
Light colors are known for their space-enhancing properties; they reflect more light and give an airy feel to the room. Transparent shower screens and light, sheer window treatments invite the eye to travel throughout the space unhindered, creating a seamless flow from one area to another. By incorporating these elements, even the smallest wet room can feel luxuriously spacious.
Design a Wet Room Around an Awkward Space
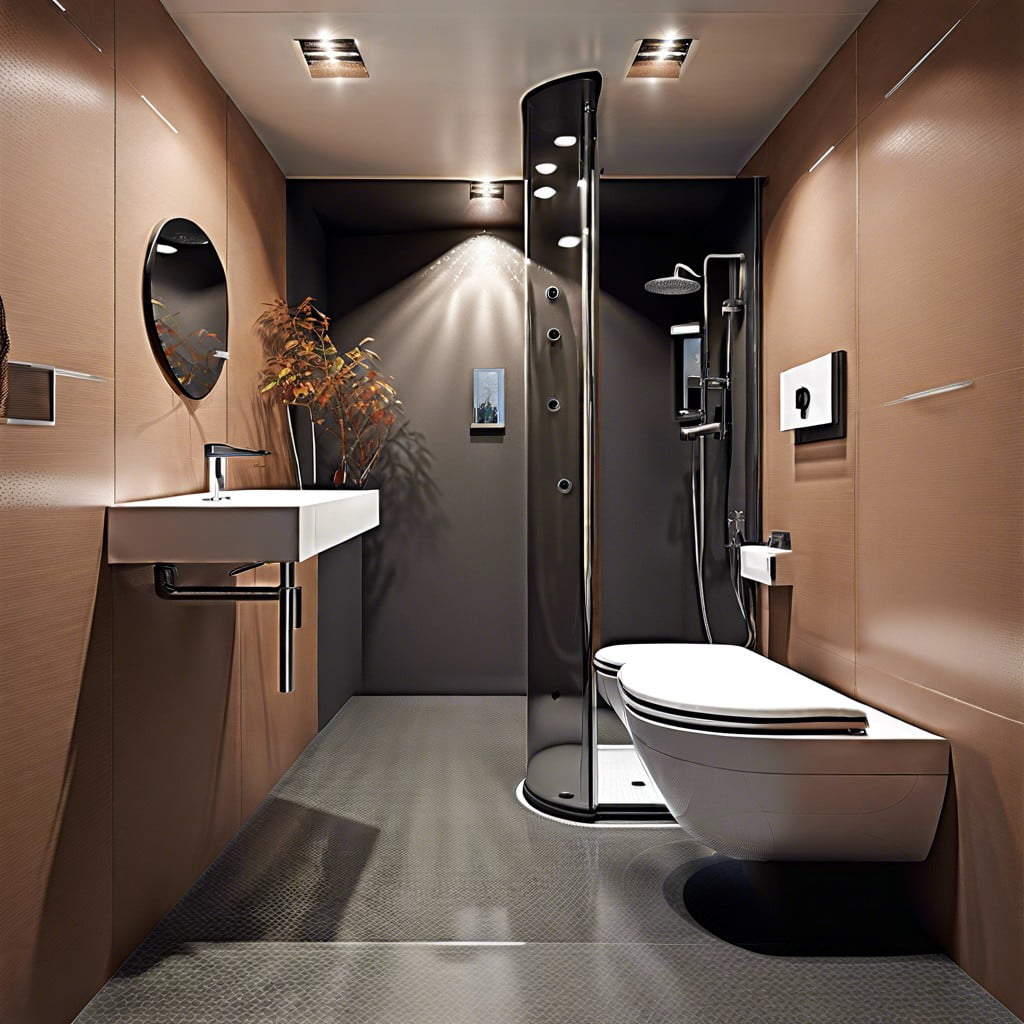
Maximizing every inch of an awkwardly shaped space can transform it into a functional and stylish wet room. Custom glass screens, made to fit slanted ceilings or corners, allow for practical shower spaces without compromising on aesthetics.
Similarly, a wall-hung toilet or corner sink can optimize floor area, offering a minimalistic look while retaining full usability. For truly tight spots, consider a fold-down seat or recessed shelving to keep essentials within reach without cluttering the space.
These smart design choices ensure that every bathroom, regardless of its unique layout, can enjoy the sleek and modern appeal of a wet room.
Bring in Pattern to Help Zone the Shower Area
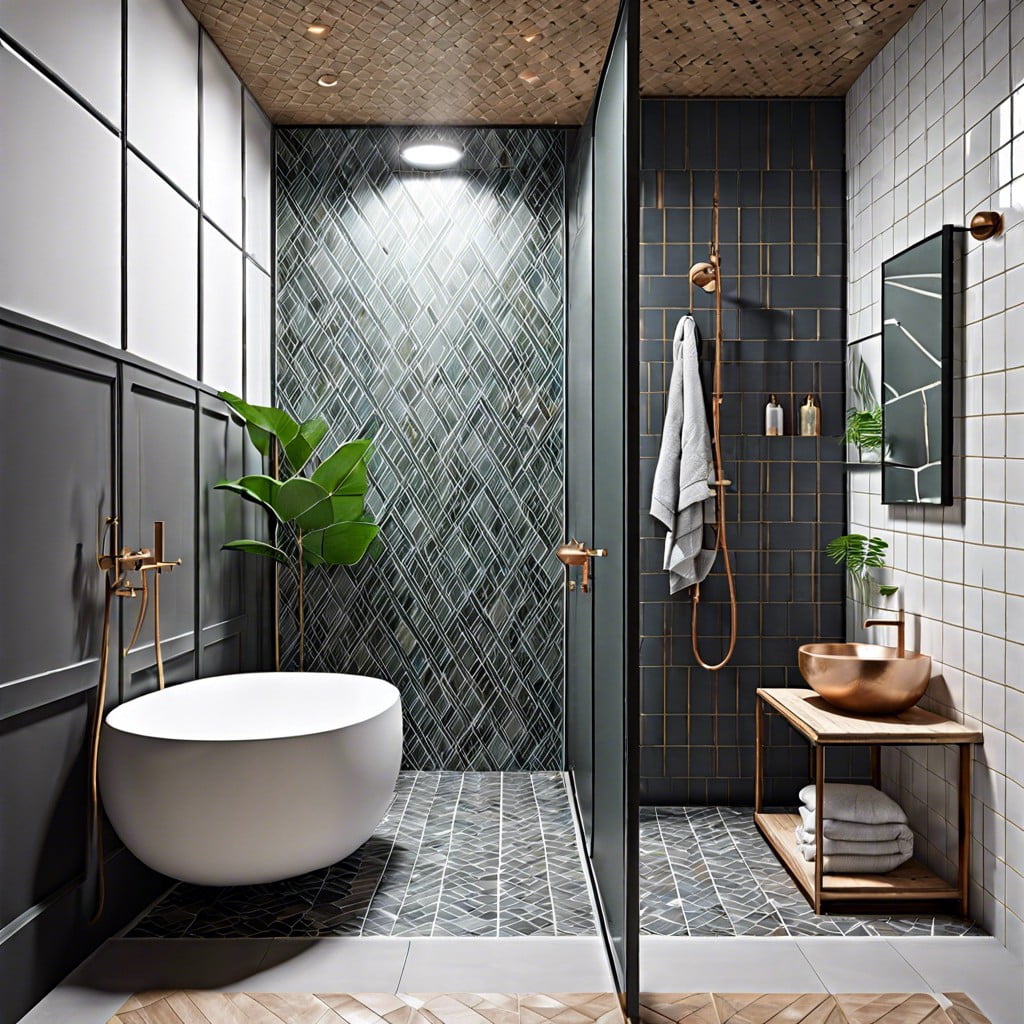
Delimiting the shower zone with patterns can be a design game-changer in a wet room. By using either distinct tile patterns, a contrast in tile sizes, or even a playful splash of color, you can visually carve out the shower territory. This technique not only enhances the aesthetic appeal but also creates an organizational flow within the space.
For a cohesive look, consider mirroring elements from the pattern elsewhere in the room, such as in accessories or bath linens. Keep in mind that larger patterns can make a bold statement in expansive spaces, while subtler designs are perfect for a more serene or compact wet room.
Find the Right Tile
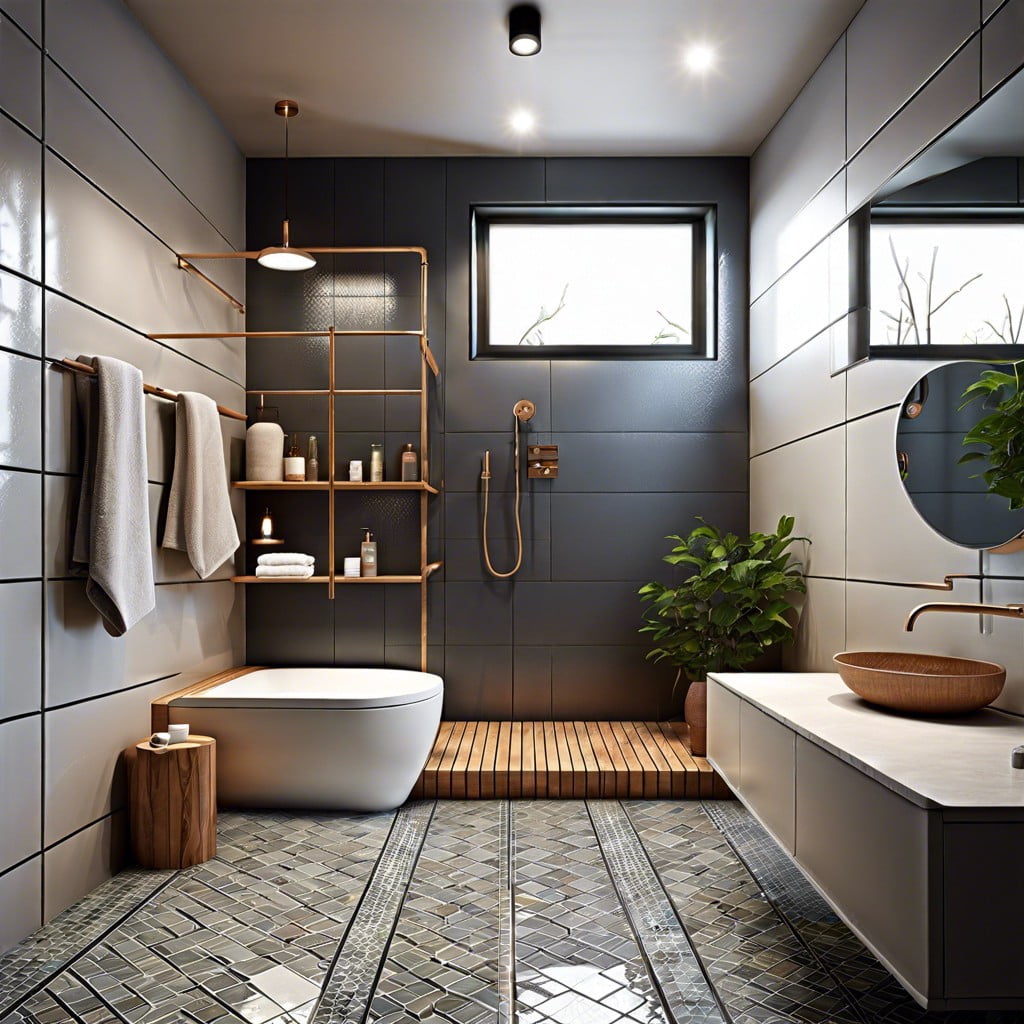
Selecting the correct tile for your wet room is about balancing function with aesthetics. Porcelain and ceramic tiles are popular due to their waterproof and durable nature, making them ideal for wet environments. When choosing tiles, also consider slip resistance. Look for tiles with a high slip-resistant rating, especially for the floor.
For visual appeal, larger tiles give a seamless, contemporary look and can make the space feel bigger. Mosaic tiles, on the other hand, with more grout lines, offer better grip and can be perfect for defining the shower area.
The color and texture of your tiles can influence the ambiance of the room. Light-colored tiles can brighten the space while textured tiles add depth and can prevent slipping. Always ensure the grout is waterproof and suitable for wet room conditions to prevent water penetration and subsequent damage.
Enhance the Floor Factor
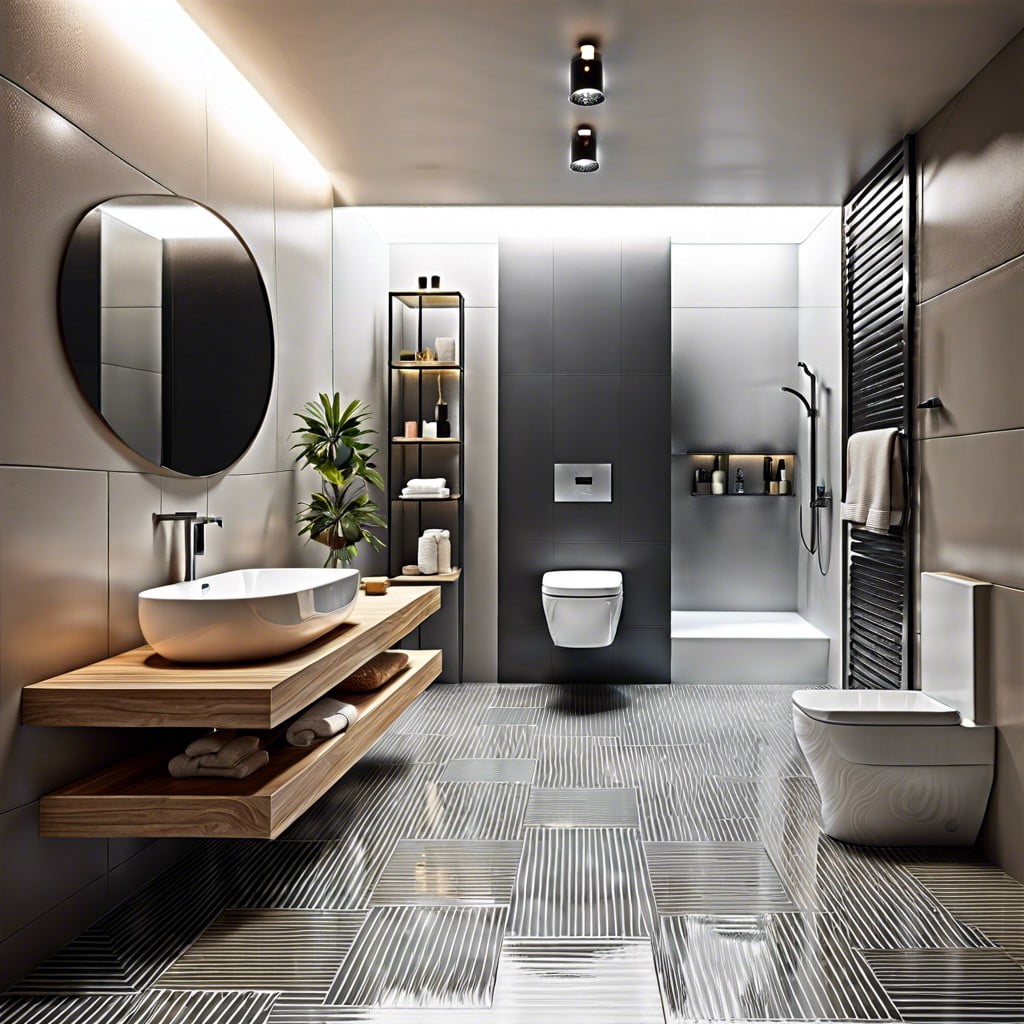
Selecting the right flooring not only ensures safety but also elevates the room’s aesthetic.
Opt for non-slip tiles to prevent accidents in a constantly wet environment.
Mosaic tiles are not just a practical choice for their grippy texture; they also add a decorative element and can define different areas within the wet room.
Alternatively, large-format tiles can create a sleek, seamless look that visually expands the space.
Keep in mind the necessity for a slight gradient, guiding water towards the drain efficiently to avoid pooling.
Finish by sealing the deal with waterproof grout to maintain the integrity and the chic look of your wet room floor for years to come.
Create a Spa-like Sanctuary
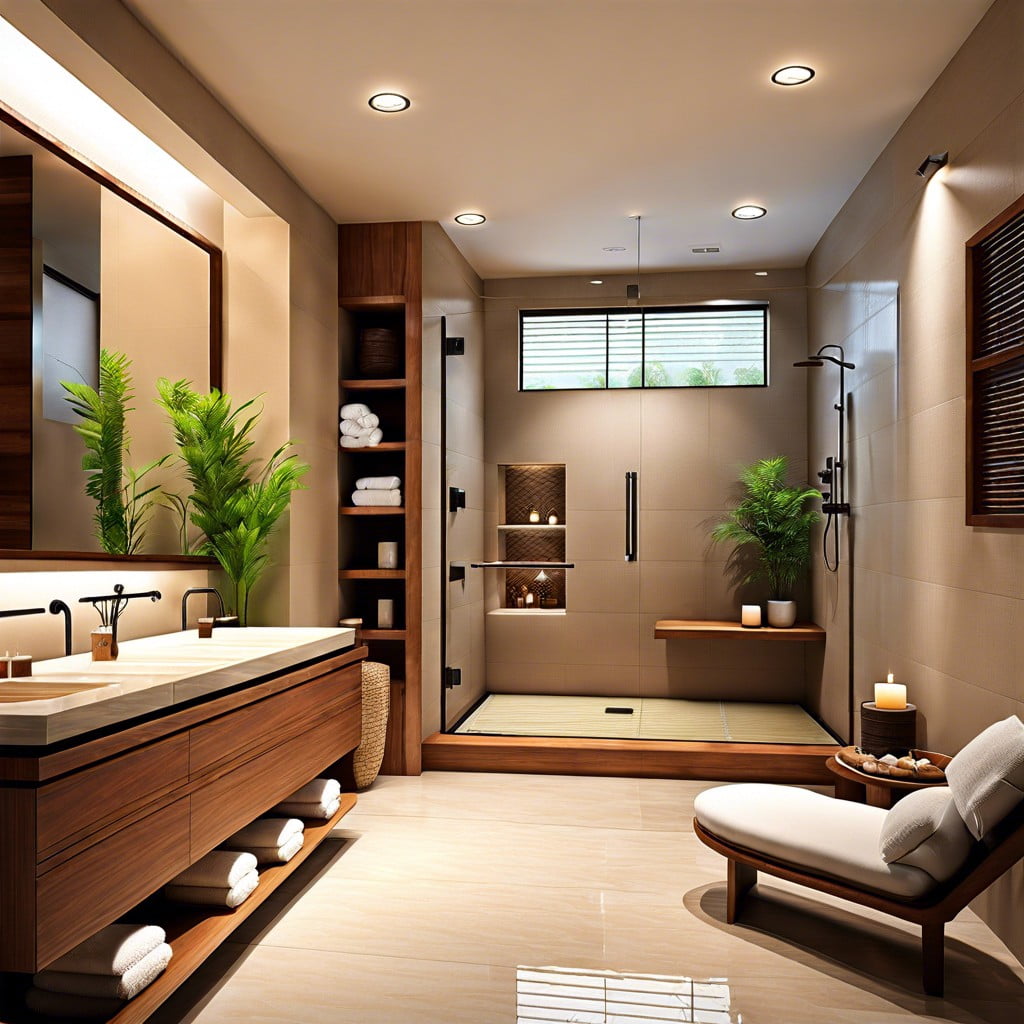
Transforming your wet room into a spa-like sanctuary is all about creating an atmosphere that evokes tranquility and soothes the senses. Begin by selecting muted, natural color palettes that promote relaxation. Introduce elements such as wood or stone to add warmth and texture.
Incorporate plants to bring a touch of nature indoors – the greenery can also improve air quality and add a vibrant splash of color. Employ soft, dimmable lighting to mimic the serene ambiance of a high-end spa. For an audible delight, consider a water feature or a sound system that allows for soft, calming music.
To elevate the luxury, invest in plush towels and a heated towel rail, ensuring comfort and warmth post-shower. Add built-in niches or shelves to neatly store pampering products like scrubs, oils, and moisturizers. By focusing on these sensory details, a wet room can become a personal retreat, offering a reprieve from daily stresses.
Let the Light in
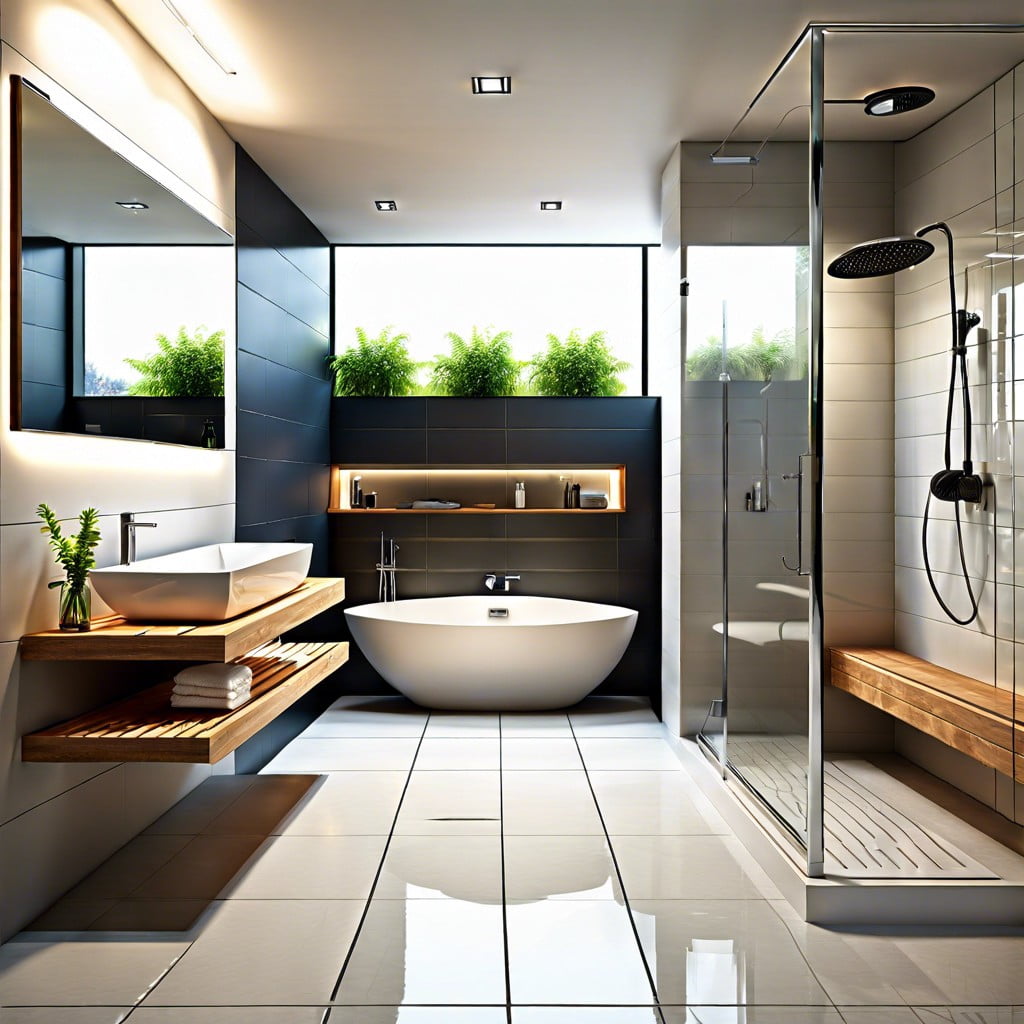
Maximizing natural light in a wet room can make the space feel more inviting and expansive. Consider installing a skylight or a frosted window to provide privacy while allowing sunshine to filter through.
For artificial lighting, opt for recessed LED spotlights that are waterproof and safe for wet environments. You can also use clever positioning of mirrors to bounce light around the room, amplifying the sense of brightness. Dimmer switches offer the flexibility to adjust the ambiance from functional during the day to relaxing in the evening.
Remember, good lighting is not just about visibility; it also enhances the wet room’s overall aesthetic appeal.
Install a Space to Rest and Recharge
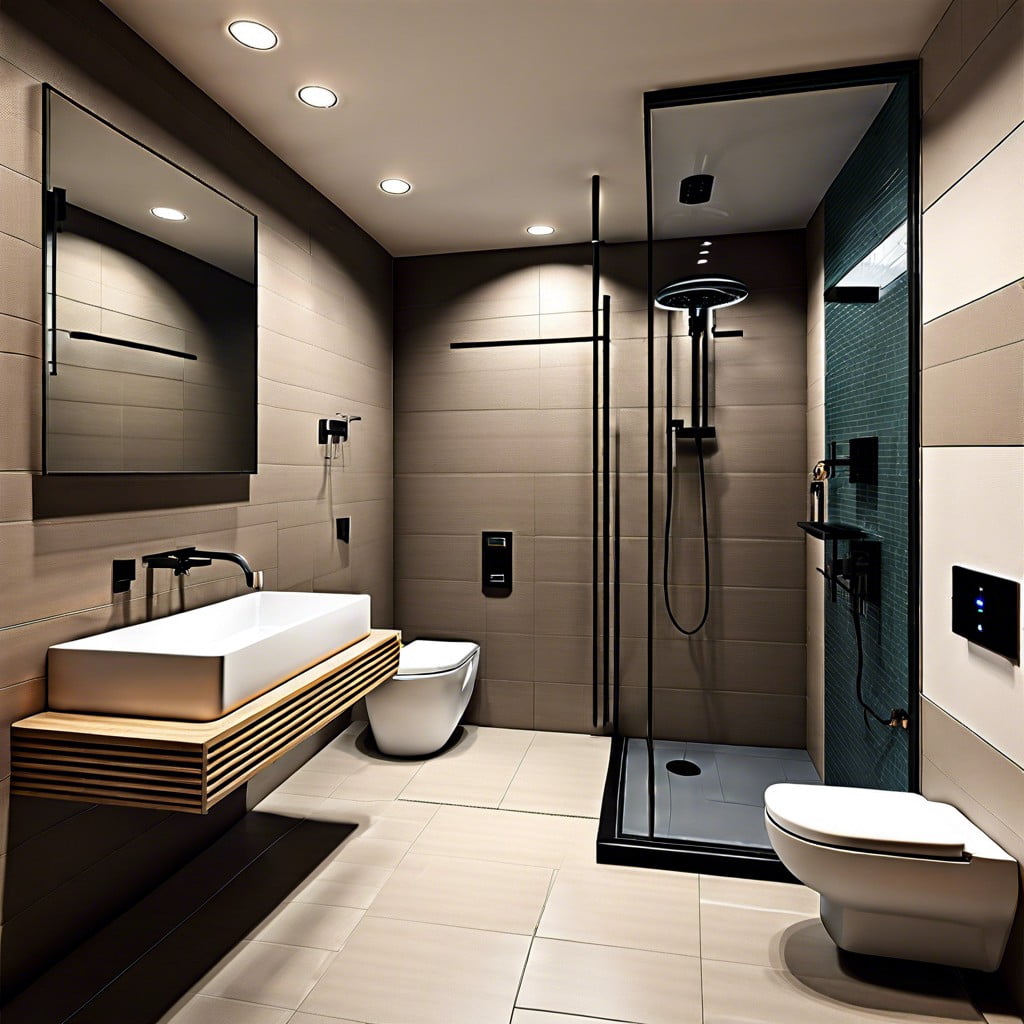
Incorporating a seating area within your wet room not only adds a practical touch but also promotes relaxation. Opt for built-in benches or floating seats that meld seamlessly with the room’s design. These not only serve as a spot to linger under the shower but double as a convenient surface for toiletries.
Materials like teak or sealed hardwood offer a spa-like feel, while stone or tile benches maintain continuity. For added luxury, a waterproof cushion can provide extra comfort while enhancing the aesthetic appeal. This feature transforms your wet room from a mere functional space into a tranquil haven for unwinding after a long day.
Are Wet Rooms a Good Idea?
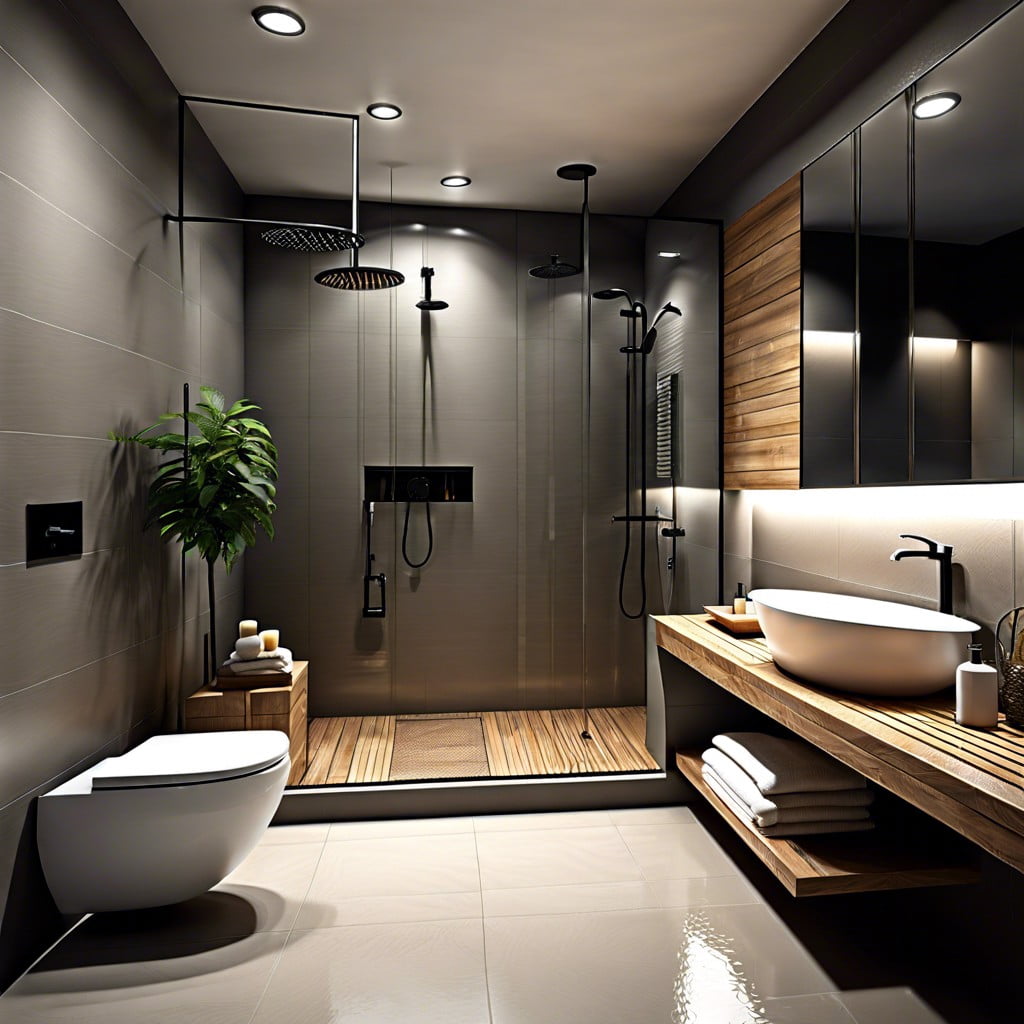
Wet rooms offer a sleek and contemporary look, elevating your home’s design aesthetic. Providing barrier-free access, they are ideal for those with mobility issues, as there’s no need for shower trays or steps.
The open-plan nature of a wet room can make your bathroom appear larger and more luxurious. Additionally, they can be easier to clean due to fewer surfaces and no shower screen. As a fully waterproofed space, there is less concern about leaks, provided the wet room is constructed properly.
However, it’s important to ensure that waterproofing is done meticulously to prevent future water damage to the structure of your home.
How Small Can a Wet Room Be?
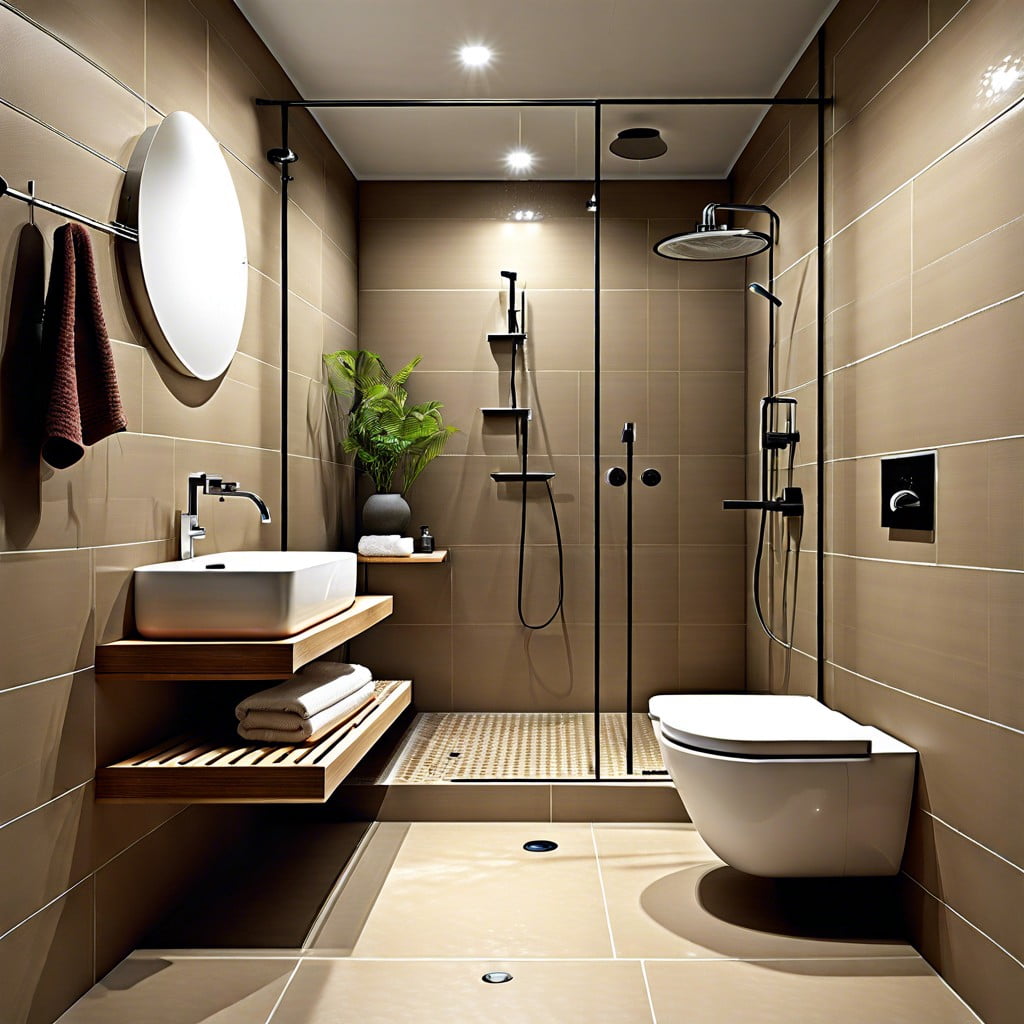
Maximizing space is key when designing a wet room in a smaller bathroom. Aim for a minimum of 3 feet by 4 feet to comfortably accommodate a shower space.
Consider a wall-hung toilet and sink to free up floor space, and use a glass panel to prevent water splash without closing off the area.
Proper drainage is crucial: position the shower head away from the door, and slope the floor towards the drain to ensure water flows out efficiently.
Light, reflective materials can make the space feel larger, and clever storage solutions will keep it clutter-free.
Remember, thoughtful planning can turn even a compact space into a functional, luxurious wet room.
Get the Right Layout for a Wet Room
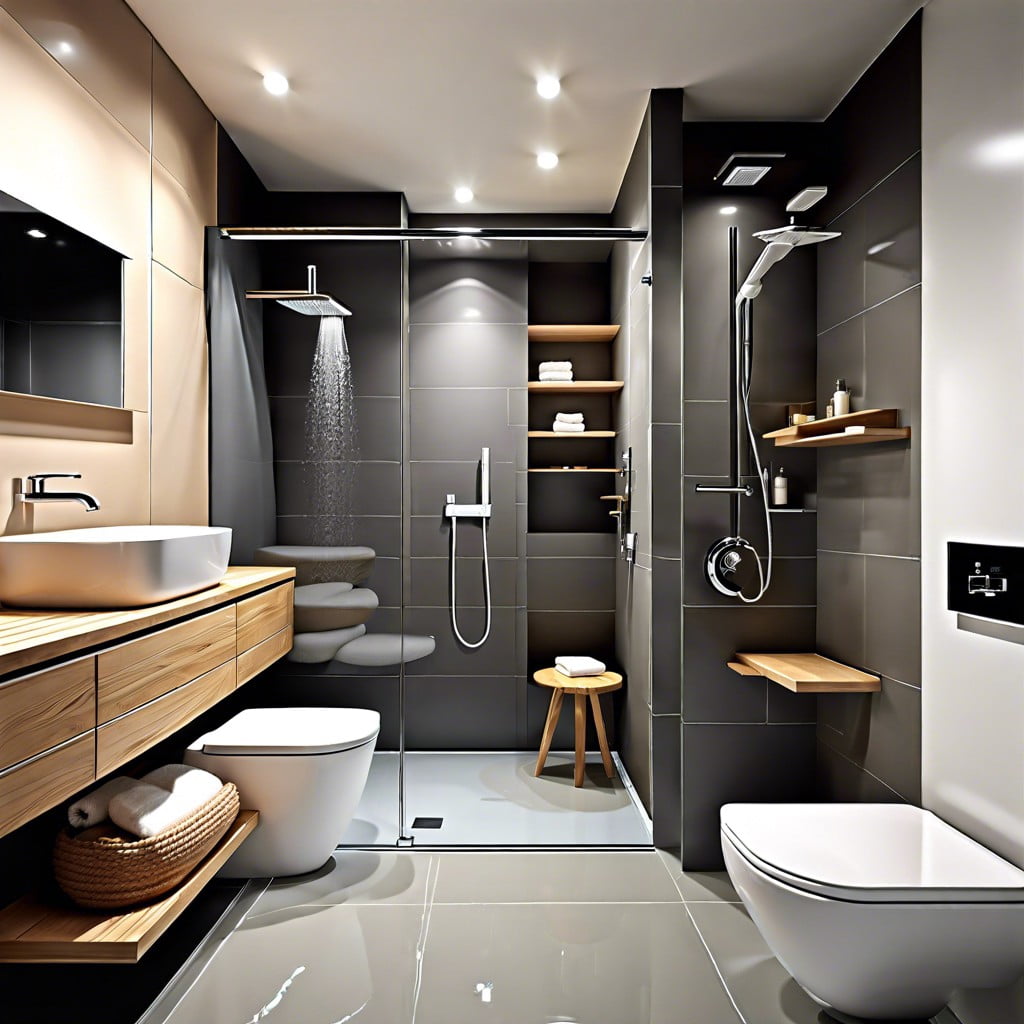
Designing an ideal wet room layout requires careful planning to maximize functionality without compromising style. First, allocate space for the shower zone away from the doorway to prevent water from splashing out. Consider strategic placement of the drain—typically at the lowest point—to ensure efficient water drainage.
Secondly, distance the toilet and vanity from the shower area to keep them dry and accessible. Think about wall-mounted fixtures to free up floor space and create a cleaner, more spacious look.
Lastly, integrate ample storage solutions that blend seamlessly with the design while keeping essentials within reach. These practical steps ensure a wet room that is both visually appealing and highly functional.
What’s the Difference Between a Wet Room and a Walk-in Shower?
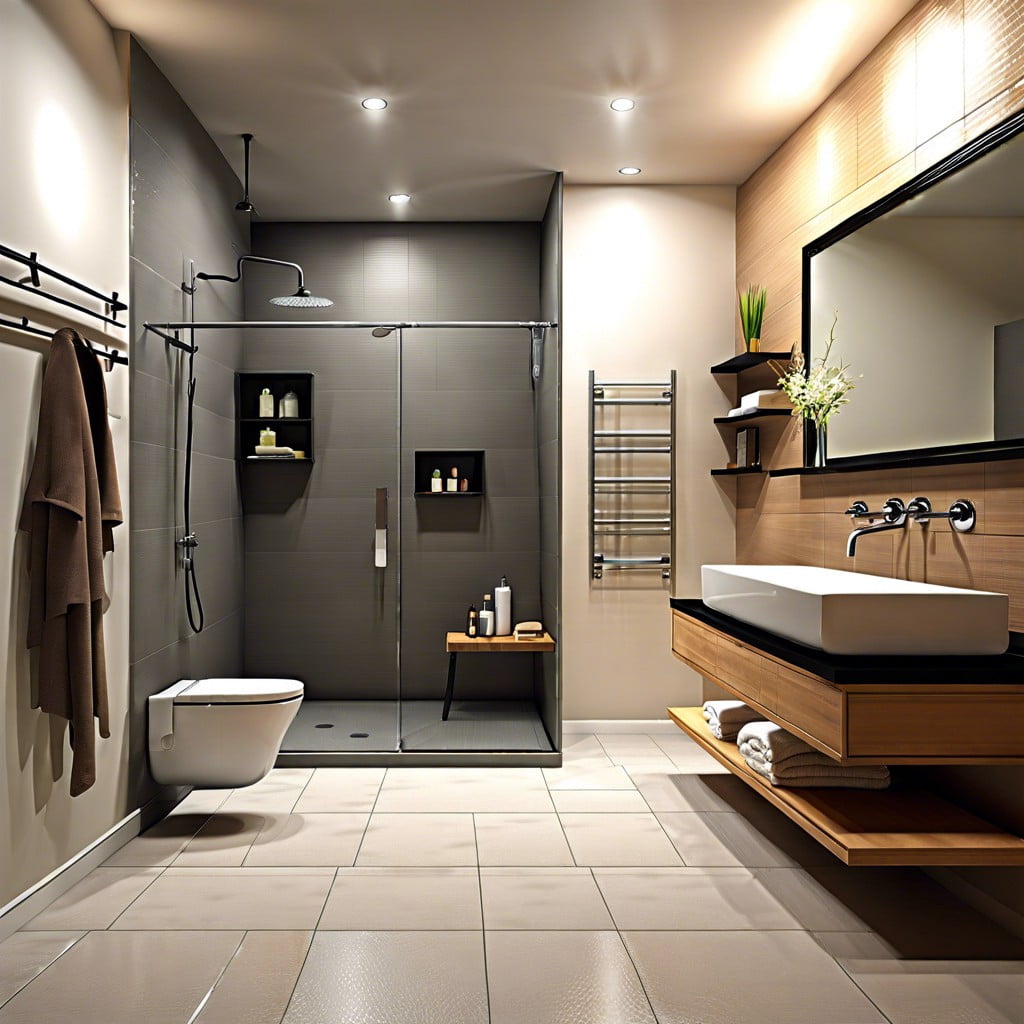
Distinguishing a wet room from a walk-in shower is all in the details. In a wet room, waterproofing extends across the entire bathroom floor and sometimes up the walls, creating a seamless look. There’s no need for a shower tray or enclosure, as the whole area is designed to handle moisture.
On the other hand, walk-in showers typically contain the water with a tray and sometimes a single glass panel or partially enclosed space. While walk-in showers create an open feel, wet rooms take this concept further by integrating the shower space with the entire bathroom, often resulting in a more luxurious, open-plan feel.
Is a Wet Room Expensive?
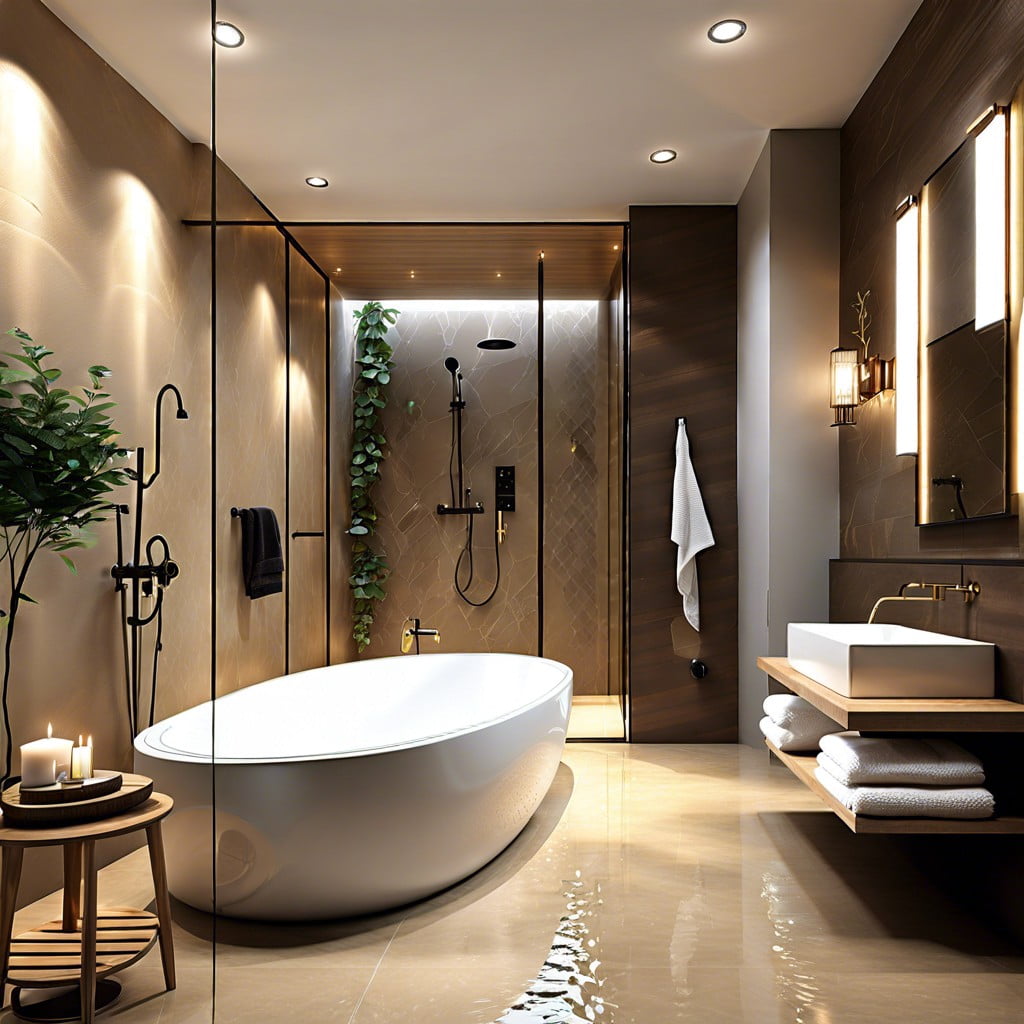
Wet room expenses fluctuate based on various factors such as materials, size, and labor. High-quality waterproofing is crucial and typically more costly than standard bathrooms due to the comprehensive tanking required to prevent leaks. Luxurious tile choices and underfloor heating may add to the bill. However, simpler designs and careful planning can keep costs down. It’s worth noting that wet rooms may increase property value and offer long-term savings on maintenance by being more durable and easier to clean than traditional bathrooms.
Always factor in the costs of a skilled tradesperson, as expert installation is non-negotiable for ensuring a leak-proof finish.
What Kind of Costs Are Involved in Creating a Wet Room?
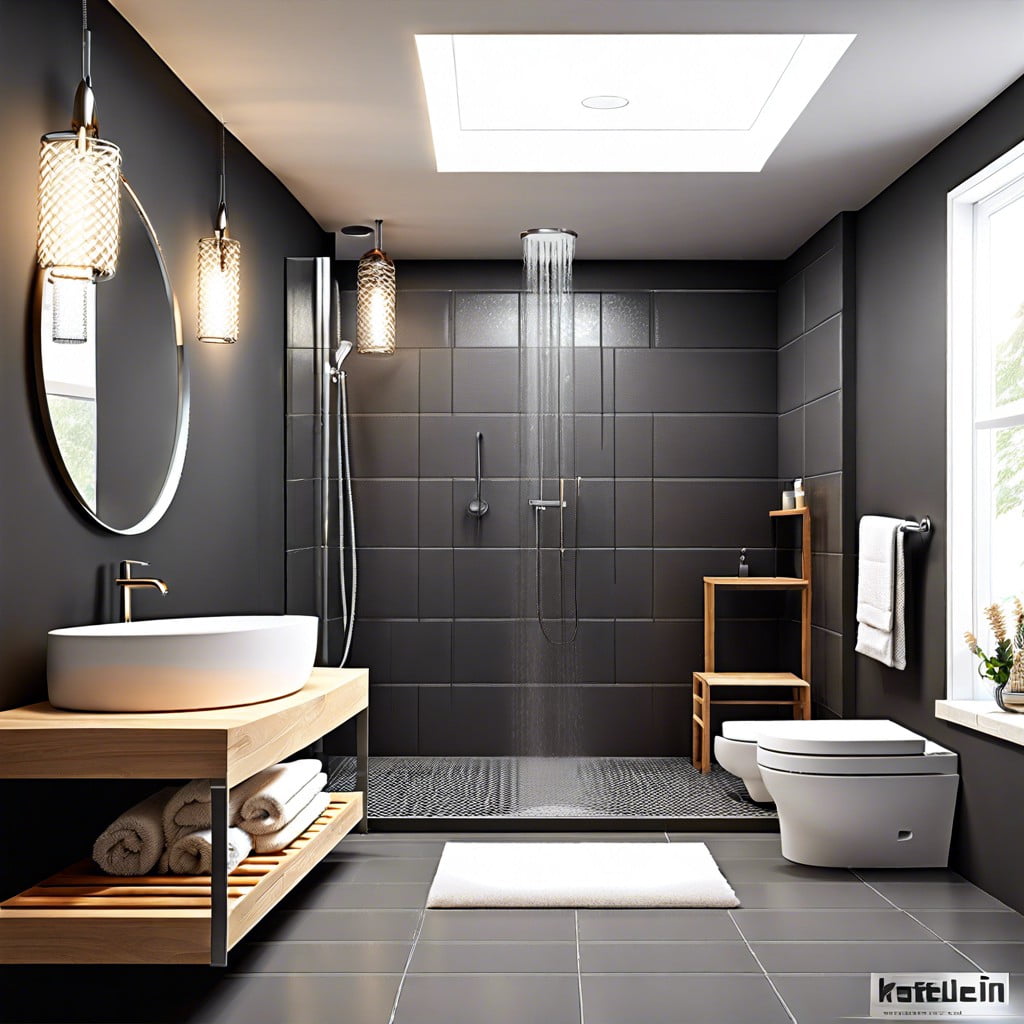
Designing a wet room involves several financial considerations, from initial construction to the finer design details. The total cost can vary widely based on size and material choices.
1. Waterproofing: Essential and potentially the most costly aspect, the process called ‘tanking’ involves sealing floors and walls to prevent leaks.
2. Flooring: Specialized non-slip tiles or resin floors have varying price points but are crucial for safety and longevity.
3. Drainage: A gradient must be created for water flow, and investment in a good drain system is necessary to prevent clogs and backups.
4. Sanitaryware: Fixtures such as showers, basins, and toilets come in different price ranges and styles, affecting the overall cost.
5. Labor: The cost of skilled tradespeople, such as plumbers and tilers, can be significant, especially in complex room layouts.
Remember, a detailed quotation from professional contractors will provide the most accurate financial estimate for creating your ideal wet room.
Pick the Right Wet Room Flooring
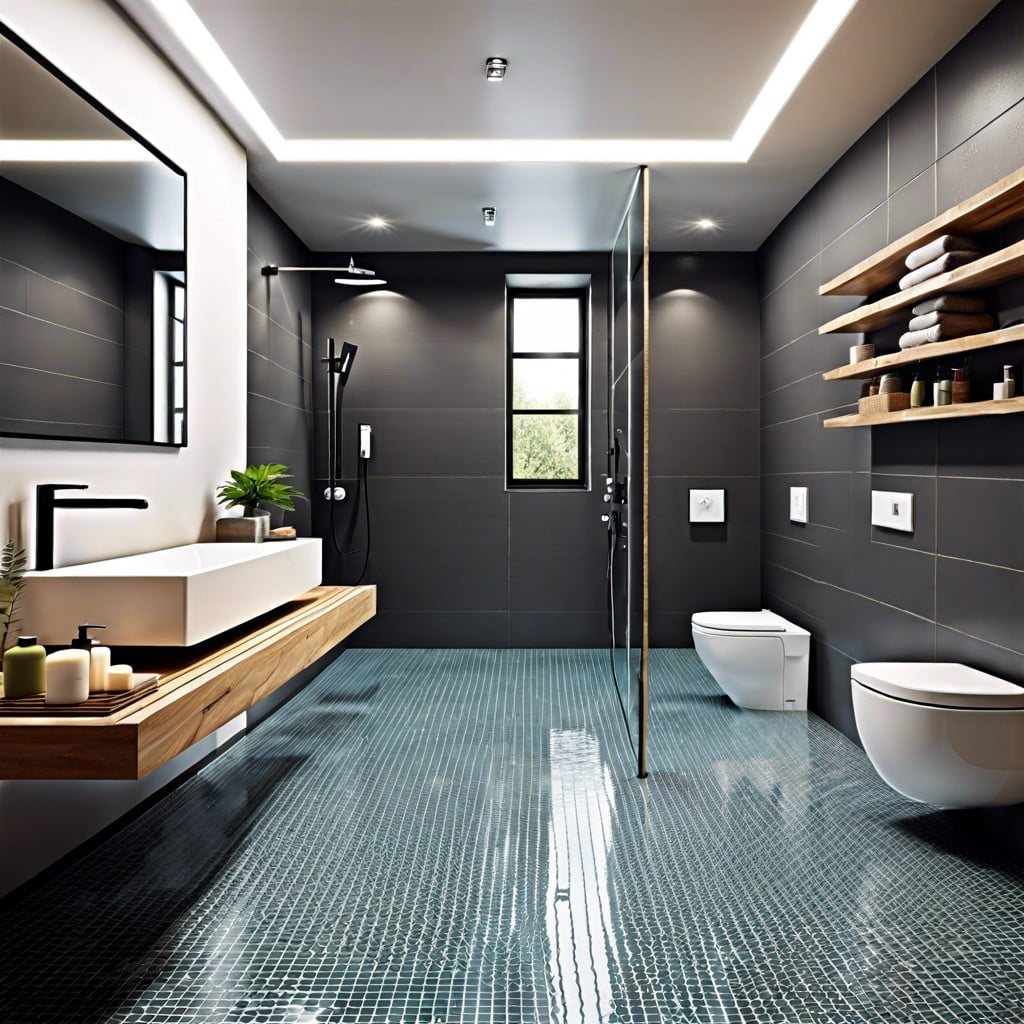
Selecting the appropriate flooring for a wet room is crucial for safety and aesthetics. Opt for non-slip tiles to prevent accidents; textured surfaces offer more grip when wet.
Ensure the flooring is slope towards the drain to aid water runoff and avoid pooling. Select materials that are resistant to moisture and mold growth, like porcelain or natural stone.
Additionally, consider the color and size of the tiles—larger tiles minimize grout lines and create a seamless look, while lighter shades can make the room appear more spacious.
Always consult with a professional to ensure proper installation, guaranteeing the longevity and performance of your wet room’s flooring.
Tanking a Wet Room
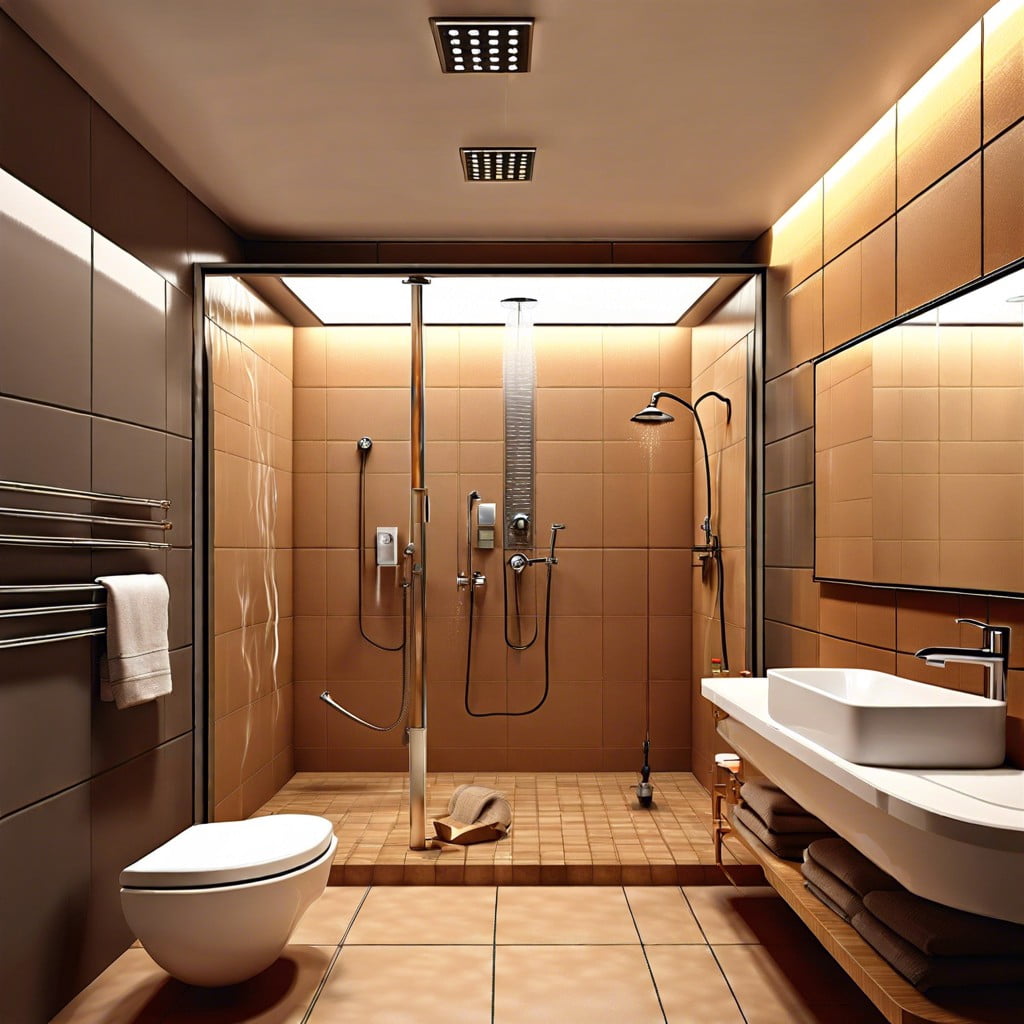
Waterproofing—or tanking—a wet room is the most critical step in creating a successful space that’s both functional and long-lasting. This process involves applying a waterproof membrane to the floors and walls to prevent water leakage and potential damage.
1. Choose Your Method: Select a tanking membrane that suits your space, such as paint-on liquid or sheet membranes. Ensure compatibility with your substrate.
2. Prime the Surfaces: Before applying the membrane, prime the walls and floors to ensure adhesion. This increases the waterproofing efficiency.
3. Apply the Membrane: For liquid membranes, apply with a roller ensuring even coverage. With a sheet membrane, smooth out air bubbles and overlaps.
4. Seal the Gaps: Pay special attention to seams, corners, and where fixtures penetrate the wall. Use sealing tape or additional membrane to reinforce these vulnerable spots.
5. Test for Leaks: After everything has dried, conduct a water-tightness test before tiling. This is to ensure that there are no leaks.
By rigorously following these steps, you safeguard your wet room from moisture damage, ensuring a durable and mold-resistant bathroom.
FAQ
What is a wet room in a bathroom?
A wet room is a bathroom type where all the walls and floors are sealed against water, there is no separation between the shower or tub and the rest of the bathroom, and the entire bathroom is on the same level, including the shower floor.
What are the disadvantages of a wet room?
The main drawbacks of a wet room include the requirement for effective waterproofing and ventilation, limitation on the choice of vanity units, and the issue of everything in the room getting wet due to shower spray and humidity.
Is a wet room cheaper than a bathroom?
While the fittings in both a traditional bathroom and a wet room are alike, a wet room may be more expensive due to the larger area needing waterproofing.
Is a wet room better than a shower?
Opting for a wet room can offer superior ease of cleaning due to its simplistic design and absence of shower trays and enclosure panels.
How can one leverage the space in a small wet room effectively?
To effectively leverage space in a small wet room, install wall-mounted fixtures, use clear glass for a shower area to maintain an open feel, and use vertical storage to maximize space usage.
What sort of materials are best suited for a wet room construction?
Waterproof materials like ceramic or porcelain tiles, glass, and stainless steel are ideal for wet room construction due to their durability and resistance to moisture.
What elements should be considered when planning a wet room layout?
When planning a wet room layout, consider factors like the room’s size and shape, the location of the drain, waterproofing needs, the type and placement of fixtures, ventilation, and accessibility requirements.
Recap

