Last updated on
Learn about the various ways to vent a bathroom exhaust fan, helping you choose the right method for your home.
Key takeaways:
- Proper sizing is essential for effective bathroom ventilation.
- Choose a mounting location close to shower or bathtub.
- Consider different exhaust routes, such as through the wall, roof, or attic.
- Evaluate existing electrical setup and consult a licensed electrician.
- Remove the old fan carefully before installing the new one.
Determine the Size of the Bathroom Exhaust Fan
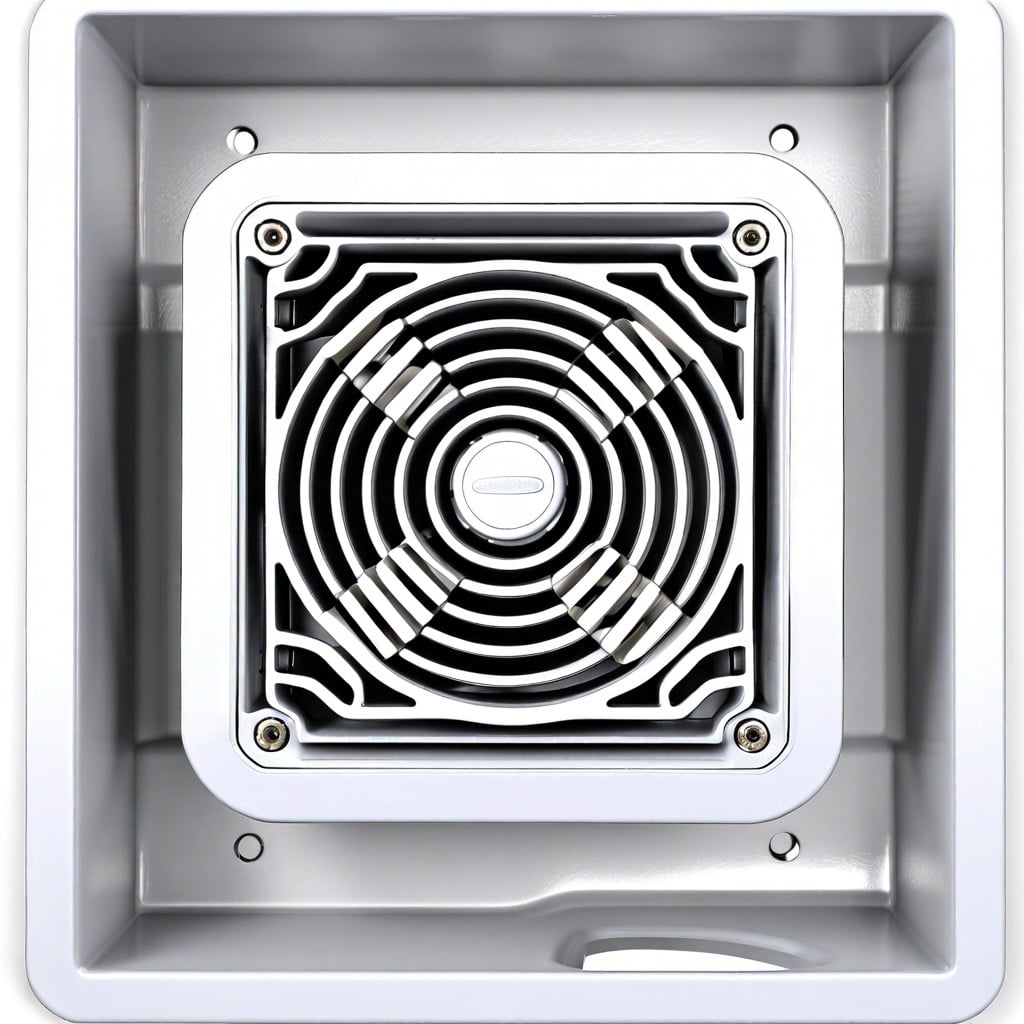
Getting the sizing right on your bathroom exhaust fan is crucial for effective moisture and odor control. Here’s how to do it:
Start by calculating the volume of your bathroom in cubic feet. Do this by multiplying the length, width, and height of the room. For a standard 8×10-foot bathroom with an 8-foot ceiling, the volume would be 640 cubic feet.
Next, figure out the air movement needed, measured in cubic feet per minute (CFM). A good rule is to have an exhaust fan that provides 1 CFM per square foot of bathroom area. For our example, you’d look for a fan rated at least 80 CFM.
If your bathroom has a jetted tub or shower, or if the bathroom is larger than usual, you might need a more powerful fan. A humidity-sensing fan that adjusts its speed based on the moisture level can be particularly effective, keeping energy use in check while preventing mold growth.
Remember, an oversize fan can lead to unnecessary noise and energy expenditure, while an undersized fan might not effectively combat mold and mildew. Selecting the right size ensures your bathroom remains fresh and clear.
Finally, consider any special features like built-in lights or motion sensors that might also affect your choice. Each additional feature can impact the overall functionality and efficiency of your bathroom ventilation system.
Determine the Mounting Location
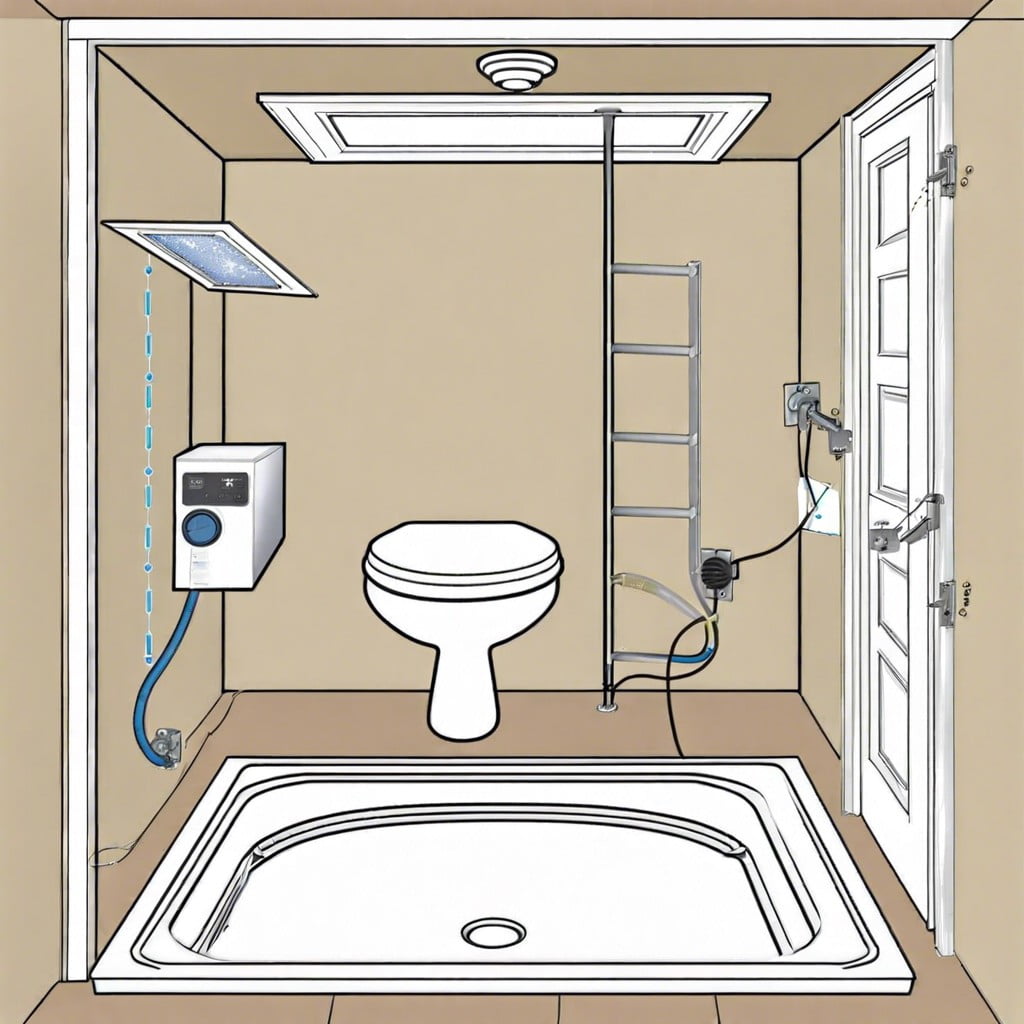
Choosing the right spot to install your bathroom exhaust fan is crucial for its effectiveness and efficiency. Opt for a location as close as possible to the shower or bathtub. These areas generate the most steam and humidity, which the fan needs to expel to prevent mold and moisture damage.
Avoid placing the fan directly above the shower, though, as the constant direct exposure to water can lead to quicker deterioration. Instead, aim for a central spot on the bathroom ceiling, ensuring the fan can effectively draw air and moisture from all corners of the room.
Additionally, keep structural barriers in mind. Steer clear of joists and other potential obstructions in the ceiling that could complicate installation and operation of the fan or its ductwork. A little foresight here can save a lot of headache later.
By thoughtfully selecting the mounting location, you set the stage for a smoother installation and more effective moisture control in your bathroom.
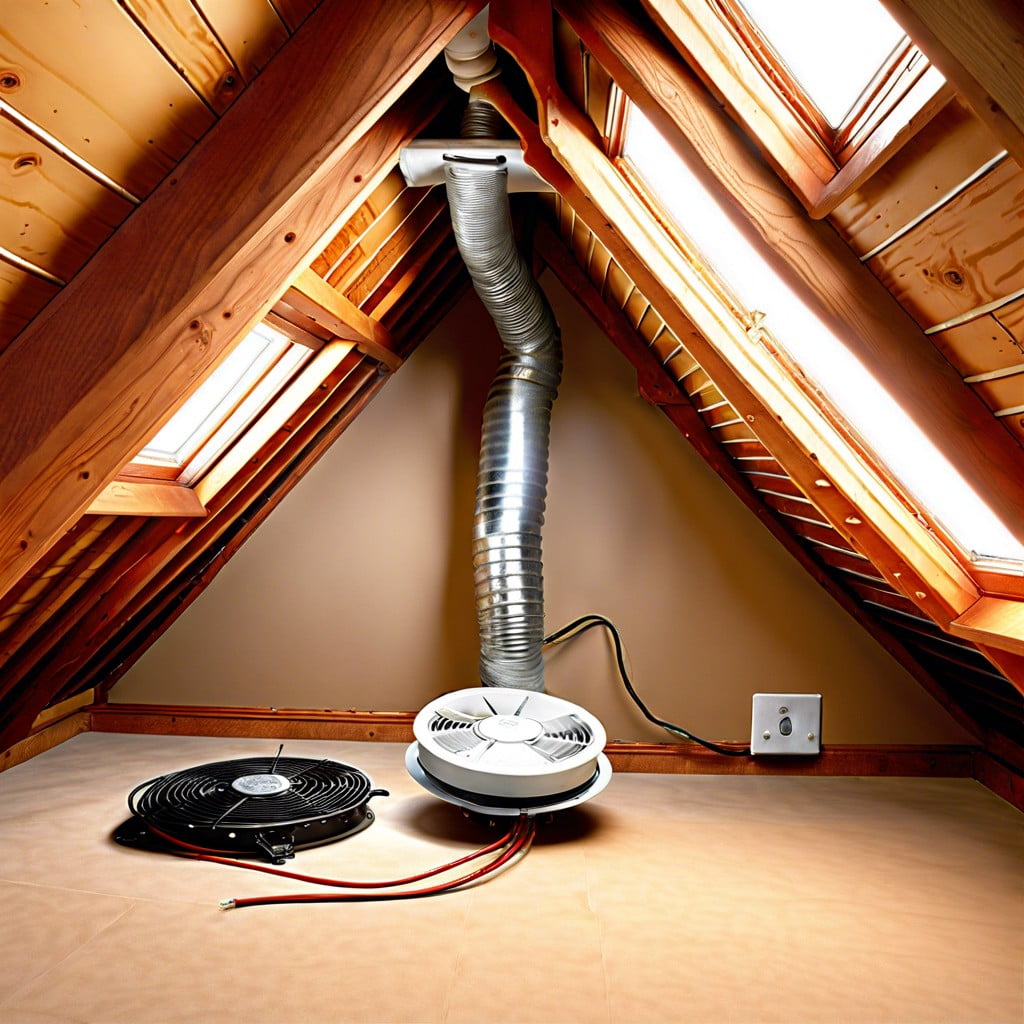
Determine the Exhaust Route
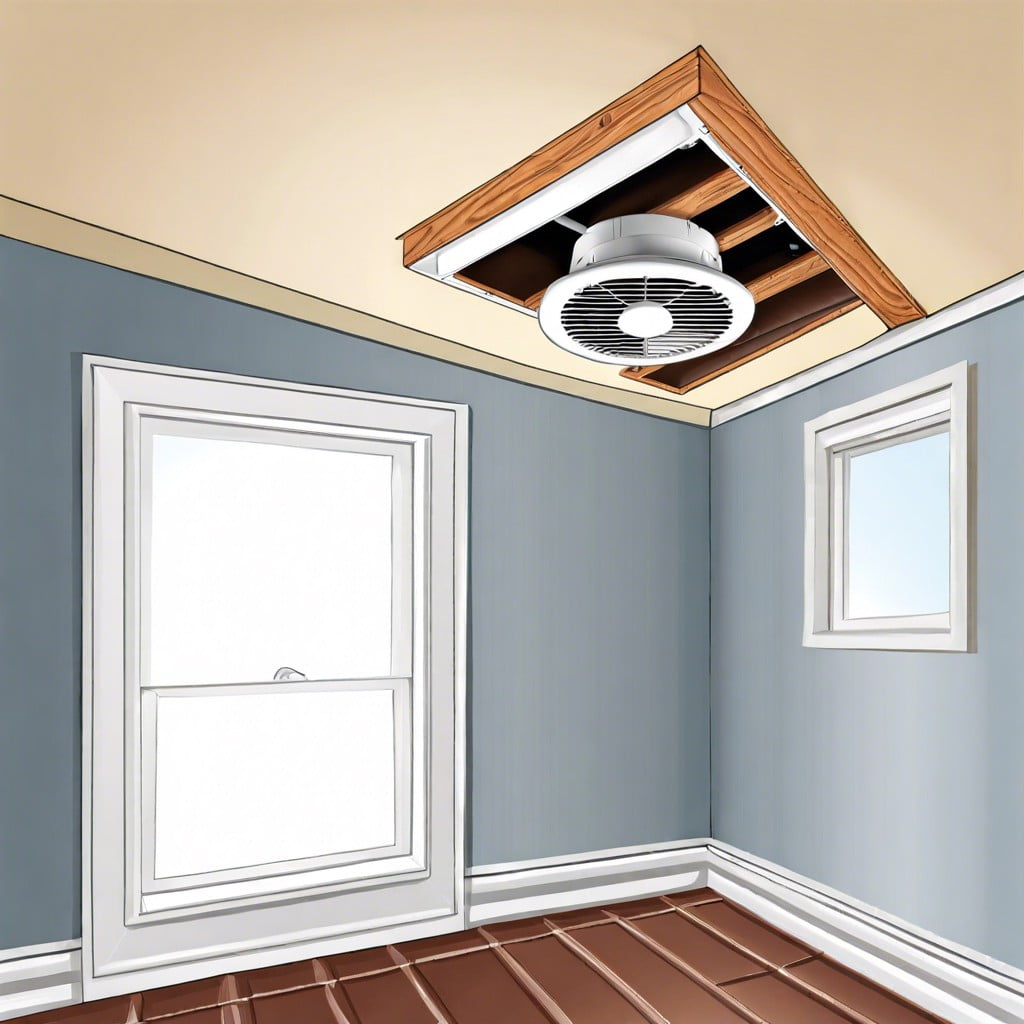
Choosing the right path for venting your bathroom exhaust fan is crucial to ensuring its effectiveness. The simplest and most common route is directly through the nearest exterior wall. This method minimizes the distance air travels, reducing the buildup of moisture and increasing efficiency.
If exterior walls aren’t practical, another option is routing through the roof. This approach involves more complexity, such as installing proper flashing and weatherproofing to avoid leaks. Though more labor-intensive, this method helps in effectively dispelling moist air, especially in larger bathrooms.
For those with connected attics, routing the ductwork through the attic space and out the side of the house is a feasible solution. Ensure the duct is insulated to prevent condensation and that the exit point is sealed tightly to keep out pests and cold drafts.
Selecting the exhaust route also depends on the available space and the layout of your home’s structure. Each scenario requires attention to detail to prevent issues like mold growth and structural damage, keeping your bathroom fresh and dry.
Determine Your Electrical Options
Before deciding on your exhaust fan, check the existing electrical setup. Is there pre-existing wiring where you want your new fan, or will you need new wires run? Evaluate if the existing circuit can support an additional load or if a new circuit is required.
Consider whether you want a fan with integrated lighting or just ventilation. Each choice will impact the type of wiring and switches needed. A separate switch for the fan and light provides flexibility but requires more complex wiring.
Always consult or hire a licensed electrician to handle electrical installations. This ensures that your setup complies with local building codes and operates safely.
Remove the Old Bathroom Fan
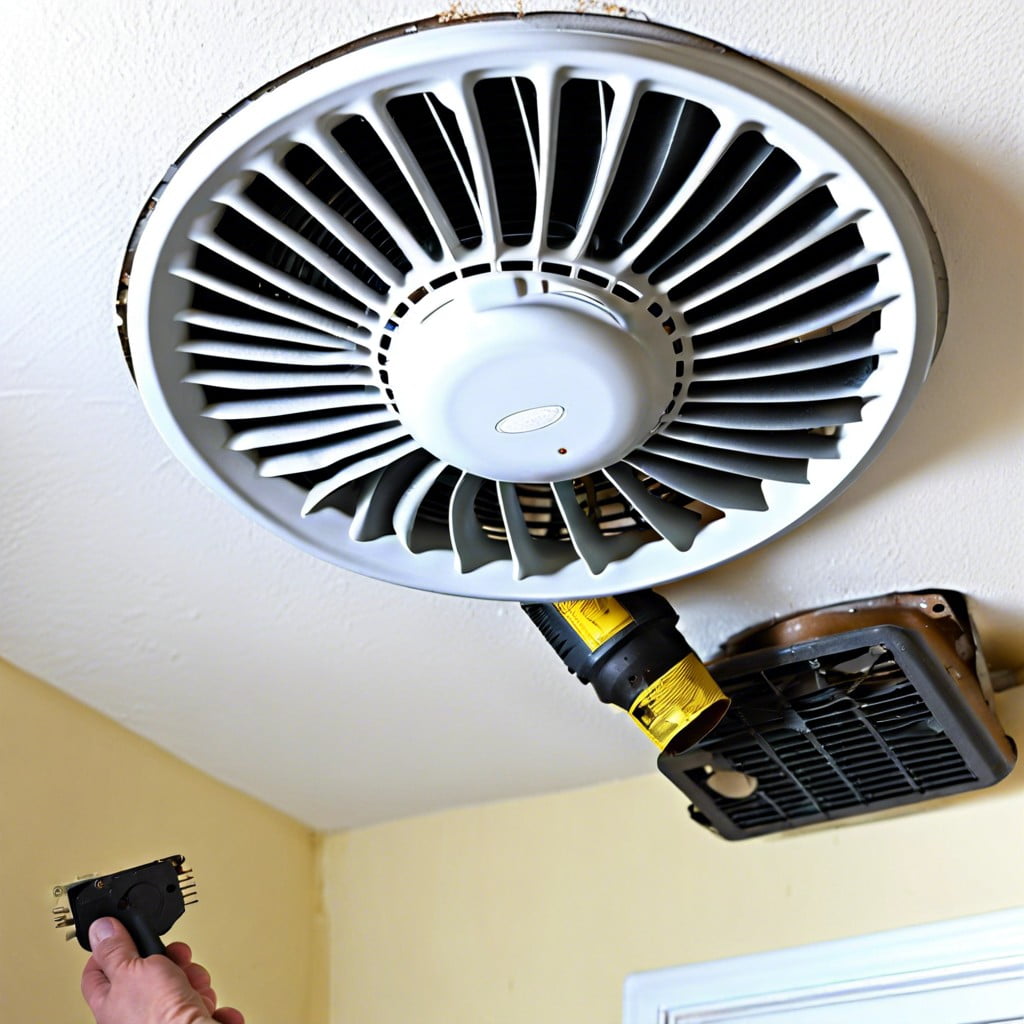
Before installing your new fan, you’ll need to remove the old one. First, shut off the power to ensure safety. This can usually be done at the circuit breaker. Confirm the power is off using a voltage tester at the fan location.
Next, loosen and remove the screws securing the fan to the ceiling. You might need a screwdriver or a drill, depending on how the fan was installed. Carefully detach the fan from its housing and disconnect the wiring by removing wire nuts or similar connectors.
With the wires disconnected, you can take out the housing. Some models may have additional fasteners attaching them to joists or ductwork, so watch for these as you remove the unit.
Pull the unit down gently to avoid damaging the surrounding area. Now, the space is ready for the next step: preparing for the new exhaust fan installation. Keep the area clear and make sure all old hardware is completely removed. This will pave the way for a smoother installation process for your new bathroom exhaust fan.
Browse More
 Baking Soda and Vinegar Drain Cleaning: Simple Steps for a Clog-Free Life
 How Long Does It Take to Tile a Bathroom: Your Ultimate Time-Saving Guide
 Smelly Drain: Banish Odors with Easy Fixes
 How to Remove Bathroom Fan Without Losing Your Cool
 How to Remove Bathroom Vent Cover Without Losing Your Mind
Recap