Last updated on
Maintaining optimal bathroom ventilation hinges on keeping your bathroom fan clean – here’s how to do it effectively.
Key takeaways:
- Gather tools and materials beforehand for efficient cleaning.
- Remember to turn off the electrical breaker for safety.
- Clean the fan cover with soapy water and dry thoroughly.
- Use a vacuum and cloth to clean the motor and blades.
- Properly reassemble the fan components and test function.
Tools and Materials Required
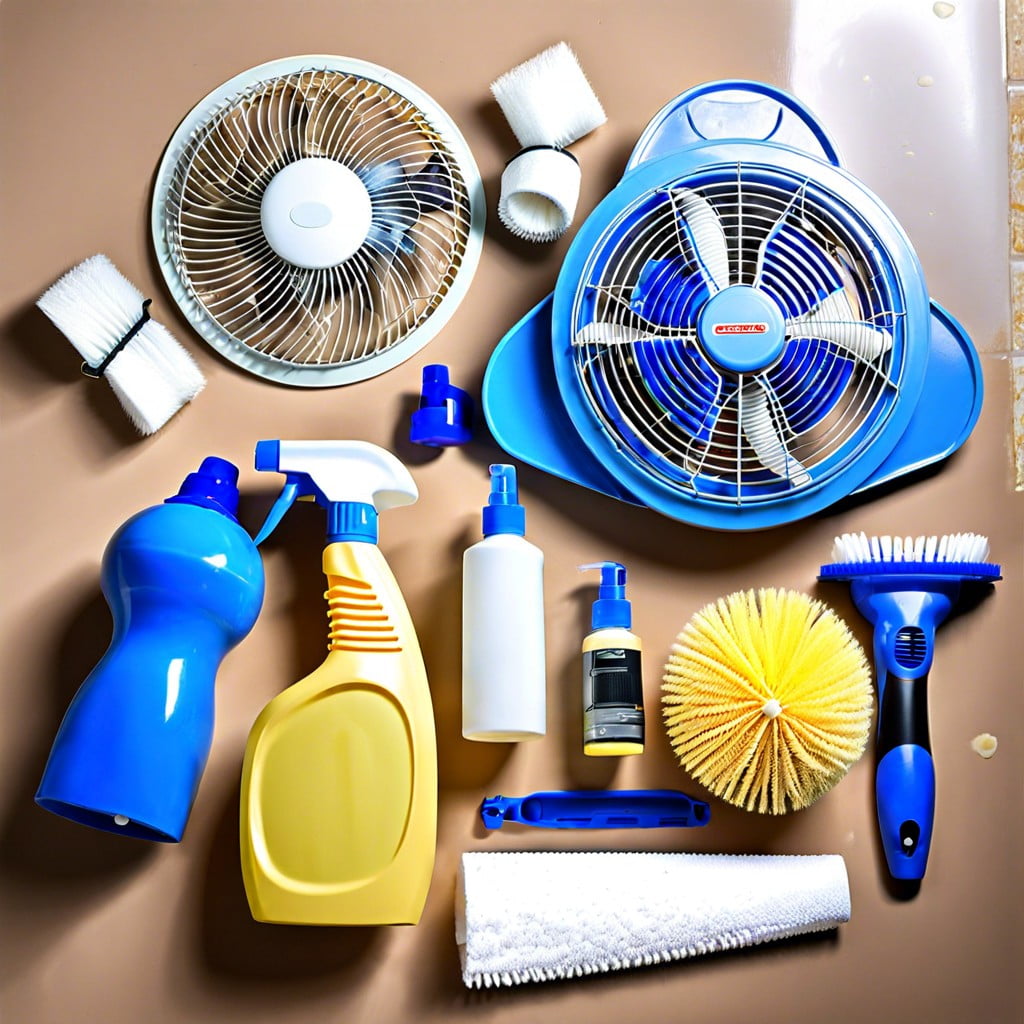
To ensure a smooth and efficient cleaning process, gather your tools and materials beforehand. A sturdy step ladder will provide safe access to ceiling-mounted fans. Don’t overlook the importance of wearing safety goggles and a dust mask, as debris and particulates can be harmful if inhaled or if they come into contact with your eyes.
A screwdriver is essential for removing the cover of the fan, which is typically held in place by screws or clips. Once the cover is off, a vacuum with a brush attachment becomes a valuable ally, allowing you to gently suck away the dust and dirt from the fan blades and motor housing.
For the stubborn grime that vacuums can’t remove, have a cleaning solution and microfiber cloths ready. A soft-bristled brush can also be handy to dislodge the dust without damaging the fan’s components. And finally, a can of compressed air can provide a precision approach to removing dust from crevices and the fan motor.
Remember, the goal is to remove the dust without causing damage. Therefore, patience and careful handling of the fan parts are as critical as the cleaning tools themselves.
Turn Off the Electrical Breaker
Before diving into the actual cleaning process, safety comes first. Shutting off the power to your bathroom fan at the circuit breaker is a critical step. It’s not enough to simply switch off the bathroom light or fan switch; flipping the breaker ensures you’re working in a safe, power-free environment. Mistakenly leaving the power on can lead to electric shocks or short circuits, especially considering you may be dealing with accumulated dust and possibly moisture. Locate your home’s electrical service panel – often found in basements, garages or utility closets – and toggle off the breaker corresponding to your bathroom. This might mean you’ll be working in reduced light, so have a flashlight or a portable light source handy to illuminate your work area. And remember, if you’re ever unsure about identifying the correct breaker, consult with a professional. Safety is paramount, and guessing has no place when it comes to electrical work.
Remove the Fan Cover and Clean
First, ensure the fan is turned off for safety. Unscrew or unclip the cover gently. You might encounter resistance, as some covers are snugly fit or may have paint holding them in place. A soft but firm touch is essential here to avoid breaking any components. Once it’s off, a dust build-up is usually visible.
Take the cover and give it a good wash with soapy water, rinsing it thoroughly afterward. For stubborn grime, a soft brush can be an effective tool. This should be done with care to prevent warping or breaking the cover, which can affect future performance and aesthetics.
Allow the cover to dry completely before considering putting it back. Any moisture that remains can lead to mold or mildew problems, adding unwanted odors and possible health issues. This meticulous cleaning process is not just about aesthetics; it also maintains optimal fan efficiency and prolongs its lifespan.
Clean the Motor Housing and Blades
Once the fan cover is set aside, the real task begins. Dust accumulation on motor housings and blades drastically reduces efficiency, making this step crucial. Begin by using a vacuum with a brush attachment to carefully suck up the loose dust and debris from around the motor and fan blades.
For a deeper clean, dip a cloth in soapy water, wring it out well, and gently wipe the surfaces. Be mindful not to disturb any wiring or internal components. For stubborn grime, you can use an old toothbrush to scrub the nooks and crannies. However, remember that the motor is not designed to tolerate water, so keep liquids away from it.
After cleaning, take a dry cloth and wipe down all parts to remove any moisture. This helps prevent any water damage to the electrical parts and also avoids dust clinging to damp areas. By keeping the motor housing and blades clean, you’re not just ensuring a quiet operation but also extending the lifespan of the fan.
Replace the Fan Components and Test Function
After meticulously cleaning each component, align the fan blades and motor housing back to their original positions. Ensuring they’re properly seated is crucial to avoid vibrations or noise during operation. Next, reattach the fan cover. It should click or fit securely into place, confirming that it’s correctly installed.
Now, head back to your breaker box and restore power to the fan. This is the moment of truth where you test the effectiveness of your cleaning efforts. Turn the fan on and observe: it should run more quietly and move air more efficiently. A successful clean often results in better ventilation, reducing the risk of mold and mildew buildup in your bathroom. Any lingering odd noises or operational hiccups may suggest a deeper issue, potentially warranting a professional assessment. Remember, regular maintenance extends the life of your fan and keeps the air in your bathroom fresh and healthy.
Browse More
 Baking Soda and Vinegar Drain Cleaning: Simple Steps for a Clog-Free Life
 How Long Does It Take to Tile a Bathroom: Your Ultimate Time-Saving Guide
 Smelly Drain: Banish Odors with Easy Fixes
 How to Remove Bathroom Fan Without Losing Your Cool
 How to Remove Bathroom Vent Cover Without Losing Your Mind
Recap