Last updated on
Learn the straightforward process of removing your tile floor in this comprehensive guide that ensures a hassle-free and cost-effective experience.
Key takeaways:
- Gather necessary tools for tile removal: heavy-duty hammer, chisel, floor scraper, pry bar, bucket/wheelbarrow.
- Prepare the space: remove furniture, use plastic sheeting, wear safety gear.
- Break tiles carefully: start in inconspicuous area, weaken tile’s bond with hammer and chisel.
- Pry up tiles with patience and leverage: use angled chisel and firm pressure.
- Remove residue and clean: use floor scraper, gentle hammer and chisel, clean with warm water and mild detergent.
Gather the Necessary Tools for Tile Removal
Embarking on a tile floor removal? Success starts with the right arsenal. Ensure you’ve got a heavy-duty hammer and a chisel to break through the toughest ceramic.
For more efficient work, consider an electric rotary hammer with a chisel bit attachment. Safety gear is non-negotiable – protective eyewear, gloves, and ear protection shield you from potential hazards.
A floor scraper will prove invaluable for clearing out the debris, while a pry bar will be your ally for lifting stubborn tiles.
Don’t forget a bucket or wheelbarrow for disposing of the broken pieces—keeping your workspace clear is key to a smooth operation.
If you’re dealing with adhesive, have a heat gun or adhesive remover on hand to tackle the sticky aftermath with ease.
Investing a bit in preparation lays a solid foundation for a smooth tile removal adventure.
Preparation
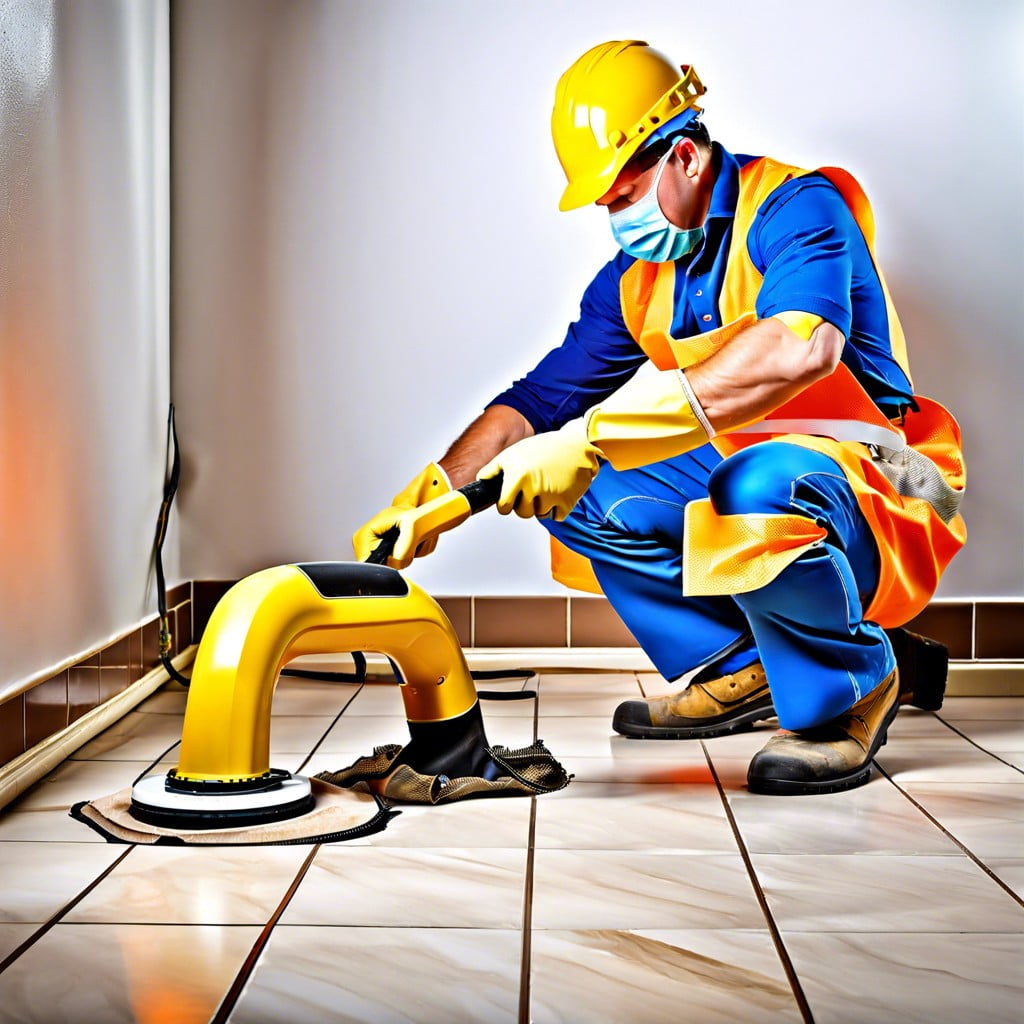
Before diving into the demolition process, shield your space against the inevitable dust and debris. Start by removing all furniture and fixtures that could obstruct your work or suffer damage.
Next, section off the area with plastic sheeting, sealing the perimeter with painter’s tape to prevent the dust from pervading your home. Safety should be your top priority; equip yourself with gloves, eye protection, and a dust mask to guard against sharp tile fragments and airborne particles.
Ensure that the room is well-ventilated to maintain a safe breathing environment. Lastly, if you’re uncertain about the presence of asbestos in older tiles, it’s prudent to have a professional assess the situation before you proceed.
Breaking the Tiles
Starting in a small, inconspicuous area or where a tile is already broken is wise, as this becomes your testing ground for the right amount of force. Using a hammer and chisel, angle the tool so that it is sufficient to break the bond without damaging the substrate excessively. Aim for the grout lines to weaken the tile’s stronghold.
Once a few tiles are out, the remainder tend to follow more easily, allowing you to use a floor scraper to expedite the process.
For larger areas, a power tool like a rotary hammer with a chisel attachment will save time and energy. However, always bear in mind the risk of over-penetration which could damage the underlayment or pipes and wires beneath the floor. The goal is to crack the tiles efficiently, not to obliterate them into dust; controlling the impulse to use brute force will ultimately make the cleanup less arduous and the preparation for the new flooring smoother.
Prying Up the Tiles
Once the initial tile is shattered, the hard graft really begins. Slip the chisel under adjacent tiles at a 45-degree angle and apply firm pressure with your mallet or hammer. This technique leverages force in a way that helps lift tiles from the adhesive below. Patience is key—it’s tempting to rush, but that’s a direct path to damaging the underlayment.
Instead, think of it like opening a stubborn can: once you find the right spot, it’s just a matter of prying around the edges until the lid pops off. Remember to work systematically; move from one tile to the next in a sequence. This not only keeps your workspace organized but also helps you maintain momentum. And if you encounter a stubborn tile—don’t take it personally—some tiles are just more tenacious than others.
Removing Residue and Cleaning
Once the tiles are pried up, you’ll likely find remnants of adhesive and grout. Tackling this challenge requires patience and the right approach. Start with a floor scraper to chip away at the tenacious bits. For any stubborn areas, a hammer and chisel can be gently employed to tap away the residue without damaging the subfloor.
If you encounter mastic, consider using a heat gun to soften it, but proceed with caution to avoid any potential damage from excessive heat. After the physical removal, clean the floor with a mixture of warm water and mild detergent to get rid of any dust and particles. This step is crucial; it ensures a pristine surface for your next flooring adventure. Remember, safety comes first: Wear protective gear to fend off any pesky particles that could irritate your skin or respiratory system.
FAQ
What is the easiest way to remove floor tiles?
The simplest method to remove floor tiles involves breaking a few tiles to initiate the process, then using a pry bar to lift and remove the tiles along with any adhesive underneath.
Is tile flooring hard to remove?
Yes, tile flooring can be challenging to remove due to hidden complexities such as the type of underlayment they are attached to and the method of attachment.
What is the best tool to remove tile?
The best tool to remove tile is typically a sledgehammer, hammer, or a similar heavy-duty instrument, followed by a scraper for detailed removal.
How much does it cost to remove tile flooring?
The cost of removing tile flooring typically ranges between $2 and $6 per square foot, with an average cost sitting around $4 per square foot.
Can you remove tile flooring without damaging the subfloor?
Yes, tile flooring can be removed without damaging the subfloor with careful use of the right tools and techniques.
What safety measures should be taken when removing old tile flooring?
When removing old tile flooring, safety measures should include wearing protective clothing, using appropriate tools, sealing the room to prevent dust spread, and ensuring proper ventilation.
How eco-friendly disposal options can be considered for old tiles post-removal?
Eco-friendly disposal options for old tiles post-removal can include recycling them through construction waste facilities, donating them to nonprofit organizations, or repurposing them for art or gardening projects.
Continue reading:
Recap


