Last updated on
Removing wall tile can be a messy and laborious task, but with the right approach, it’s something you can accomplish with confidence—here’s how to get it done effectively.

Key takeaways:
- Safety gear is essential: goggles, dust mask, gloves, work boots.
- Seal off the room and cover fixtures to contain dust.
- Essential tools: hammer, chisel, utility knife, power drill.
- Take time to remove grout properly to avoid damage.
- Use precision and controlled force when using hammer and chisel.
SAFETY IS KEY
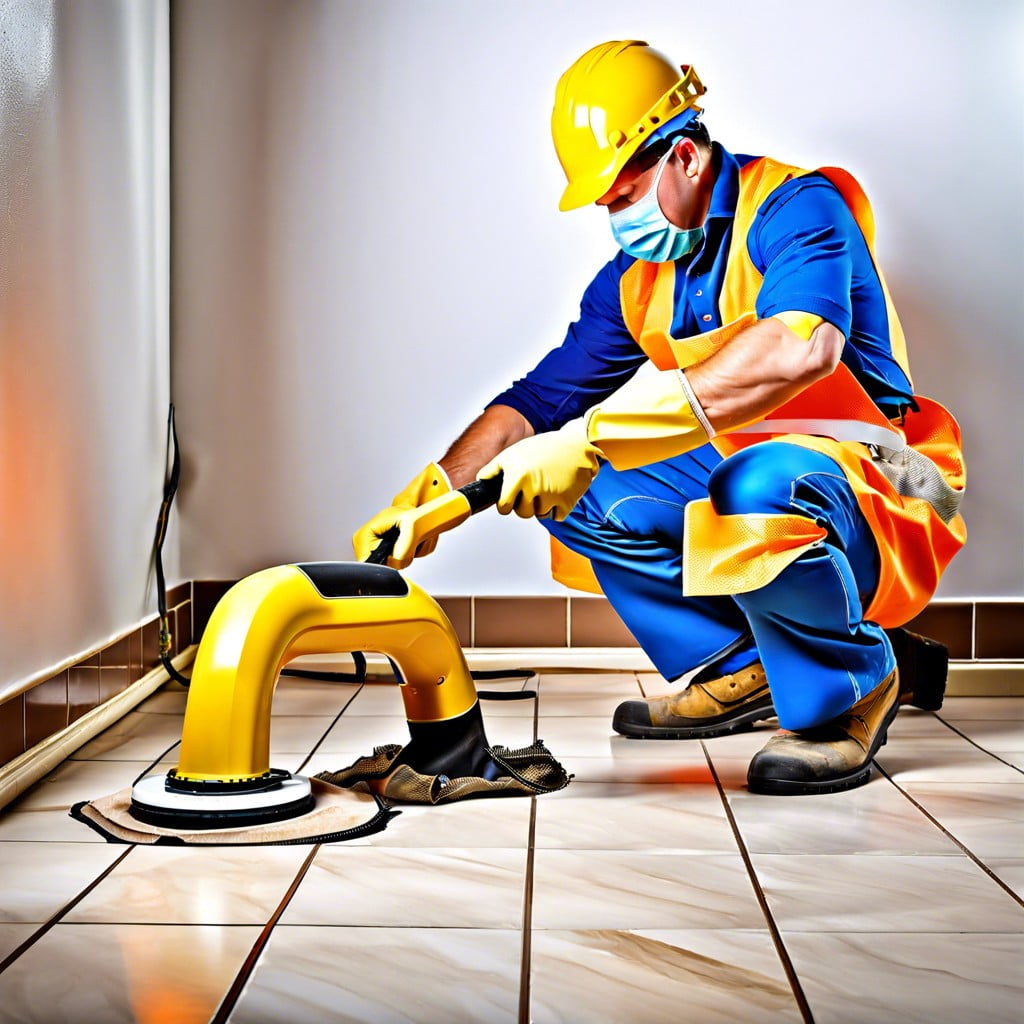
Tackling a wall tile removal project presents potential hazards, so protective gear is non-negotiable. Dust and debris are inevitable; safeguard your lungs with a high-quality dust mask or respirator. Your eyes are just as vulnerable, so always wear safety goggles to shield against flying tile shards. Moreover, thick gloves will protect your hands not only from sharp edges but also from the strain of using tools for an extended period. Finally, don’t overlook the importance of a sturdy pair of work boots – dropping a hefty piece of tile on your foot is a sure way to end your DIY endeavor prematurely. Remember, injury prevention is paramount, and cutting corners on safety gear is never a smart bet.
COVER THE ROOM
Tiling projects generate a surprising amount of dust and debris which can spread far and wide. Even if you’re simply removing existing tiles, the area becomes ground zero for an explosion of tile shards and pulverized grout. It’s imperative to seal off the work zone to contain the chaos.
Begin by laying down heavy-duty drop cloths or thick plastic sheeting over the floor, ensuring every inch is covered. This not only protects your surfaces from scratches and dents but also makes the eventual cleanup much more manageable. Next, consider safeguarding any immovable fixtures within the space. Wrap toilets, sinks, or built-in cabinets in plastic to shield them from accidental impacts and dust infiltration.
Keep in mind that the dust doesn’t just fall; it flies. It’s prudent to remove or fully cover any soft furnishings, electronics, or personal items in the vicinity. Additionally, seal the doorway with plastic sheeting or a zipper door to keep the mess contained within the work area; this is also useful for minimizing the amount of cleaning you’ll need to do in the rest of the home post-demolition. For an extra layer of defense, tape over air vents to prevent the transport of dust through your HVAC system.
In essence, think of coverings as the unsung heroes of tile removal: they don’t just protect your property, they significantly lighten your post-renovation workload. Keep this in mind, and you’ll thank yourself later when you have less cleaning to tackle.
GRAB YOUR TOOLS
Equipping yourself correctly is crucial for a successful tile removal project. A flat chisel and a heavy-duty hammer constitute the cornerstone of your toolkit, allowing for precision work when chipping away at tiles and grout. A utility knife slides beneath tiles to sever adhesive bonds, greatly simplifying the task. For larger sections, a power drill with a masonry bit can make swift work of punch-starting the removal process. Consider a grout saw to aid in segmenting areas and reducing the risk of damaging nearby tiles you wish to preserve. Lastly, safety should never be compromised; eye protection, heavy gloves, and a dust mask are non-negotiable for personal protection against sharp edges and airborne particles.
REMOVE THE GROUT
The tedious business of grout removal can make or break your tile removal process. Here’s your strategic approach: Start by selecting an oscillating multi-tool or a manual grout saw. These tools are designed to penetrate the grout without damaging the surrounding tiles, especially if you plan to reuse them.
Take care not to rush; grout can be stubborn. Angle your tool correctly to avoid slippage, which can damage the tile or even cause injury. Work the tool back and forth along the grout lines, applying steady pressure to chip away at the material.
Remember, patience is vital. Rushing the job will result in a shoddy outcome or even tile breakage. By taking your time to remove the grout cleanly, the tiles will come away more easily in the following steps, saving you effort and potentially avoiding the need for repairs due to accidental damage.
HAMMER AND CHISEL
Once the grout is sufficiently removed, the real elbow grease begins. A flat chisel placed at a 45-degree angle to the tile surface, coupled with the right amount of force from the hammer, can be immensely satisfying as tiles start to yield. This is where precision meets grunt work. A chisel offers control — enabling you to target specific areas, preserve the integrity of the wall behind, and minimize the mess. Each tap of the hammer requires a calculated force; too gentle, and the tile taunts you, too hard, and you risk collateral damage. The goal here is to create a sense of rhythm and momentum, allowing the process to become efficiently mechanical. However, this is not about brute force—patience here will save time and effort in the long run.
Browse More
 Baking Soda and Vinegar Drain Cleaning: Simple Steps for a Clog-Free Life
 How Long Does It Take to Tile a Bathroom: Your Ultimate Time-Saving Guide
 Smelly Drain: Banish Odors with Easy Fixes
 How to Remove Bathroom Fan Without Losing Your Cool
 How to Remove Bathroom Vent Cover Without Losing Your Mind
Recap