Last updated on
Explore preppy clay bead bracelet ideas because their vibrant colors and unique textures effortlessly elevate any casual ensemble to chic sophistication.
Clay bead bracelets are the perfect accessory to add a preppy touch to your wardrobe. These handmade pieces offer a unique blend of color, texture, and personal style.
This article will guide you through various design ideas, from classic and sophisticated to bold and quirky, to create your own preppy clay bead bracelet. Whether you’re an experienced crafter or a beginner, you’ll find the steps easy to follow.
Plus, we’ll cover everything from selecting the right clay and tools, to creating the beads, stringing them, and adding the finishing touches.
So, ready to make a statement with your own preppy clay bead bracelet? Let’s dive in!
Pastel Colored Clay Bead Bracelets
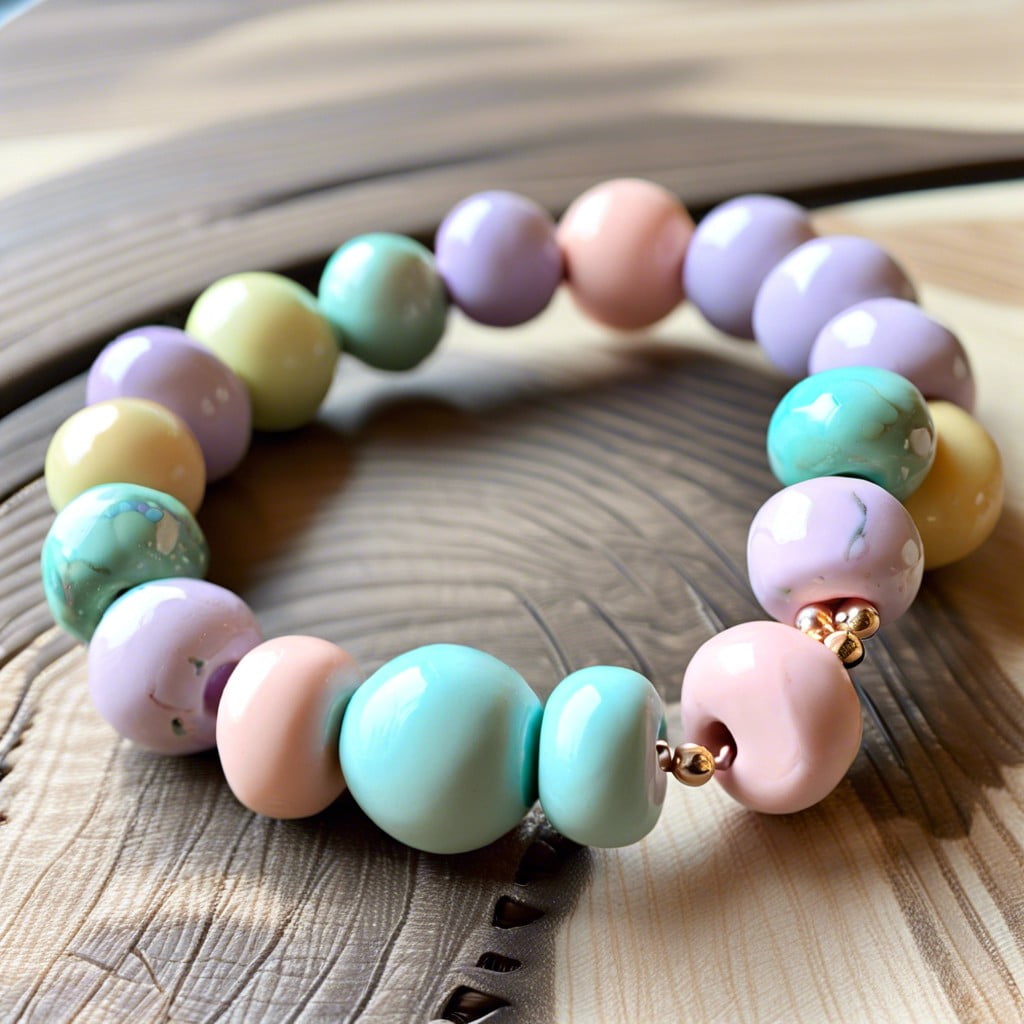
Creating these bracelets involves crafting clay beads in a palette of softer, lighter hues. Pastels such as baby blue, mint green, blush pink, lavender, and vanilla cream, are ideal for this style, exuding an understated elegance and refreshing simplicity.
For variations, experiment with different bead sizes and shapes, or add some metallic or pearl elements to accent the pastel colors. However, keep the emphasis on the muted color scheme.
These bracelets pair well with spring or summer outfits, adding just the right touch of color. Perfect for Sunday brunches, garden parties, or seaside vacations, pastel clay bead bracelets encapsulate a sophisticated preppy vibe. Remember, subtlety and simplicity are key components of the preppy aesthetic.
Clay Bead Charm Bracelets
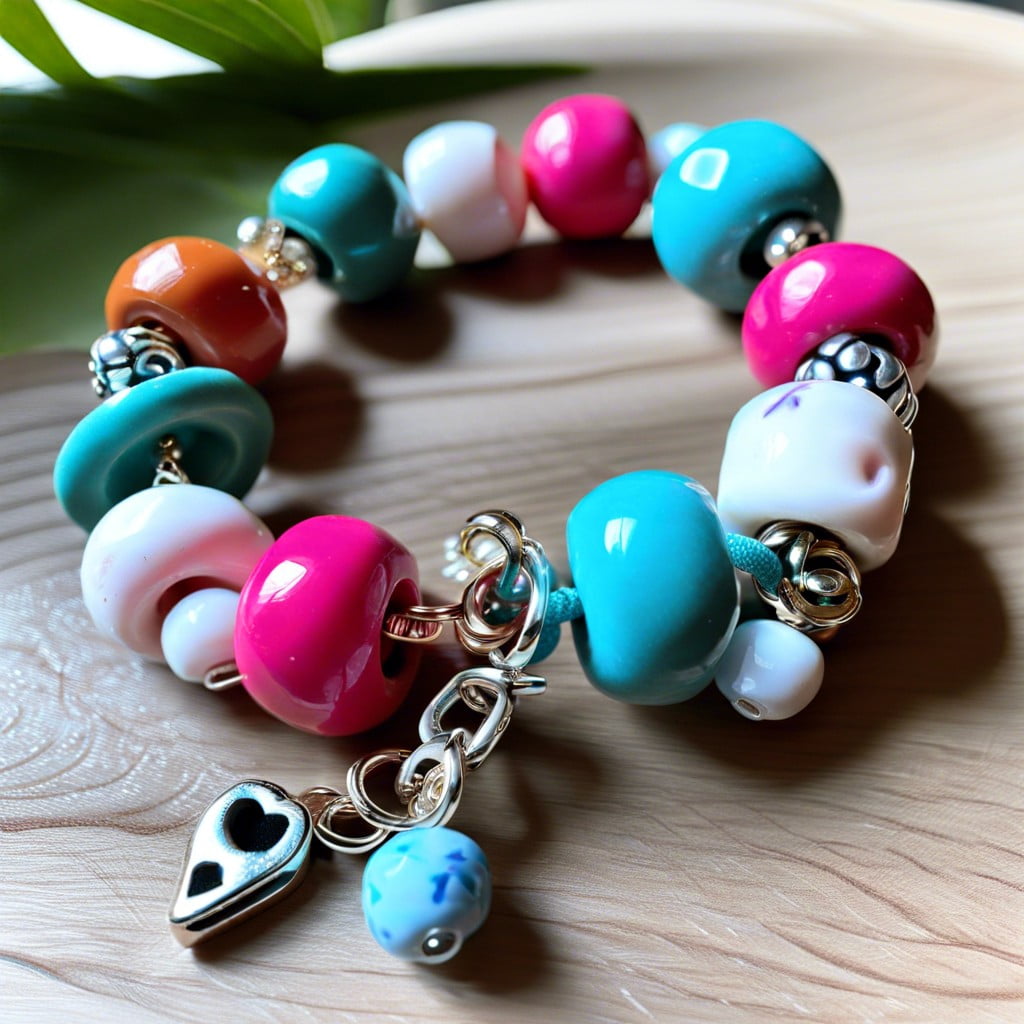
Diving right in, charm bracelets offer a unique opportunity to personalize your accessories. When working with clay beads, incorporating small charms can add character and identification to your pieces.
1. Select charms that resonate with you: This could be anything from tiny sailboats, anchors for nautical themes, or perhaps initial letters for a monogram effect.
2. Choose complementing clay bead colors: Typically, neutrals, pastels or metallics pair well with a wide array of charms.
3. Consider size and alignment: Ensure your charms are not too big as it could weigh down the bracelet. Do consider the positioning, choose either a central or asymmetrical layout depending on your style.
4. Use durable threads: Since charms can add weight, opt for threads like silk or nylon for their durable properties.
5. Mix textures: Premeasured charm slots in some of your clay beads can give a neat, cohesive look.
Remember, the charm bracelet represents your personal style. So let these guidelines inspire you, yet be sure to let your creativity shine through. Nothing beats the charm of a personalized, distinctive accessory.
Monogrammed Clay Bead Bracelets
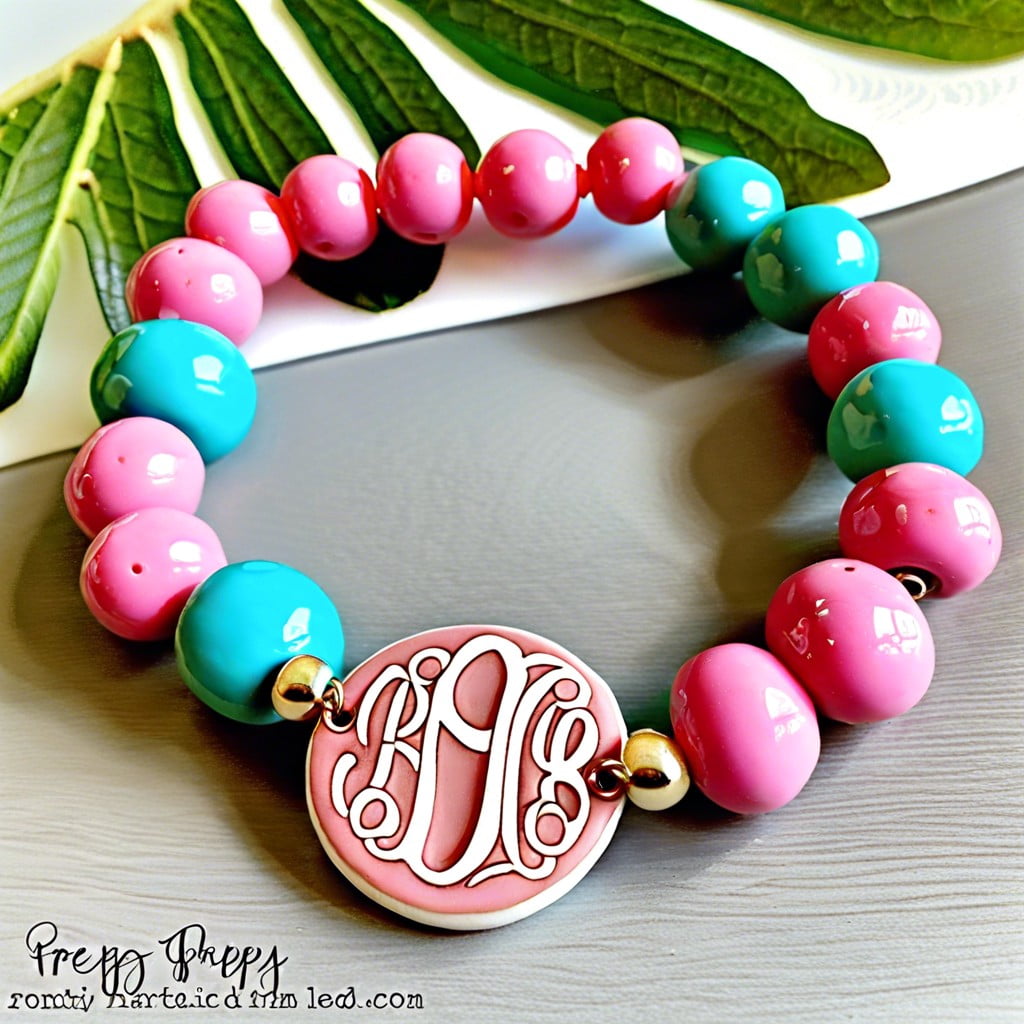
Delving into this unique design, you’ll soon discover the charm of personalization that adds a touch of exclusivity. To embark on this creative journey, you need polymer clay, a needle or thin rod, stamps for your initials, and clear varnish.
Firstly, create round beads but keep one side flat. This interior-facing flat surface is where your initials will go. Next, stamp your initials on the flat side before the clay dries completely. Once the clay has dried, use clear varnish to give extra protection and a glossy finish.
This design not only offers a personal touch but also a keepsake. Remember that simplicity is the key here. Let the initials shine, so opt for solid colors or simple patterns for the rest of your beads.
Such bracelets can be perfect gifts for friends as they demonstrate thoughtfulness and effort. More so, they can serve as memorable mementos for occasions like graduation, birthdays, or bridesmaid gifts. Never underestimate the joy of wearing something that’s just for you!
Striped Clay Bead Bracelets
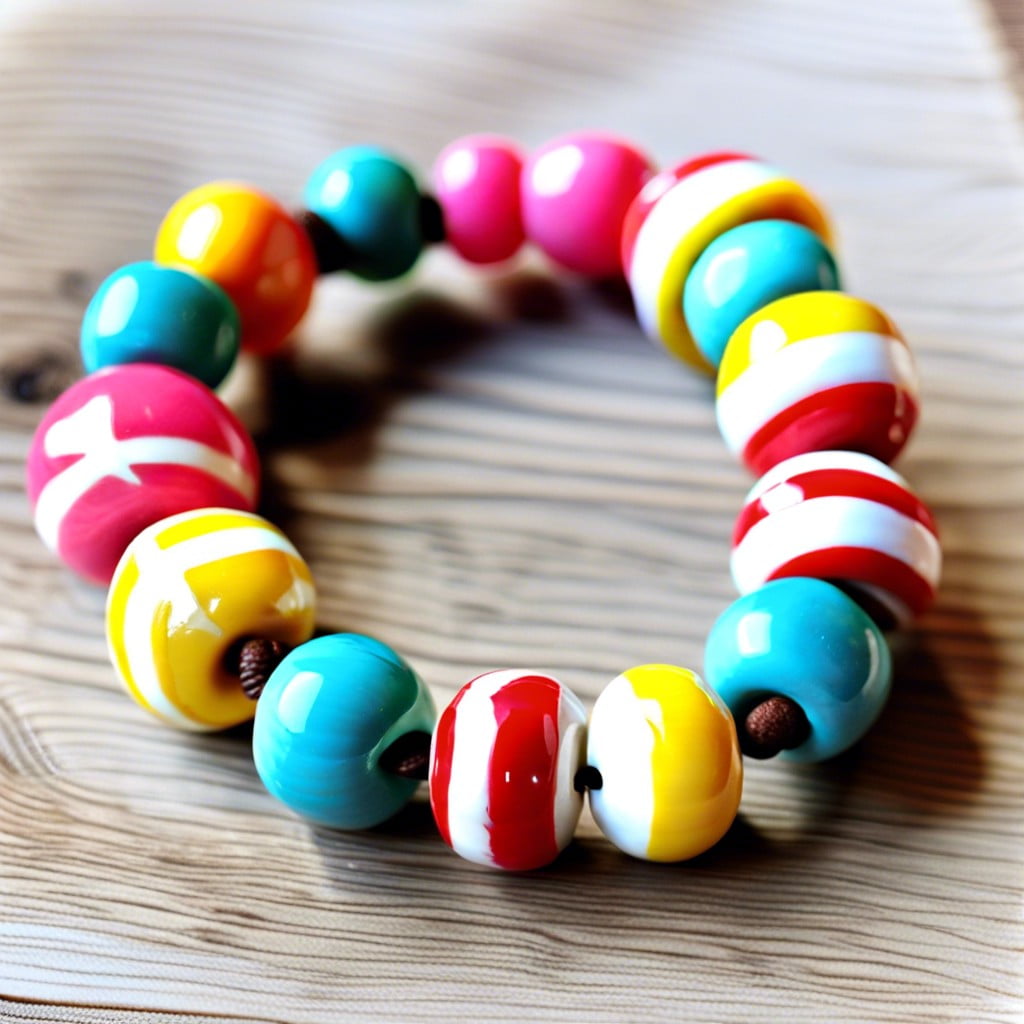
Playing with color combinations and patterns adds an element of fun and individuality to each piece you create. Let’s dive into the world of stripes. There’s no limit to the range – horizontal, vertical, thick, thin, multicolored, or even with alternating textures. Here are key points you should bear in mind:
1. Color selection: Consider the preppy classics – navy and white, pink and green, or even a rainbow assortment. You could also incorporate seasonal trends or personal favorites.
2. Bead shaping: Keep the beads cylindrical. This shape highlights the stripes best, and allows them to stack evenly.
3. Layering: Carefully layer thinly rolled clay sheets to achieve bold, striped patterns. Don’t rush, take your time.
4. Cutting: Cut your layered clay block into beads. Ensure each bead is the same size for consistency.
5. Finishing touches: Be sure to smooth and refine the edges, bringing out the neatness of your stripes.
Remember, the beauty of handmade jewelry allows you to be the creator of your unique style story. Fun-filled and chic, striped clay bead bracelets are the perfect blend of playful and polished.
Mixing Textured and Smooth Clay Beads
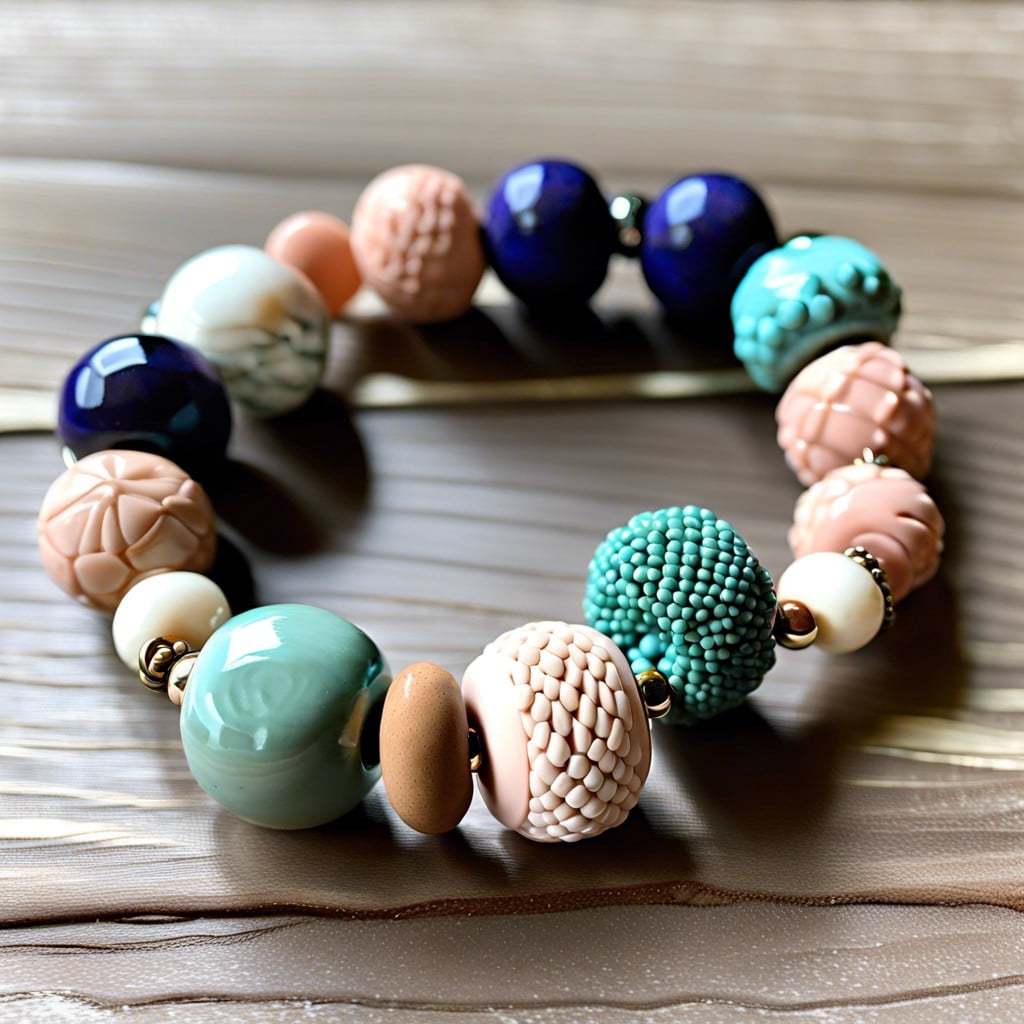
Different textures can create a dynamic design that’s sure to catch the eye. Try alternating between textured and smooth beads for an interesting play on surface feel. This adds an unexpected twist to the traditional bead bracelet, making it more visually engaging.
Here are some points to consider:
- 1. Achieving Balance: To keep your design balanced, try to ensure a regular pattern. For example, one textured bead for every two smooth ones.
- 2. Textured Bead Choices: There are plenty of textured clay beads to choose from. Some are scored, spiraled, or even speckled. Experiment with different options.
- 3. Color Selection: To further enhance the textural disparity, consider using contrasting colors for the smooth and textured beads.
- 4. Adding Spacers: Metal spacers can provide a nice break between the clay beads, assisting in highlighting the texture contrast.
Remember, crafts are a form of self-expression. Don’t be afraid to experiment and create a bracelet that works best for you.
Varsity Stripe-Themed Clay Beads
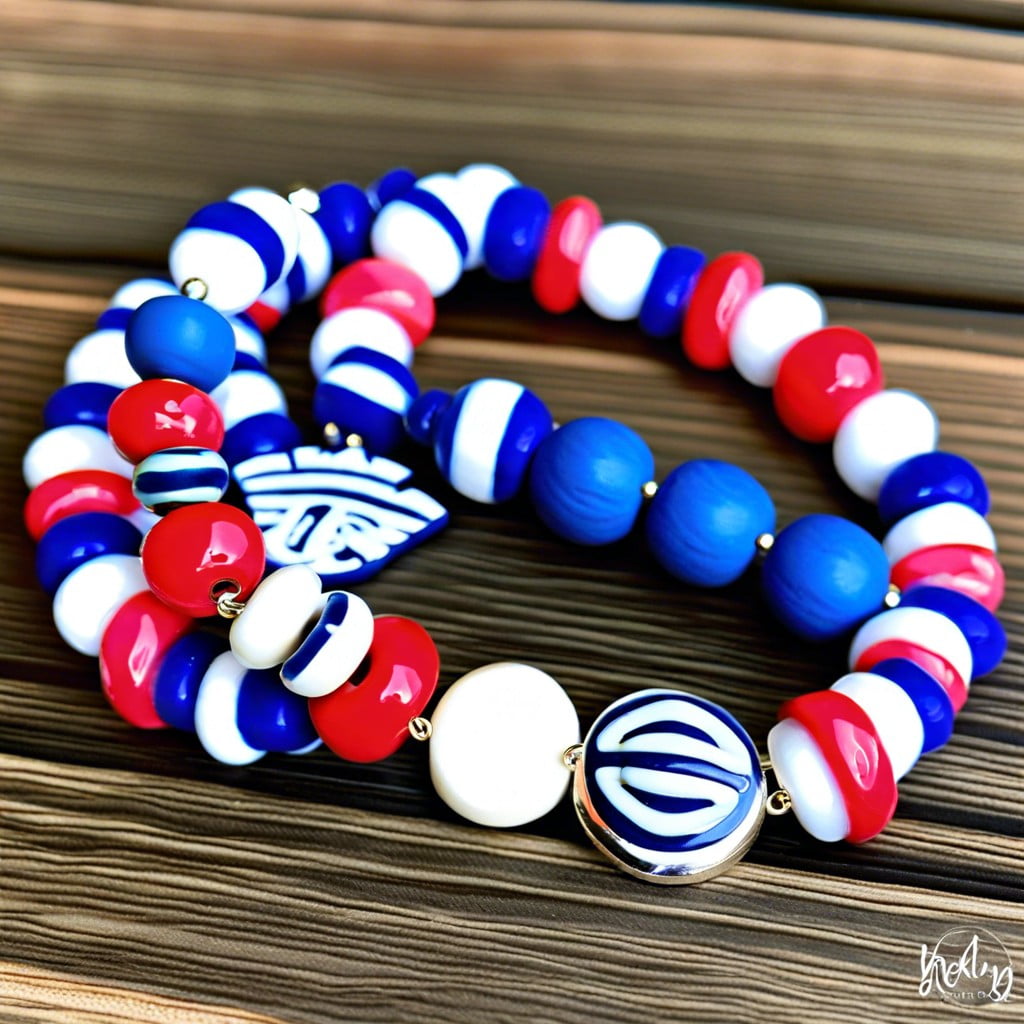
Drawing inspiration from the bold stripes found on sports uniforms, these designs captivate with their simple sophistication.
Here’s how to achieve this look:
- Pick Two Colors: A primary and a complementary color. Think of timeless combinations like navy-blue and white or black and red.
Evenly Striped Beads: Create evenly sized stripes circling your bead. Use tools like the blunt end of a paintbrush or toothpick to achieve crisp, clean lines.
Variety of Sizes: Don’t stick to one size of bead. Layer smaller striped beads with larger ones for an interesting visual effect.
Mixing Stripes: Consider experimenting with different stripe widths. Alternate between thin and thick stripes for a stylishly eclectic look.
Remember, this design lends itself to versatility. Whether you’re wearing your favorite team’s colors or just want a sporty accent to your casual outfit, these varsity stripe-themed clay beads bring a touch of preppy charm to any look.
Personalized Name Clay Bead Bracelets
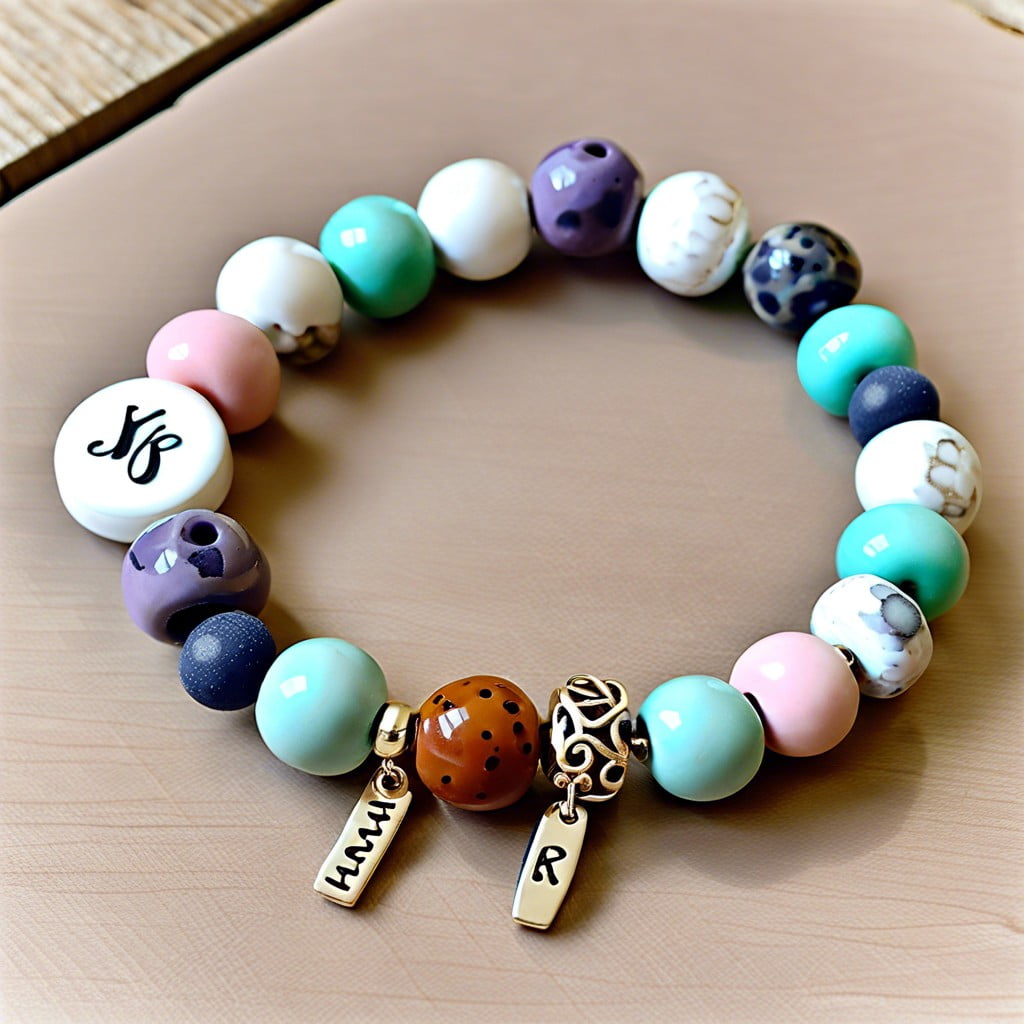
Crafting personalized name bracelets using clay beads adds an element of charm, customization, and sentimentality to your wrist. Here are some key points to consider when personalizing your bracelet:
1. Using Alphabet Beads: Acquiring alphabet beads will help you spell out any name or preference in your bracelet. This gives it a unique identity that is bound to stand out.
2. Selecting Complementary Colors: Choose bead colors that pair well together. It’s useful to select one color for the name beads and another for the rest of the bracelet for a visually coherent look. Preppy designs often use high contrast or complimentary colors.
3. Sizing: Make sure the beads are in proportion to the string thickness. The size of the beads should not overwhelm the name or become a nuisance while wearing.
4. Focal Point: Arrange the name in the middle of the bracelet, making it the focal point. Surround it with a pattern of single-color or multi-colored beads for added appeal.
5. Bond: Securely fasten beads to ensure they do not come off easily. Knotting the bracelet properly can help avoid unwanted situations of losing beads.
In essence, a personalized name clay bead bracelet is an individualized, wearable piece of art that reflects the personality and preferences of the wearer—making it much more than an ordinary accessory.
Classic Navy and White Clay Bead Design
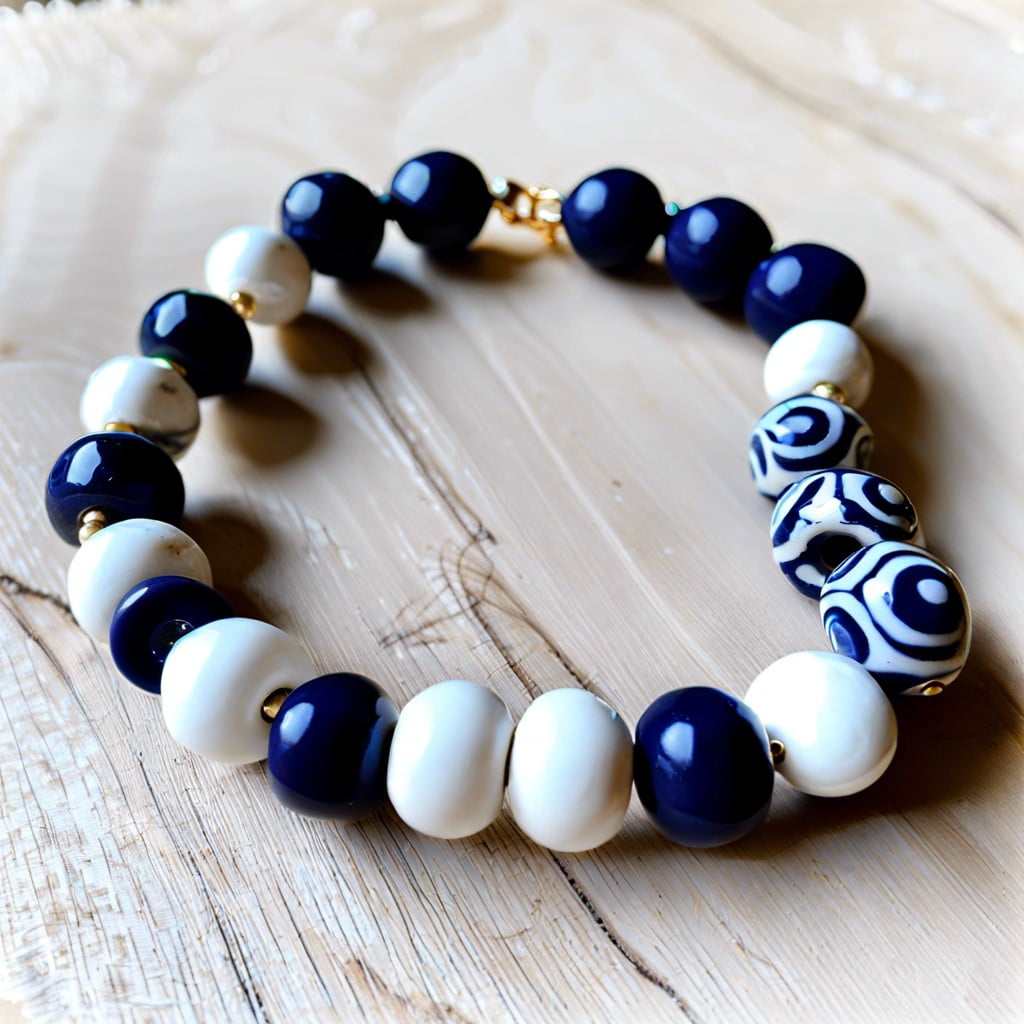
To achieve this timeless look, start with equal parts of navy and white polymer clay. Roll them into uniform beads, about the size of a pea. Set aside half the navy beads, and spend some time marbling the other half with some of the white beads to create a swirling, sea-inspired pattern. Once hardened, use a high-gloss glaze to give the beads a nice sheen, reminiscent of the ocean on a sunny day.
Although random stringing can give an eclectic feel, for a preppy aesthetic, consider arranging your beads in a particular pattern. For example, a pattern of two navy beads, a marbled bead, followed by a white bead creates a lovely rhythm in your design. The navy color symbolizes the deep-sea while the white brings a hint of elegance. A reminder to adhere to your own style while achieving the classic navy and white design. This scheme is also easy to pair with various outfits, making it a versatile accessory in your jewelry repertoire.
Pearl Embellished Clay Bead Bracelets
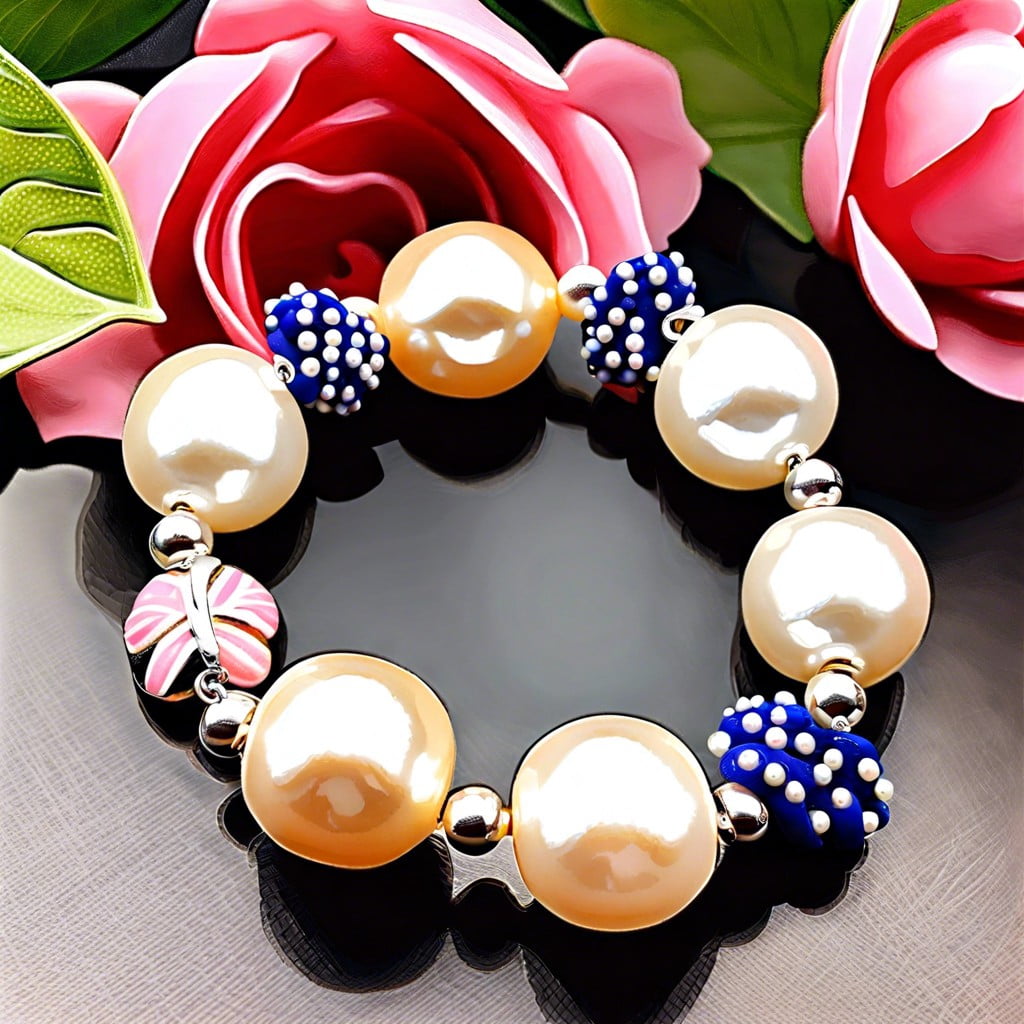
Having formed your clay beads, allow them to cool. Once cooled, you’ll commence the embellishing process using delicate pearls. Tiny pearls typically work best, allowing for a striking contrast between the large clay beads and the petite pearls without overwhelming the design.
You can choose pearls in traditional cream for a classic look or opt for colored pearls to add an element of whimsy to the bracelet. Engage them in a scattered pattern for a casual look or in specific geometric patterns for a more formal appeal.
Affixing the pearls involves a simple process. You will need some adhesive designed for jewelry or crafts. Apply a small amount on the place you wish to attach the pearl, press the pearl onto it, and leave it to dry. It’s advisable to adhere a few pearls at a time and allow them to dry thoroughly before rotating the bead to add more.
This idea marries the soft sophistication of pearls with the artisanal appeal of clay beads, making for a beautiful piece that’s both preppy and edgy.
Ivy League Inspired Clay Bead Bracelets
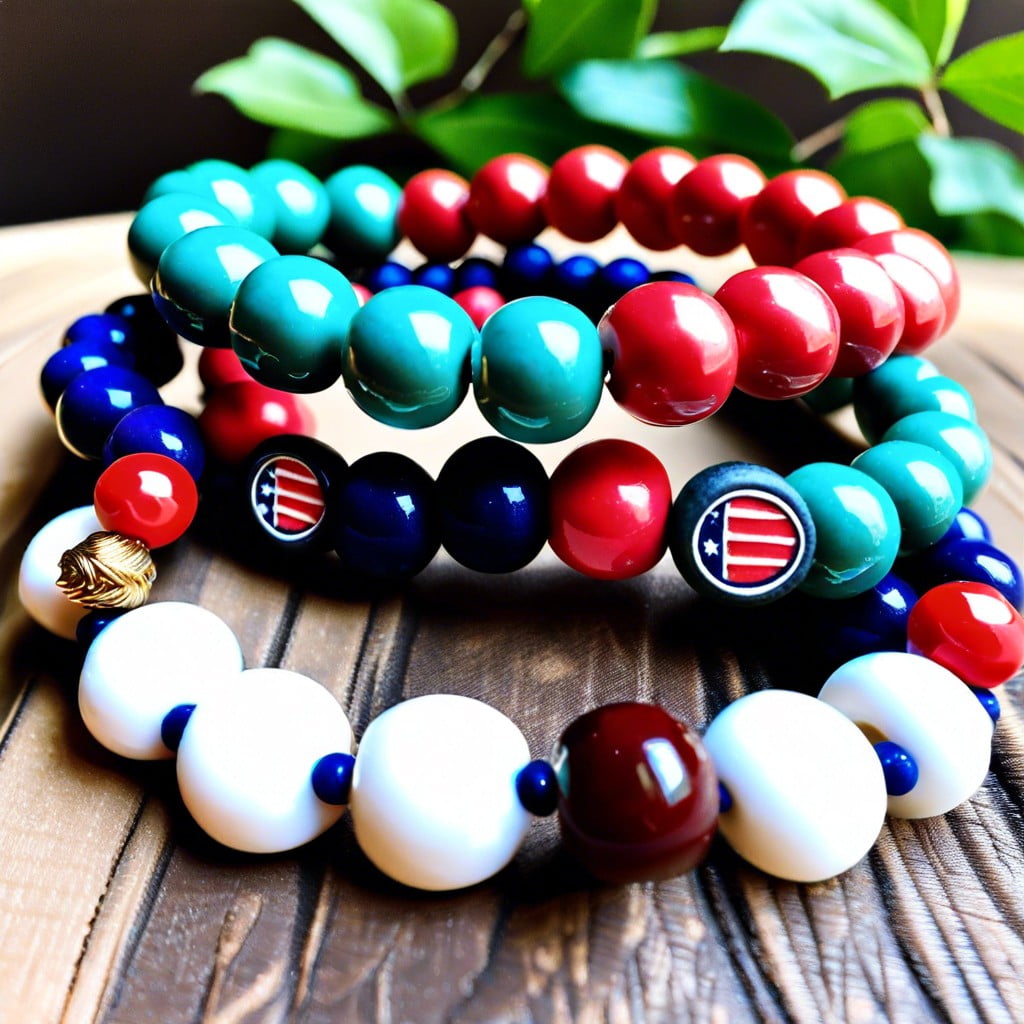
For that academic charm, infuse elements of the prestigious Ivy League schools’ traditional colors into the design. Harvard crimson, Yale blue, or Princeton orange, can translate beautifully onto clay beads.
– Start by selecting two to three primary colors related to an Ivy League school you wish to highlight.
– Try a repeating pattern of your chosen colors, imitating the popular stripe motifs of Ivy League ties.
– Incorporate graduation year or degree initials, to give it a personalized edge.
– Consider adding gold or silver clay beads as separators between color blocks for a touch of class.
– Play with various sizes of beads, larger beads representing school colors, and smaller ones for accents.
– Create a focal point, perhaps a larger bead in the middle to represent the school’s shield or crest.
The combinations are endless, just remember to hold onto that sense of old-world sophistication distinct of Ivy League aesthetics.
Vineyard Vines Style Clay Beads
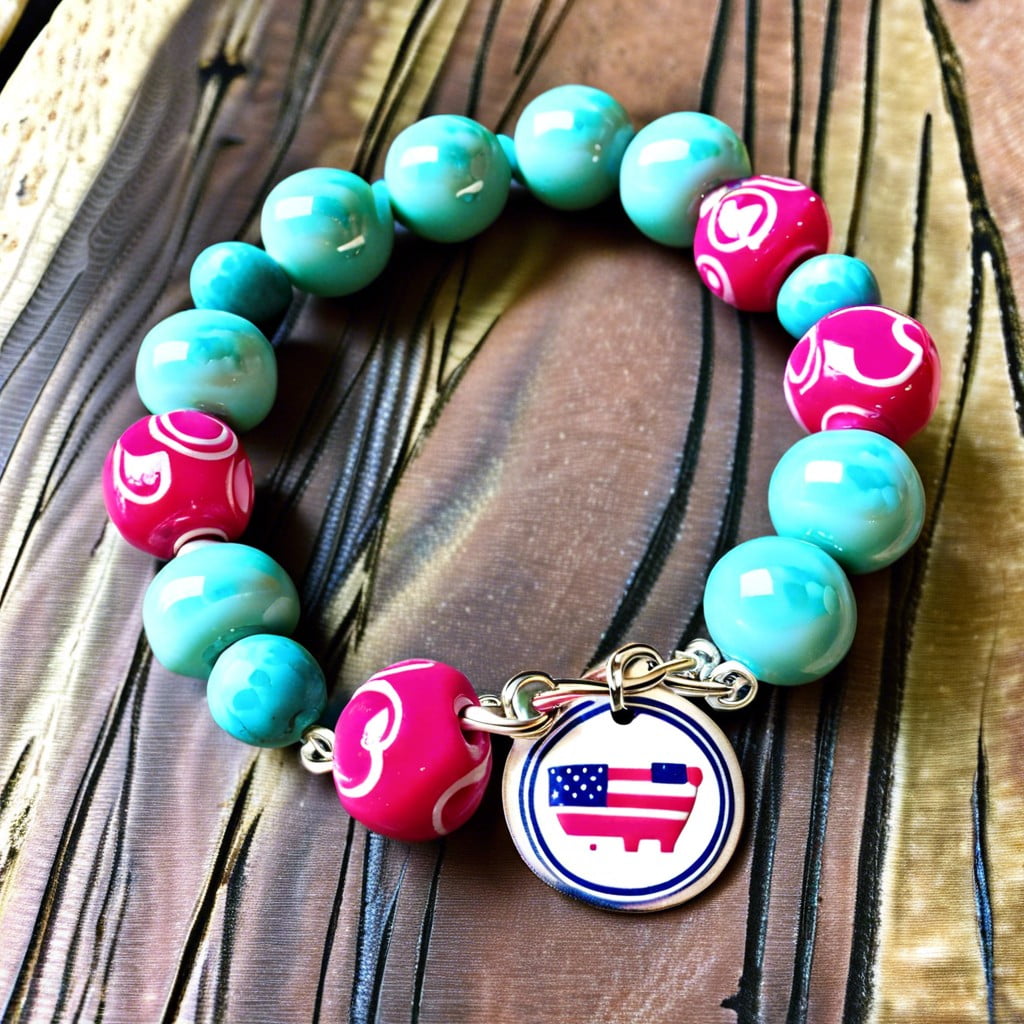
Their signature colors – navy, pink, and white – are essential when crafting these bracelets.
Execute a nautical vibe by incorporating clay beads with small whale motifs, which will serve as a recognizable nod to the brand.
Add a mix of striped clay beads in alternating colors for that signature maritime feel.
To enhance the preppy aesthetic, consider integrating a tiny engraved clay bead charm inspired by their famous tie motifs.
Nautical Motif Clay Beads Bracelet
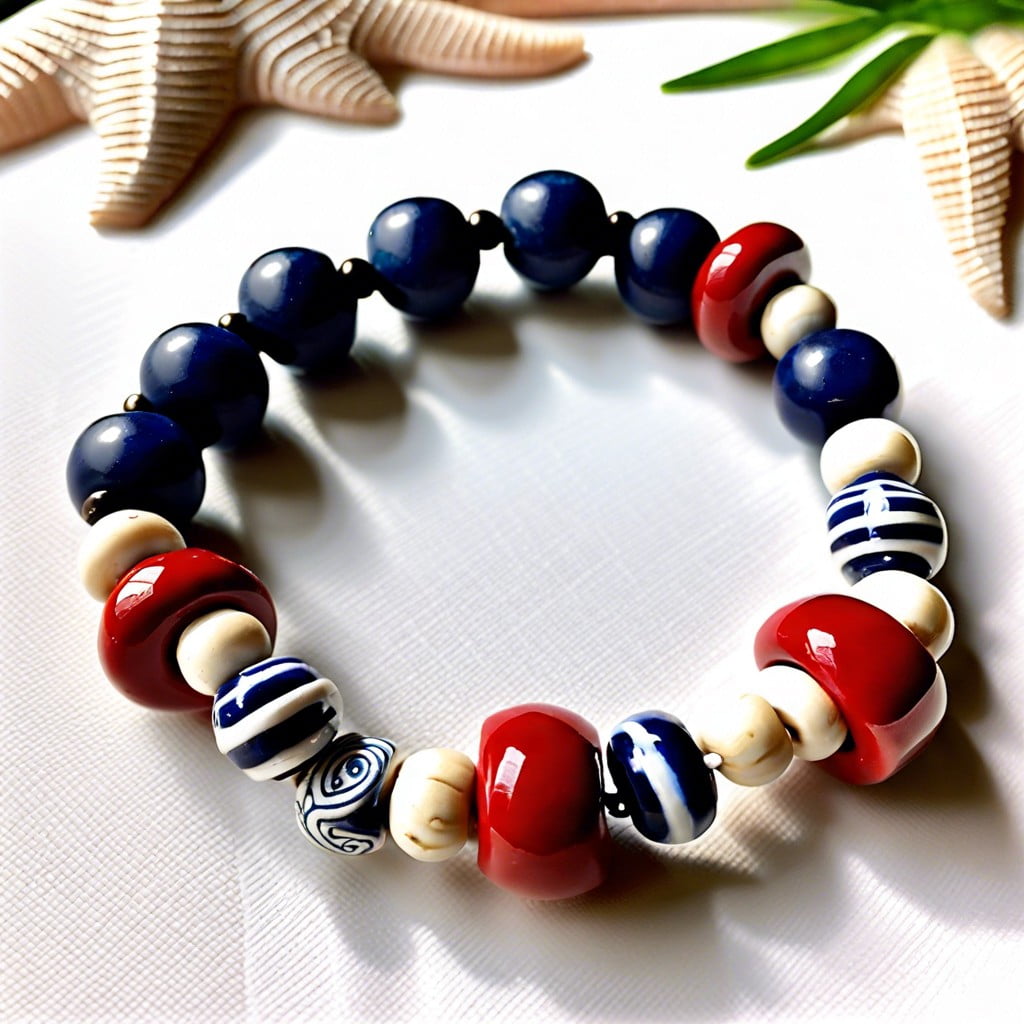
Set sail on your craft adventure with various sea-inspired elements! Adorn your clay beads with motifs like anchors, compasses or mini rudders for that unmistakable marine vibe. Experimenting with shades of blues and whites can further enhance the nautical feel.
1. Use anchor-shaped molds to create themed beads: It might be easier than hand-carving them, and the results will maintain consistent.
2. Experiment with colors: Navy, light blue, white, and touches of red reinforce the mariner inspiration.
3. Intersperse with rope knots: They can be shrunk down and represented with clay or use real miniature ones.
4. Choice of charm: Enhance your bracelet by attaching a small anchor, shell or starfish pendant.
5. Add texture: Create waves or rope-like textures on the beads for an extra touch.
6. Striped beads: White and navy blue stripes certainly echo the sailor’s spirit.
Remember, the goal is to create a piece that captures the breezy elegance of nautical style. Let the calming sea be your muse and the vast horizon, your limit.
Sorority/University Colors Clay Beads
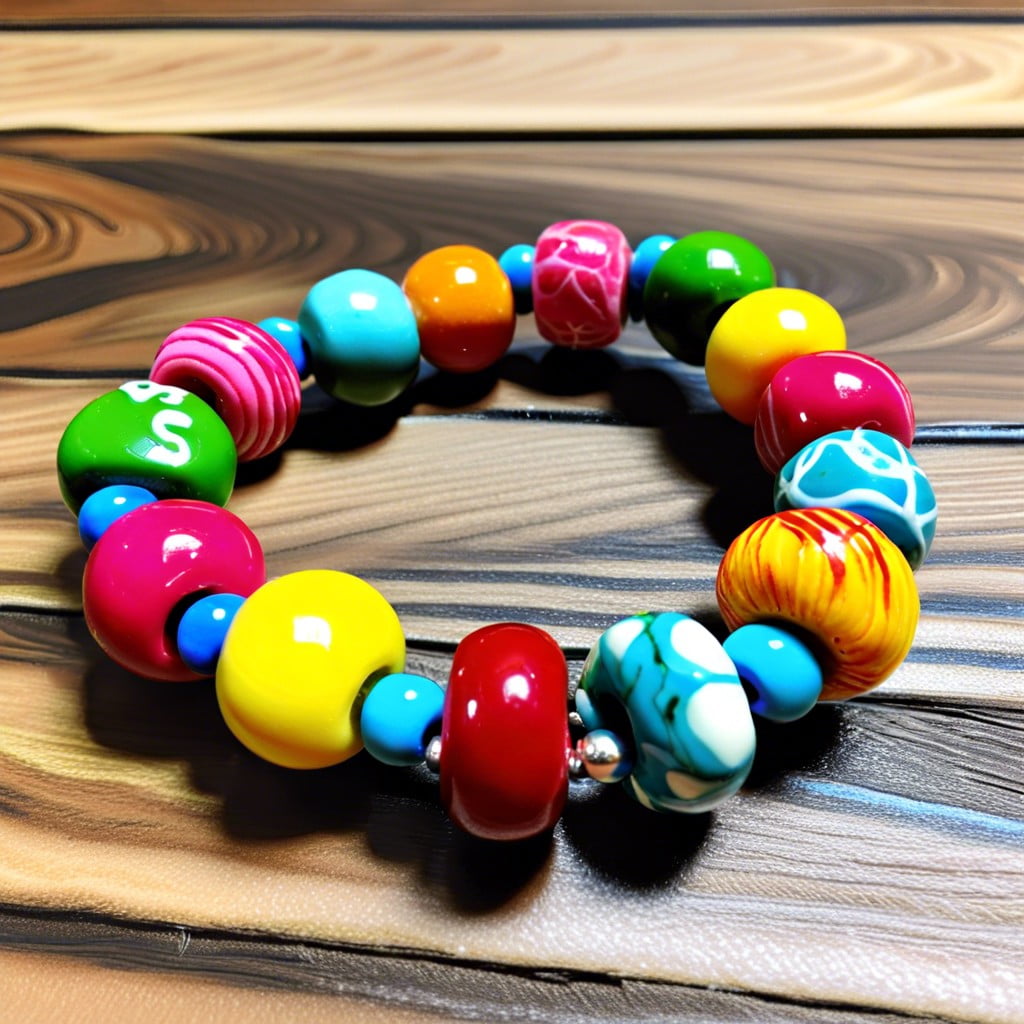
Firstly, decide the specific sorority or university colors – these hues will be central to your design. Next, mix your selected clay colors. Try to match the sorority or university colors as closely as possible.
Following this, shape the clay into bead formations, ensuring they are uniform in size. After baking, string them into a bracelet, keeping consistency in pattern and color arrangement. Don’t forget alternating each university color bead for an eye-catching effect.
Finally, consider including a clay charm that represents the sorority or university, maybe their emblem or mascot. This adds a personalized touch, making this bracelet a perfect gift for a fellow sorority sister or a recent graduate. Remember, simplicity is key in preppy style, so avoid too many elements.
Plaid-Print Clay Bead Bracelets
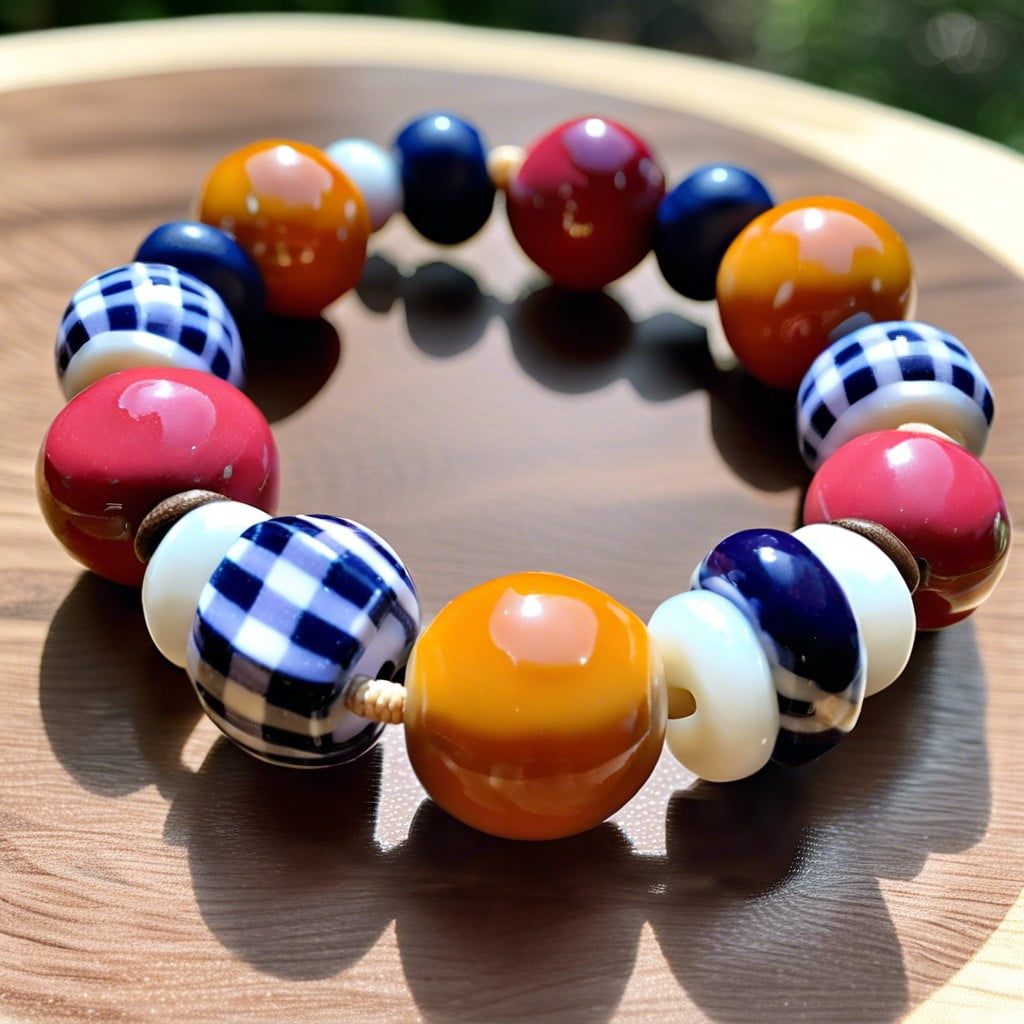
Enveloped in warm hues of autumnal red, cool winter blues, or springtide pastels, these bracelets charm with a touch of class. Think ‘traditional’ for optimal impact – the timeless herringbone or the Scottish tartan, for example.
The trick is in perfecting that delicate plaid pattern. An intricate carved texture tool can imprint the plaid pattern onto raw clay. Bake the patterned beads for a result that boasts both visual charm and palpable texture. Layer them with solid beads for a unique, balanced piece.
Alternatively, hand-paint the plaid patterns onto the beads post-bake for a more detailed and artistic touch.
Pro Tip: Along with classic square patterns, experiment with new plaid renditions, such as by altering line thickness or colors to create your own unique, preppy style statements.
Argentine Polo Belt-themed Clay Beads
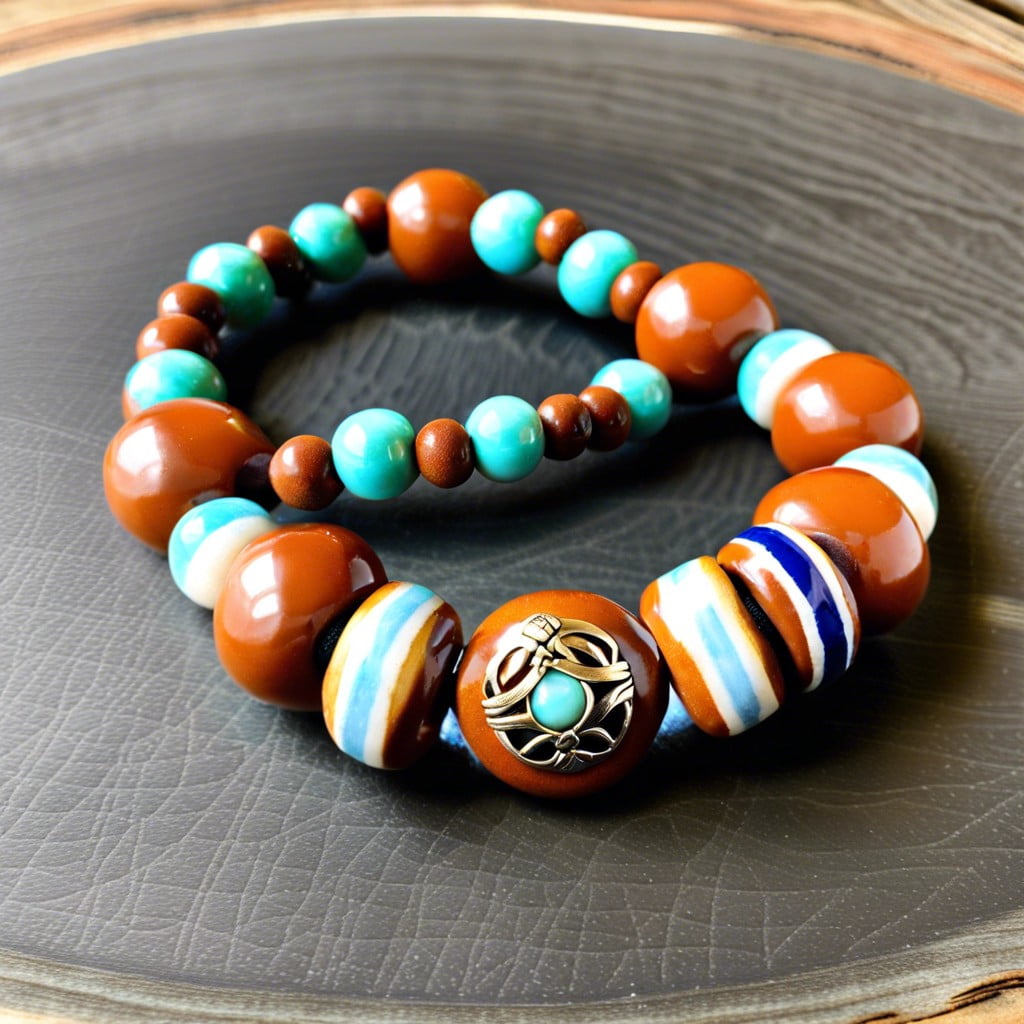
Taking inspiration from the vibrant colors and geometric patterns of traditional Argentine polo belts, a whimsically preppy bracelet can be crafted.
1. Select clay in rich hues like burgundy, navy, cream and forest green to mimic the iconic belts.
2. Shape small beads according to a preferred design, using sharp, angular forms for an authentic representation.
3. When stringing the beads, alternate colors to create repeating patterns. This stays true to the belt’s iconic mirrored design.
4. After baking and cooling, gloss the beads with sealant for longevity and enhanced color saturation, representing the belts’ sturdy leather craftsmanship.
Remember, the final product should reflect not just the appearance of these culturally significant belts, but also capture the essence of Argentine sport and style.
Preppy Flag Themed Clay Beads
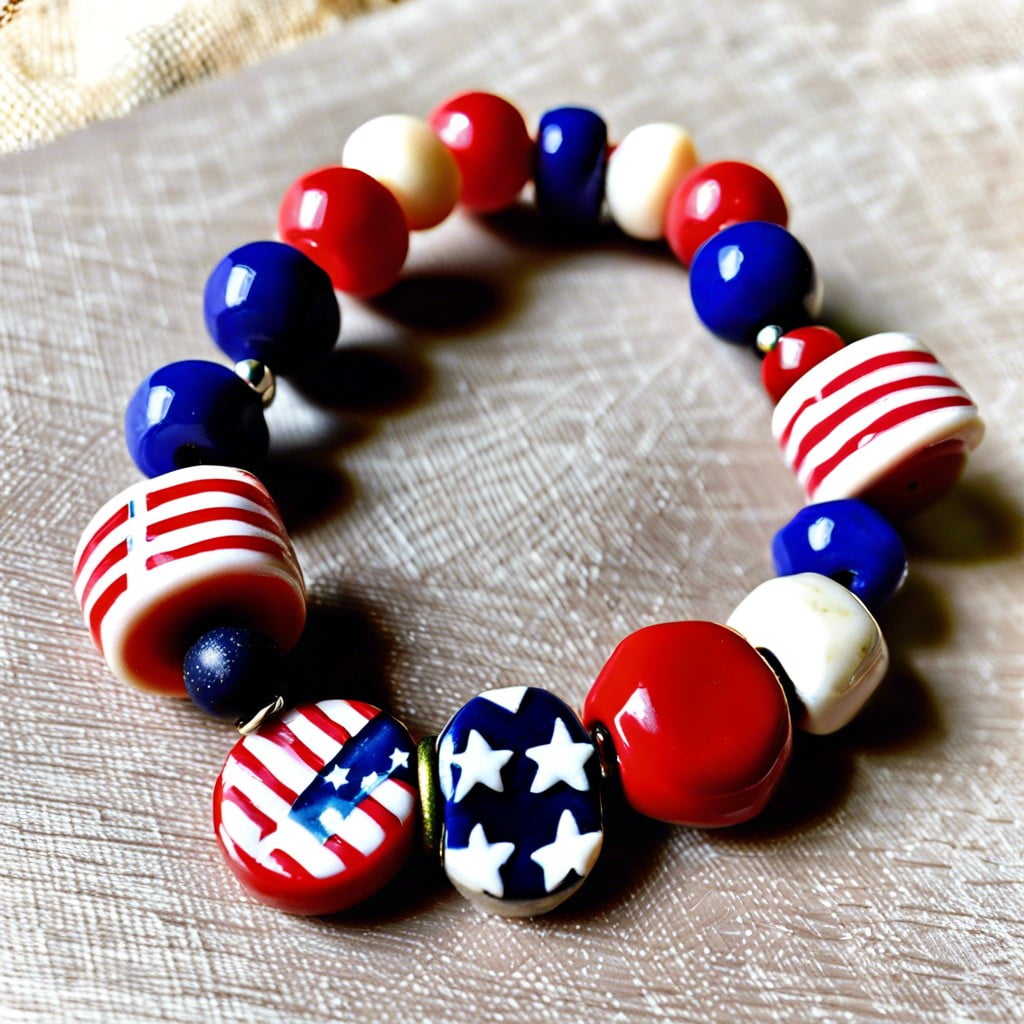
Flags carry the essence of nostalgia, tradition, and a touch of whimsy, making them an exciting choice for your clay bead designs. Choosing subdued tones that bring out the timeless appeal of popular flags can help craft the perfect preppy bracelet.
1. Material Selection: Opt for clay with matte finish for a vintage feel. This perfectly captures a preppy and classic aesthetic.
2. Color Palette: Prominent hues like navy, red, and white capturing U.S. or U.K. flag colors lend authenticity and a vibrant contrast. Alternatively, Scandinavian flags’ simplistic and cool color palette can be a stylistic preference.
3. Design Pattern: Incorporate stripes or tiny star motifs into your beads. A mixture of both can give your bracelet a unique touch.
4. Additional Elements: Intersperse your flag-themed beads with gold or silver spacer beads for an added luxe feel.
5. Assembly: String your beads on a durable twine in a pattern that evenly showcases each bead’s unique design for a perfect finish.
Remember, the goal is to reflect the flag’s spirit, maintaining a slight abstractness to keep things fashionable and balanced.
Equestrian-Inspired Clay Bead Bracelets
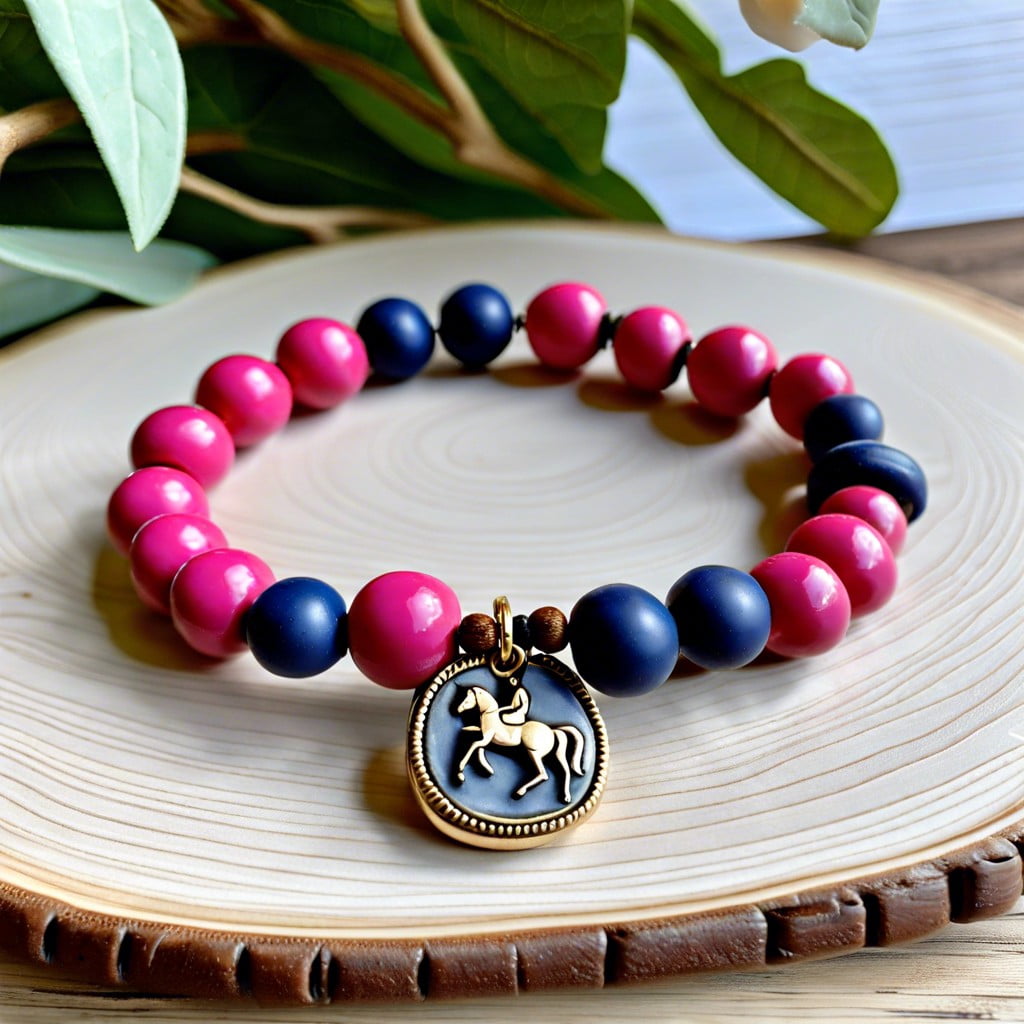
In capturing the elegance of the equestrian lifestyle, subtleties can make a significant difference. When molding your clay beads, consider incorporating elements such as small horse-shoe shapes or a rider’s helmet.
Predominant colors in this theme typically include earth tones such as rich browns, whites, and golds – reflecting the natural environment of a horse race field. Take cues from there to build a stylish palette for your beads.
To add a touch of class, integrate golden accents. This might be done by gilding the clay beads with gold leaf before baking or painting gold highlights onto the finished beads. For an added unique touch, consider creating tiny clay rosettes to thread alongside your beads – akin to the prizes awarded at equestrian events.
These details combined help encapsulate the essence of the equestrian world, making your homemade clay bead bracelet not just a fashion accessory, but a fascinating conversation piece.
Monogrammed Bow-Tie Shaped Clay Beads
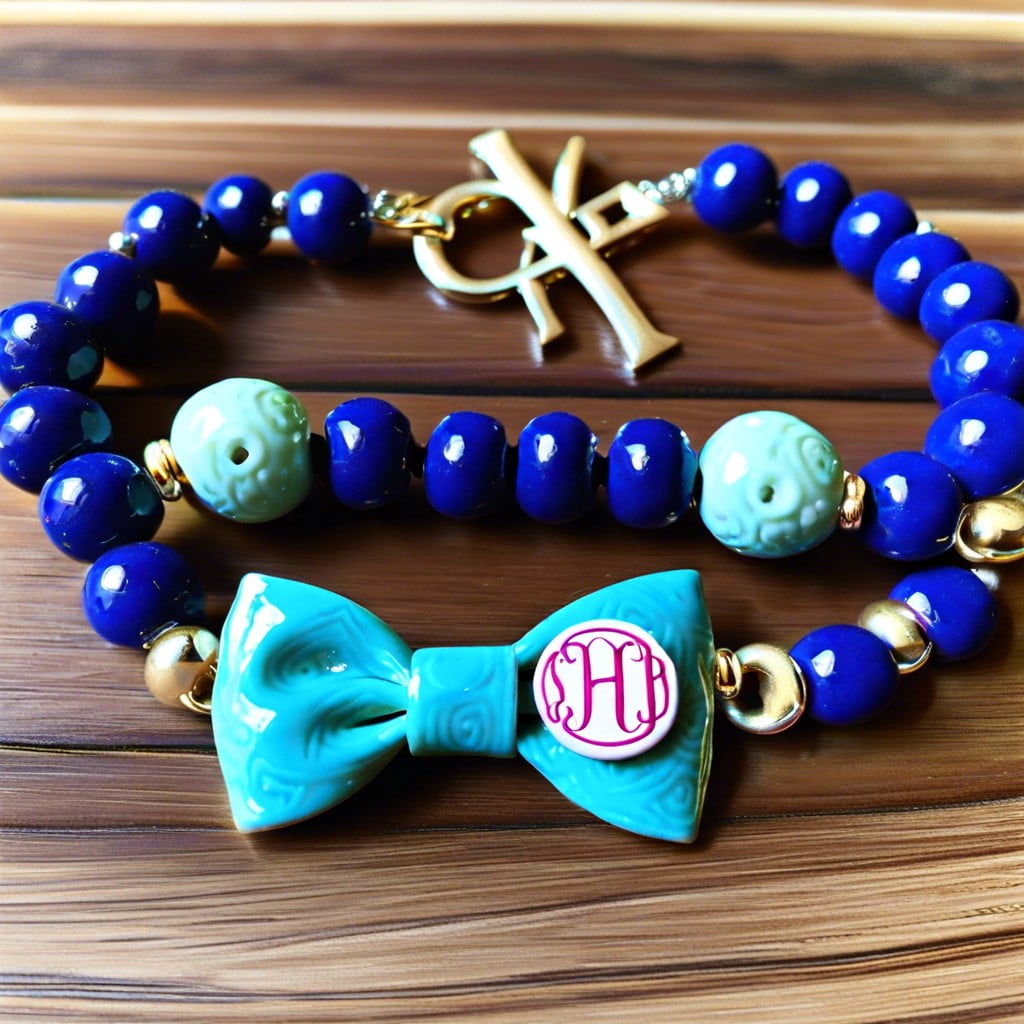
Jumping straight into the process, you’ll first roll out your clay to achieve a desired thickness. Then, use a small bow-tie-shaped cutter to create the bead shape, ensuring each piece is similar.
Next, using small alphabet stamps, gently press your chosen initials into the clay. Use a needle or toothpick to form the hole, remembering to make it large enough for your threading material.
After allowing your beads to dry or baking them as per the clay instructions, it’s time for paint! Acrylic or other non-water-based paints work well here. Try choosing shades that contrast with your clay color – think navy blue on white clay or gold on navy clay. Allow your beads to dry completely and seal them with a clear varnish to protect the design.
Finally, thread your beads onto a high-quality cord or string, adding any additional beads or charms to elevate your bracelet. Voila, your personalized, preppy accessory is ready to impress and dazzle. You can also use these as great gifts that show thoughtfulness and creativity! Play around with colors, sizes and even the use of lowercase or uppercase monograms to bring variation to your bracelet collection.
Classic Khaki and Green Clay Bead Design
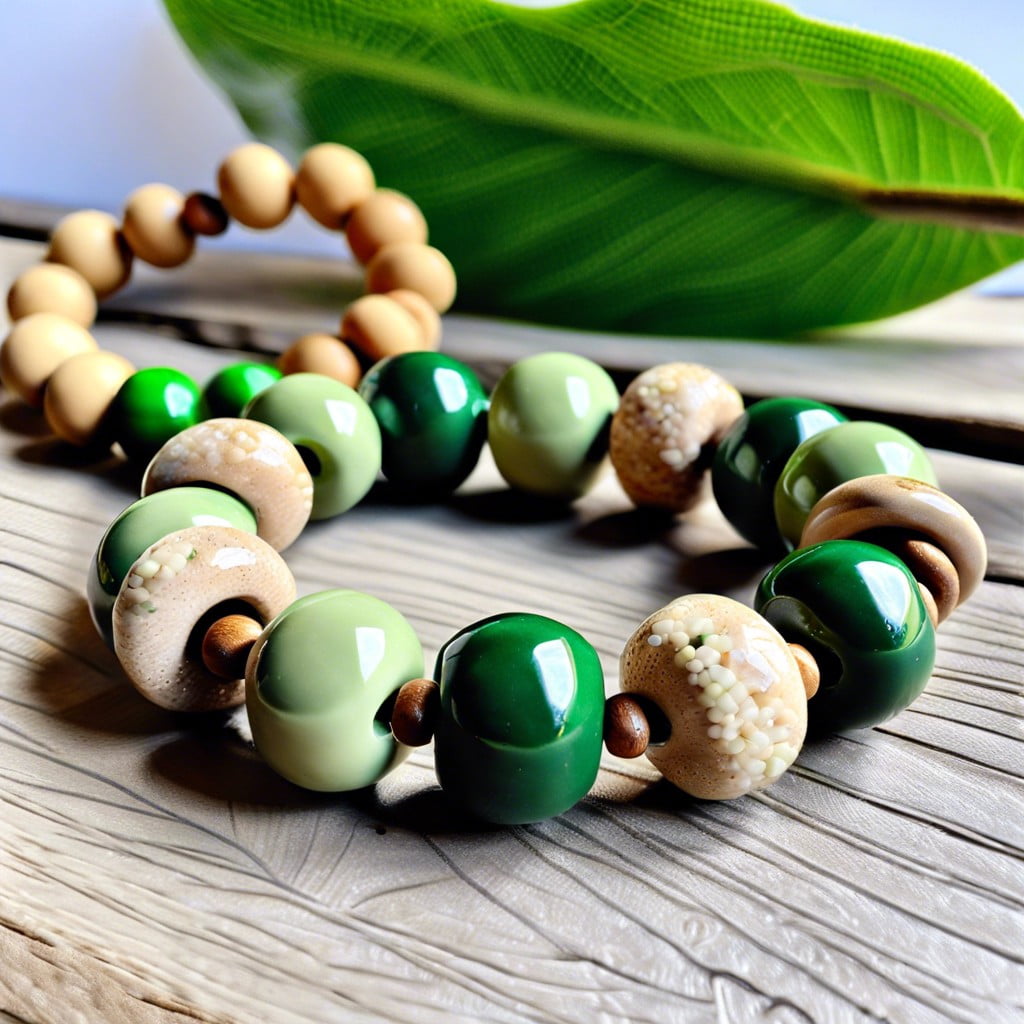
By utilizing earthy tones such as khaki and forest green, the charm of nature can easily be incorporated into a bracelet design.
First, roll out a length of khaki-colored clay, small enough to fit comfortably through a jewelry cord.
For every three khaki beads, insert a green bead, symbolizing the occasional yet striking hues of dense foliage amidst a sandy landscape.
The contrast between the two colors will create a subtle hint of preppy chic.
Consider adding a feature bead here and there, embossed with a miniature leaf or tree design, to reinforce the natural theme.
Bespoke and understated, this bracelet style is perfect for those who want to maintain a fashionable edge while keeping their jewelry down-to-earth.
School Mascot-Inspired Clay Bead Bracelet
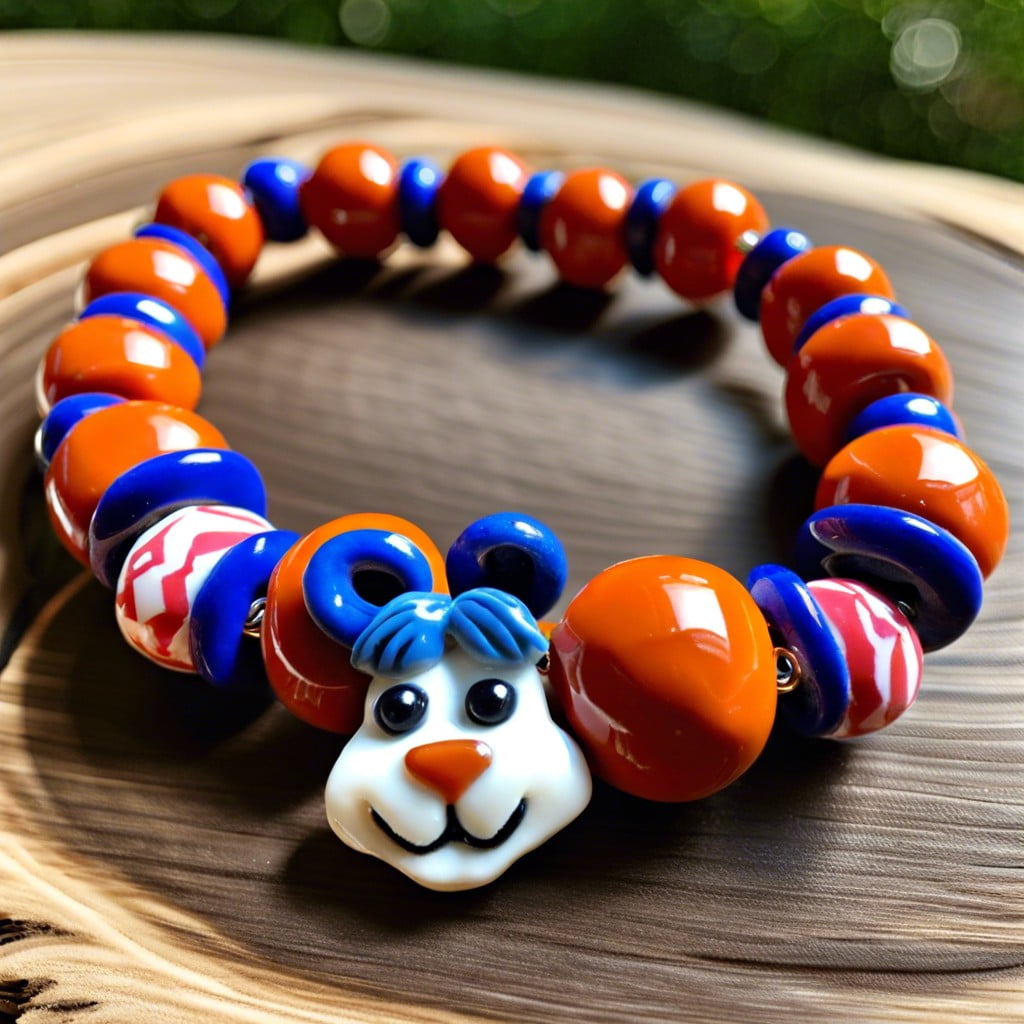
Carry that school spirit right on your wrist! In molding the clay beads, take inspiration from your school mascot’s colors, design, and spirit.
For example, if your mascot is the mighty Lion and your colors are royal blue and gold, create a combination of blue and gold beads. You could use a mixture of large, medium, and small beads, thereby retaining a quirky, fashionable vibe.
To elevate the design further, consider adding unique touches drawn directly from your mascot. Use moldable clay to form subtle, minimalist impressions of your mascot – like a lion’s mane for instance – within select beads. This not only complements the color scheme but also imbues the bracelet with a piece of your school identity.
Just as a reminder, always ensure the bracelet complements your everyday wardrobe. If your school colors seem too bold, create a balance by using more neutrals with one or two focal mascot-inspired beads for that standout flair.
Recap
