Last updated on
Discover innovative ways to incorporate jars into your bathroom decor, adding both functionality and style.
Transforming your bathroom into a stylish and organized space can often be as simple as introducing the versatile and affordable accessory – jars. From creating a chic storage solution for your toiletries to crafting a unique soap dispenser, jars can bring a touch of elegance and functionality to your bathroom.
This article will delve into a variety of creative and practical bathroom jar ideas that can instantly elevate your space. Whether you’re looking for ways to declutter your countertop or add a personalized touch to your bathroom decor, you’ll find all the details you need here.
So, let’s dive in and explore the potential of jars in bathroom decor.
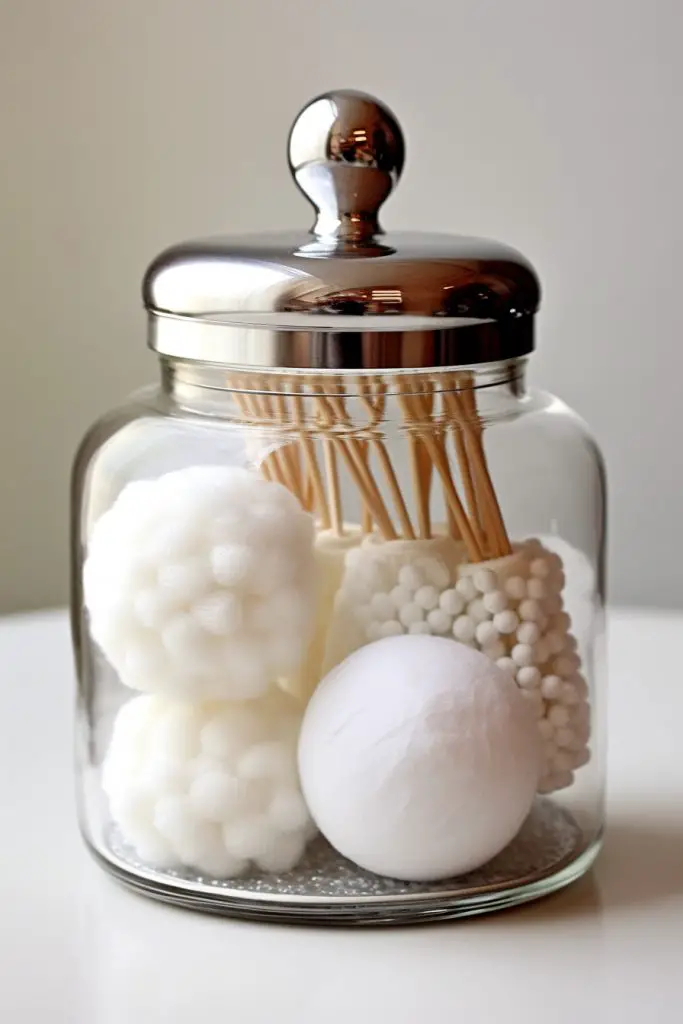
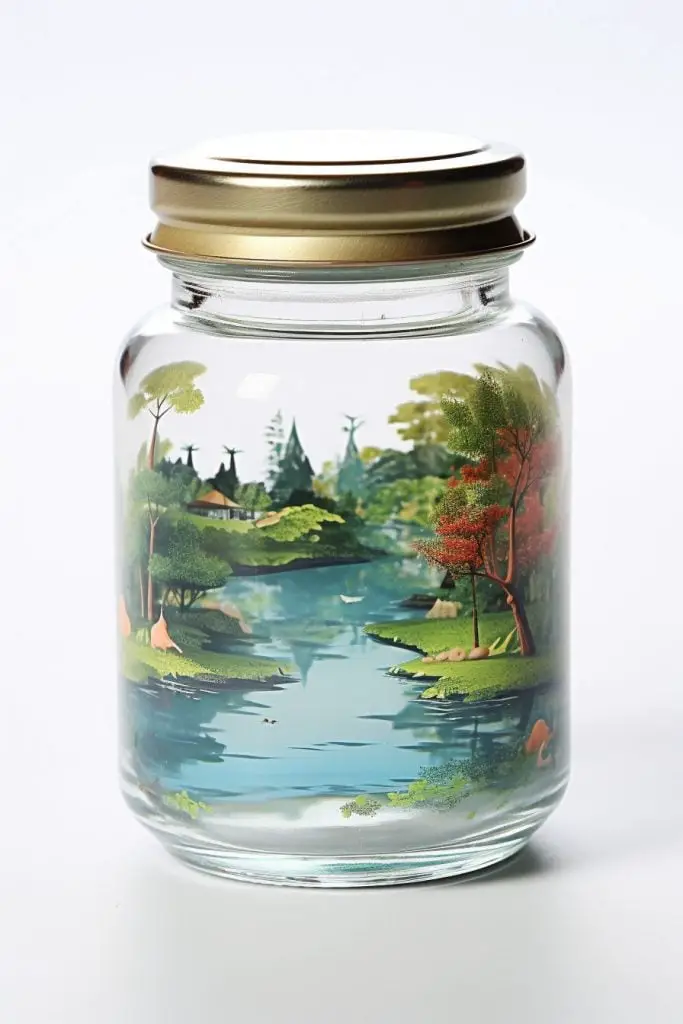
Cotton Ball Jar
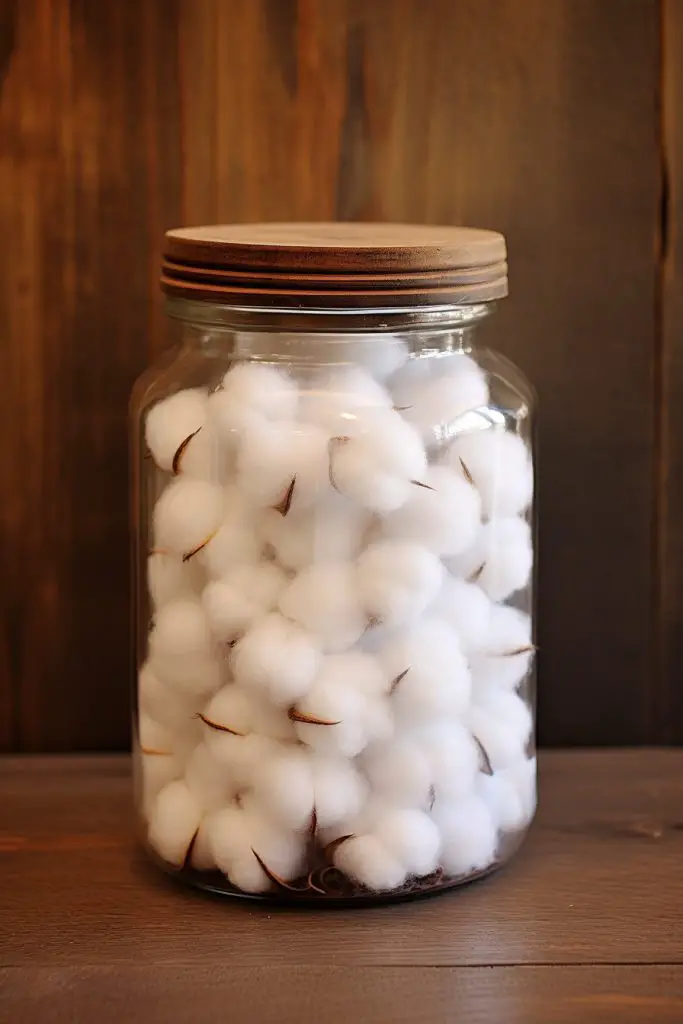
Overflowing cotton balls from their standard plastic bags aren’t just inconvenient, they can also be visually disturbing. Transforming a simple, elegant glass jar into a cotton ball holder adds a decorative and practical element to the bathroom.
- A clear glass jar, round or square-shaped, works perfectly, making the soft cotton balls inside visible.
- The jar needs a lid—preferably one that coordinates with the bathroom’s color scheme.
- Depending on the bathroom’s storage space—the jar can be set on a shelf, vanity, or tucked away in a cabinet.
- It’s easy to see when a refill is needed thanks to the transparent jar.
By using this method, cotton balls are not only easy to access but also become part of the bathroom’s decor.
Q-tip Storage Jar
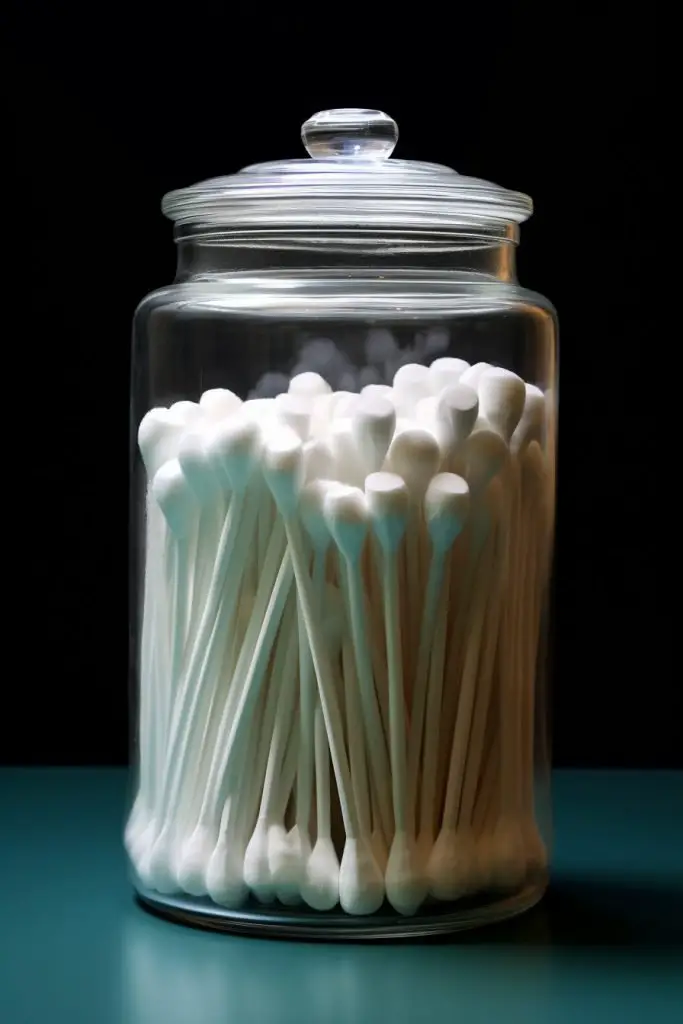
When it comes to storage, a clear glass jar with a lid works wonders for Q-tips. It not only gives a spa-like feel but also adds to the visual appeal. Additionally, The transparent nature allows you to monitor the number of Q-tips remaining, prompting timely replenishments.
Key Points:
- Use clear, glass jars for easy item visibility.
- Choose a jar with a lid to keep Q-tips clean and dry.
- Store the jar in a dry, easily accessible location.
- Regularly check on Q-tip levels for timely refill.
By neatly storing your Q-tips, you maintain a tidy environment while ensuring they are always within reach. A touch of elegance and convenience all in one.
Bath Salt Jar
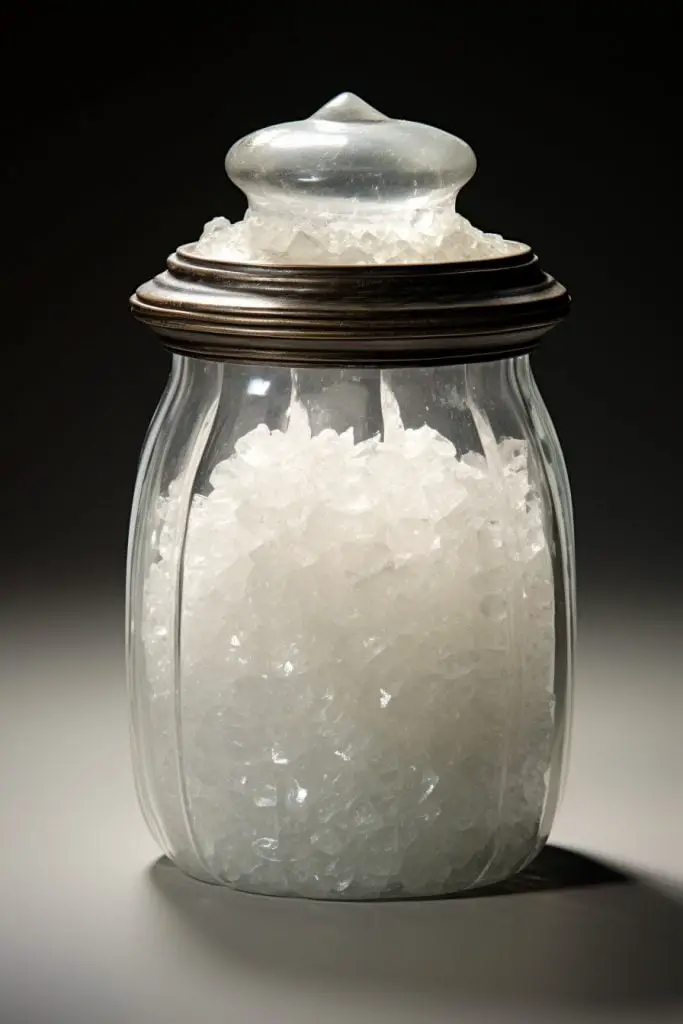
Creating a bath salt jar combines function and aesthetics for your bathroom decor. It is a unique, convenient way to store these refreshing bath additives.
1. Choosing a transparent jar allows visible vibrancy of bath salts, enhancing the overall look.
2. Glass jars with a tight lid are preferable as they prevent moisture from spoiling the salts.
3. Customize labels for your jars – write down the scent or the ingredients of the bath salts.
4. Display jars strategically for easy access, but avoid direct sunlight, the salts could fade.
5. For an added touch, tie a mini scoop to the jar.
6. Safety first: always place it where it won’t easily fall or break.
7. To diversify: consider layering different colored salts in one jar for a gradient effect.
Mini Soap Dispenser Jar
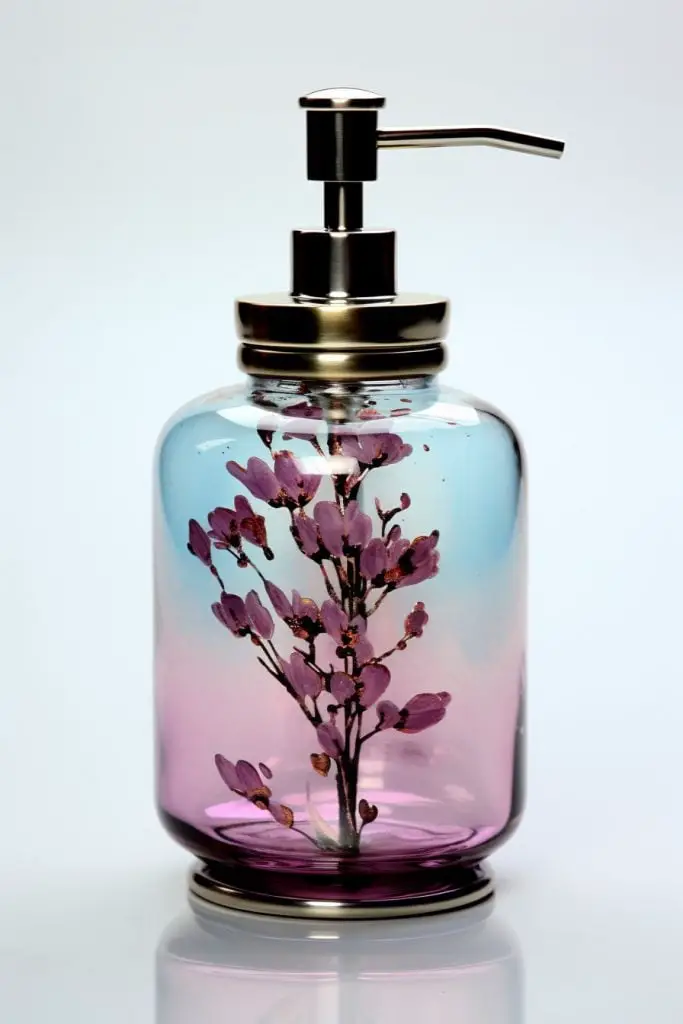
Easy to fill and convenient for use, a mini soap dispenser jar adds a vintage-style charm to your bathroom décor. Follow these steps to set yours up:
- Select a jar with a wide mouth and a tight-fitting lid.
- Drill a hole in the center of the lid large enough to fit the pump component of a soap dispenser.
- Insert the soap dispenser pump through the hole in the lid. Secure with waterproof adhesive if necessary.
- Fill the jar with your favorite liquid soap.
- Screw the lid back onto the jar.
It’s a blend of functional and aesthetic, providing a personalized touch while keeping your bathroom neat and stylish. Additionally, it’s an environmentally friendly choice as it reduces plastic waste from conventional soap bottles.
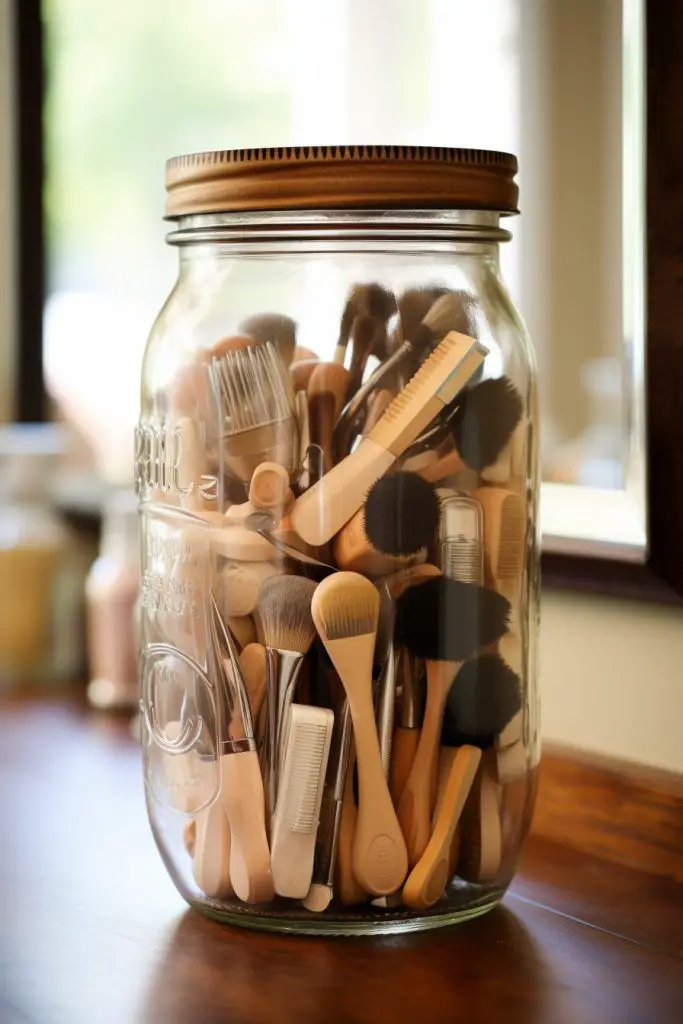
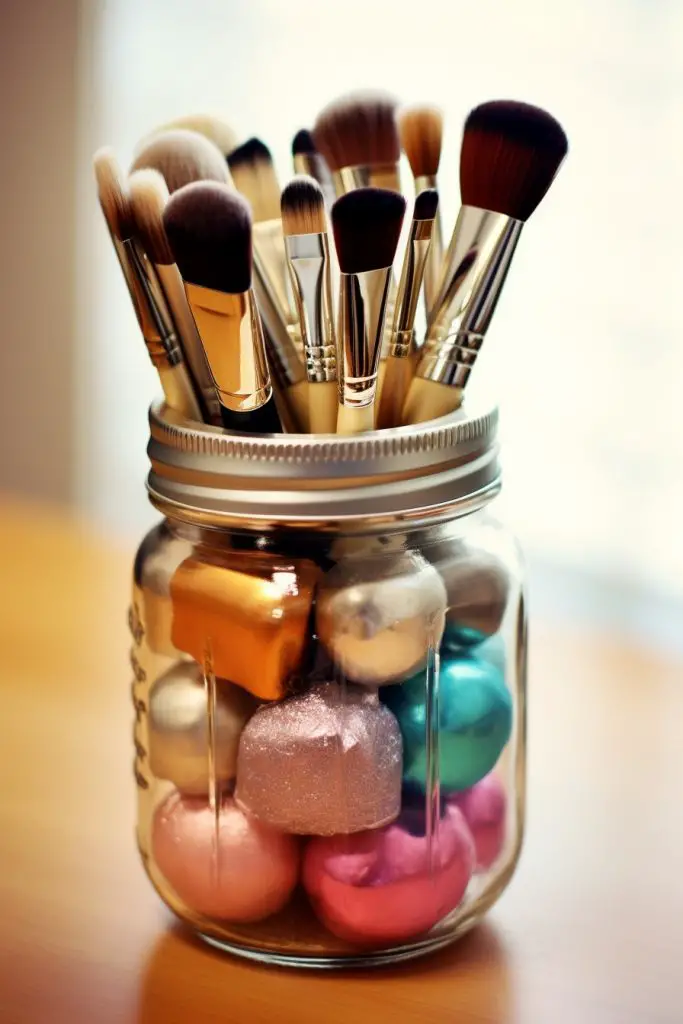
Makeup Brush Holder Jar
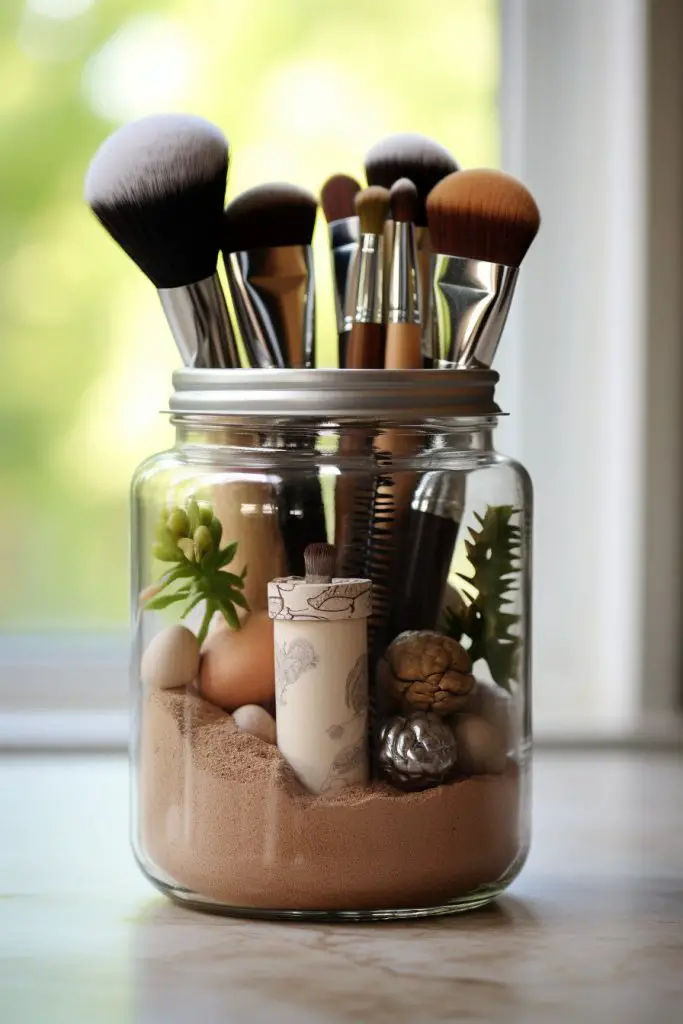
Making an efficient use of empty glass jars to hold makeup brushes can transform your bathroom vanity into an organized station fit for a beauty guru.
1. With a sturdy jar, search for pebbles, beads, or sand to fill the bottom. Colors can match the bathroom’s decor scheme for an additional aesthetic touch.
2. When adding brushes, ensure handles are facing upward. This technique not only reveals the brush heads for quick identification, but it also helps maintain the brushes’ shape.
3. Regular cleaning of both jar and brushes prevents buildup of dust or makeup residues. A simple rinse and dry routine would suffice.
4. Customization of the jar with paint or glitter provides a creative outlet and distinguishes each jar’s content for convenient use.
Remember, not all jars have to be the same size. Smaller jars can hold smaller items such as brow or lip brushes, while a larger jar can be more suitable for bigger brushes. It’s all about convenience and style.
Guest Towel Storage Jar
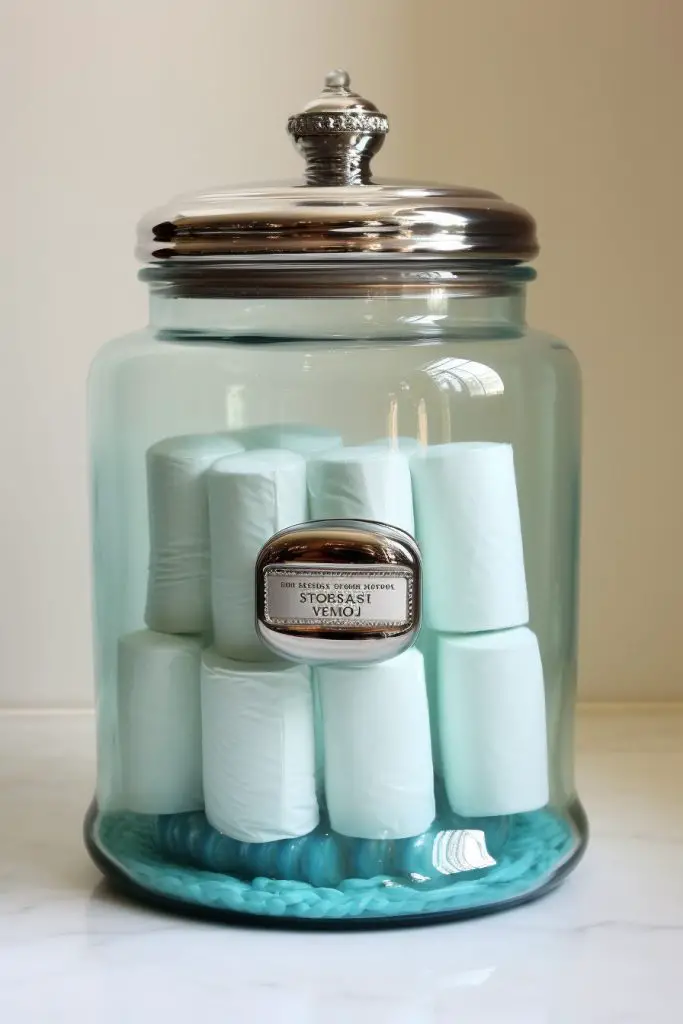
To construct a Guest Towel Storage Jar, there are certain steps to follow:
- Select a wide-mouth, clear glass jar with smooth sides.
- Choose guest towels that coordinate with your bathroom decor.
- Fold or roll the towels neatly to fit inside the jar.
- Place the folded or rolled towels in the jar, stacking them up.
- Replace the lid and position the jar conveniently in your guest bathroom.
This storage solution not only keeps your guest towels clean and ready to use, but it also adds a touch of elegance to your space. Plus, it indicates to visitors where they can find fresh towels. The transparency of the jar allows guests to see the color and texture of the towels, aligning visual recognition with easy access. Depending on the size of the jar, you could also put several smaller guest hand towels or washcloths, in addition to having the larger guest towels. Sure to transform any simple bathroom into a stylish haven.
Scented Candle Jar
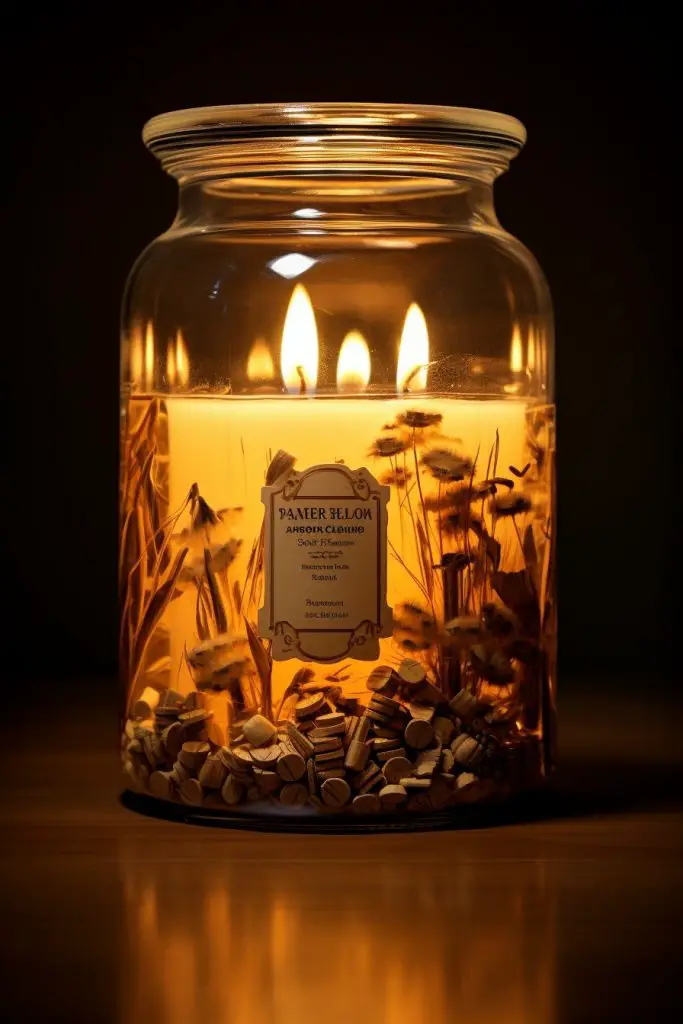
With DIY crafts garnering popularity, creating your very own scented candle jar can be both fulfilling and aesthetically pleasing. Here are the steps:
- 1. Select a glass jar, ensuring it is heat resistant.
- 2. Buy a wax of your preference, like soy or beeswax.
- 3. Pick essential oils for the scent, considering lavender for relaxation, or citrus for an uplifting ambiance.
- 4. Preheat the oven to a low setting, place your wax in the jar, and position the jar on a baking sheet in the oven.
- 5. While the wax melts, secure a wick at the bottom of the jar using a bit of melted wax or a wick sticker. Make sure it stands straight.
- 6. After the wax melts completely, mix in the chosen essential oils, taking care not to overdo it.
- 7. Pour the scented wax into the jar carefully, leaving the wick upright. Let it cool.
This gives you a custom-made scented candle jar, adding to the ambiance of your bathroom through both its designer look and soothing aroma.
Hair Accessory Storage Jar
Employing a preferential jar to accommodate hair accessories can not only assist in de-cluttering your bathroom but also adds a dainty aesthetic touch to it.
1. Pick a jar: Utilize an easy-to-reach, medium-sized glass jar that complements your bathroom’s style.
2. Organizing Format: Segregate hair ties, clips, headbands and other items into smaller clusters for easy access.
3. Decorative Aspect: Consider tying a color-coordinated ribbon around the jar or using a decorative lid to spruce up its appearance.
4. Maintenance: Regular cleaning of the jar ensures it remains clear and shimmering.
5. Placement: Position the jar on a bathroom shelf or counter where it is in plain sight, promoting its usage.
In this manner, a simple jar transforms into a practical yet endearing bathroom accessory.
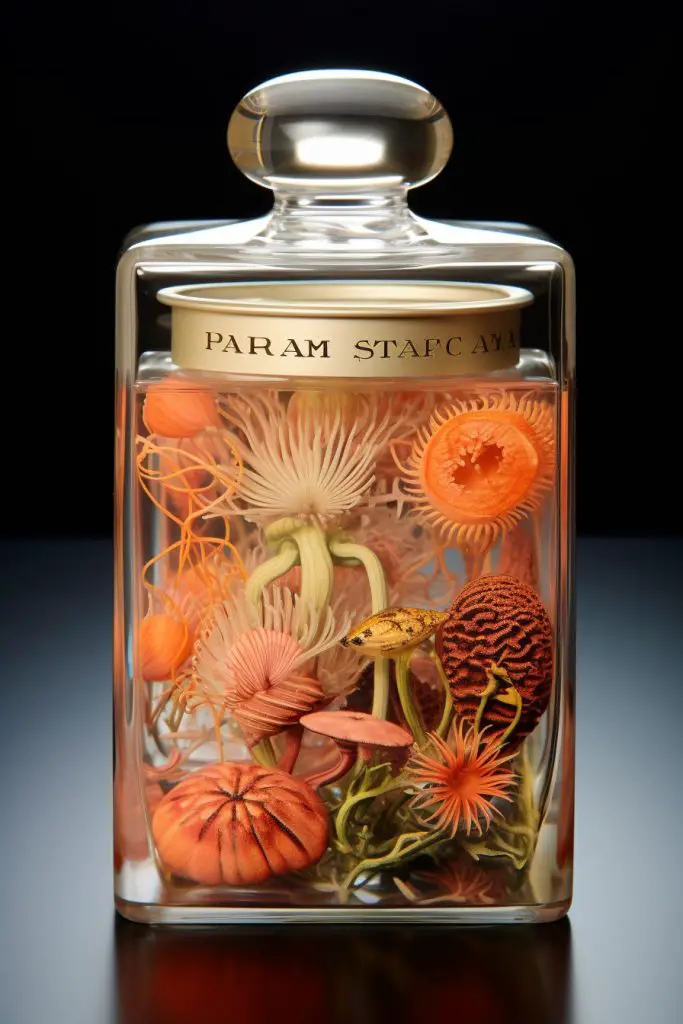
Homemade Scrub Jar
Homemade scrubs offer a thrifty and natural solution to exfoliation and deep cleaning needs. A jar can be an ideal compassionate holder for these mixtures, adding a touch of class to the bathroom aesthetics.
- Select a clear glass jar for a pleasing visual detail.
- Combine essential oils, sugar, or coffee grounds to create the scrub.
- Ensure the jar is dry before filling to keep the scrub fresh.
- Use a miniature wooden spoon tied to the jar for easy application of the mix.
- The filled jar can be kept on a bathroom vanity for a convenient skincare routine.
Toothbrush and Toothpaste Jar
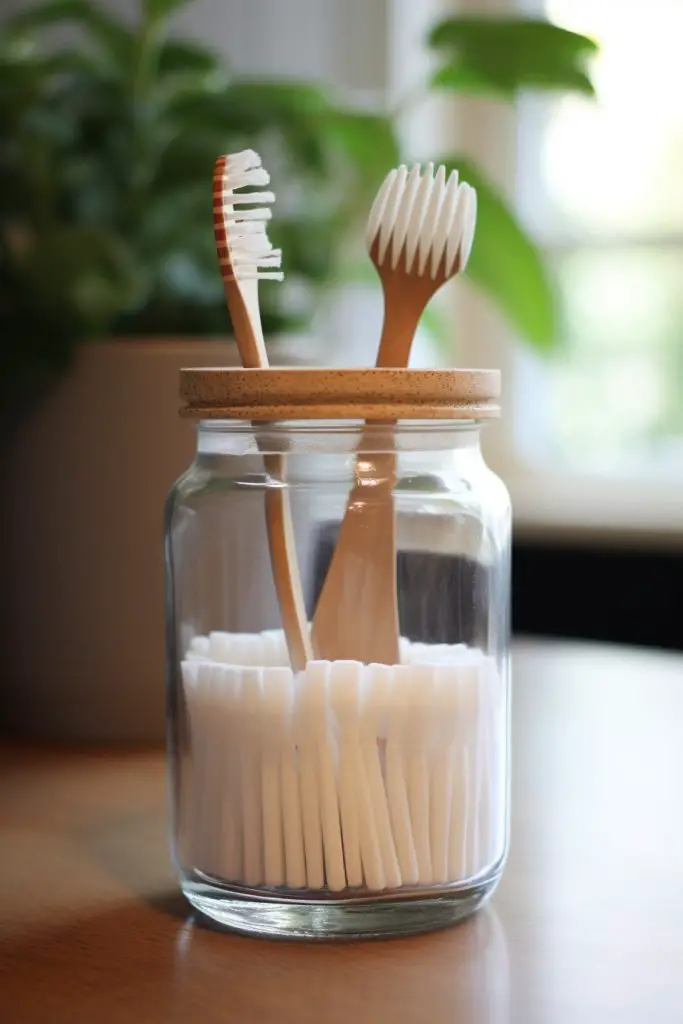
Keeping toothbrush and toothpaste in an open holder often leads to splatter and residue build-up, making the bathroom look messy. An easy solution is the use of a specially designed jar. Purchase a jar with a lid and drill small holes on its surface (ensure the holes are big enough for toothbrush handles). Leave a convenient gap to store toothpaste.
Key Points:
- Sanitary storage solution – prevents dust and germ collection on the toothbrush.
- Organized and stylish – eliminates clutter on the bathroom counter.
- Easy cleaning – just remove the toothbrushes and rinse the jar.
- Customizable – available in a variety of shapes, sizes, and designs to match your bathroom décor.
- Easy to make – DIY project using a jar, a lid, and a simple drill.
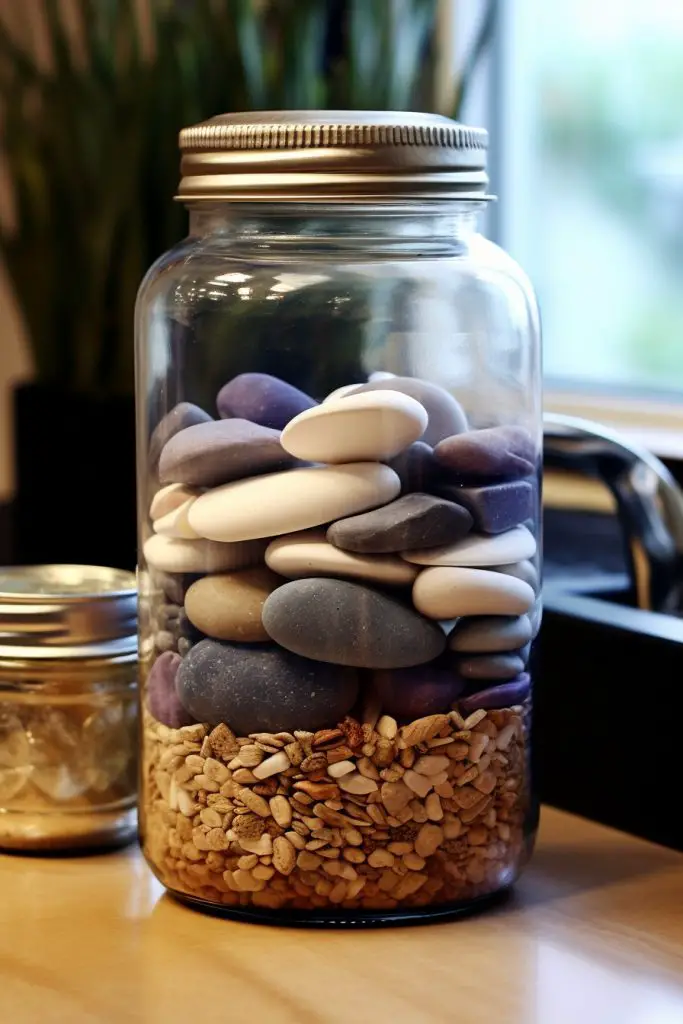
Decorative Pebble Jar
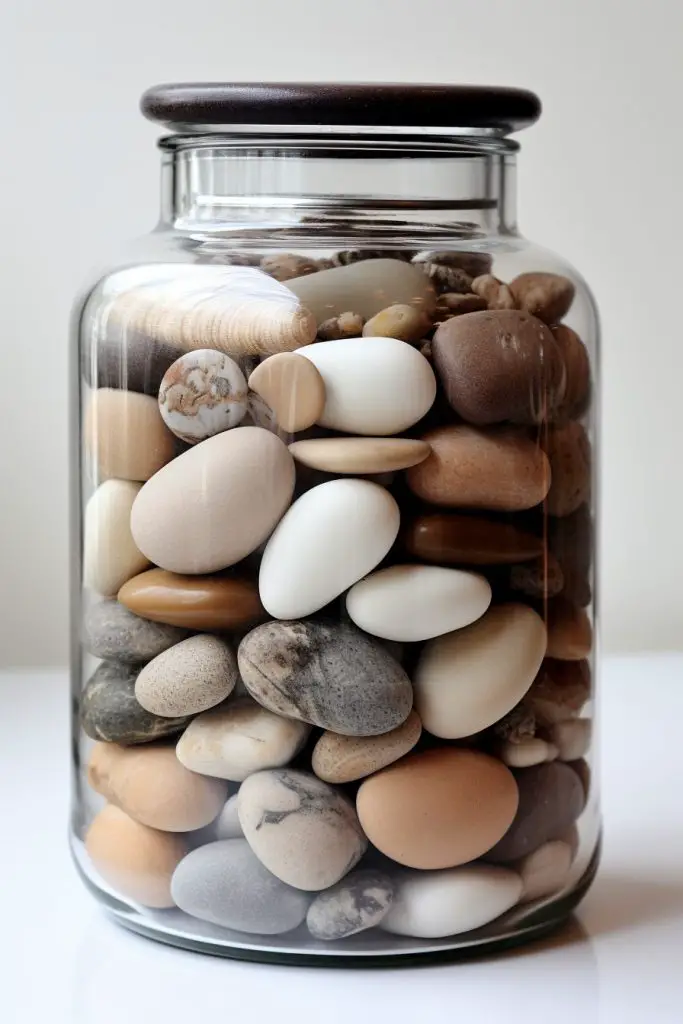
Employing pebbles inside a glass jar can create an engaging visual impact in your bathroom. Consider using smooth, multicolored river stones or opt for a monochrome-themed collection to match your bathroom decor.
Here’s how you can execute this design:
- 1. Choose a transparent glass jar of your preferred size.
- 2. Wash and dry your chosen pebbles thoroughly before use.
- 3. Carefully fill the jar with pebbles, layering or mixing colors if desired.
- 4. Position the jar strategically, perhaps near the sink or on a vanity shelf.
A pebble-filled jar not only introduces a natural, serene element to your bathroom space but also serves a practical purpose. Glass jars are sturdy and will weigh comfortably with the addition of pebbles, making these ideal as door stops or paperweights apart from being pleasing decor items.
Jarred Indoor Plant

Picking the right plant is vital; sure winners include succulents, air plants, and mini ferns due to their low maintenance needs and toleration for humidity.
Key Points:
- Selection of a suitable transparent jar to facilitate plant growth
- Proper layering with stones, charcoal, and soil to ensure good drainage
- Choosing a perfect location with indirect sunlight
- Regular misting as per the plant’s need
- Light fertilization, if required
- Occasional turn to provide balanced light exposure to all sides
Remember, these indoor jarred plants don’t just add greenery but also act as natural air purifiers. It’s a neat way of encapsulating nature in a jar.
Bath Bomb Storage Jar
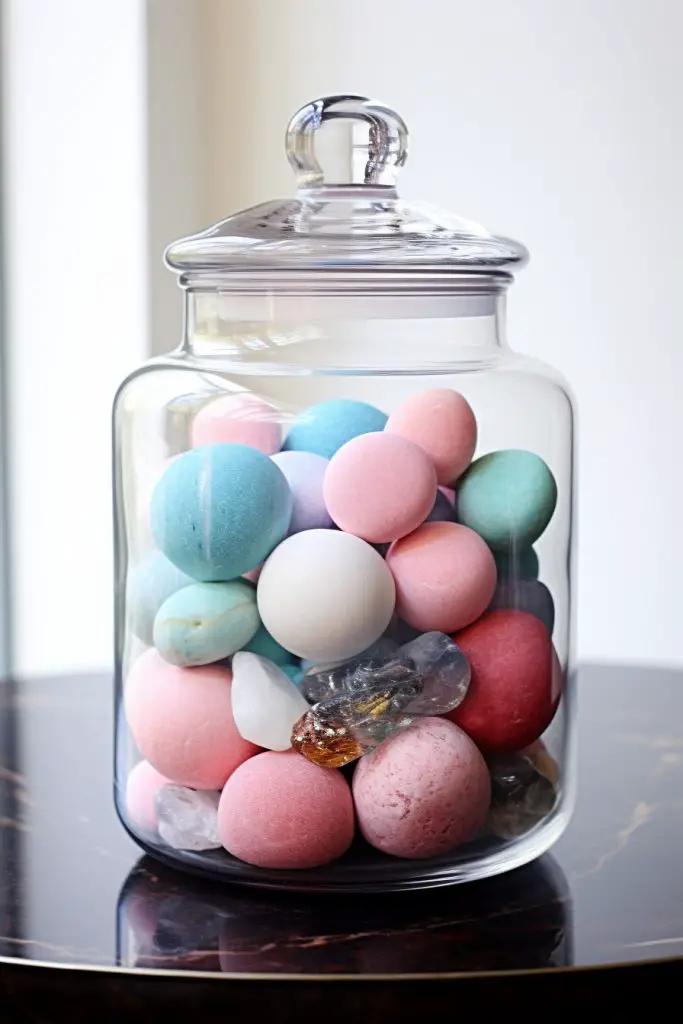
Storing bath bombs properly can prolong their life, maintain their fizziness, and ensure optimal scent. A glass jar fulfills these needs perfectly, presenting a practical and visually appealing storage solution.
Consider:
- Dark-colored jars or opaque containers keep bath bombs away from light, thereby preserving their fragrance and color.
- Use silica gel packets to absorb any extra moisture inside the jar. This helps prevent bath bombs from dissolving prematurely.
- Stack bath bombs carefully to prevent damage to those at the bottom of the jar. Try to store similar sized bath bombs together for easy arrangement.
- Label jars for easy identification, particularly if using different types of bath bombs.
- Keep the jar in a cool, dry room to further keep bath bombs in perfect condition.
With these tips in hand, you can ensure the longevity of your bath bombs and the efficiency of their usage.
Jar Full of Rose Petals
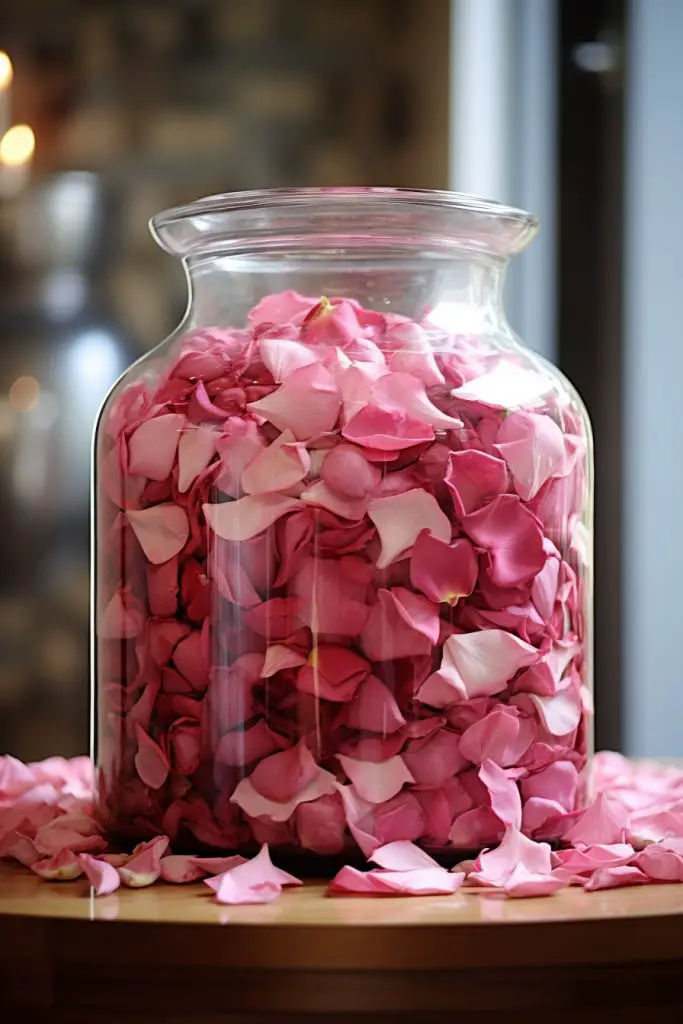
To create a romantic and relaxing atmosphere in your bathroom, consider turning a clear jar into a display of rose petals.
Here’s how:
- Select roses in the color that complements your bathroom decor. The classic red or a soft pink is always a good pick.
- Let the roses dry naturally or use a flower preserver, then gently pull apart the petals.
- Fill your jar with the dried petals. You can add a bit of gentle fragrance oil for added aroma.
- Place the jar on a shelf, by the sink, or on the edge of the bath tub.
The roses add a touch of elegance, their scent permeating the room as they catch the eye of anyone who walks in. Furthermore, the dried petals can be used as a bath accessory for a luxurious soak. Great way to make the bathroom a truly inviting space.
Tooth Pick Storage Jar
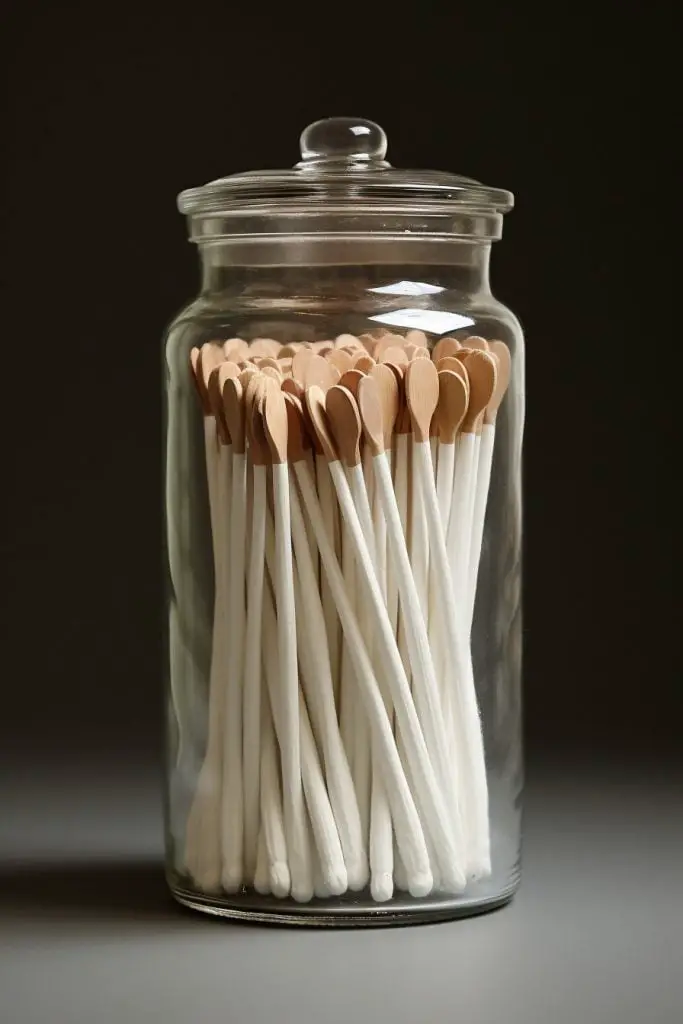
Storing toothpicks in a jar in the bathroom provides easy access especially when oral hygiene routines call for them. Make sure to opt for a smaller jar to fit the size of toothpicks.
Key Points:
- Select a small, clear jar. Transparent jars make it easier to view the amount of remaining toothpicks.
- Ensure the jar has a lid. This is crucial to maintain hygiene and keep the toothpicks clean.
- Place the jar near your dental care items. Having toothpicks on hand after brushing or flossing is beneficial.
- Supplement the décor. Personalize your jar to match your bathroom’s theme. Stickers, labels, or ribbons can be used.
- Regular restocking. Monitor the number of toothpicks and refill as needed.
Beauty Sponge Holder Jar
Keeping beauty sponges in plain sight and in an easy-to-reach spot is crucial for a seamless makeup routine. Enter the Beauty Sponge Holder Jar. It offers a practical and aesthetics-boosting solution, transforming your everyday beauty tool into a bathroom counter decoration. Not to mention, it maintains the cleanliness and longevity of your sponges, keeping them away from bathroom dust and debris.
Key points about the Beauty Sponge Holder Jar:
- Glass or plastic jars can be used, but it’s key to choose a clear material for easy visual access to your beauty sponges.
- Consider a jar with a lid to keep out dust. Holes can be made in the lid for airflow, stopping any moisture build-up and subsequent bacteria growth.
- Add pebbles or glass beads at the bottom to give the jar a decorative look and also aid in keeping sponges upright.
- Make sure the jar is wide enough for quick and easy access to your sponges.
Nail Polish Holder Jar
Keeping a variety of nail polishes in a neatly organized jar can be a stylish yet functional way to keep your bathroom clutter-free. This simple organization solution allows you to see all your nail polish options at once – from bright summer neons to subtler pastel shades.
1. Use a clear jar as transparency will allow you to identify the colors easily.
2. Select a jar size based on the number of nail polish bottles you own.
3. Place the jar on your vanity or a side table where it’s within easy reach.
4. Rotate the nail polishes in the jar whenever you add a new color to your collection, making sure you’re always aware of all the options.
This idea is not only practical, but it also adds a pop of color to your bathroom decor, making it both vibrant and inviting.
Travel Size Toiletry Jar
Grouping your travel-sized toiletries such as shampoo, conditioner, and shower gel in a dedicated jar offers a practical, organized, and easily accessible solution.
1. Versatility: Being portable, it easily fits in your day bag for a gym or beach day.
2. Aesthetics: It aids in keeping your bathroom decluttered and visually appealing.
3. Easy Maintenance: It’s simple to clean, refill, or change items as needed.
4. Safety: The jar prevents spillage, protecting your other items from possible leaks.
5. Space Management: Compact design of a jar demands lesser space than scattered toiletries.
6. Cost-effective: Save by purchasing travel-sized items in bulk, refilling the jar when necessary.
Mini First Aid Kit Jar
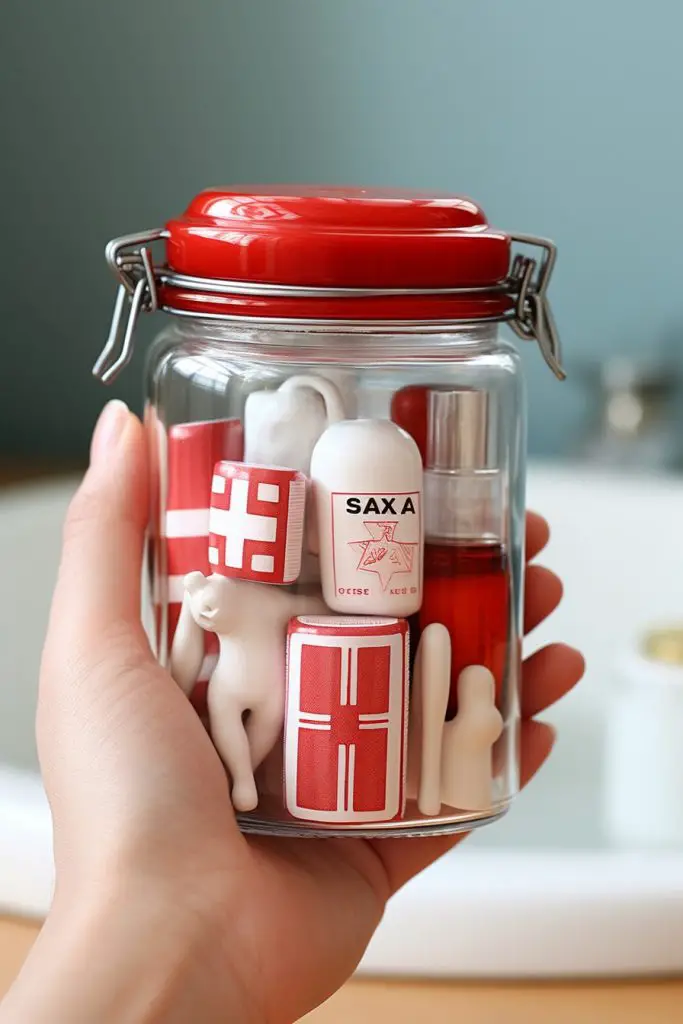
Having a Mini First Aid Kit readily available can be a potential lifesaver. Utilize a compact, clear glass jar to make an efficient, easy to spot kit.
Selection: Stock it with band-aids, ointment tubes, and gauze, focusing on essentials that can treat minor cuts or burns.
Arrangement: Roll your supplies to maximize space. Bandages could be stacked, ointments lined around the perimeter.
Visibility: Use a label or write directly on the jar to quickly identify it in emergencies.
Positioning: Maintain easy access by placing the jar on a reachable surface or a designated first aid shelf.
Remember, this is not a replacement for a full first aid kit but a convenient supplement for quick access during bathroom mishaps.
Fragrance Sachet Jar
A Fragrance Sachet Jar brings a fresh aroma into your bathroom, setting a relaxing, spa-like atmosphere. Here’s a simple guide on creating one:
- Find a glass jar with a tightly sealing lid to preserve the scent.
- Choose your favorite dried herbs or flowers such as lavender, rose, chamomile, or mint and place them into the jar.
- Add a drop or two of essential oils for a stronger scent. Avoid overwhelming aromas.
- For an extra touch, you can use aesthetically pleasing sachets instead of herbs or flowers.
- Mixing different essential oils allows for a unique, personalized scent.
- Shake the jar once a week to reinvigorate the scent.
- Remember to replace the contents every few months or when the fragrance starts to diminish.
The placement of your Fragrance Sachet Jar is crucial. It can be placed on the counter, next to the bathtub, or on a shelf, ensuring the aroma disperses effectively.
Browse More
 Gray Bathroom Cabinets: What Color Walls Complement Best
 What Is a Vanity and Why You Need One
 15 Ideas: What is the Best Flooring for a Small Bathroom
 What is a Half Bath: Maximizing Your Home’s Space
 Best Flooring for Bathroom: Your Essential Buying Guide
Recap