Last updated on
Explore the world of memory box picture frame ideas because transforming your spaces with sentimental art pieces is the key to a home that tells a story.
Creating a memory box picture frame can be a unique and personal way to display cherished moments. This article will guide you through a variety of innovative ideas for crafting your memory box picture frame, whether it’s for family photos, travel memorabilia, or keepsakes from a special occasion.
You’ll learn how to choose the right materials, design layouts, and even how to incorporate lighting for an extra touch of magic. Stay tuned for all the details you need to turn your memories into a captivating visual display.
Vacation Souvenirs Picture Frame
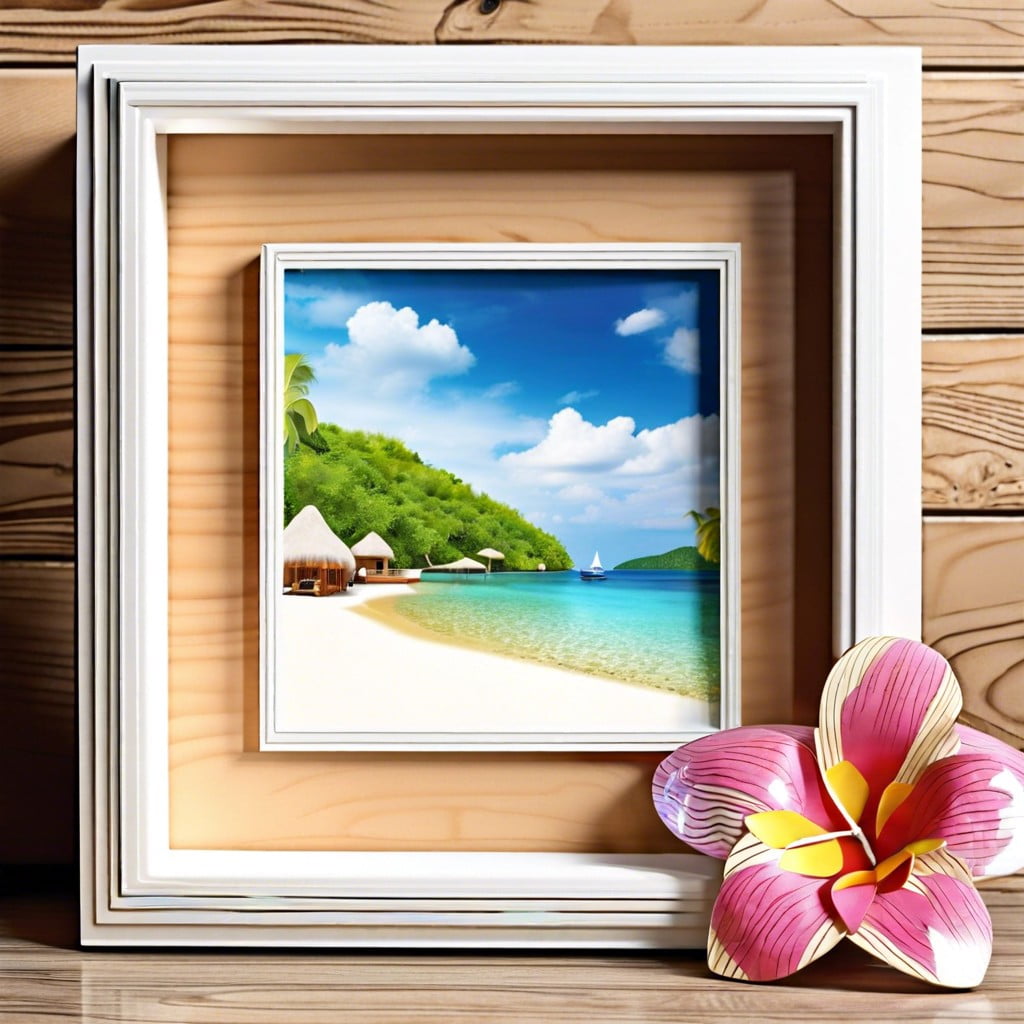
Using a vacation souvenirs picture frame allows you to freeze that special moment in time. Choose from collected postcards, tickets stubs, or sand sample from that exotic beach.
Also, add photographs that capture perfect vacation moments: that stunning sunset, the local vendor, or the unexpected wildlife encounter.
To assemble, arrange your mementos in a visually pleasing composition, balancing color and shape. Keep items secure with adhesive foam squares or hot glue for heavier pieces.
All items should be visible and unobscured.
Consider adding handwritten captions on small tags to provide context and date. The use of a thematic background, like a map of your destination, can add additional depth and personal touch.
Finally, select a frame that complements your mementos without overpowering them. The overall goal is to evoke the emotion and experience of the vacation each time you glance at it.
Enjoy the trip down memory lane.
Wedding Day Keepsakes Frame
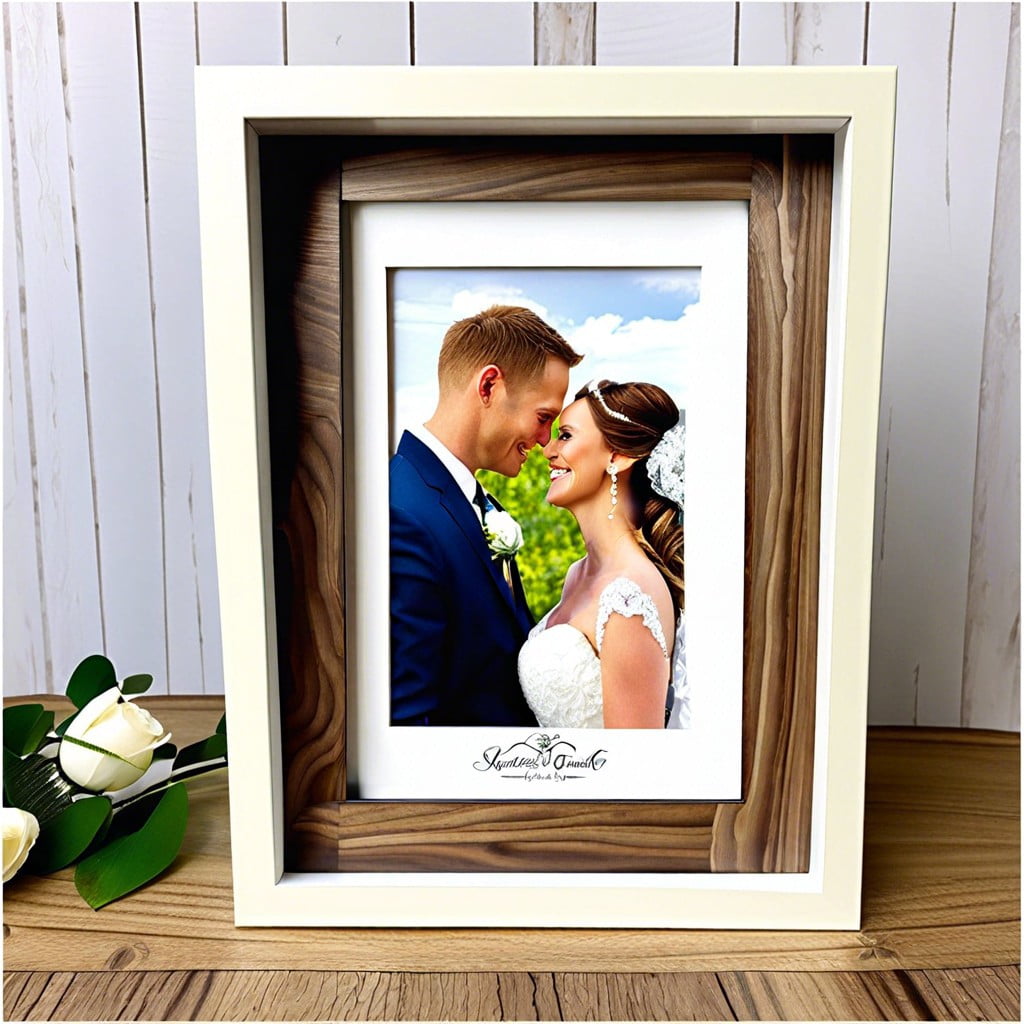
Elevate those intimate tokens from the blissful occasion with a keepsakes frame. In it, place dried flowers from the bridal bouquet or boutonnière to echo the floral decor of the day. Include a snip of the wedding lace or veil fabric, adding a sentimental touch.
Images of your wedding invitations or a snapshot of handwritten vows carry the romance over into your living space.
If music played a key role, why not add a music sheet of your first dance? Creatively arrange these items with memorable photographs, offering depth and interest.
Each time you glance at this personalised display, it’ll be like witnessing a silent, visual retelling of your special day!
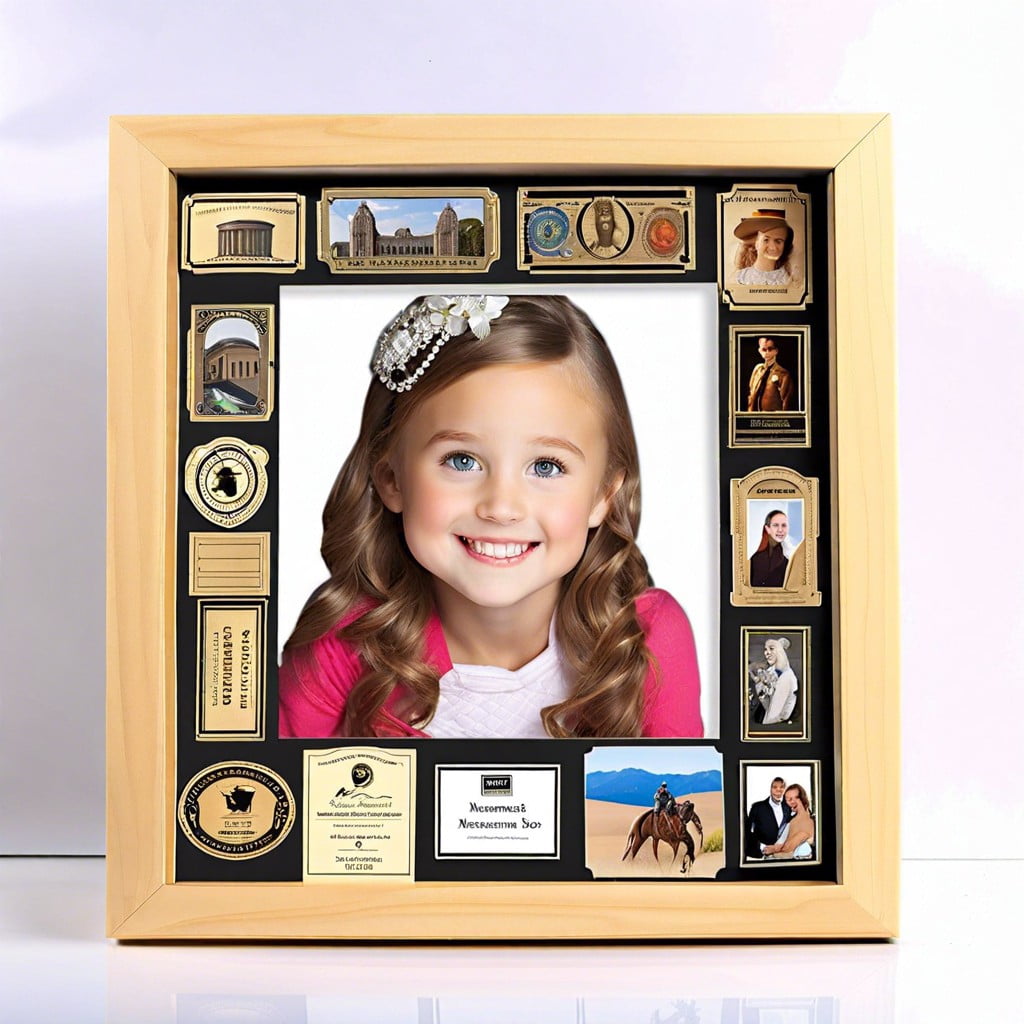
Baby’s First Year Mementos Frame
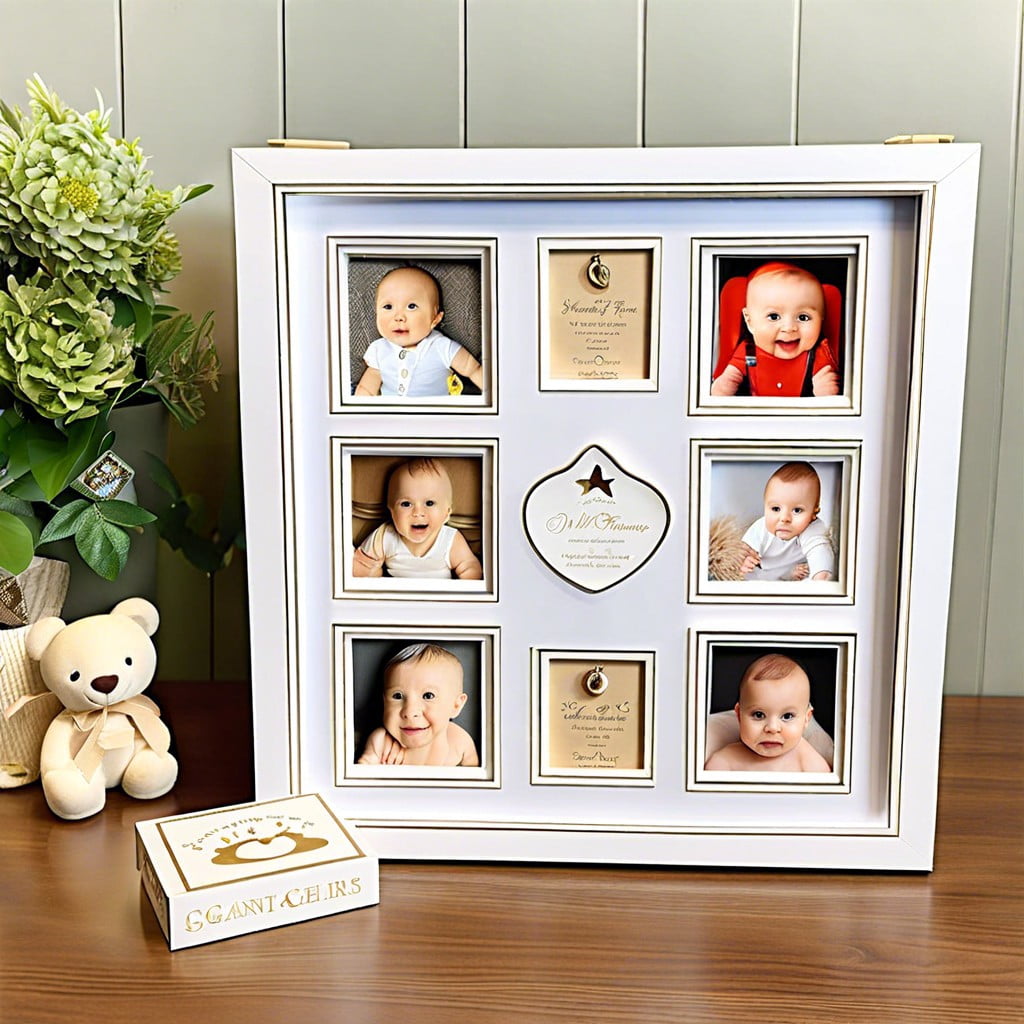
Consider incorporating a variety of special items to constitute a comprehensive story of your infant’s initial year. Tiny booties, their first pacifier, hospital wristbands, a lock of hair, a snapshot of their first smile, or any other cherished relic should be included. Giving these items pride of place in a shadow box frame, instead of stashing them in a drawer, allows for a continual reminder of those early, precious moments.
Remember to layer these items for a 3D effect, it adds depth and interest. You might position a favorite onesie in the background, place a precious photo at the front, and scatter other tiny items in between. But avoid overcrowding as each piece should stand out.
Choosing a frame color that complements your nursery or living room decor will make the mementos frame look visually soothing. And don’t forget, safety first, secure fragile items properly and use a high-quality frame with shatter-resistant glass. The result will be a unique, personalized piece of wall art that not only celebrates your child’s growth but also adds an intimate touch to your home.
School Memories Shadow Box Frame
To encapsulate cherished schooling memories, a shadow box frame is an exceptional choice. Important milestones, awards, and handmade little crafts find a safe haven in such frames.
1. Start by picking items – these could be report cards, badges, your child’s artwork, favorite pencil, or the first book they read.
2. Prepare these items – flatten paper items under heavyweight books to ensure they fit well within the box. For three-dimensional items, like a trophy or a badge, clean and dry them adequately before placing.
3. Layout is key. Start with larger items first and then complement with your smaller keepsakes. It’s okay to overlap some items. Take a photo as a reference once you’re satisfied with the layout.
4. Secure the items to the back of the shadow box – you can use glue, pins, or double-sided adhesive strips, depending on the material of the keepsakes.
5. Finally, secure the backing to the frame. Your school memories shadow box frame is ready to be put on display!
This creative project not only helps preserve important artifacts but also serves as a beautiful reminder of one’s academic journey, guaranteed to spark conversations and trips down memory lane.
Anniversary Memory Picture Frame
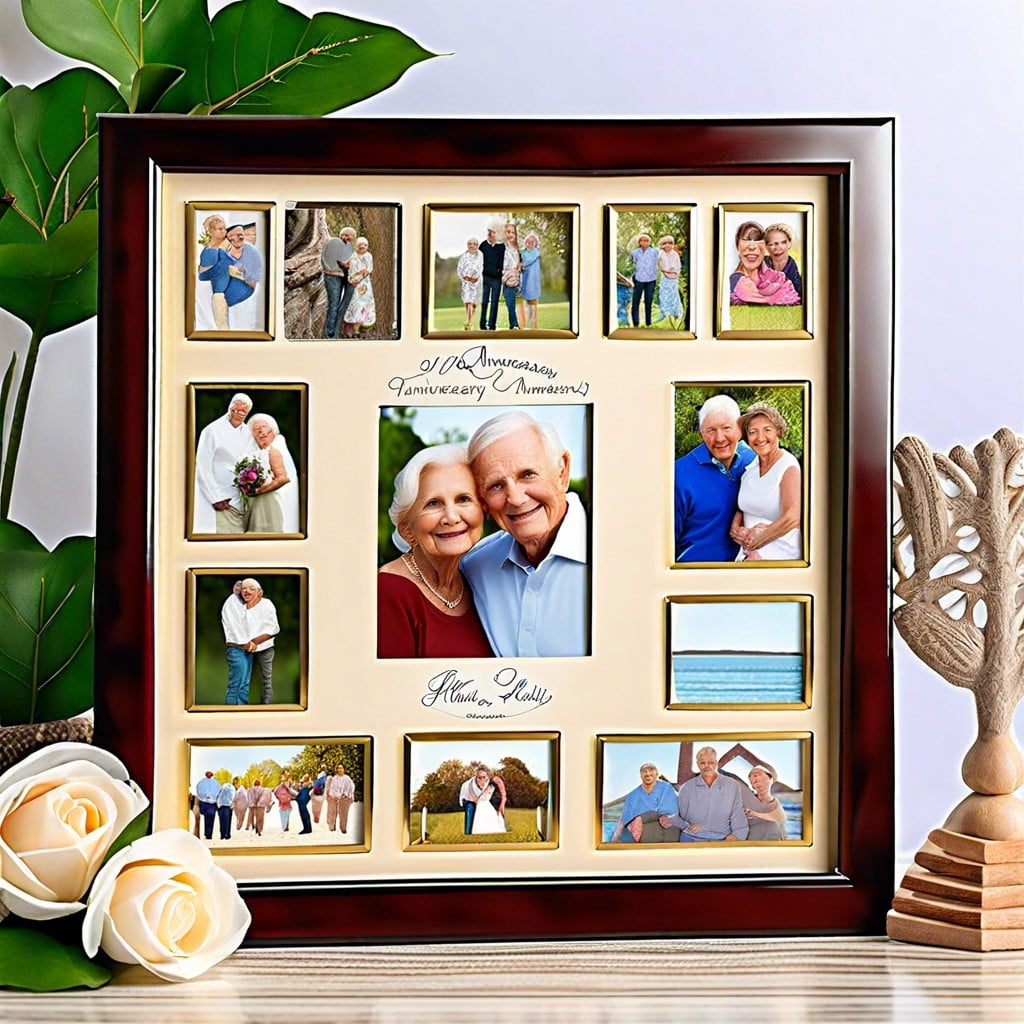
Craft a testament to the enduring bond you share with your partner using cherished souvenirs and trinkets.
1. Photos: Select a host of photos that encapsulate your journey, from the first date to the latest anniversary. Be mindful of the frame’s size while choosing.
2. Love Letters and Notes: Add snippets of handwritten love letters, post-it notes or cards exchanged over the years, enhancing the sentimentality.
3. Movie/Dinner Tickets: Include memorable date mementos, like the movie stub from your first date or your favorite restaurant’s coaster.
4. Jewelry: Showcase small, meaningful jewelry pieces like a charm from a bracelet or the groom’s boutonniere.
5. Small Tokens: Intricate tokens like keychains, pressed flowers or souvenir coins add layers of sentiment and depth.
6. Personal Artefacts: Insert artifacts, from a piece of fabric from your first home’s curtains to a scrap from your wedding dress.
Arrange these items meticulously inside your shadow box frame for an anniversary visual feast.
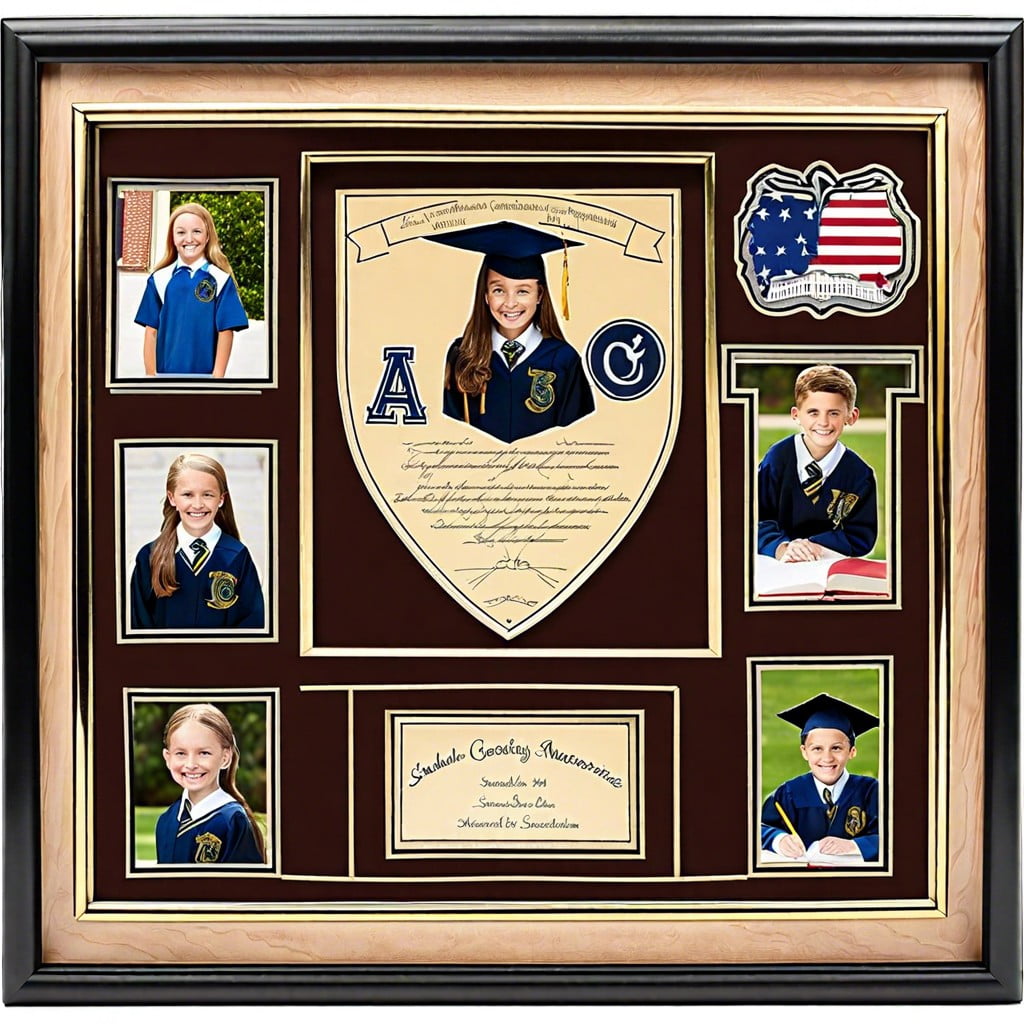
Graduation Memorabilia Photo Frame

Transitioning from the triumphant joy of receiving a diploma, we move to the next idea – a tangible way to cherish those golden university moments.
Materials needed include a photo frame, graduation cap tassel, diploma or a copy, pictures, medals, or badges, and superglue.
Start by choosing a spacious, deep-set frame that can accommodate multiple items without seeming cramped.
Arrange the items smartly, keeping the diploma or a favored picture at the center.
Balance out the layout with the tassel and other smaller items.
Finally, secure everything using superglue.
Remember not to limit yourself to these items.
Tickets to a crucial game, a significant project, or a piece of sheet music could also find a place depending on the graduate’s unique journey.
This project allows you to immortalize a time of hard work and personal growth, building a visual representation that impresses at first glance and intrigues upon a closer inspection.
Sport Achievements Display Frame
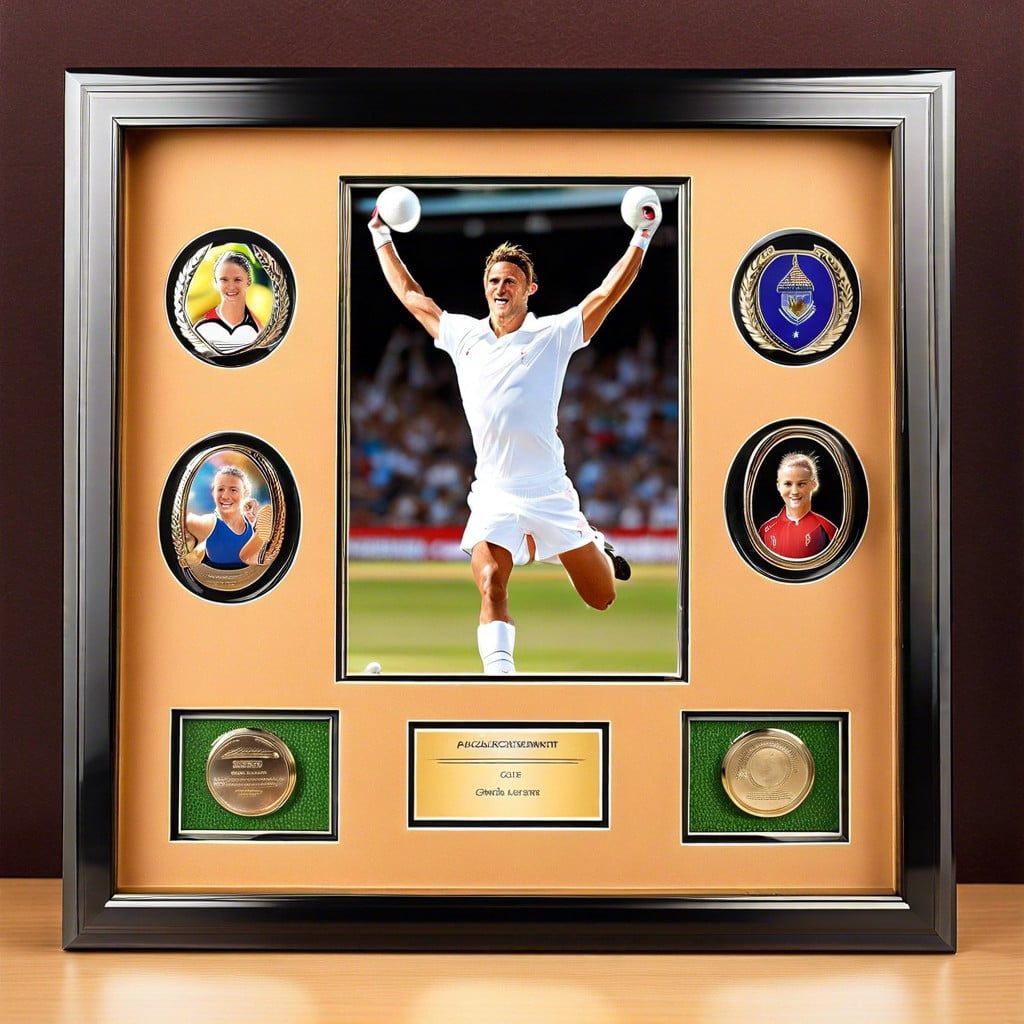
In displaying your triumphs and victories, a memory box frame is a perfect choice. Favorite pin collections, marathon bibs, or championship ribbons; all can find a fitting home.
1. Arrange Achievements Logically: Place each object in a manner that narrates your sports journey. You might start with the first medal and continue chronologically, for instance.
2. Uniform Scraps or Badges: Cut a small piece from your athletic uniform, or a badge, to add a personal touch. However, ensure that it won’t be missed.
3. Use of Labels: Provide context with handwritten labels detailing the event and date, stapled neatly beside each item.
4. Implement ‘Float Mounting’: For 3D objects like balls or shoes, use a technique called ‘float mounting’ where objects seem to hover in the frame.
5. Involve Photos: Add dynamic action shots or team group photos among the objects for visual interest.
6. Layer Objects: If you have different types of memorabilia, don’t shy away from layering them. It adds depth and a sense of abundance.
Remember, a memory box frame is more than a collection of objects. It’s the narrative of your journey, embodying the triumphs and losses, the sweat and the cheers. Now, let’s get framing!
Pet Memories Shadow Box Frame
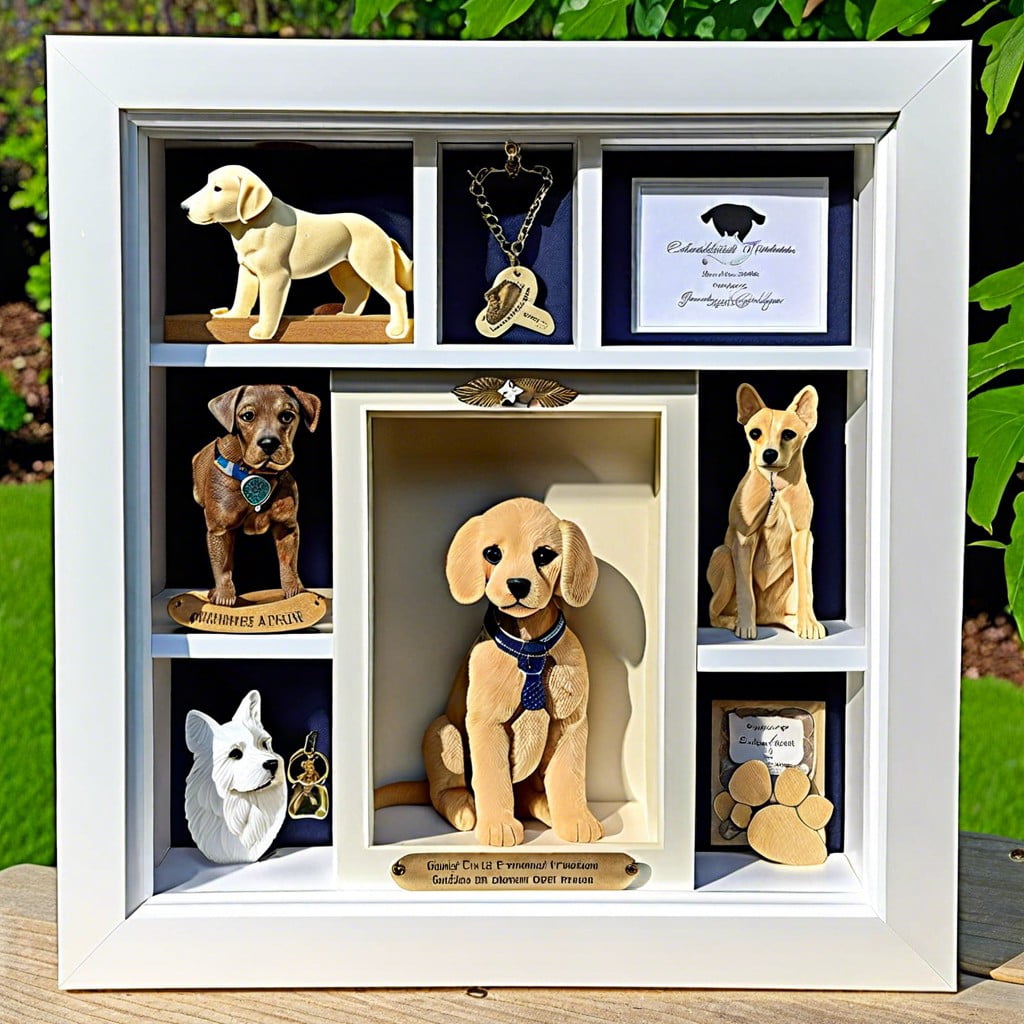
Gather your beloved pet’s mementos, be they dog tags, collars, or even their favorite toys. Prioritize items that capture the unique essence of your furry friend.
Combine these keepsakes with some pictures in a uniquely arranged panoramic layout, showing multiple angles or capturing your pet’s most engaging moments. Implement texture through pressed paw prints or tufts of fur; however, always ensure these keepsakes have been thoroughly cleaned prior to placement.
Use acid-free backing paper to keep contents safe over time. Utilizing varied depth inside the shadow box ensures a dynamic visual display that brings your pet’s story to life. Emphasize personality by adorning the box in styles befitting your pet’s character, frilly for the princess, rustic for the adventurer.
Remember, above all, this frame should serve as a loving reminder of your cherished pet. Your pet’s memory deserves to be preserved with love, respect, and creativity.
Family Reunion Memorabilia Frame
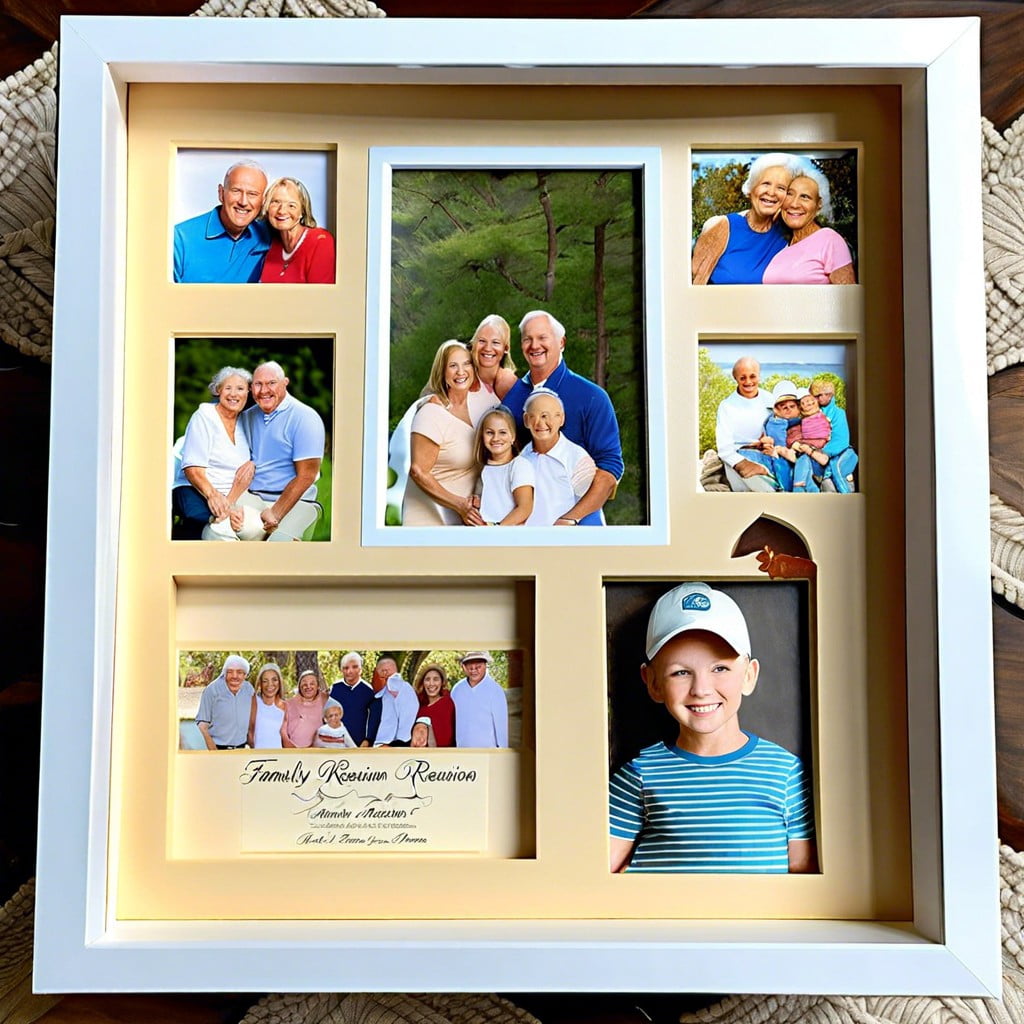
Gathering mementos from family reunions offers a chance to create a one-of-a-kind memory box picture frame. Follow these steps:
1. Choose Items: Start with selecting key objects that hold significance to the reunion. They could be pictures, event tickets, small gifts or badges, even a piece of the picnic blanket!
2. Design Layout: Consider arranging the items in a neat & visually appealing way. You might place the most prominent items in the center, chronological arrangement adds a timeline element.
3. Select a Frame: A deep box frame will work best to accommodate the varied items. A larger size may be needed for bulkier objects.
4. Mount the Items: Secure each item with adhesive or pins, ensuring they are safe and won’t shift.
5. Create a Background: A background related to the event adds depth; like a map of the reunion venue or a group shot, if available.
6. Add Labels: Small labels describing each item provide context, making the frame a genuine conversation starter.
This project imbues a personal touch and beautifully encapsulates a memorable gathering in a singular frame.
Concert Ticket Collection Display

Continuing our journey through inspiring memory box frame ideas, let’s dive into another exciting project. Gather your cherished concert tickets and start the engaging process of preserving those emotional moments.
1. Collect them All: Rummage through drawers for once-forgotten stubs or souvenir lanyards from your music event experiences.
2. Add Personal Touches: Pair each ticket with a photo from the concert, create a collage with favorite lyrics, or include album art, making your display more personal.
3. Aesthetic Arrangement: If you’ve attended numerous music concerts, segregate tickets by genre, artist, or year for an eye-catching arrangement.
4. Preservation: Consider laminating tickets to keep them in the best condition possible over the years.
5. Frame Selection: Choose a frame matching your personal style and that of the concerts you’ve visited, to tie everything together.
This project allows you to showcase your various musical tastes, unforgettable memories, and design skills. As a result, your living room will come alive with your thrilling experiences, aesthetically represented in your concert ticket collection display.
Antique Jewelry Keepsake Frame
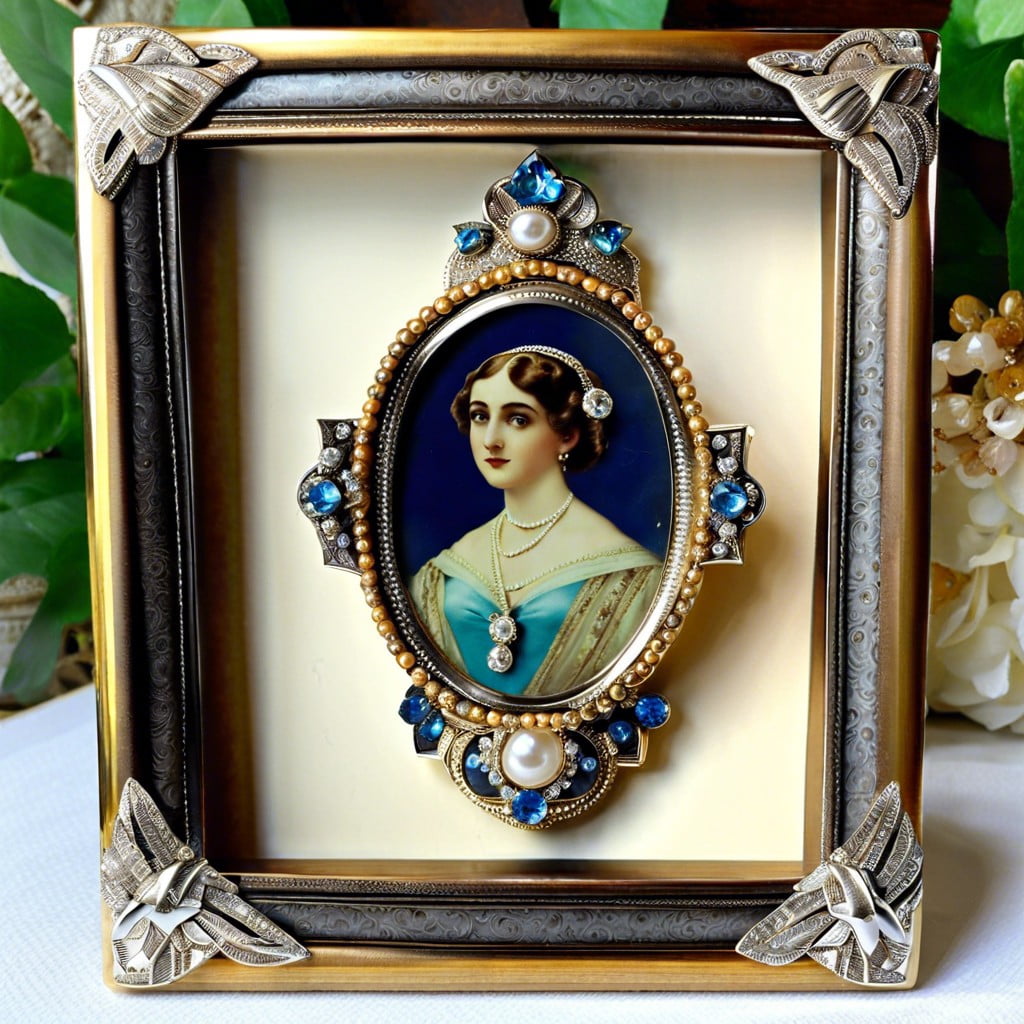
Storing heirlooms such as earrings, necklaces and bracelets can be stylishly accomplished by turning them into artistic displays within a keepsake frame. Here’s how:
1. Gather the Bits: Collect those cherised jewelry pieces you wish to display.
2. Select the Frame: Choose a deep-set frame, ideally shadow box style, which will allow space for your jewels.
3. Arrange with Intent: Deliberately place each piece, considering aspects of design like colour, size and the emotional weight of the pieces.
4. Secure the Jewelry: Use adhesive or hooks to ensure the pieces hold steady, considering the weight and shape of each.
5. Add a Personal Touch: Consider incorporating small notes or tags that hold significance to the pieces, introductions that share their stories.
Embracing this method, your antique jewelry not only becomes a unique decor piece but also a time capsule, capturing and presenting the sentimental value in a visually striking manner.
Outdoor Adventure Memorabilia Frame
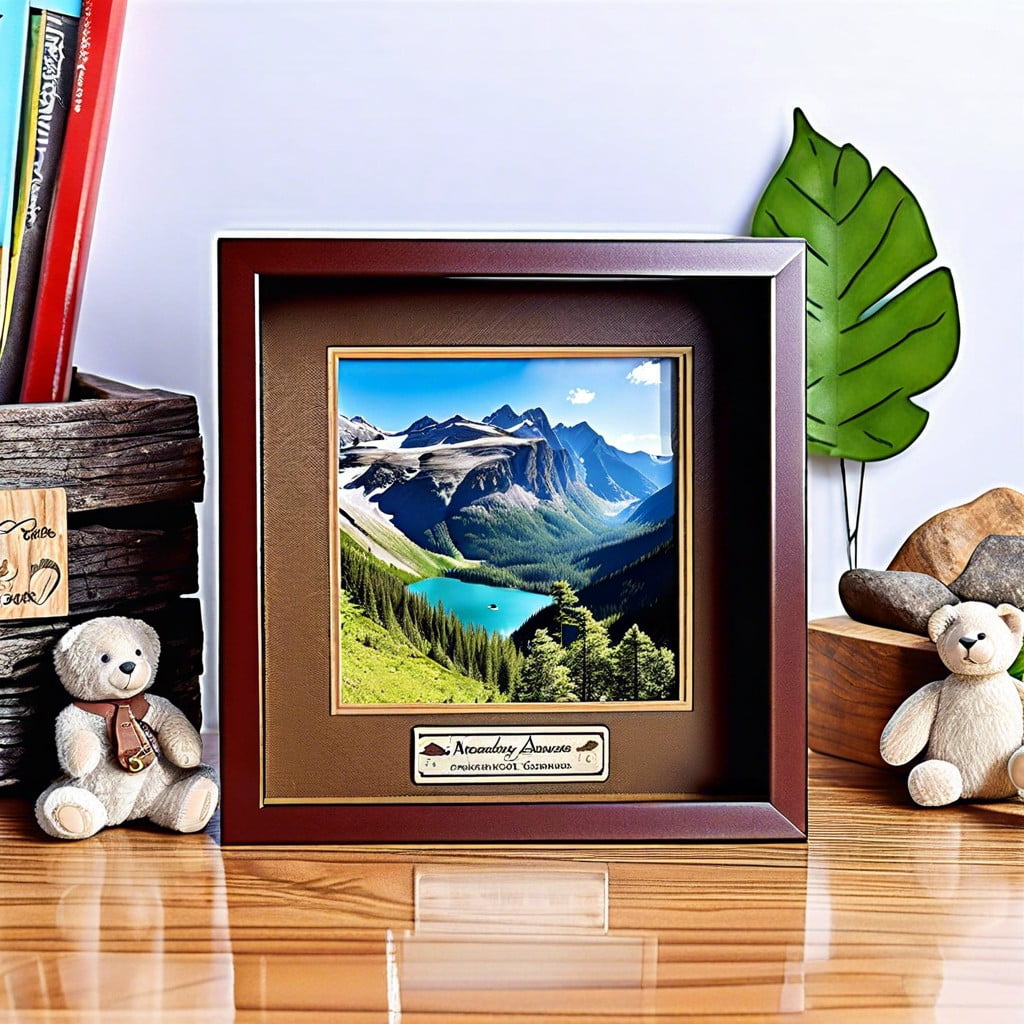
Gathering items from explorations like dried leaves, pressed flowers, pebbles or photographs of breathtaking landscapes can form the heart of this engaging display piece.
Start by choosing a shadow box frame which is roomy enough to house slightly bulkier pieces.
Background Selection: Consider a map of the explored area as a creative backdrop.
Organize mementos: Place items intentionally based on the chronology of your adventure, or theme them around a specific moment.
Tell a Story: Try to show a narrative, let each piece represent part of your journey. A feather might denote bird-watching, a mineral for rock-hounding or your room key from the cabin where you stayed.
Secure Items: Use hot glue, pins or adhesive strips to secure items properly.
Finishing Touches: Optional captions with a thin marker can add a personal touch.
The goal is to freeze the moment you felt the thrill of the wilderness or the stillness of a sunrise on mountaintops, right there on your walls.
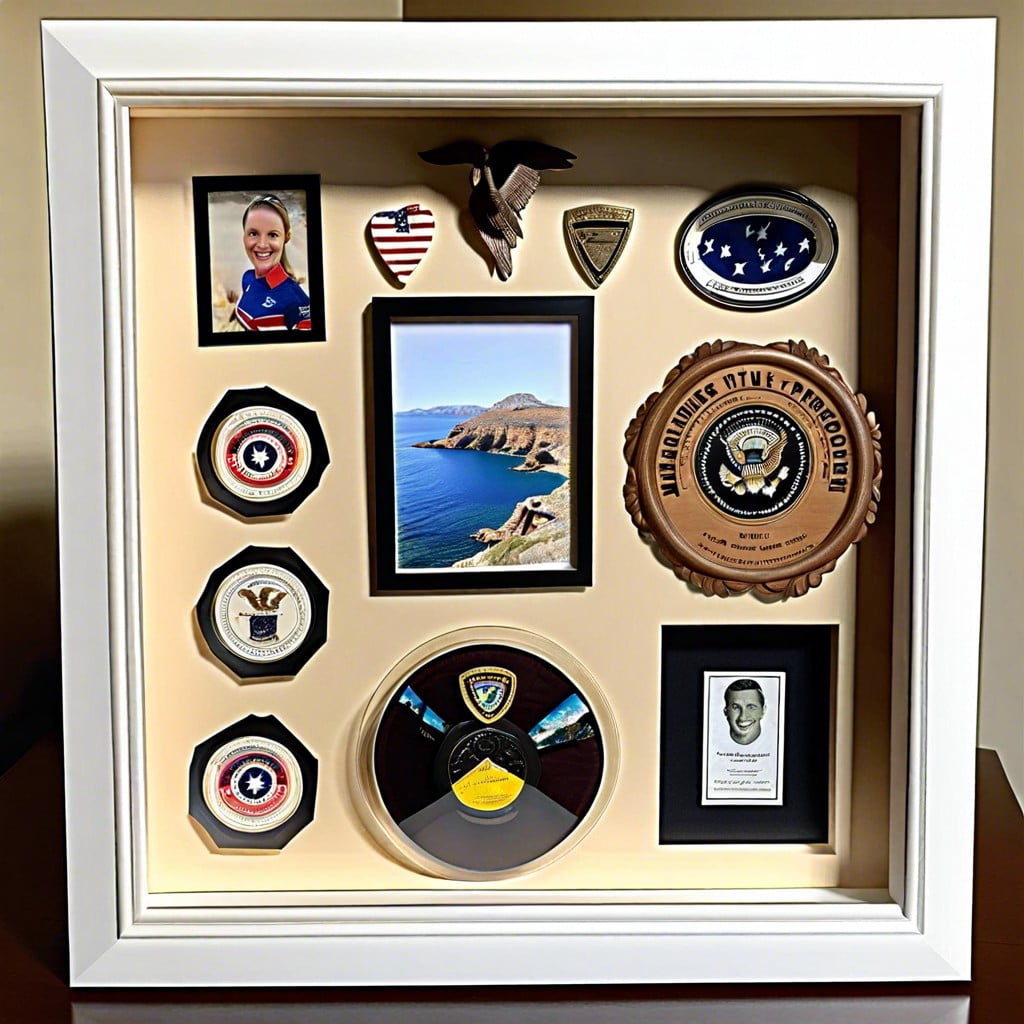
Military Medals Display Frame
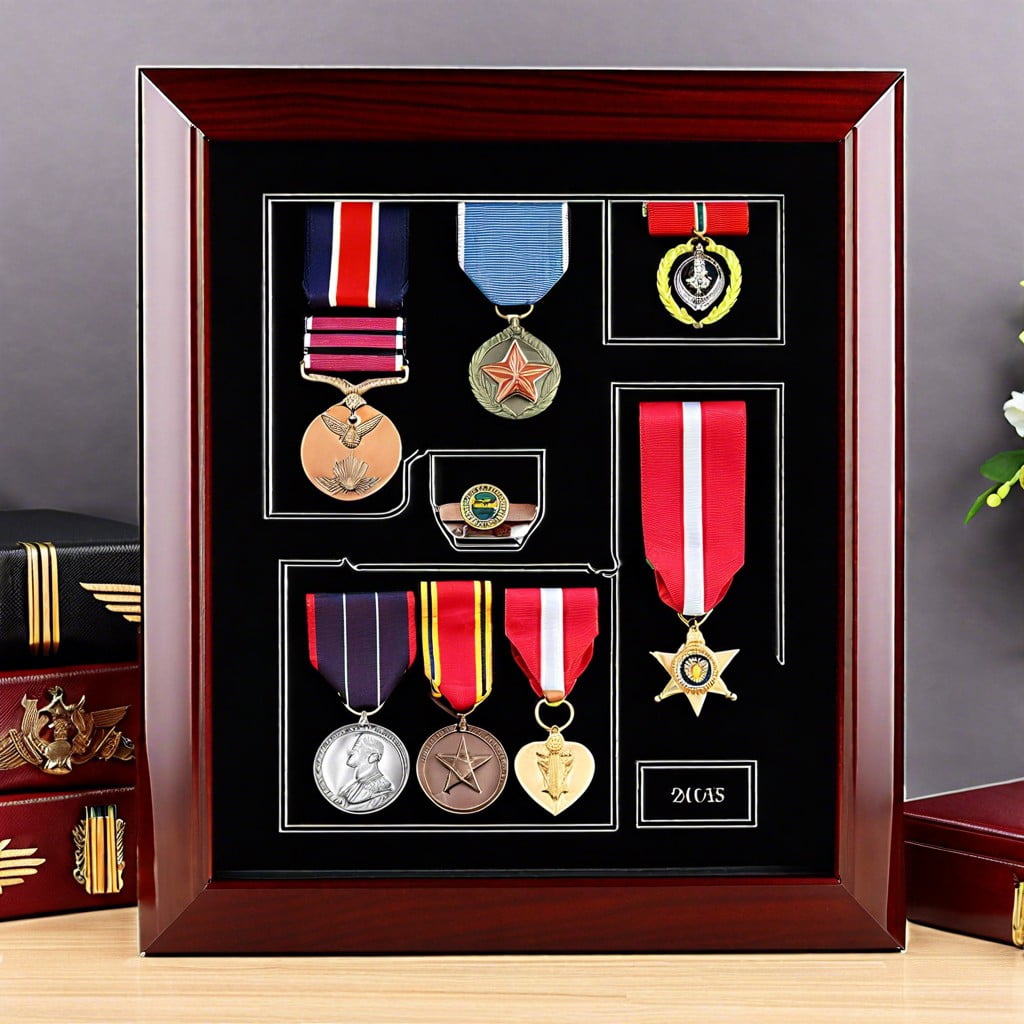
Preserving honors received during military service shouldn’t be a Herculean task. A tastefully designed shadow box frame can preserve and showcase these tokens of bravery without a fuss.
- Choose a frame size that adequately fits all medals.
- Align medals according to their importance or chronological order.
- Don’t overlook the significance of the background fabric; a color complementing the medals would highlight their presence.
- Provision for the service member’s photo or monogram could add a personal touch.
- Adorn the corners of the frame with intricate detailing, only if it doesn’t overshadow the medals.
- Ensure the medal ribbons are carefully flattened to prevent bunching up.
Remember, a Military Medals Display Frame is not just a decor piece, it’s a tribute to service, sacrifice, and bravery.
Christmas Ornaments Memory Box Frame
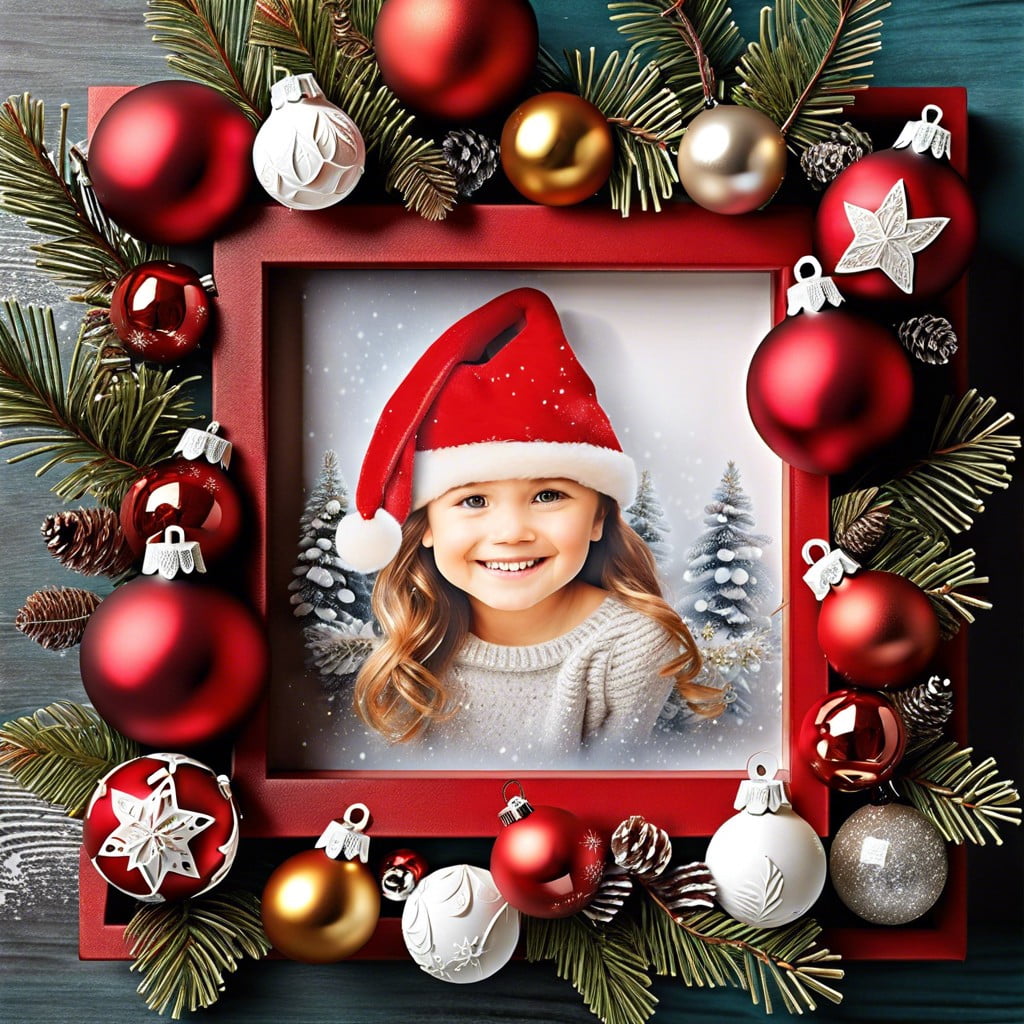
Delving into the essence of the festive season, this unique handmade creation serves as a charming visual memoir of yesteryears. It’s less about storing and more about showcasing cherished tokens from every Christmas.
1. Gather distinct decorations that hold memories for you.
2. Select a medium to large-sized shadow box frame that will host the ornaments.
3. Opt for a colored or textured backdrop that complements your baubles.
4. Attach hooks to the top interior of the frame.
5. Hang each ornament on the hooks, considering their size and color distribution.
6. Close the frame cautiously, ensuring the keepsakes are secure.
This DIY project helps compile Christmas stories, turning ordinary ornaments into extraordinary keepsakes. It acts as a timeline of yuletide joys, adding an extra sprinkle of joy to your holiday decorations.
Beach Vacation Shells Display Frame
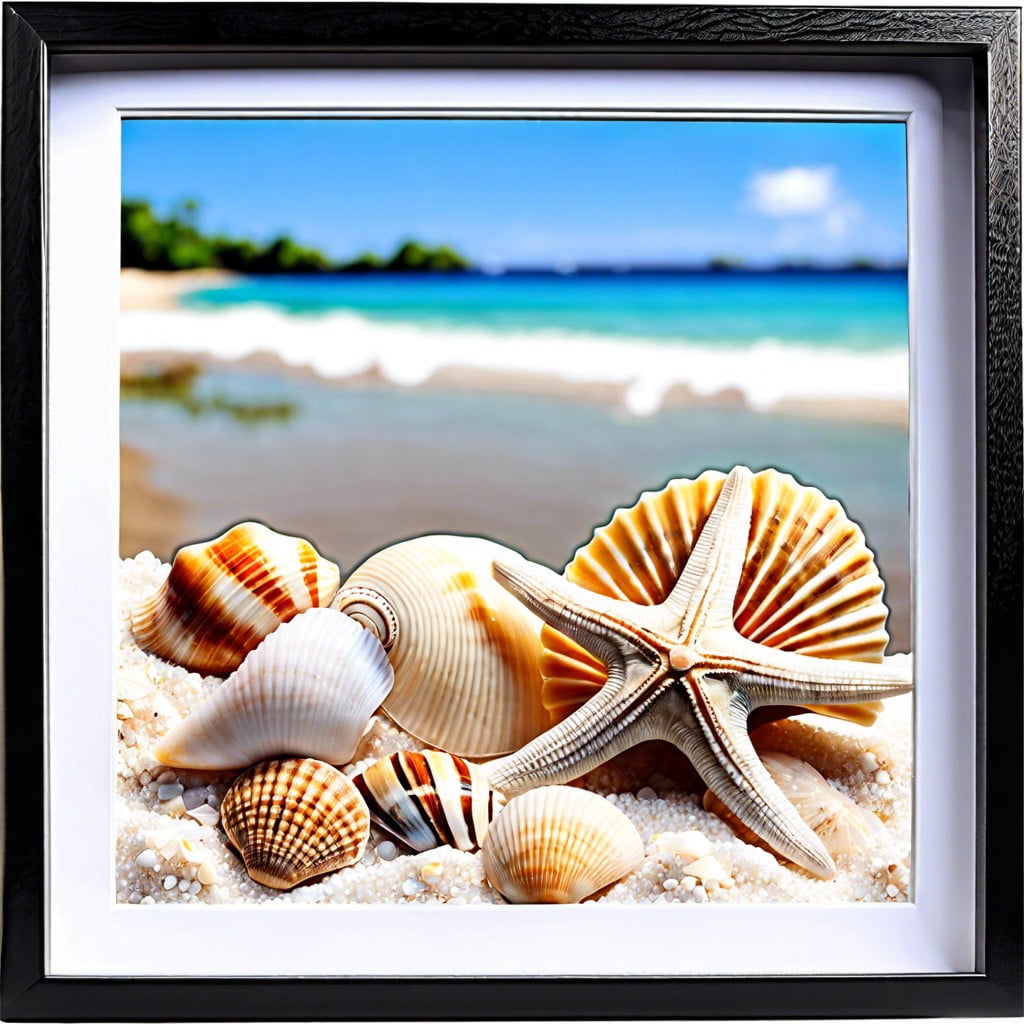
Liven up your home decor while showcasing your treasured beach finds with a unique display frame. Using a deep-set picture frame or shadow box, add a layer of sand from your favorite beach at the bottom for an immersive base. The larger shells can serve as the “headliners” of your display, arrange them artistically on the sand.
Smaller shells and other trinkets can fill up the remaining space, creating a pleasant uncluttered arrangement.
Consider photographing the beach where the shells were collected and use it as the backdrop. This adds a personal touch and a connection to the vacation, while providing a visual contrast to the shells on display.
Your frame doesn’t need to be confined to shells. Sea glass, photos, postcards, and even the occasional bottle cap can add character and tell a wider story of your beach vacation.
Don’t forget to take note of the color schemes. Mix and match shells, straying from the traditional white and beige. The goal is to create a visually appealing piece that draws eyes and sparks conversations about your fabulous beach vacation.
Creating your Beach Vacation Shells Display Frame can be exciting, reminding you of the sand, the sea, and the happy times you enjoyed there. It’s more than just a decorative piece, but also a delightful walk down memory lane, captured and preserved in style.
Museum Tickets Keepsake Box Frame
Displaying collected museum tickets can creatively capture the essence of your cultural explorations. A deep-set frame is an excellent choice for this project to accommodate the bulk of ticket stubs. Arrange the tickets in chronological order to hint at the passage of time or mix and match them for a splash of randomness.
Materials Needed:
- Deep-set picture frame
- Museum tickets
- Glue or double-sided tape
- Background paper
Procedure:
Firstly, choose a background paper that complements the tickets’ colors. You can stick with a simple white or black, or go bold with patterns and bright colors.
Next, arrange the tickets on the background paper within the frame. Experiment with different layouts until you find one that strikes the right balance. Then start sticking each of the tickets onto the paper with glue or double-sided tape.
Just remember to keep distractions to a minimum; the goal is to let the vibrant colors of the museum tickets steal the show.
Cookbook and Kitchen Keepsakes Frame
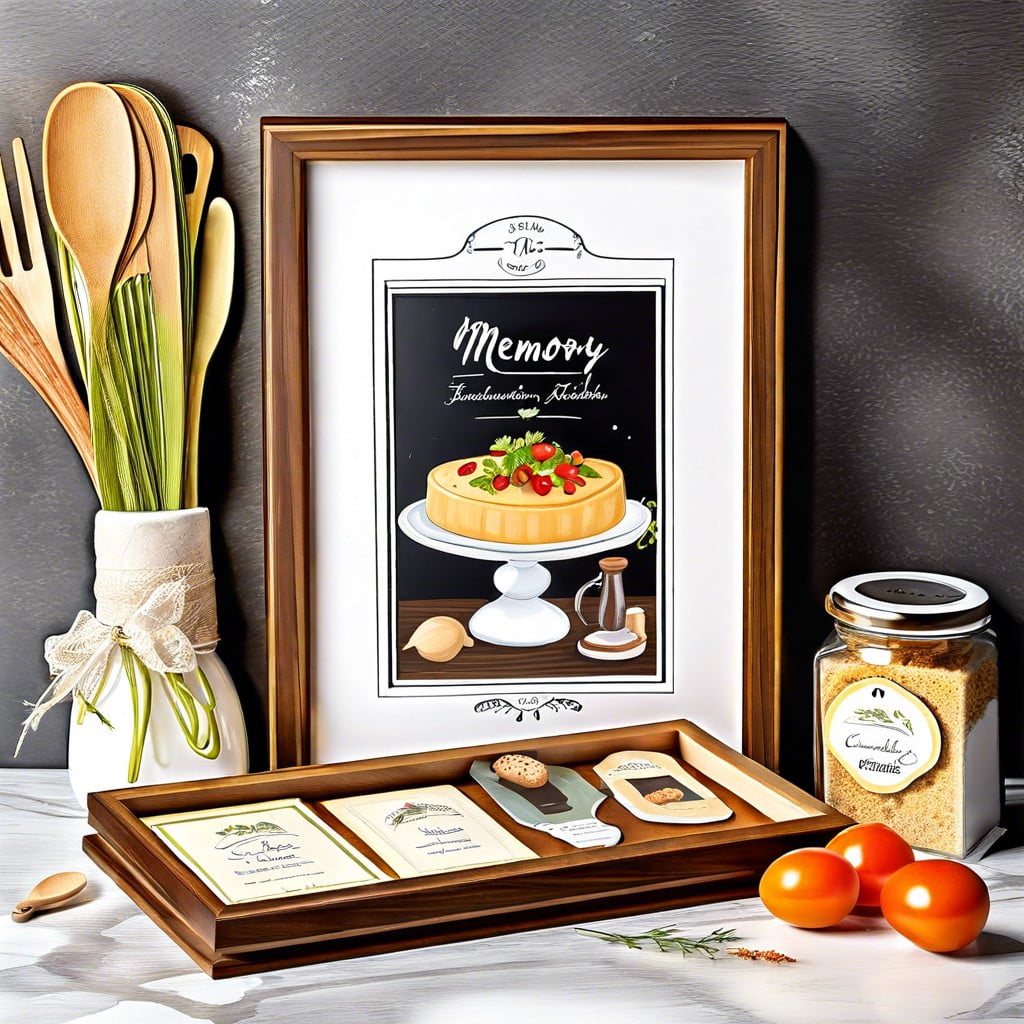
A well-loved cookbook can provide a variety of keepsakes suitable for a unique frame. Dog-eared pages with stains and notations attest to your culinary adventures and favorite recipes. Consider also including pictures or handwritten recipes passed down from generations.
Other items such as antique utensils, grandma’s apron, dad’s favorite ladle, or the kitchen timer from your first apartment, lend a nostalgic touch.
- Select a few pages from your cookbook that hold sentimental value. Always photocopy or print these to preserve the original.
- Include kitchen utensils or items that hold sentimental or aesthetic value. Thoroughly clean these before including in the frame.
- Incorporate photos or handwritten recipes to add a personal touch and familial connection to your framed display.
- Keep a contrast in colors between different items and the backdrop of the frame. This ensures every element pops and is visually clear.
- Experimenting with the arrangement before securing is key. This ensures an eye-pleasing layout that carries the essence you would like the frame to represent.
This heart-stirring framing approach not only transports you down the culinary memory lane but also acts as a fascinating and conversation-worthy decor piece.
Handwritten Letters Memory Box Frame
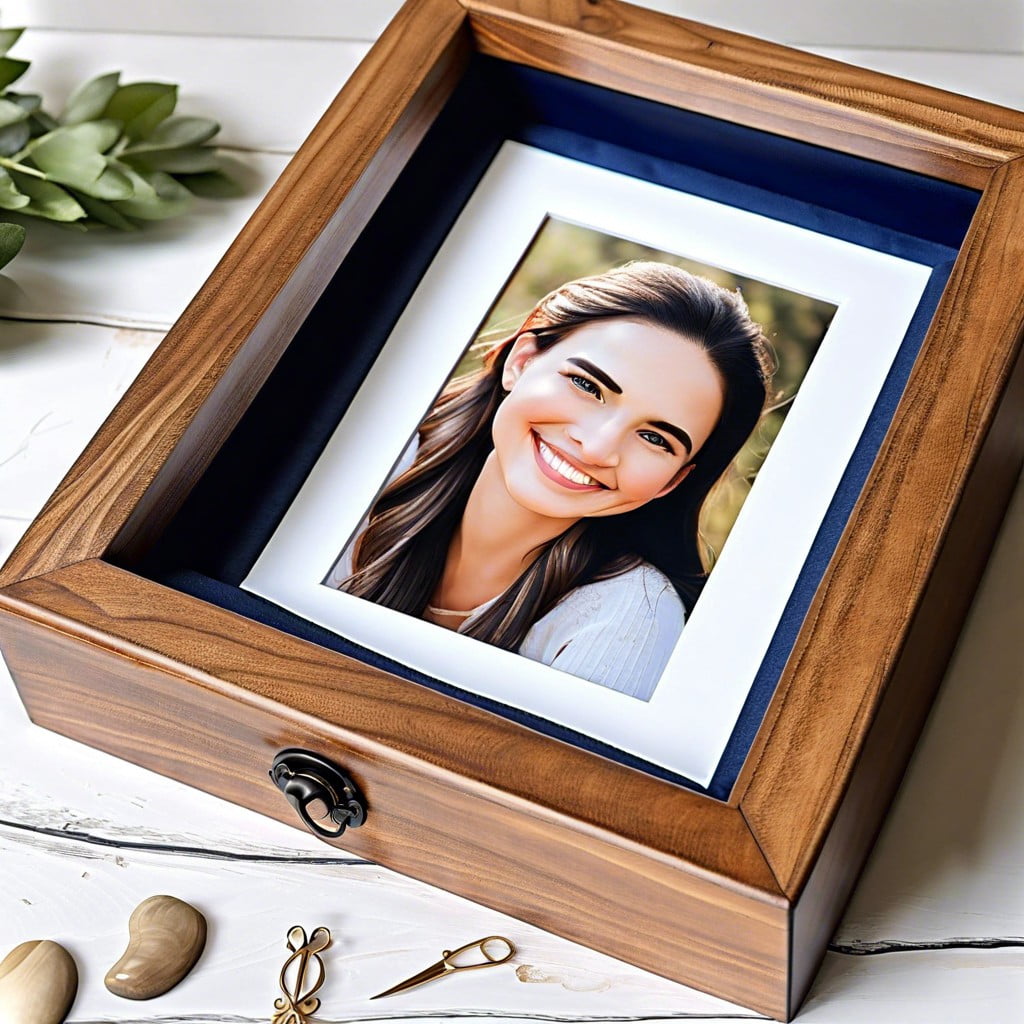
Start by selecting your most cherished handwritten letters. They could be love notes exchanged between you and your significant other, heartfelt messages from friends, or even old postcards from relatives. Prioritize those that bring back fond memories or hold significant meaning.
Next, carefully arrange these items inside a shadow box frame. You might want to display the letters in their open form to expose the handwriting, or fold them to showcase the front part or envelope. This tactic adds depth and provides an element of surprise since one cannot fully read what’s inside.
To avoid fading induced by exposure to sunlight, it’s important to place the frame in a spot away from direct light. More importantly, ensure that the glass used in the shadow box is UV-protective. Whilst framing, use acid-free backing materials to preserve the original quality of the letters.
Despite presenting a retro touch, a handwritten letters memory box frame can seamlessly blend with other decorative elements in your indoor space. For a more personalized and inventive look, consider integrating a theme. Maybe a color scheme that complements your decor or a timeline displaying letters from different time periods, like a chronological journey of friendships and relationships.
Remember, the main draw is the personal story and connection each letter brings. Whether it’s cute, emotional, or witty, it’s your individual narrative that lends this style its appeal, making your home more vibrant and meaningful.
Birthday Celebration Memorabilia Frame
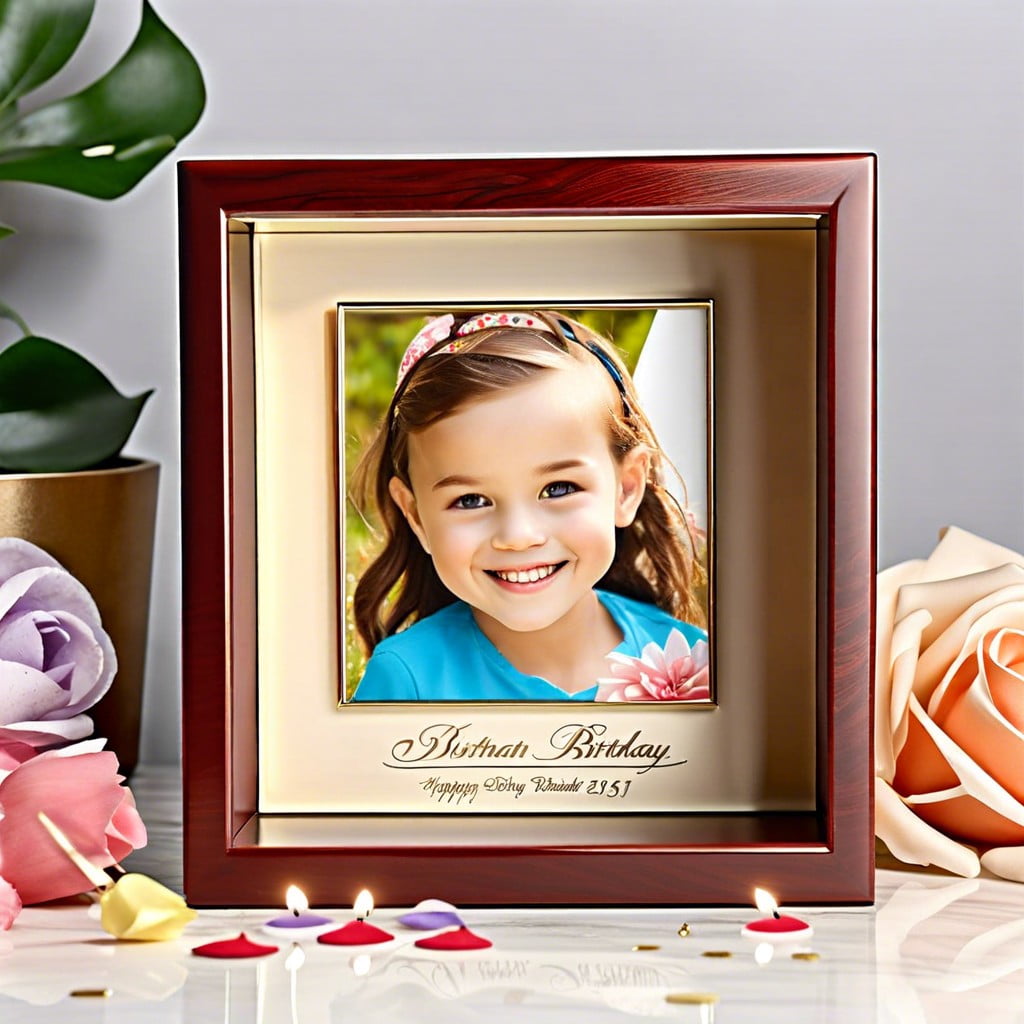
A Birthday Celebration Memorabilia Frame is a lovely way to preserve special moments from one’s birthday party. Start by selecting photos that capture the joy of the celebration, smiles from beloved friends and family, or the excitement of blowing out the candles on the cake. Place these centrally in your frame, creating a charming focal point.
Around these, you can arrange other birthday memorabilia like a saved piece of birthday ribbon, a memorable birthday card, or a party favor that captured your heart. Use these to fill the corners and borders of your frame.
Don’t forget the smaller items, such as confetti from the party table or a candle from the birthday cake. These tiny details can add a sense of texture and adds depth.
Last, consider writing labels next to each item. These tags can let you recall who was present or the little stories behind each piece. A simple handwritten label can make the difference between a collection of items and a fully-formed memory you can happily revisit.
Just remember – this frame is about joy. Let every piece you add bring a smile to your face as you remember the day.
DIY Craft Project Shadow Box Frame
Creating a shadow box frame for your DIY crafts can be a fulfilling project. First, gather some of your most cherished handmade crafts. These could be anything from a delicate paper flower to an intricate quilt square.
Next, choose a deep frame to accommodate your pieces.
Layout your crafts on the back panel of the shadow box. Try few arrangements until you achieve a visually balanced composition. You can even introduce color themes or display items by craft type; the choice is all yours.
Once satisfied with the preview, secure the crafts in place. Depending on their type and weight, you can use strong adhesive, pins, or even sew them onto a fabric backing. Ensure these are fastened securely to prevent slippage or damage.
The final step is to assemble the frame. Carefully place the crafts-loaded panel into the bottom part of the shadow box, followed by the glass front. If you’re using a frame with a hinge, ensure it’s closed securely.
Remember, the beauty of this project is its versatility. It can evolve with time as you add more pieces, and even become a creative heritage piece to pass down generations. It’s not just about making a pretty display, it’s about preserving your crafting journey in a unique way.
Browse More
 Baking Soda and Vinegar Drain Cleaning: Simple Steps for a Clog-Free Life
 How Long Does It Take to Tile a Bathroom: Your Ultimate Time-Saving Guide
 Smelly Drain: Banish Odors with Easy Fixes
 How to Remove Bathroom Fan Without Losing Your Cool
 How to Remove Bathroom Vent Cover Without Losing Your Mind
Recap