Last updated on
Ditch the traditional wardrobe because these anything-but-clothes ideas will inject a refreshing dash of creativity into every day.
Looking for unique and creative ‘anything but clothes’ ideas? You’ve come to the right place. This article is packed with inventive suggestions that will help you stand out at any ABC party.
From using unconventional materials like duct tape and newspapers to creating stunning outfits with items found right in your home, this guide will offer a variety of ideas to inspire your creativity.
Keep reading to discover detailed instructions and tips to transform everyday items into fashion statements.
Bubble Wrap Dresses
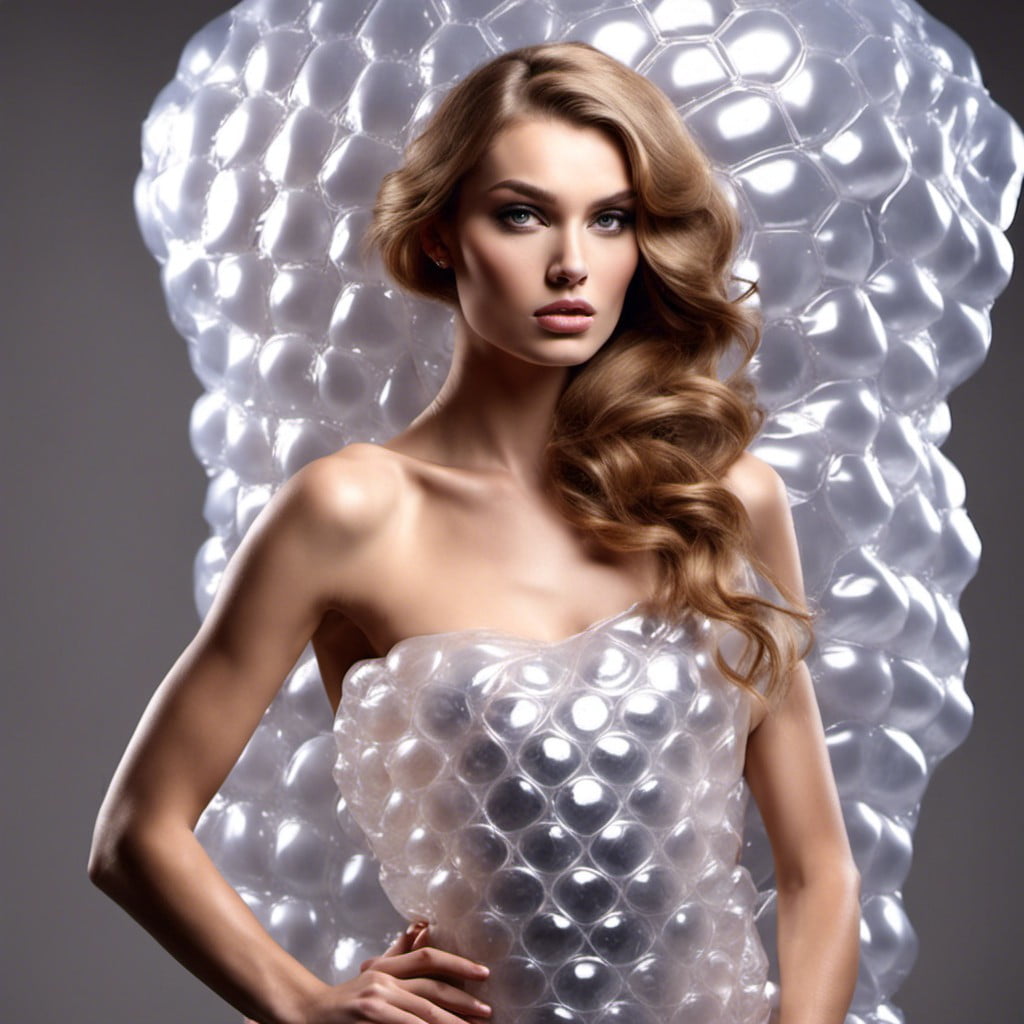
Bubble wrap, besides its use in packing delicate items, is a surprisingly creative and versatile material for fashion. Here are a few basic ideas:
1. Design: Bubble wrap can be tailored to fit any body shape. Draw out a dress pattern, cut the bubble wrap accordingly, and secure the edges with duct tape or similar adhesive.
2. Opacity: Depending upon your comfort level, use multiple layers for less translucence.
3. Texture: Avail the benefit of bubble wrap’s tactile surface as a distinctive statement for your dress.
4. Accessorize: Enhance the bubble wrap dress with matching accessories from other unconventional household materials, such as plastic or foil.
5. Sustainability: After the dress has served its purpose, it can be easily recycled, ensuring you’re stylish and environmentally responsible.
Remember, the key is making unconventional fashionable!
Cardboard Boxes

Crafting wearable art from waste material strikes a balance of sustainability with style. Take cardboard boxes for example. They are sturdy enough to bear the weight, and malleable enough to shape into fashion-forward clothing items.
First off, seek out various sizes and thicknesses to suit your fashion needs. Then, cut these into shapes to lend structure to your overall design – think geometric pieces for a retro chic look, or curvilinear shapes for a futuristic appeal.
In terms of attaching the pieces, strong, eco-friendly adhesive or masking tape could be your ally. Bonus: masking tape can add a graphic element to your outfit.
Finally, why not turn the natural brown surface into a blank canvas? Get creative with acrylic paints, leftover wallpaper, or even sequins. Unique suggestions could include paint splatters for a Jackson Pollock-esque aesthetic, or streamlined stripes for a nautical nod.
Remember, the key is to push boundaries while staying informed about the strengths and limitations of the material. Are you ready to strut your cardboard couture?
Garbage Bag Jumpsuits
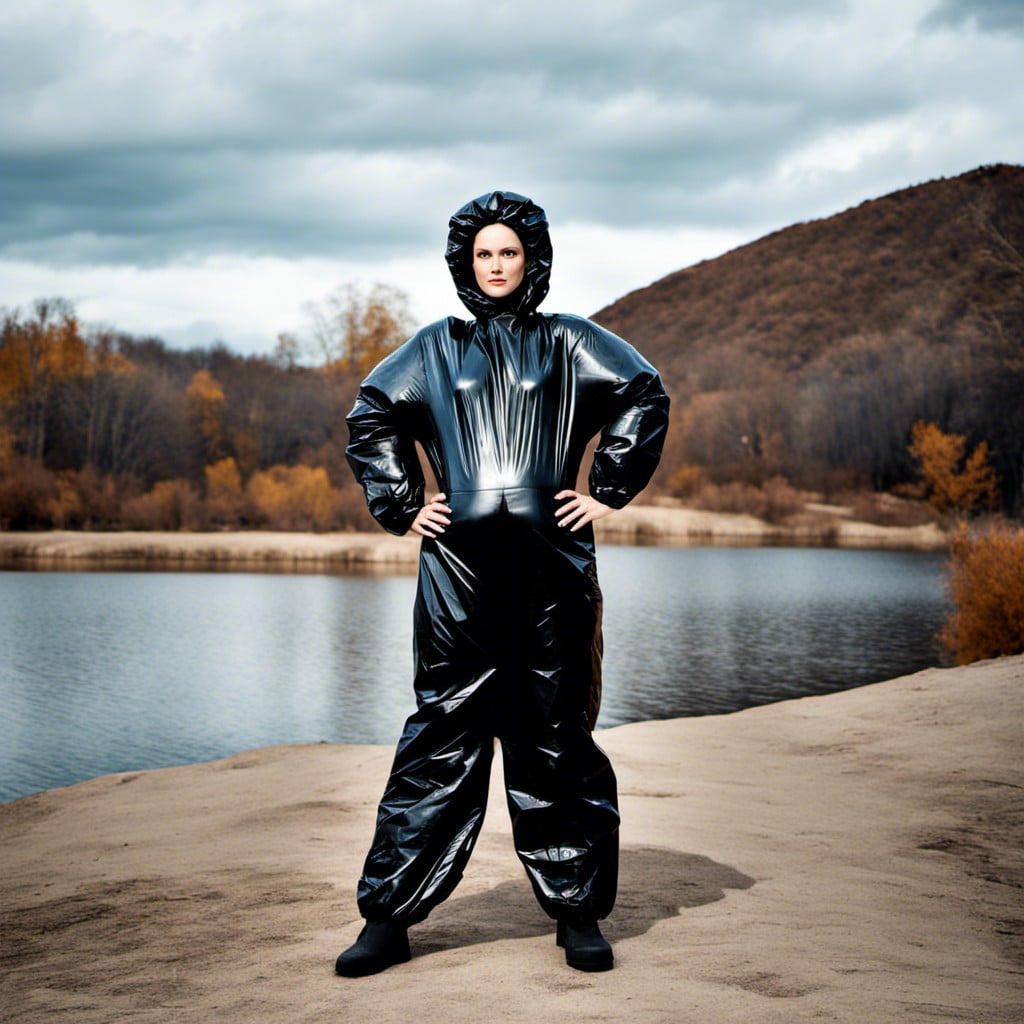
Taking advantage of their high durability and ease of access, transforming garbage bags into jumpsuits begins with choosing bags of adequate size and consistency. For accurate fitting, use measurements of the body – waist, chest, hips, and length from shoulder to ankle. Cut and tape the bag accordingly to create a one-piece suit.
Adding personal touch can increase aesthetics. Consider using colored bags, patterns, or additional materials such as duct tape for decoration and strengthening weak points. Although waterproof, keep in mind that the material doesn’t breathe well. It’s a choice for short-term wear, perhaps for a fun photoshoot or a themed party.
Remember, this is a fun, creative, and low-budget idea. Protective gear while cutting, and adult supervision, if kids are involved, is recommended. Do not let the transformation process take the joy out of it. Enjoy creating and wearing your unique garbage bag jumpsuit!
Saran Wrap Skirts
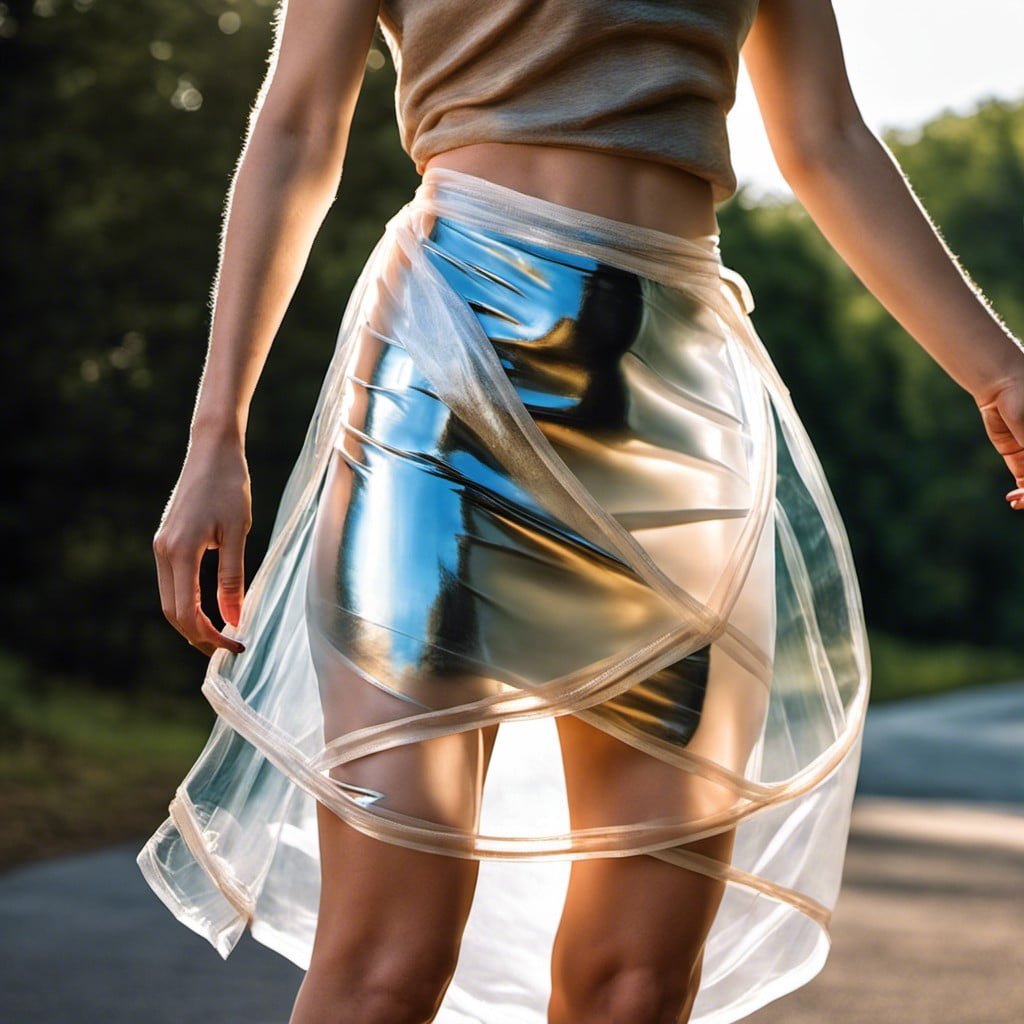
Undeniably chic and cost-effective, they are surprisingly easy to craft. Start with a thick belt or heavy-duty tape to mark your waistline, then begin winding the wrap around, creating seamless layers. The sheer texture of the wrap lets you play with opacity, depending on how many layers you employ. But remember, the sturdier the better! Pair it with a simple monochrome blouse and you’ve got yourself a unique piece that will surely attract attention.
Safety should always be a priority, so add an under-dress or shorts to ensure adequate coverage. Embellish your creation with ribbons, sequins, or multi-colored tapes to pull off an avant-garde look. Above all, enjoy the process and embrace the idea of wearable, recyclable art.
Duct Tape Top and Pants
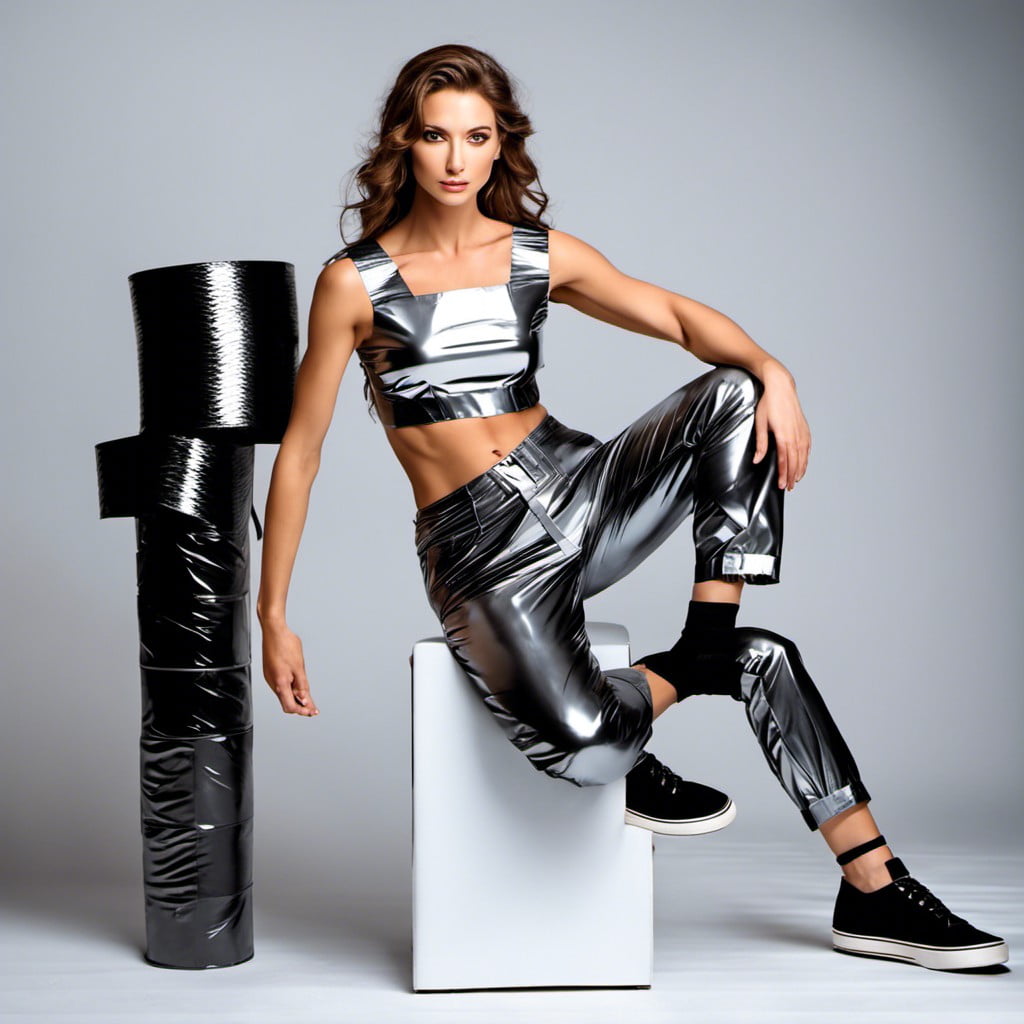
Jump right into action after securing a bunch of duct tapes, preferably in different colors for a mix-and-match style. Start with the top and imagine it as a wrap-around; ensure to cover areas to maintain modesty. It takes patience and precision to get the layers to lay flat and smooth, no one wants a bumpy shirt!
Moving on to the pants, plan for a loose fit to allow for easy movement. Keep the duct tape smooth and wrinkle free for a sleek look. Opt for colorful or patterned duct tape for a playful spin on this art project.
Remember, making attire from duct takes practice, patience and a creative eye; it’s an opportunity to unleash your unique design flair. Building this outfit not only results in a one-of-a-kind piece, but it also provides an entertaining way to craft and recycle materials you may already have at home.
Enjoy the process, and feel free to experiment to perfect your crafting skills. With duct tape clothing, the runway – or hallway – is your creative canvas. Make it stunning!
Tinfoil Gowns

Creating a tinfoil gown is a budget-friendly and creative alternative for a glamorous dress-up occasion. First, measure the length from your shoulder to the floor, and cut out two pieces of tinfoil according to the measurement. Stick them together using a strong adhesive. Next, form a hollow tube and shape it around your body, securing it at the back with adhesive or tiny safety pins.
For a gathered effect, pinch and pull sections of foil to create a bustle or draping. Lastly, you can make a strap or sleeve with additional pieces of tinfoil. Remember, accessorize lightly, as the gown itself is quite shiny and over-the-top. Avoid any form of heat or open flame while wearing the gown. Also, carry a roll of spare foil, for quick fixes if the gown gets damaged.
Creating a tinfoil gown lets you recycle materials at hand and pushes the boundaries of conventional dressing, making the end result delightfully unexpected and unique. Now, it’s time for you to shine!
Newspaper Tunics
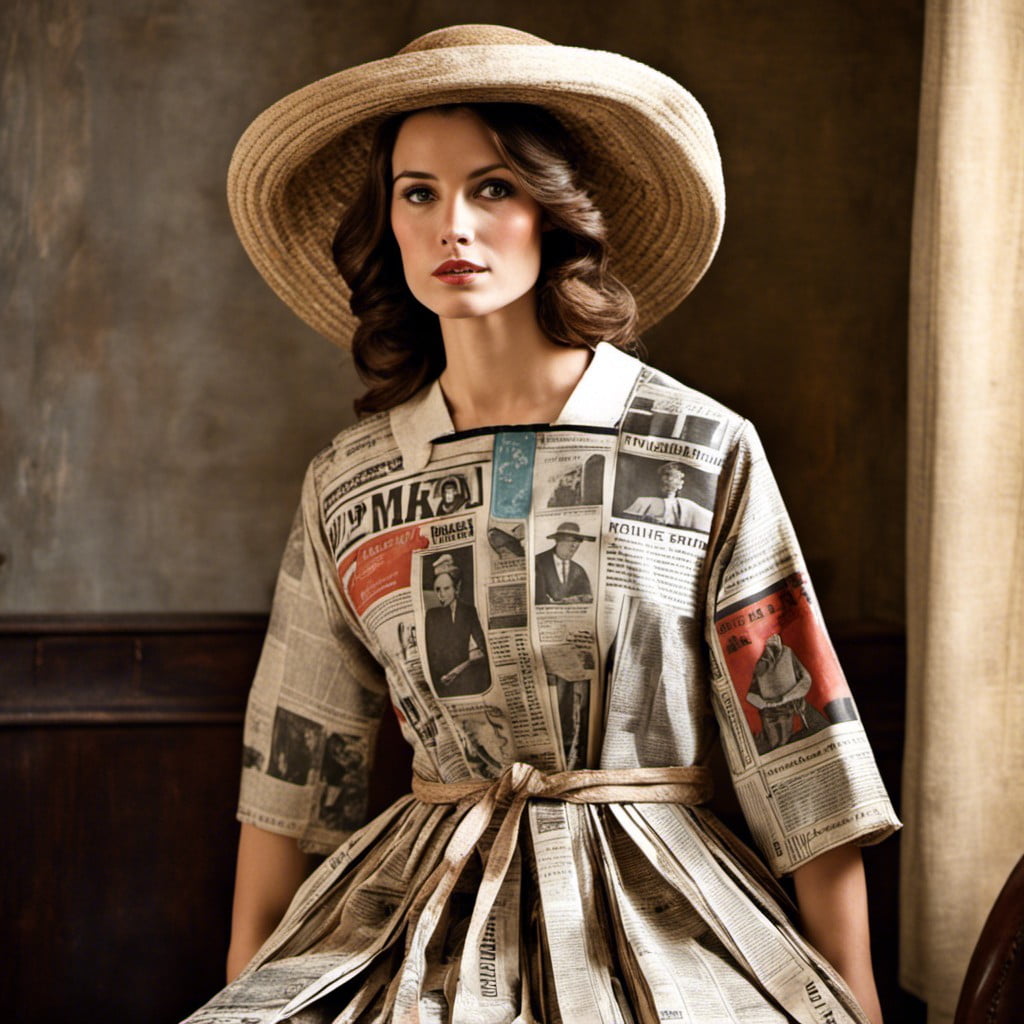
Start with selecting some old newspapers you don’t mind parting with. Have a loose tunic in mind for your guide. You’ll be folding and overlapping the papers, so the tunic won’t be too tight.
Your tools? Clear packing tape and a pair of good scissors.
First off, line up your newspaper sheets, four to start with, two on the front and two on the back, overlapping the edges by approximately one inch. Securely tape the overlaps.
Next, cut a hole for your head in the center of one of the taped-together sheets. Just a small cut, you can enlarge it later. For the arm holes, you want to fold the newspapers in half, then cut an arc about 9 inches long from the top, starting around 8 inches in from the folded edge.
Last, tape the sheets together at the sides from the bottom up to the armholes, and you’re done – that easy. Measure twice, cut once, and you just might craft the trendiest newsprint tunic on the block!
Shower Curtain Cape

Firstly, locate a curtain with a stylish or abstract pattern; plain designs also work if you’re after a minimalist aesthetic. Ensuring it’s clean, make strategic cuts for the neck and the arms. You may choose to leave the bottom edge as it is or cut it into a more dynamic shape.
To wear the cape, slip it over your head, let it drape elegantly over your shoulders and down your back. Pair it with a chic belt to define your waist and add more structure if you wish. Remember to move confidently, as movement can greatly enhance the fluidity of this garment.
For colder months, you might even consider layering it over a warm turtleneck or pairing it with sleek leather gloves. The versatility of this style is astounding – who would have thought our once humble shower curtain could play such a starring role in the wardrobe!
Remember that this cape is not a one-size-fits-all solution, but rather an opportunity to experiment with personal style. So, why not roll up your sleeves, get creative, and let your shower curtain cape speak volumes about your impeccable taste!
Bed Sheet Togas
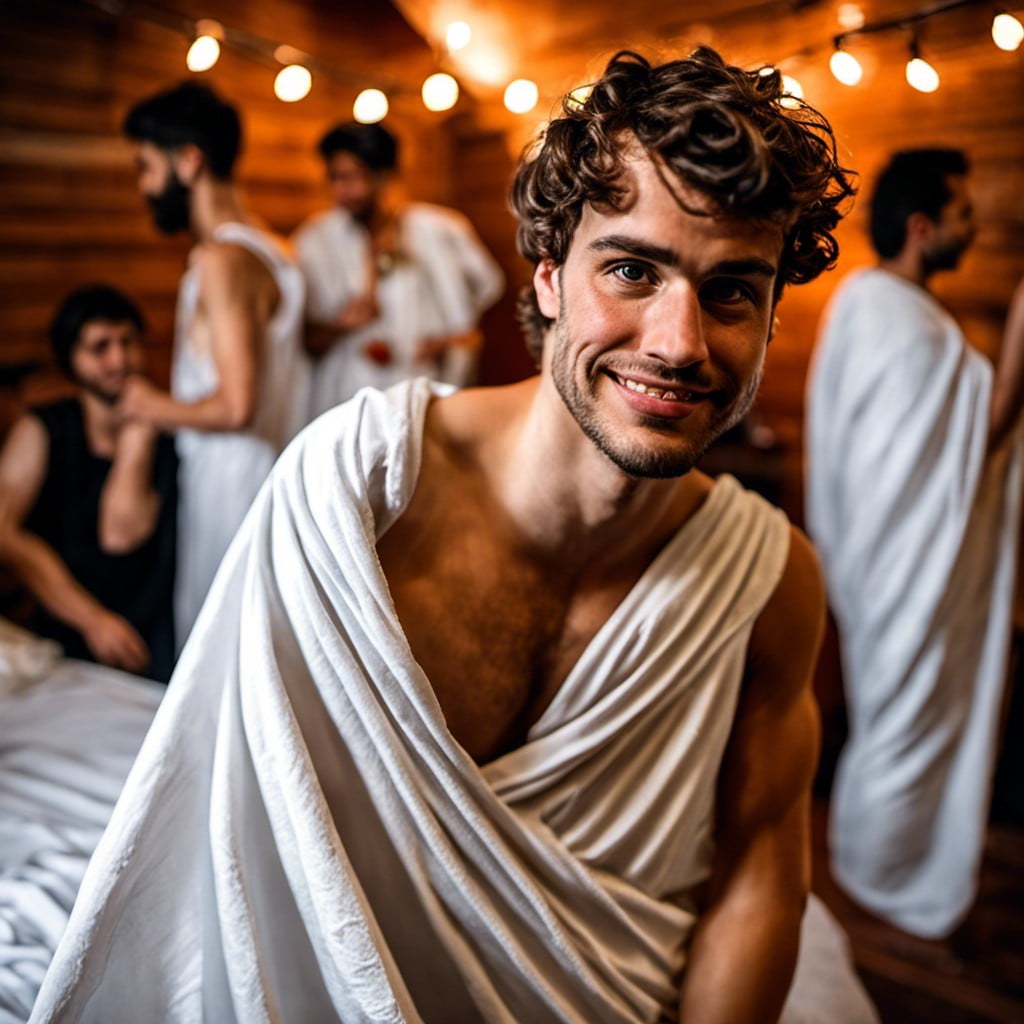
Togas are simple to make, yet radiate an elegant appeal. Start by selecting a sheet around the size of a twin bed; a fun pattern or block color can add character.
Fold the sheet lengthwise until it’s a width you find comfortable. Drape one end over your shoulder, wrap it around your waist and then toss it back over the same shoulder. Voilà, a stylish toga, effortlessly crafted from a bedsheet!
For added flair, belt your toga at the waist or use decorative pins to secure the folds. Repurpose jewelry or ornamental pieces as these additions. This versatile outfit leaves room for creativity and personal style.
Experiment with folding techniques, accessories, even layers of sheets for a unique look every time. Please ensure safety by avoiding tripping hazards and secure fastening.
Plastic Bag Swimsuits

Diving into the world of eco-fashion may just lead you to the unconventional territory of plastic bag swimsuits. A prime example of turning trash into treasure, these swimsuits can be stitched together using strong, clear bags or vibrant shopping bags for a pop of color.
Here are a few key points regarding these recycled ensembles:
- Preparation: Gather plastic bags, ensuring they’re clean and dry. A mixture of colorful and clear bags provides visual interest.
- Design: Sketch out your swimsuit design beforehand. Two-piece styles tend to be easier to assemble due to their smaller, simpler shapes.
- Creation: Cut the bags into flat sheets and layer them, iron between parchment paper to bond the layers together, creating a sturdy fabric.
- Assembly: Cut out your patterns and sew the swimsuit together. If sewing isn’t your forte, consider using strong, waterproof adhesive.
- Safety Measures: Remember that while waterproof, plastic bag swimsuits should be used more for sunbathing rather than swimming, as prolonged water exposure could weaken the structure.
Remember, repurposing materials not only sparks creativity but also helps reduce waste. Plastic bag swimsuits are a testament to the endless possibilities of what can be achieved with a little imagination and eco-consciousness.
Feather Boas
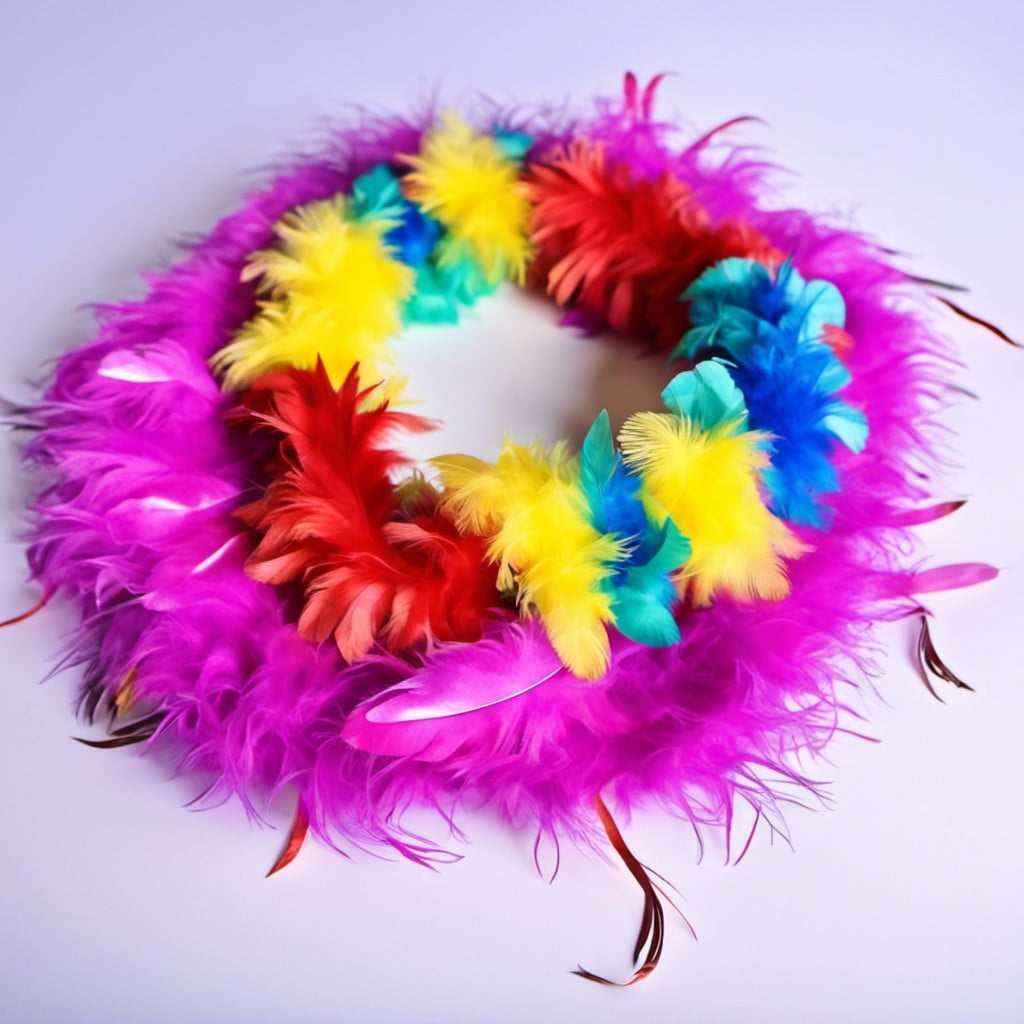
Feather boas are not just for theatrical performances. This versatile accessory can make a dramatic statement in your home. Drape them over lamps to create a whimsical, 20’s inspired ambience.
Frame a mirror or a picture with them for an unexpected pop of texture. Incorporate them into table settings or even Christmas tree decorations. This fluffy accessory brings an element of luxurious fun wherever it goes.
Use in different colors to match the season or event you are decorating for. Feather boas can also be used as a playful door wreath, a vibrant curtain tie-back or a soft, feathered table runner. Get creative and inject a little feathered fabulousness into your home.
String Light Accessories
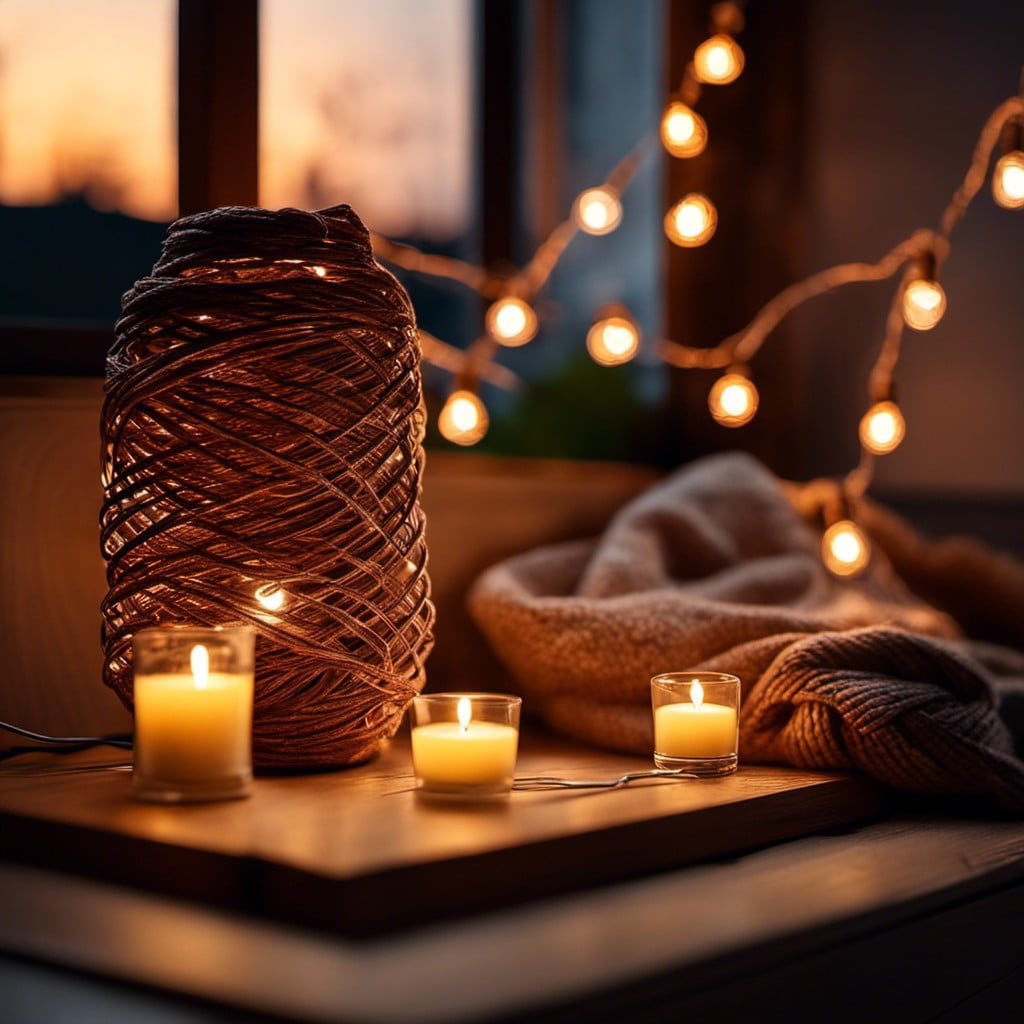
Kicking off with the simplest route, utilize string lights to enhance your necklaces or bracelets. Make sure the bulbs are small enough to blend with your jewelry, adding a twinkling touch without overwhelming the whole piece. These glowing accessories work best in low-light environments, making them a fabulous choice for night events.
Or, weave string lights with faux flowers or vines to create whipping, glowing headbands or crowns. This fusion of natural elements and light creates an ethereal aesthetic, ideal for festivals or creative photoshoots.
If you’re inclined towards DIY projects, create brooches or pins incorporating small string lights. Outline a shape with wire, wrap it with a layer of lights, and add a pin at the back. Remember, keep the design minimalistic!
Finally, for those into larger accessories, design a light-up bag. Sew the string lights into the inner lining of the bag. Surprise onlookers whenever you open it up, revealing an illuminated interior.
Please note, always think of safety first when working with electricity. Usage of battery-powered lights is highly recommended for all these creative ventures. Batteries make the project portable, safe, and add minimum weight. Plus, several options come with a waterproof feature, making them more reliable.
Bear in mind that string light accessories are not only about adding glamour; they can serve a purpose too. It’s about lighting up not just your attire but also your surroundings!
Balloon Dresses
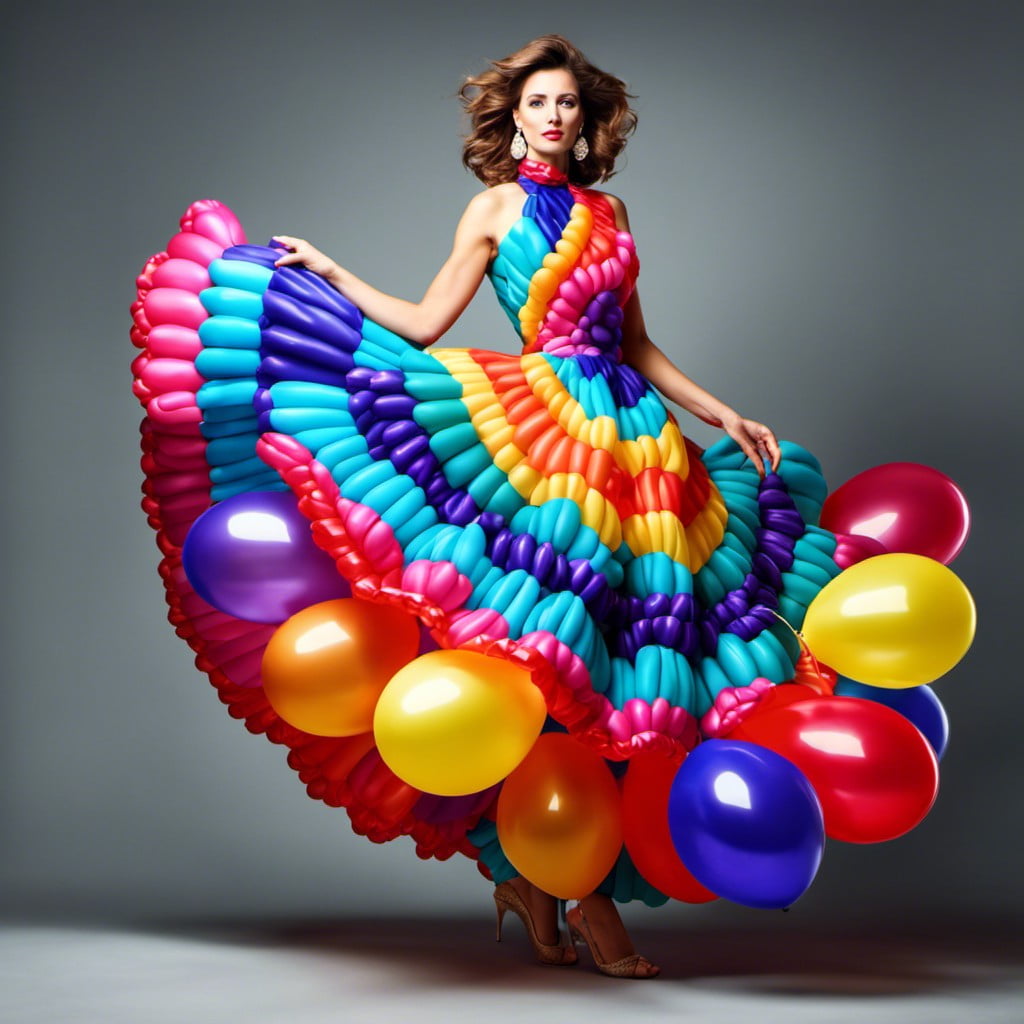
A creative and whimsical way to ramp up your style is through the application of inflated balloons. First, you’ll need to choose your color palette. Bright, multicolored arrangements can give off a joyful vibe, whereas a monotone selection can be more elegant.
Next, decide on the type of balloons to be used. Standard round balloons create a bumpy, textured look, perfect for a fun, playful feel. Long, cylindrical balloons prove beneficial for making thinner stripes or more detailed parts of the dress.
Once you’ve chosen your balloons, start applying them to an existing body suit or old dress, using double-sided tape. Keep in mind to start from the bottom and work your way up. This will ensure cohesive, overlapping layers and give the dress a seamless look.
Finally, a balloon dress is a statement itself, limit additional accessories to avoid a cluttered appearance. A simple clutch and neutral shoes should work just fine.
This DIY project, with the humblest of materials, balloons, will leave a lasting impression, perfect for making a bold entrance at your next party or event.
Dried Plant Material

Experimenting with dried plant materials can lead to the creation of unique and stylish home decor. They offer an aesthetic touch to spaces that emphasize a natural, raw look.
1. Plants such as ferns and leaves, when dried properly, retain their shape and color, becoming suitable for adorning wall spaces.
2. On the other hand, use dried flowers to infuse a vintage feel into vases or as a centerpiece.
3. Dried branches are versatile and can be used to create rustic looking wall hangings or curtain rods.
4. Consider creating a framed wall piece with an assortment of dried plants for a botanical feel.
5. Dried fruits and seeds, like oranges and chestnuts, can be used for creating unique ornaments or garlands.
6. Larger dried plant materials, like wood slices, may become unique coasters, clock faces or side tables.
Harnessing the potential of dried plant materials can imbue warmth and charisma into your home spaces.
Inflated Pool Floaties

Leveraging the flexibility and fun designs of inflatable pool floaties, this fashion innovation is turning heads. Picture it – a bold flamingo-shaped float is transformed into a vibrant summer dress. A smaller, round floatie presents the opportunity for a daring mini-skirt.
Some considerations could be:
- Choose your pool floatie based on its shape and size. The dimensions should correspond with the body part you plan to cover.
- Cut out appropriate section(s) to customize the fit. Adhere seam binding tape to avoid any rough edges.
- Secure with a robust, adjustable strap system to ensure it stays in place.
- Select a floatie with durable PVC material to withstand manipulation and extended wear.
- Ensure the comfort by checking the fit and wearing an underlayer if necessary.
- A myriad of designs and colors are available from playful to chic, allowing you to express personality and style effortlessly.
Pillow Case Dresses
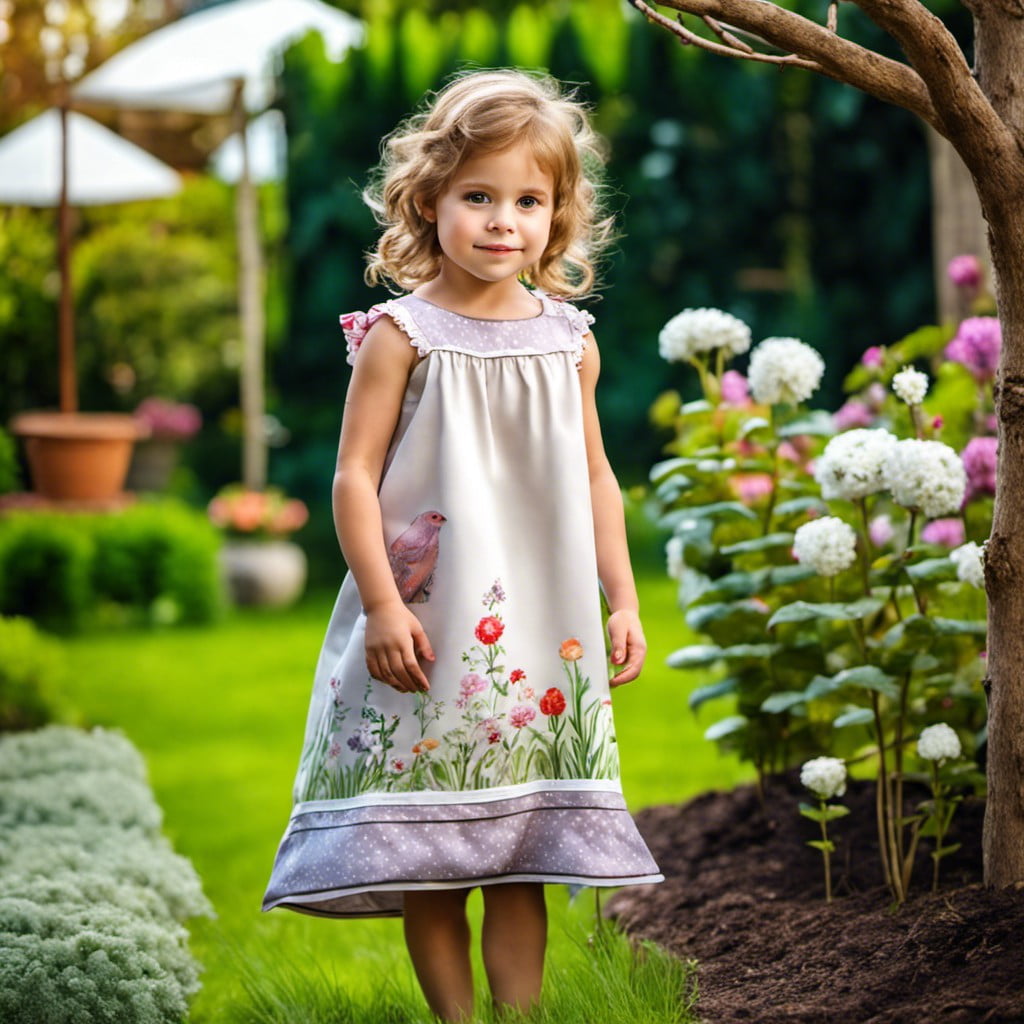
Creating an outfit from a pillowcase is seamless and cost-effective.
First, select a case that matches the chosen style. A floral or patterned fabric can add visual interest while a plain one offers a classic look.
Cut a hole at the top for the head, two smaller ones at the sides for arms. To ensure a pleasing fit, add a belt at the waist.
This creative DIY faces minimal sizing challenges, catering to anyone from children to adults.
It allows for easy customization, such as adding decorative trims or ribbons.
This option is not only environmentally friendly but also encourages imaginative thinking and resourcefulness.
Flag Capes

Firstly, it’s important to ensure the flag you’re using is not one that is historically significant or from a country that may find the use of their flag as a cape offensive. Once that’s out of the way, turning a flag into an impressive cape is surprisingly easy.
This project requires minimal sewing skills but promises maximum impact.
1. Select a flag of suitable size – something that falls between your shoulders and knees when slung over your back.
2. A simple stitch line can be added along one of the shorter edges of the flag to create a channel.
3. Insert a cord or thin rope through the channel. Now, you can put it around your neck, adjust the length to fit perfectly, and tie it securely.
In an instant, you have an attention-grabbing cape that carries a strong, bold design. Remember that capes can be part of your casual wardrobe or a standout piece in a thematic party. Be ready to make a unique yet fashionable statement.
Sushi Roll Costume

Diving right in, creating this ensemble requires a white dress as the rice base, multi-colored fabric strips to mimic the sushi ingredients like cucumber, avocado, and salmon.
Use a wide black fabric belt to represent the seaweed wrap securing it all together.
1. Choose a simple white dress that’s loose fitting, to mimic the shape of a sushi roll.
2. Gather a variety of colored fabric strips. Green, pink, and orange are ideal to reflect the typical sushi fillings.
3. Arrange these fabric strips down the front of the dress, creating a visual of a sushi cross-section.
4. Secure the fabrics with a wide black belt which acts as the seaweed nori wrap.
Remember, this idea is all about being playful and creative, so feel free to improvise and adapt as much as you like. It’s all part of the spirit of making something ‘deliciously’ different.
Packing Peanut Suits
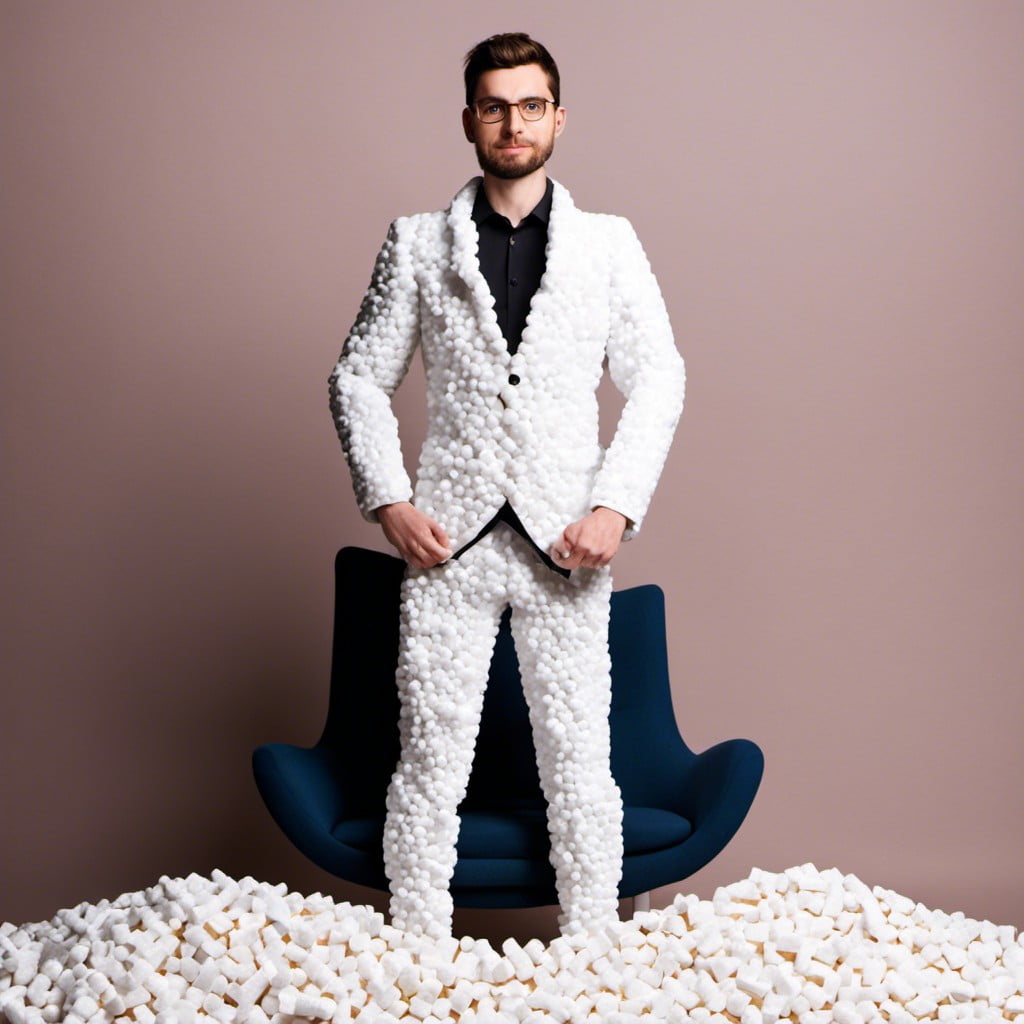
Creating this avant-garde outfit is easier than you might think. Start by selecting high-density packing peanuts – they’ll be sturdier and retain their shape better.
For the top, consider stringing the peanuts together in a horizontal pattern, almost like an unconventional bead necklace. This creates an interesting and unique texture.
For the bottom, use the same stringing method, but go for vertical lines to mimic a fringe effect. It’s best to attach these to a comfortable fabric base to ensure wearability. Make sure to create several layers for appropriate coverage.
Remember, this is about having fun with fashion! Come up with your own sequence and patterns. Allow your creative liberty to truly shine through in your designs with packing peanuts.
Woven Straw Outfits

Harnessing the natural strength and flexibility of straw, these outfits infuse a rustic charm into your wardrobe. Constructing a woven straw outfit involves traditional weaving techniques, with the straw functioning as your textile. Ideal for warm weather, the material is lightweight and breathable.
Here are key concepts for your straw ensemble journey:
- 1. Selecting Straw: Opt for long, flexible pieces of straw, ideally from wheat or rye. The length ensures a continuous weave, and these types are durable.
- 2. Preparation: Soak the straw in water to make it more pliable and easier to work with. This will allow for tighter weaves without breaking the straw.
- 3. Weave: Fashion the moist straw into the desired garment shape using basic weaving techniques. You could start with a simple over-under weave to get the hang of it.
- 4. Dry: Allow the woven pieces to dry completely for the final product. Remember, straw shrinks as it dries, so factor in some extra size when weaving.
- 5. Care: Remember, these outfits are delicate and not suited for machine wash. Gently wipe any dirt or stains with a damp cloth.
- 6. Decoration: Customize your outfit by weaving in colorful ribbons or attaching small accessories.
In a world full of synthetic fabrics, why not return to Mother Nature for inspiration? This eco-friendly fashion statement is certainly unique, full of character, and stands out in any crowd.
Browse More
 Average Bathroom Size: Find Your Perfect Fit
 Why is a Toilet Called a Head? Unlocking the Nautical Origins
 How to Get Rid of Poop Smell in Bathroom Fast: Simple Hacks for Fresh Air
 Why Is My Bathroom So Dusty: Simple Solutions
 Bathroom Cleaning: Quick Tips for a Sparkling Throne
Recap