Last updated on
Discover creative new ways to utilize shadow boxes because these small displays can tell big stories and effortlessly magnify your home’s style.
Shadow boxes offer a unique way to display cherished keepsakes and create a captivating scene to adorn your home. This article delves into creative shadow box scene ideas, from whimsical fairy gardens to nostalgic memory boxes.
Whether you’re a seasoned DIY enthusiast or a craft beginner, you’ll find a treasure trove of inspiration here. This guide covers all the details, including choice of theme, arrangement tips, and even lighting effects, to help you create a stunning shadow box scene that tells your story.
Under the Sea
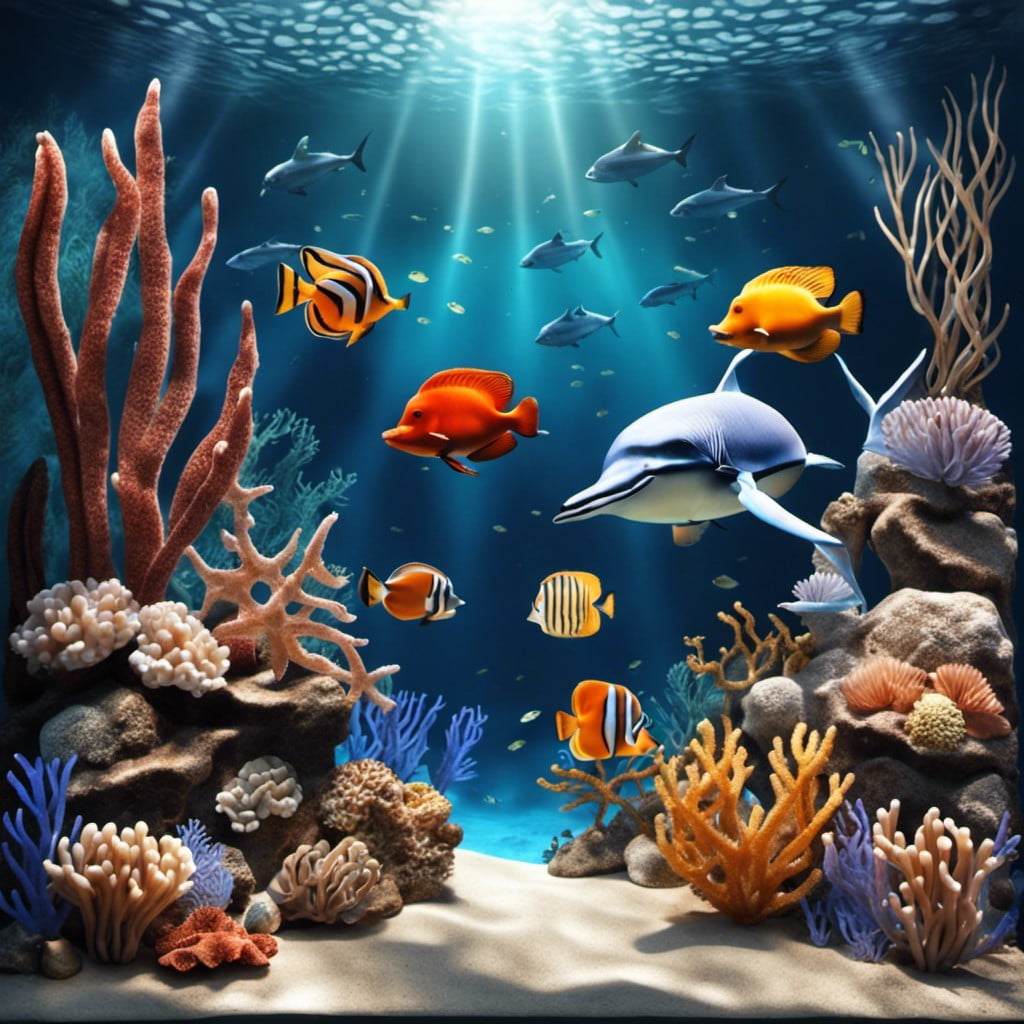
For an aquatic twist, consider incorporating elements that portray marine life. You could use a deep blue colored background, evoking the depths of the ocean. Sand and pebbles would work excellently to depict the seabed.
In terms of marine creatures, include painted or tiny toy fishes, seashells, and starfish. To add more dimension, intertwine some seaweed made from variety of green ribbons and a sunken ship at the bottom could add a touch of whimsy.
An important aspect is the layering – arrange the elements to create depth, mimicking the sea’s vastness. For instance, place larger creatures or objects in the foreground and smaller ones in the background. Lastly, to create a beautifully lit sea-floor, consider installing small LED lights at the bottom.
Remember, creativity is key – from a vibrant coral reef to a mysterious deep-sea scene, the choice is yours. Experiment with different elements till you find the perfect blend.
Fairy Garden
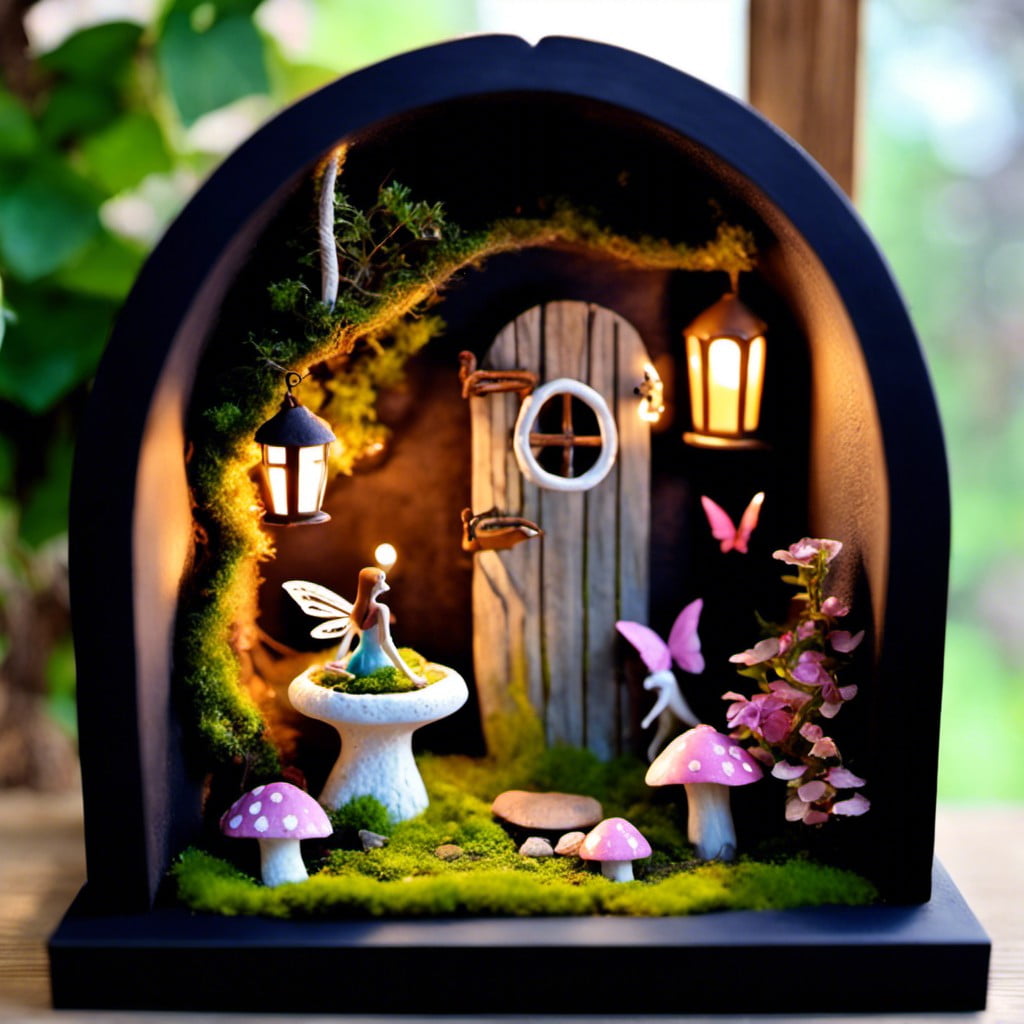
Create your magical mini world with miniature versions of fairies, enchanting flowers, and tiny toadstools. Start with a moss base to replicate nature, then add pebbles to simulate a fairy’s path.
Miniature benches, swings, or even small fairy doors attached to a tiny tree stump will enrich the scene. Luminous materials can add the shimmering effect of fairy dust to make it appear more mystical.
In the corners, tiny, vibrant, plastic butterflies would complete the magical illusion. Twig fences around your little garden set boundaries, and small led-lights give an ethereal glow.
Make sure it’s enclosed in a glass box to keep the scene intact and dust-free.
Haunted Forest
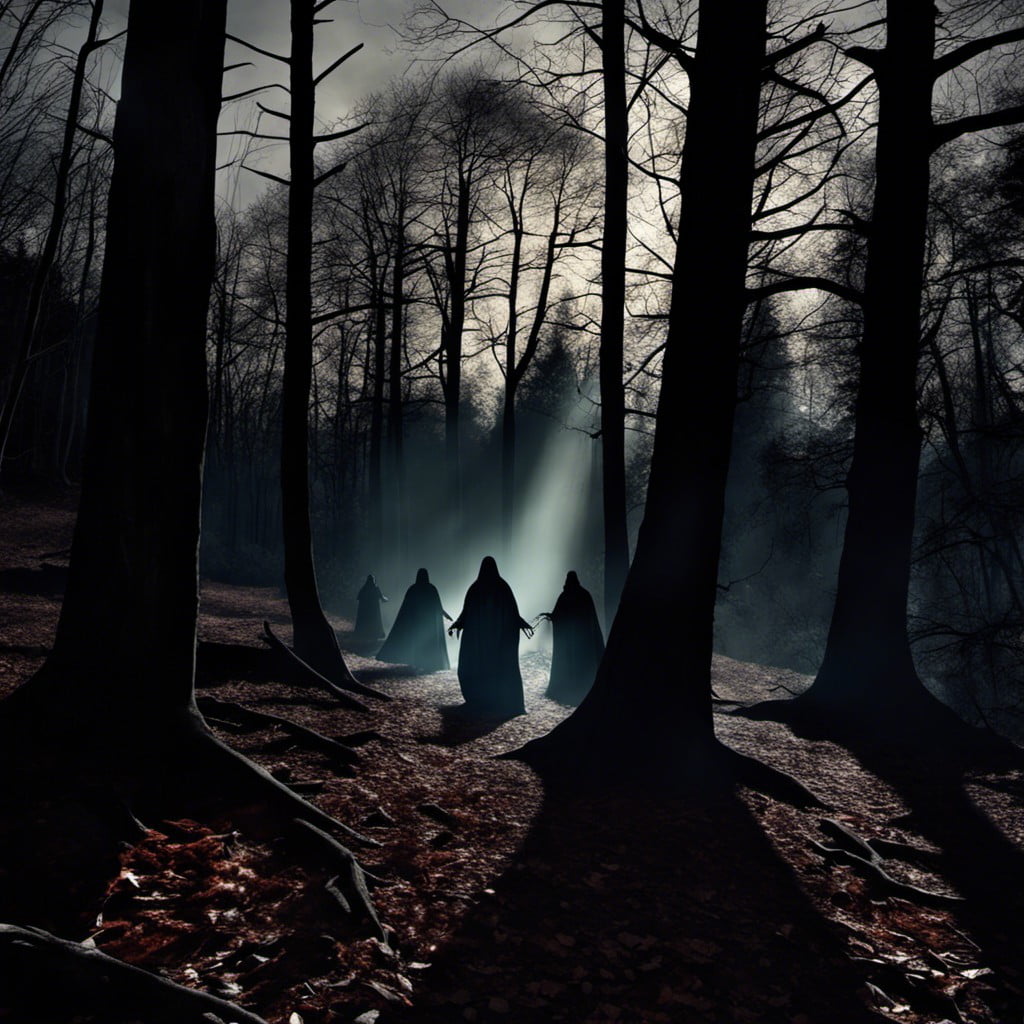
Venture into a spooktacular project with the Haunted Forest theme. Primarily, it’s essential to immerse yourself in earthly hues – think deep greens, browns, and blacks. Incorporate gnarled and twisted tree cut-outs to generate an eerie backdrop.
Miniature gravestones and bats further intensify the creepy aura. Opt for materials such as cardstock and foam for a durable and dimensional effect. A stenciled moon or a foggy mist created using cotton can be an enchanting touch. Use LED lights for a ghostly glow.
Remember to add a phantom or two lurking among the trees for the final spectral touch. Play with the perception of depth and height within your box, focusing on perspective. It can take your shadow box scene from ordinary to wonderfully haunted!
Christmas Morning
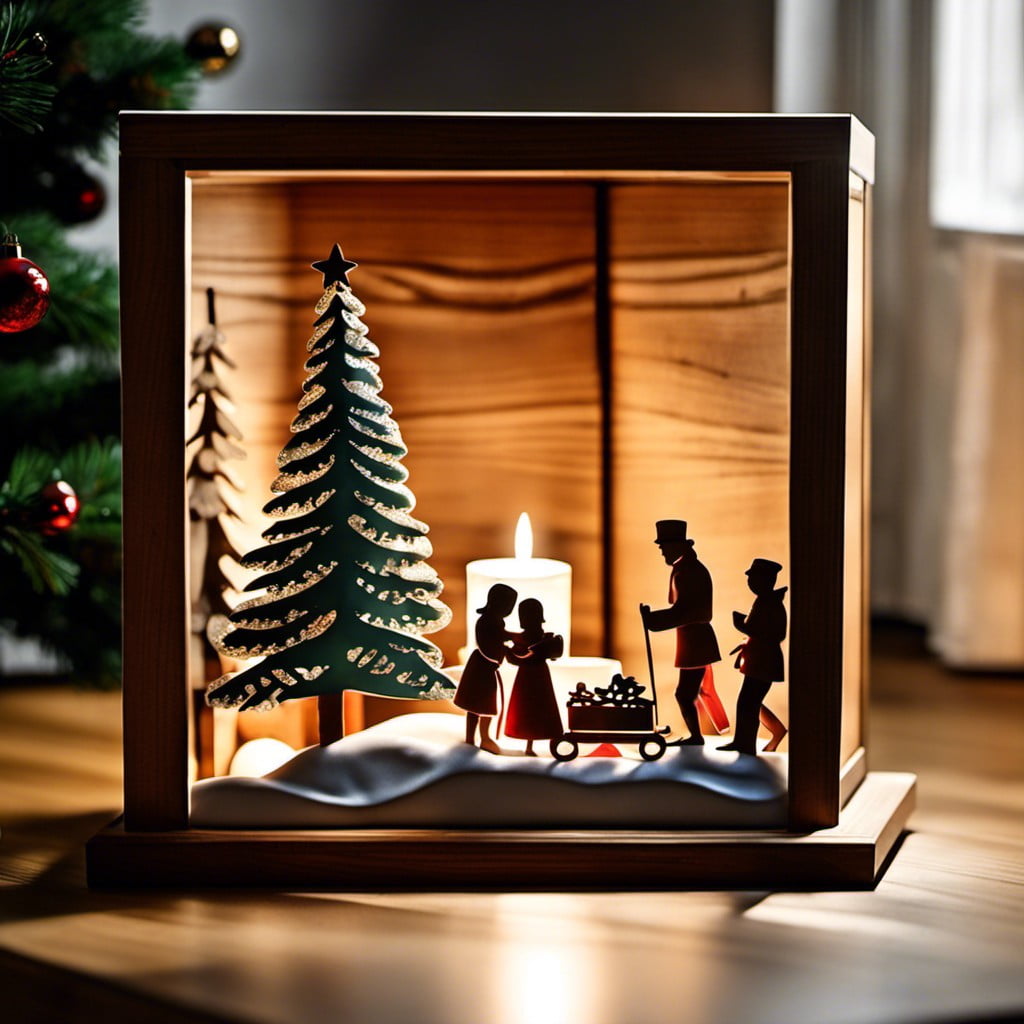
Begin by gathering materials such as leftover wrapping paper, miniature Christmas presents, an artificial mini tree, and a toy Santa Claus.
The backdrop of this scene is the flurry of Christmas merriment.
To replicate this, adhere wrapping paper as wallpaper onto the back of the shadow box.
Place the Christmas tree to one side and carefully arrange the presents at the base.
A tiny Santa Claus fitting through the chimney tops off this festive scene.
Remember, the idea is to capture the magic of December 25th while utilizing scale and perspective for a realistic effect.
Even tiny details like hanging stockings or milk and cookies create a relatable and vivid setting.
Through careful placement and complementary colors, you’ll recreate the unmistakable warmth of a Christmas morning in your shadow box.
Space Galaxy
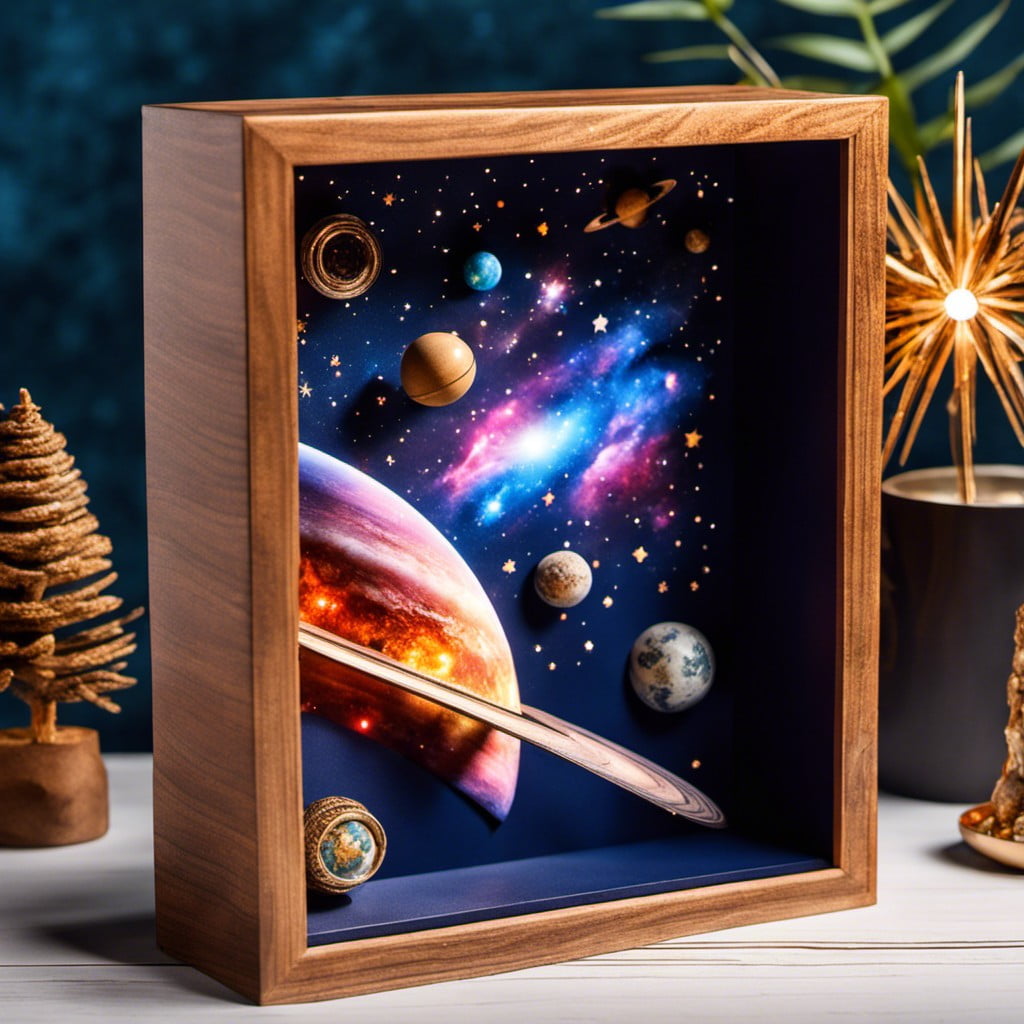
Incorporating celestial bodies like planets, stars, and comets into your shadow box can invoke the awe-inspiring beauty of space. Use different sizes of styrofoam balls, painted in realistic and vibrant tones, to represent planets. Twinkling LED lights here and there can mimic the stars, a trail of miniature cotton balls coated with glitter can make an enchanting comet.
Three-dimensional spaceship cut-outs take the liveliness a notch high, giving the impression they are sailing through the galaxy. Lastly, infuse a black or deep purple backdrop with glitter to bring out the space galaxy-like backdrop. In essence, combining interstellar elements with modern craft materials can transform your shadow box into an exciting Space Galaxy.
Vintage Paris
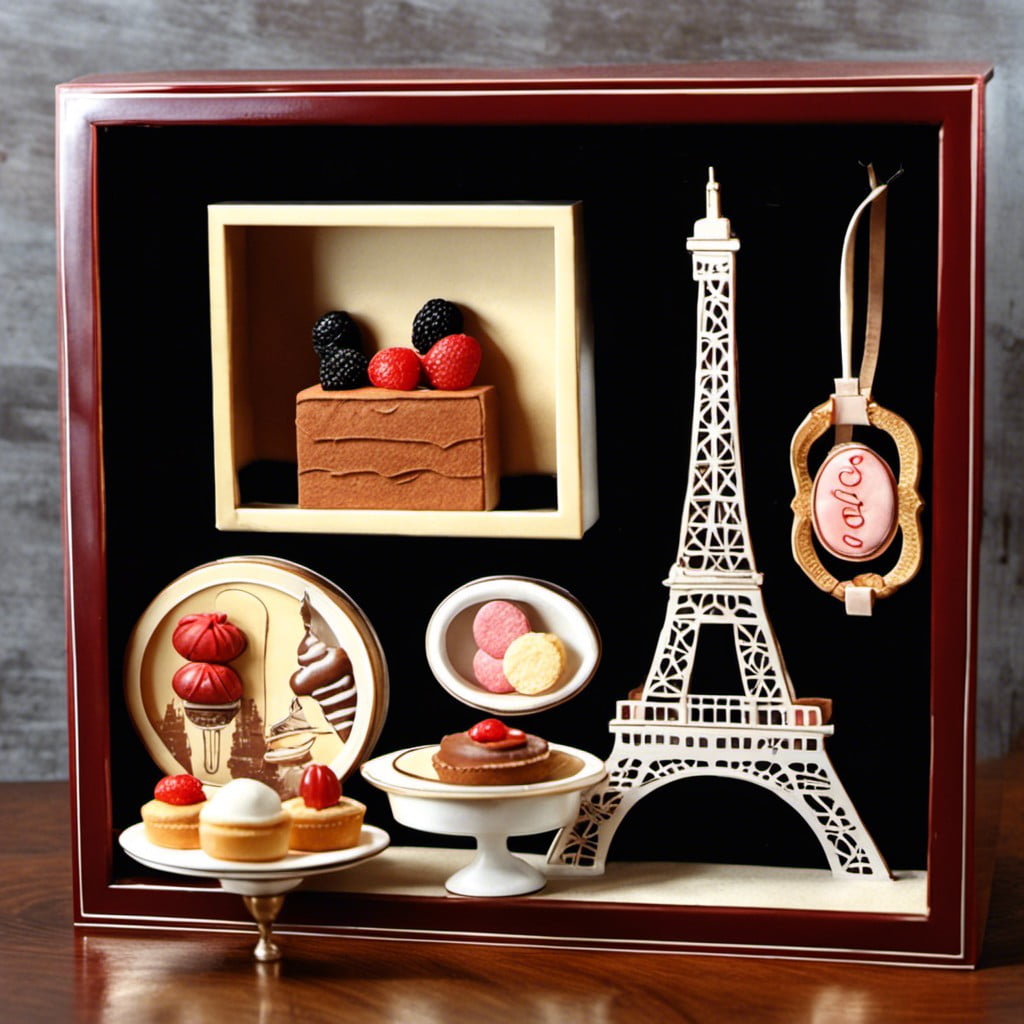
Capturing the romantic essence of Paris, this shadow box theme is perfect for those with a wanderlust soul. Its charm lies in the little details – a miniature Eiffel Tower, a tiny café table with two chairs, a model of a French baguette, maybe even a small illuminated streetlamp.
Choose black and white photographs to maintain an authentic, vintage feel. A color scheme of pastels such as lavender, mint, and blush pink will evoke the old-world charm of this beautiful city. For added elegance, include pieces of vintage French lace or pearl embellishments.
Paired with appropriate background music, this Vintage Paris shadow box can transport you to the “City of Love” without leaving your living room.
Jungle Safari
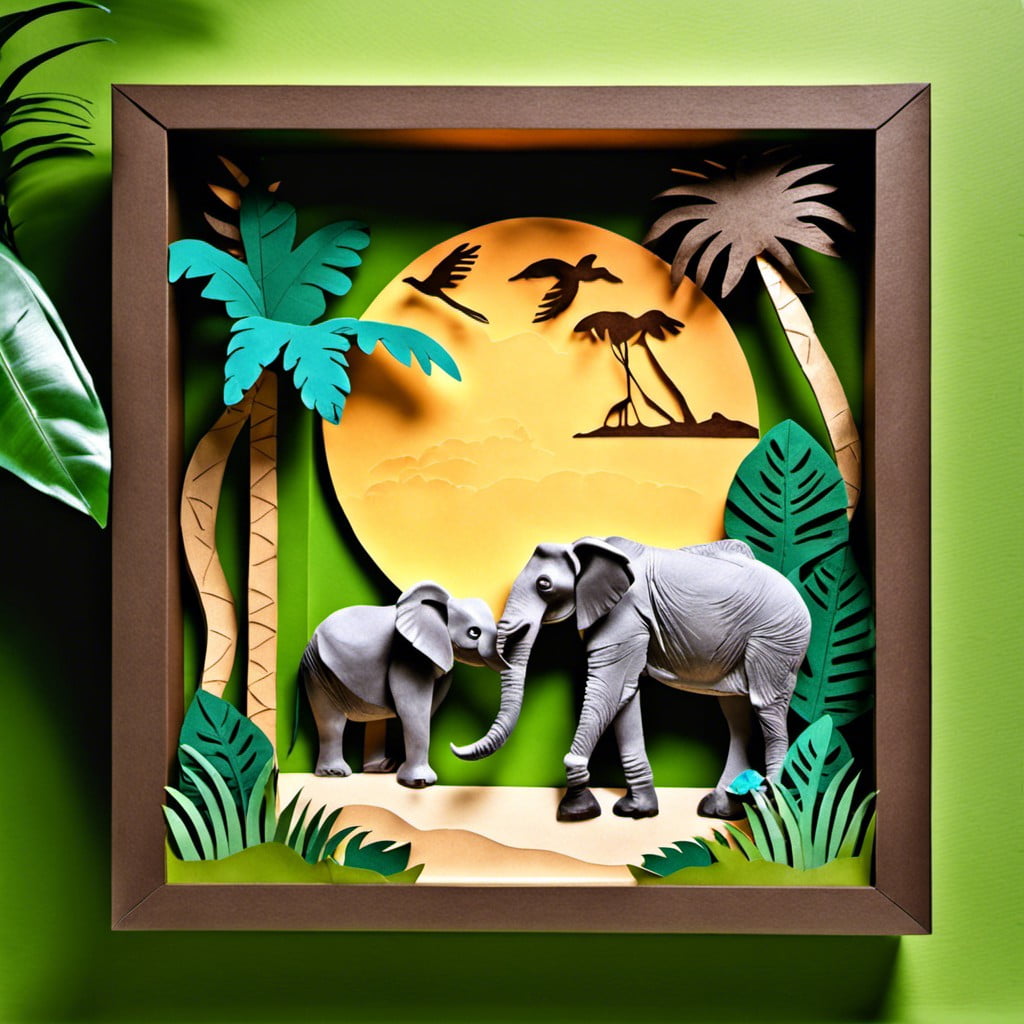
Start by collecting representations of exotic wildlife such as elephants, tigers, and monkeys. You want a variety of plant life as well to capture the dense foliage of the jungle. Faux terrarium plants are great for this.
Consider the use of camouflage or leaf-printed paper as the background for a more immersive feel. Layering is a key technique in shadow boxes to create depth and a three-dimensional effect. Place larger objects in the back and smaller objects up front.
To give an added touch of realism, include miniature items such as binoculars or a safari jeep. Paint some river rocks as a trail or a pathway for detail. Lastly, think about suspending a miniature sun or a colorful bird mid-air in your box to make it seem more dynamic.
Materials needed are: faux wildlife, faux plants, patterned paper, miniature items, paint, river rocks, fishing line, and your shadow box.
Forget not, safety comes first, handle the tools carefully and make sure to enjoy the process of creating your miniature jungle safari.
A Day At the Beach
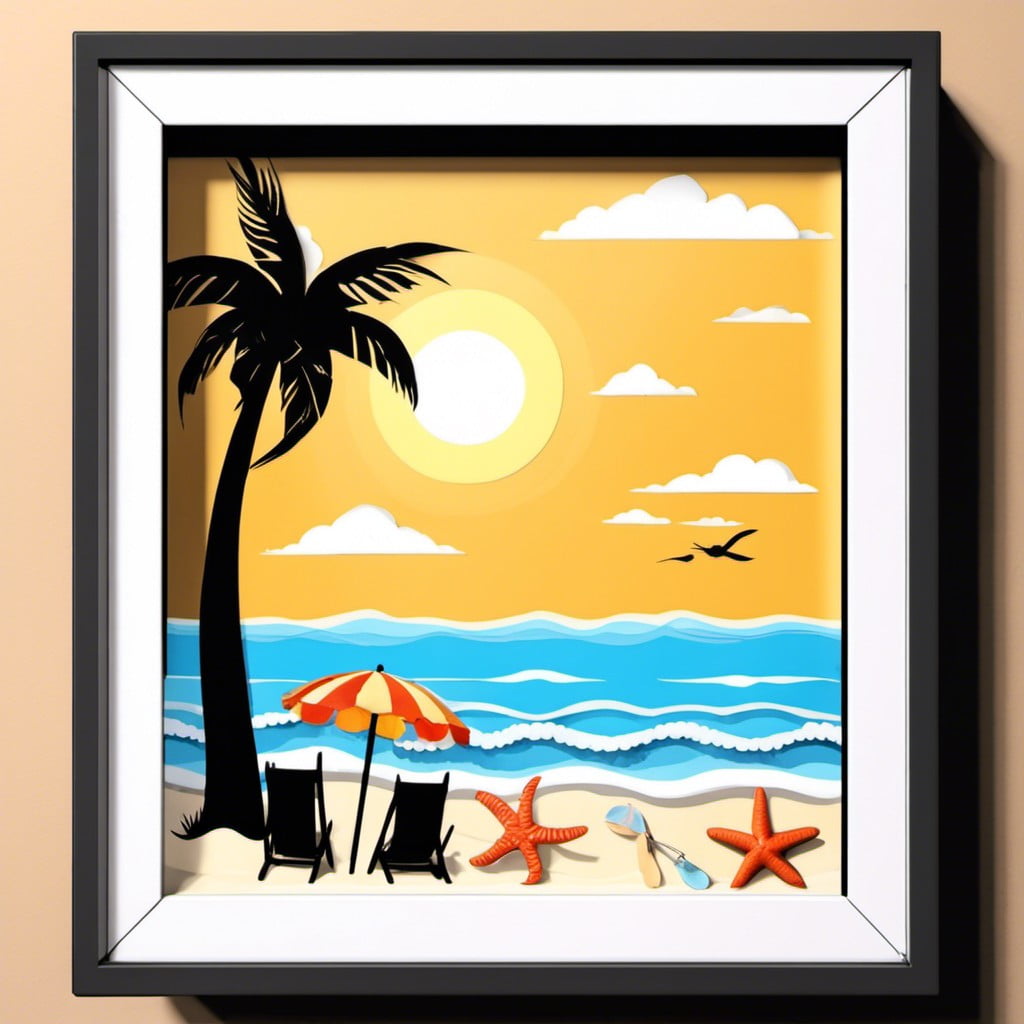
To create a beach-themed shadow box, start by selecting a range of blue hues for the backdrop to represent the sea and sky. Use sandpaper or actual sand for a textured beach and a mini paper or cloth umbrella to add a realistic touch.
Include tiny seashells, small stones, and maybe a tiny bucket and spade collected from an actual beach. For an added level of detail, consider a set of mini beach chairs or a miniature surfboard. Flat, painted wooden figures such as seagulls or lighthouses can provide some height and depth to the scene.
Finally, to elicit a warm, sun-filled day, use strategically placed LED lights. Ensure the end result invokes the peaceful ambience of a day at the beach.
Cute Nursery
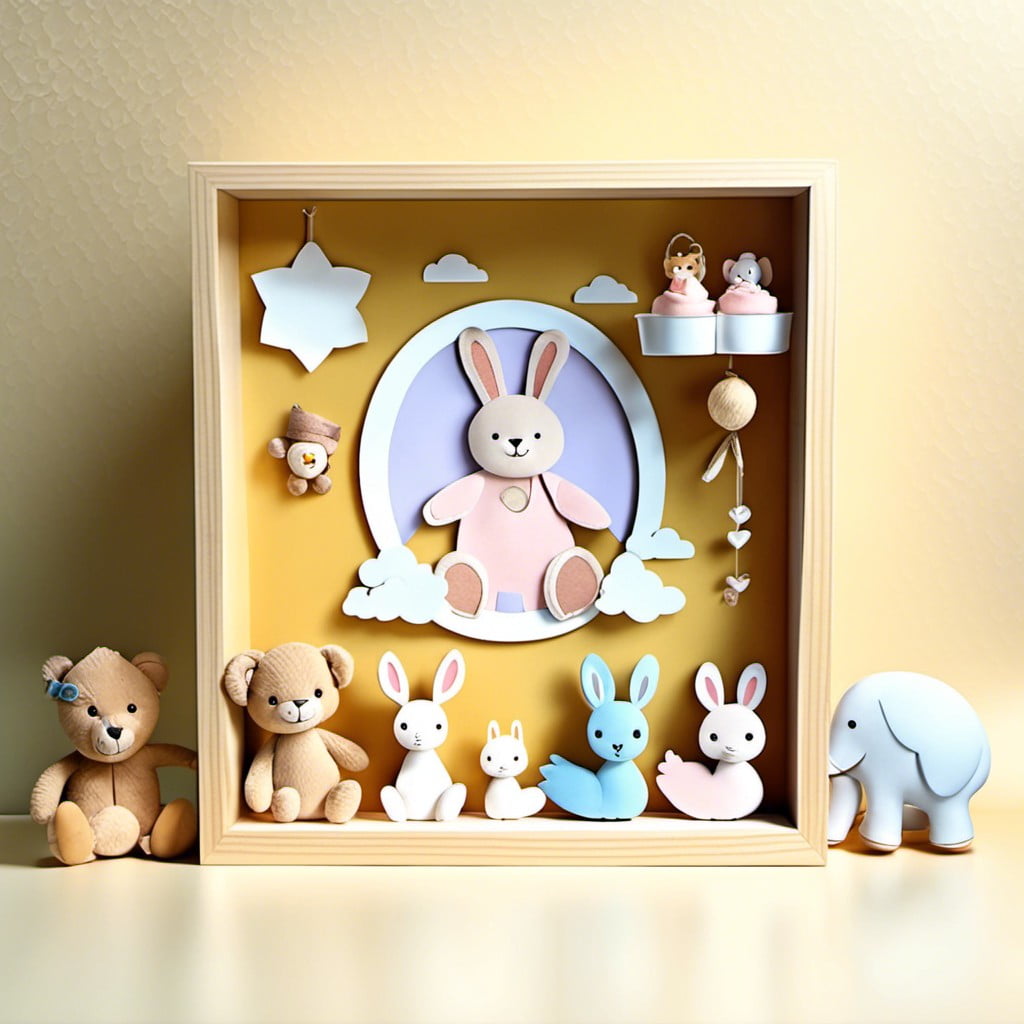
Creating a cute nursery shadow box offers an adorable way to celebrate and capture the essence of a child’s early years.
1. Choosing the Right Materials: Opt for pastel colors and soft textures. Feature elements like plush toys, baby’s first bib, or a tiny pair of booties. Use gentle materials such as cotton, lace, or yarn.
2. Incorporating Sentimental Items: Incorporate a photo of the baby, the first lock of hair, or a favorite onesie. These personal touches make the shadow box more meaningful.
3. Playing with Dimensions: Add depth by using different layers. Perhaps the stuffed bunny nestled in the front and a tiny photo framed in the back.
4. Adding Text: Include important details like the baby’s name, birth date, birth weight, and length. They can be handwritten or printed.
5. Showering with Love: Every object should symbolize love and warmth. This could be tiny hearts scattered around or a petite paper banner with the phrase “made with love” overhead.
6. Ensuring Safety: Make sure all items are safely secured and the box has a sturdy hanging mechanism. It’s not just a decorative piece, but a keepsake of beautiful memories.
Desert Adventure
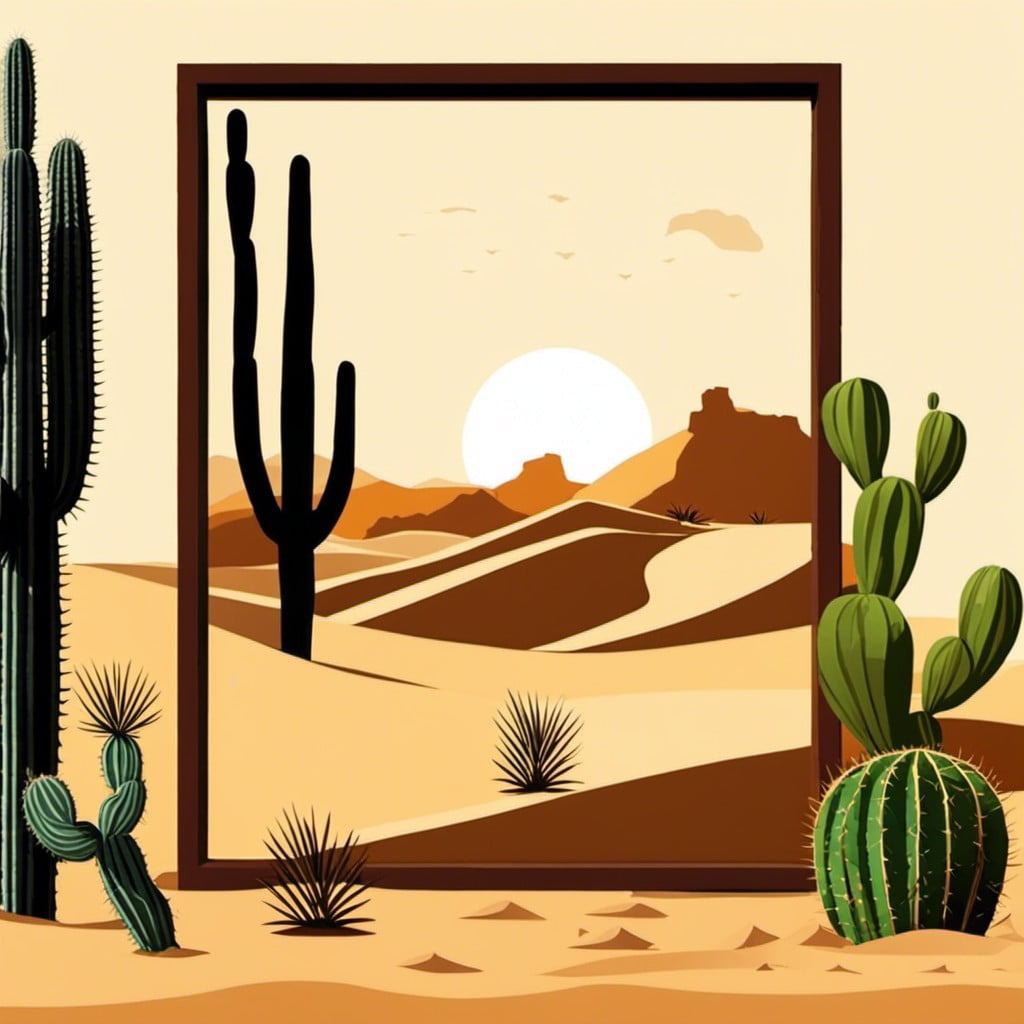
To create the essence of the desert, focus on a palette of sand colours, with pops of vibrant turquoise and earthy tones as seen in the varied hues of cacti. Mixed sizes and types of miniature cactus and succulent figures can be used to mimic the diverse plant life found in deserts.
The scene could be enriched by including features like sand dune textures, pyramids, Bedouin tents or a miniature oasis.
For authenticity, you could also create a blazing sun out of miniature polymer clay to hang above. Include some wildlife too – perhaps a tiny camel or a hedgehog cactus. Sandpaper or fine craft sand glued carefully to the base will create a realistic desert ground.
To bring some element of movement and life, consider using a miniature tumbleweed. You can create one using dried moss or lichen and placing it subtly on one corner.
Overall, keep it sparse, remember the desert is about survival and endurance, your shadow box should reflect these characteristics.
Dragon’s Lair
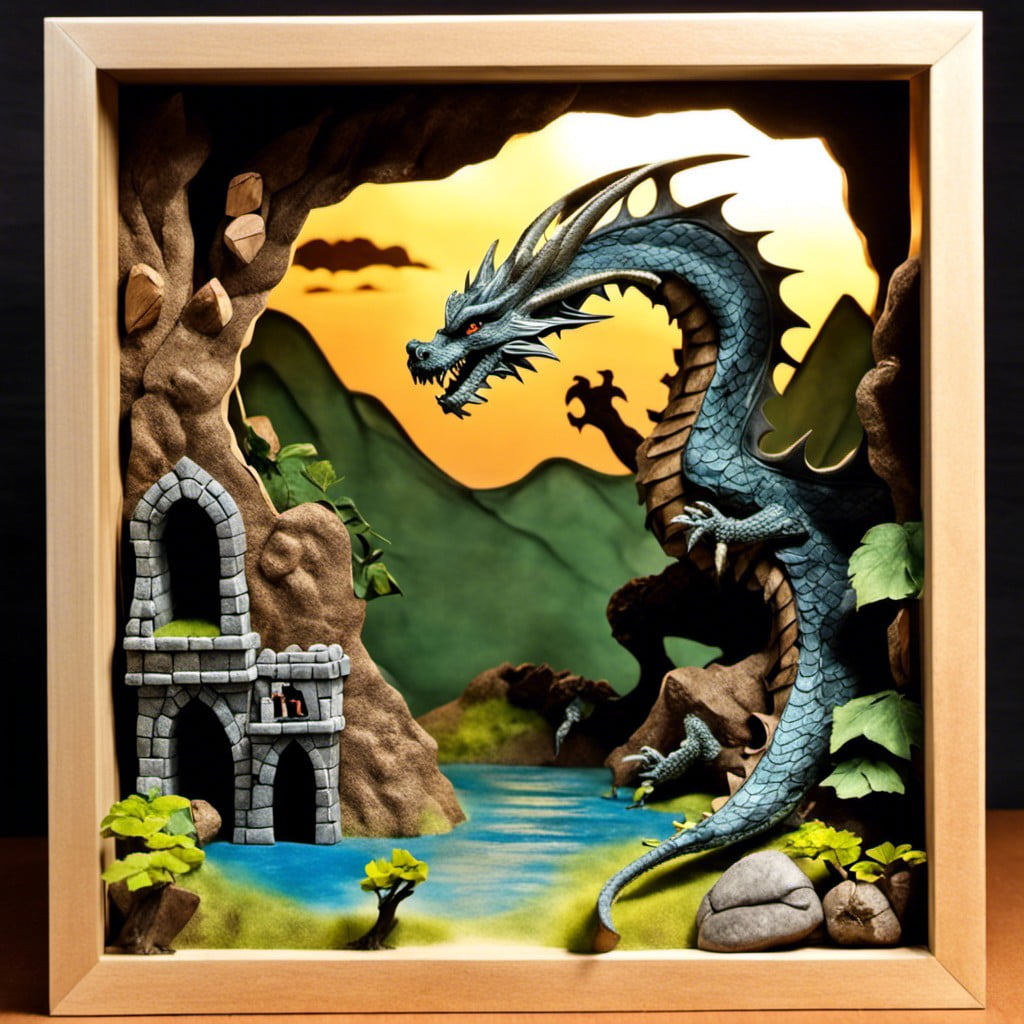
Create a mythical and adventurous ambience with layers of textured papers as cave walls. For a livelier scene, a handcrafted dragon made of polymer clay in jewelled tones could take the central position.
Enhance the Lair with faux gemstones and gold painted pebbles to emulate dragon’s treasure. A castle, in the background, made from cut-outs, or a knight in shining foil armour, can add intriguing details.
Use of color changing LED lights can help you deliver an illusion of dragon’s fiery breath. A mythical scene filled with crafty adventure awaits you, right in the comfort of your home!
Winter Wonderland
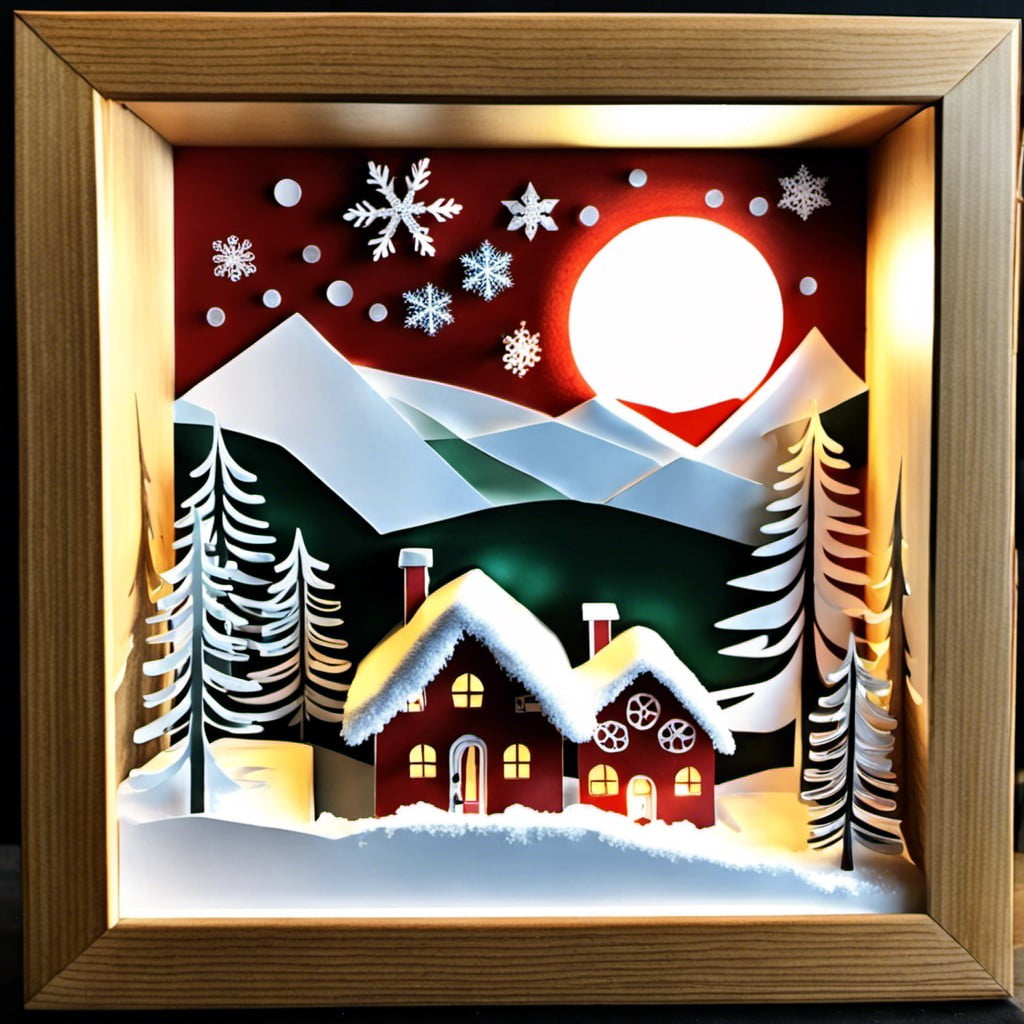
Imaging yourself stepping into a magical world filled with snow-laden trees and twinkling icicles! Create the perfect illusion by choosing a snowy backdrop, complete with frosty trees and an icy pond.
Add a miniature ice-skating figure or a snowy bench for a human element, conveying the joy of winter. For a warm touch, incorporate a tiny lit-up house or cabin. Drape cotton wool to imitate patches of snow, and consider using tiny fairy lights to give a beautiful glow.
A true slice of Winter Wonderland captured right within your shadow box!
Miniature Farm
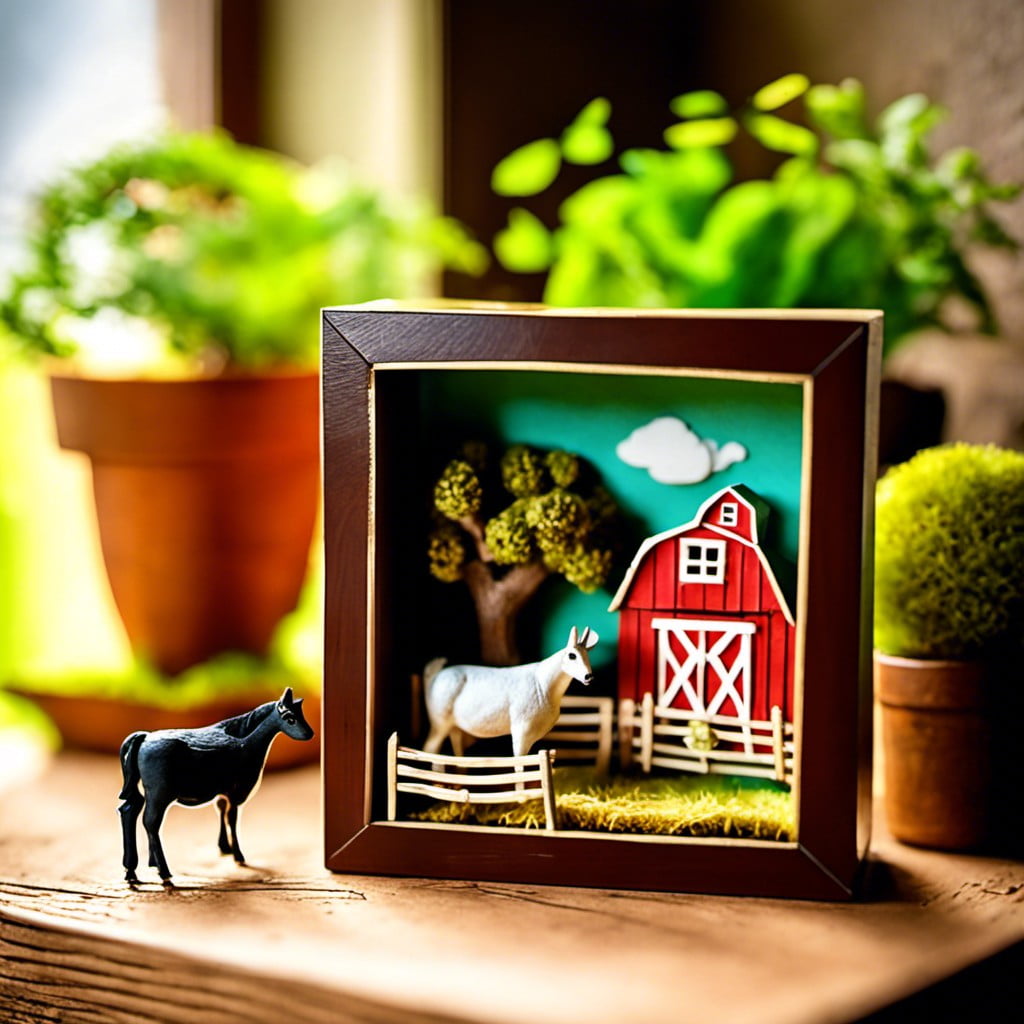
To bring this pastoral concept to life, consider adding elements like a tiny barn, a silo, or perhaps a charming farmhouse. Miniature animals like cows, pigs, and chickens can add a lively feel.
Do not forget to include other farm essentials such as hay bales, farm equipment, and perhaps a tiny tractor for authenticity.
Hand painted backdrop of rolling fields and a clear blue sky can add depth and make it look realistic.
Use earthy colors for a warm and rustic appeal. Layer your objects to give an illusion of distance and space.
Ultimately, the key is to focus on detailing to create a believable, miniature world that mimics the tranquil beauty of a farmhouse.
Enchanted Castle

To execute this marvel in your shadow box, begin with setting up the basic castle structure. Opt for mini faux stones from craft stores to give walls that realistic castle feel. Indigo colored velvet for the backdrop can add a surreal night sky effect, while glitter-glued cotton could act as sparkling stars.
Grab miniature trees and flower embellishments to adorn the surroundings. Perhaps, a tiny sparkling moat made using blue glitter paper can add a touch of magic to the set up.
Remember, an enchanted castle isn’t about being perfect. It’s about capturing the mystical, the magical. It’s about letting the imagination run wild. Incorporate whatever elements you feel will elevate the enchantment: miniature glass slipper, a tiny rose under a glass, or a small dragon figurine.
Given that lighting can uplift the whole scene, attached LED strip lights along the box’s edges or a small lit up lamp inside the castle can illuminate it uniquely.
Creativity is your only limit. It’s your castle, your magic, your enchanting miniature world. Let magic guide your hands and spirit guide your creativity.
Carnival Festival
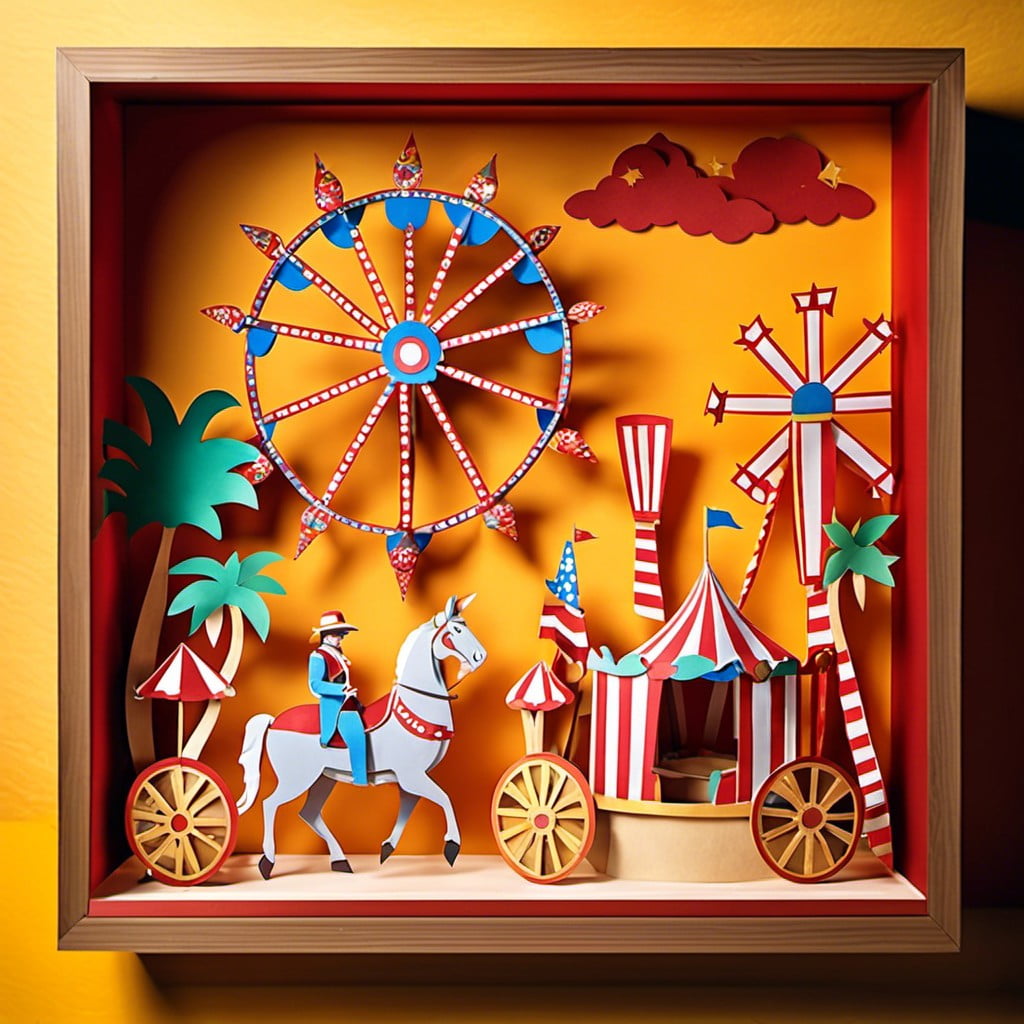
Delving into the thrill and liveliness of a carnival, shape your shadow box into a festival of color and fun. Here are some points to consider:
- Use mini Ferris wheels, circus tents, and merry-go-rounds for an authentic look.
- Include balloons and confetti to capture the festive atmosphere.
- Make miniature food stalls showcasing popcorn, candy apples, and cotton candy.
- Include small figures to represent revelers and performers.
- Use bright LED string lights to mimic the festival’s signature night glow.
- Don’t forget the small details, like ticket booths or carnival games.
Remember, the goal is to transport your viewer to a joyous carnival, where each glance uncovers another delightful detail.
Butterfly Valley
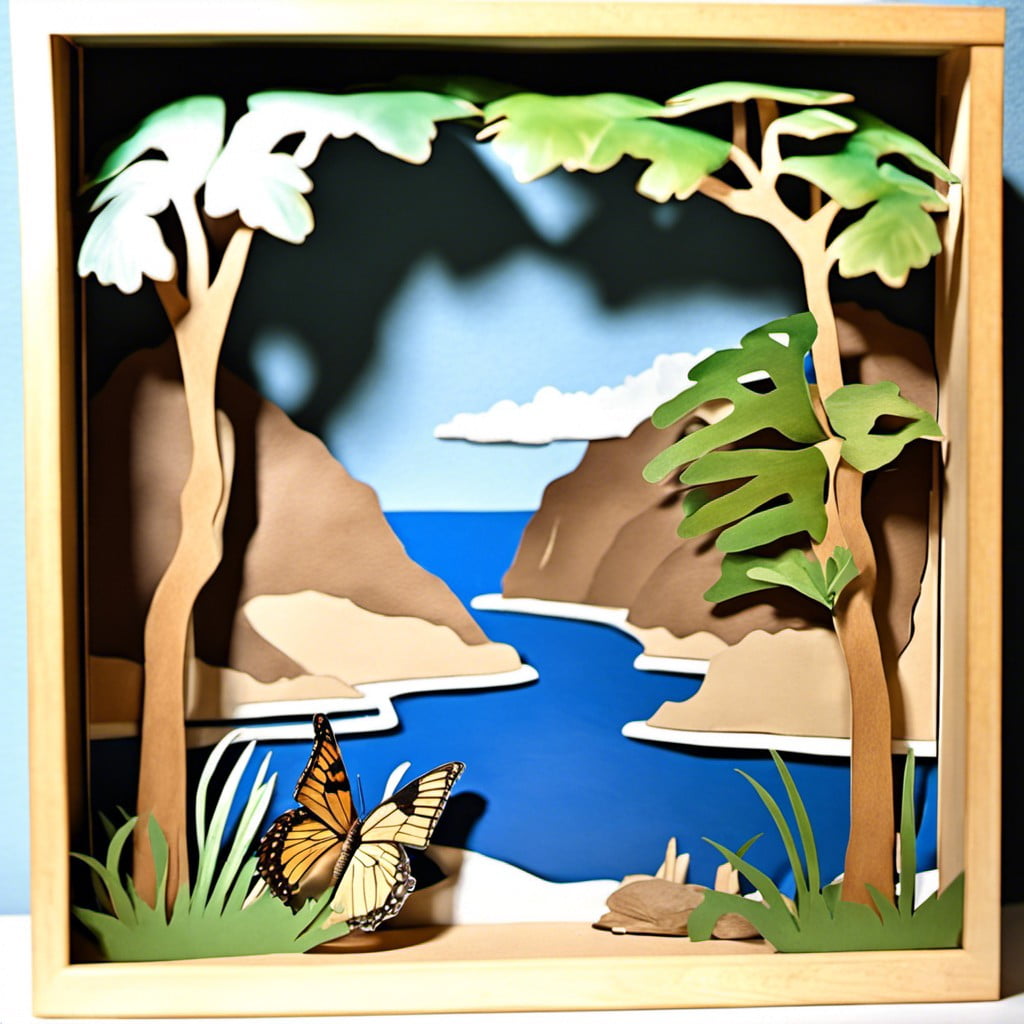
Creating a Butterfly Valley revolves around vibrant colors, delicate details, and a sense of attraction akin to that of actual butterfly gardens. The first thing to remember is to incorporate a broad variety of shades. Butterflies, with their richly colored wings, are perfect for adding a pop of color to your shadow box. Don’t forget to showcase the vivid flowers too as these serve as the attraction for butterflies in the wild.
Another critical aspect lies in the addition of textures. Pieces like cut-out butterfly figures, imitation flowers, and even tiny plant sculptures will add liveliness to your scene. Play with dimensions for this particular scene, arranging your butterflies and flowers on various planes to give the sense of butterflies fluttering about.
Lastly, remember that a valley implies a perspective especially with spatial arrangement. Position your elements in such a way that it creates a depth illusion, placing smaller figures at the back and larger ones up front. Experiment with lighting too to emphasize this perspective, casting shadows that give your box a deeper look. Keep these elements in mind, and you’ll have a bright, enchanting Butterfly Valley.
Hogwarts Castle
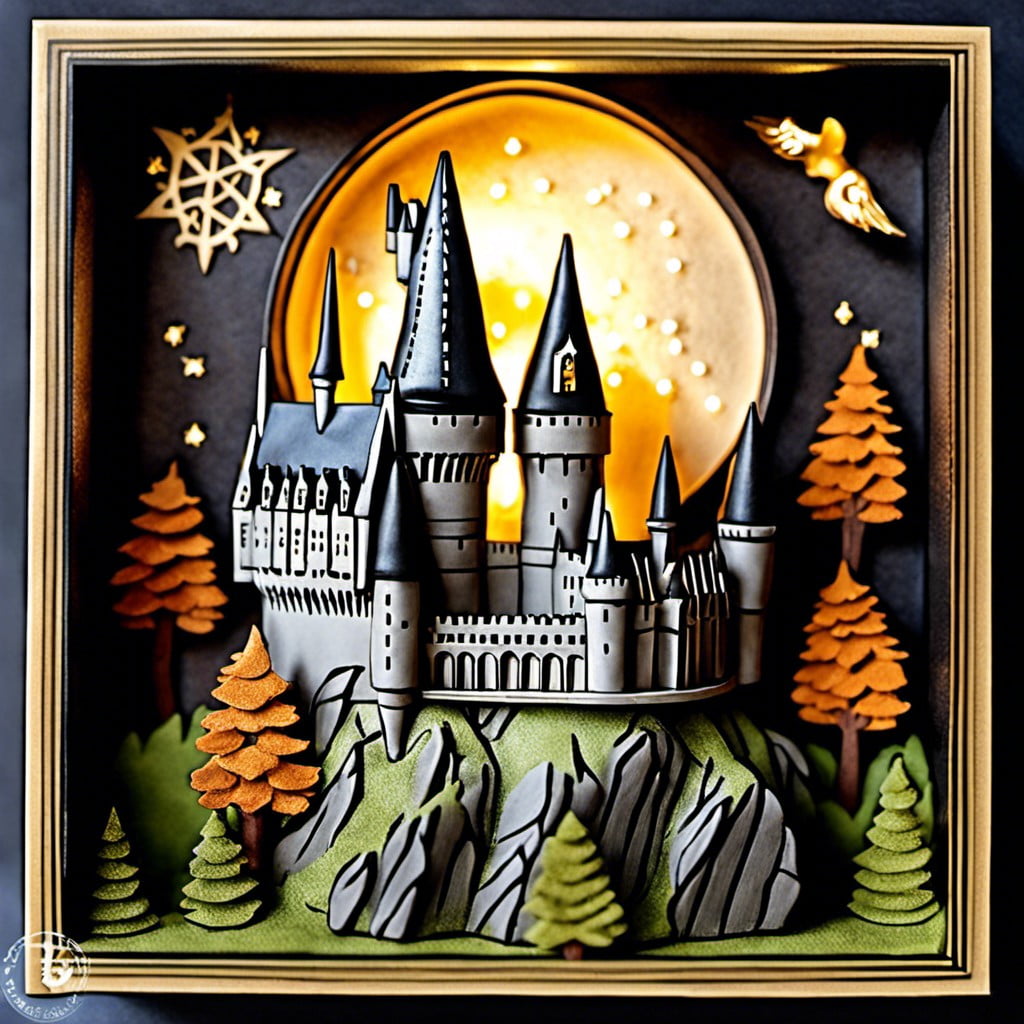
To craft your magical castle, start by selecting different miniature replica elements representing unique aspects of Hogwarts. Expertly designed towers, spires, and turrets can be placed strategically to mimic the iconic castle’s silhouette. Don’t forget the Quidditch field and Whomping Willow for an authentic feel.
Use cobbled paper, paint, or even real stones for the walkways. For the castle walls, textured paint can mimic old stone work, while bits of moss can add a touch of lifelike age and wear.
The castle could be depicted during a specific event for more dramatic effect. Perhaps add Christmas decorations or Halloween props to reflect the festive ambiance of the castle during these occasions.
This scene will not only get you lost in the Gothic architectural design of Hogwarts, but also sweep you away into a world of magic and wonder, encapsulating your favorite moments from the Harry Potter series. Remember, the essence lies within the details. So, take your time and work your magic!
Egyptian Pyramids
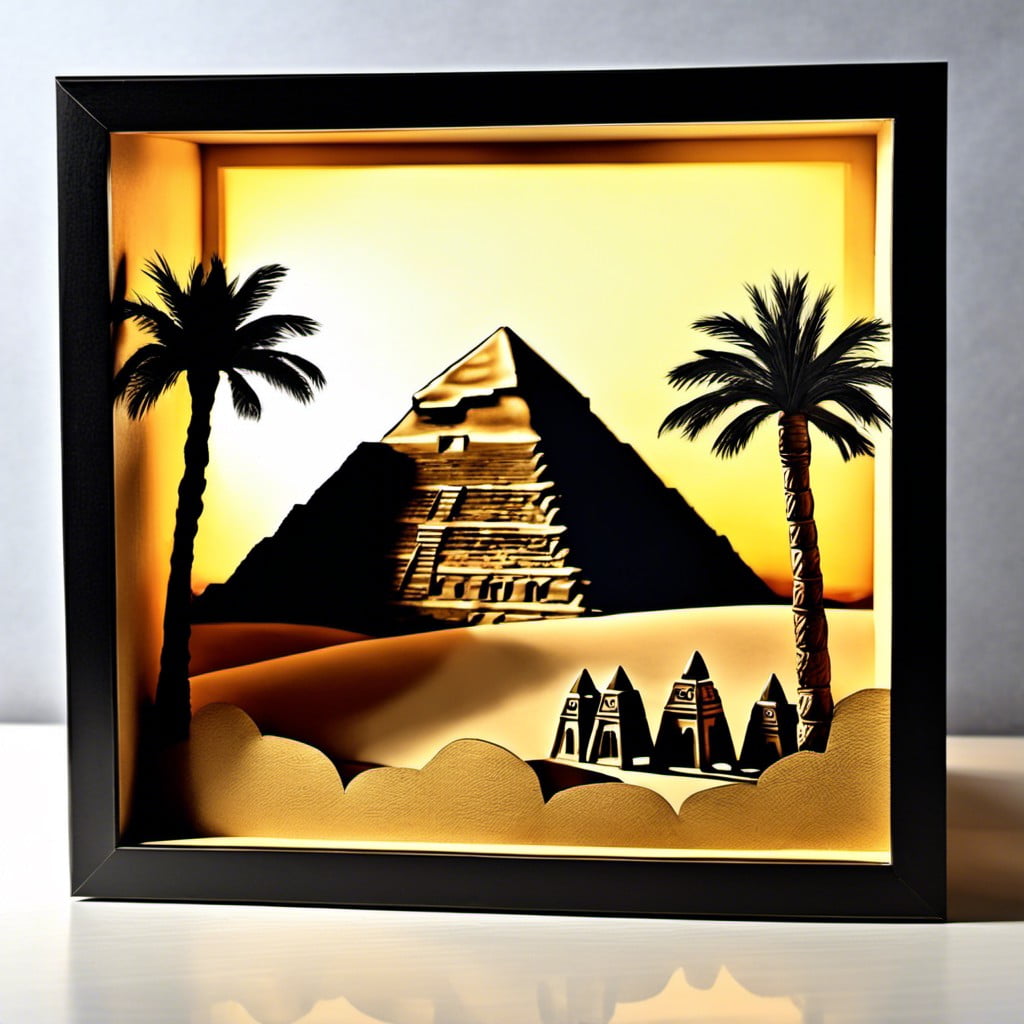
To recreate the mystique of the Egyptian wonders, you’ll need a variety of miniature elements. Begin with a rich backdrop of pyramid silhouettes, which can be created using stiff paper or thin cardboard. A sand-colored paint will give authenticity to your desert landscape.
Next, incorporate smaller pyramids in the foreground. There are plenty of detailed, miniature pyramids available online. Alternatively, you can craft your own using lightweight foam or clay and golden paint.
Remember, pyramids weren’t the only structures in Ancient Egypt. Add sphinx and obelisks models for more detail. The River Nile can be represented with a strip of blue fabric or paint.
Placing small human figures or camel figures around the scene will give a sense of scale to your creation. For added interest, integrate a setting sun by painting half a sun at the corner of your shadow box or by using a small LED light behind a yellow disc.
Lastly, don’t forget miniature palm trees to spot your scene with an oasis, which you can make from wires and green tissue paper.
Dinosaur Land
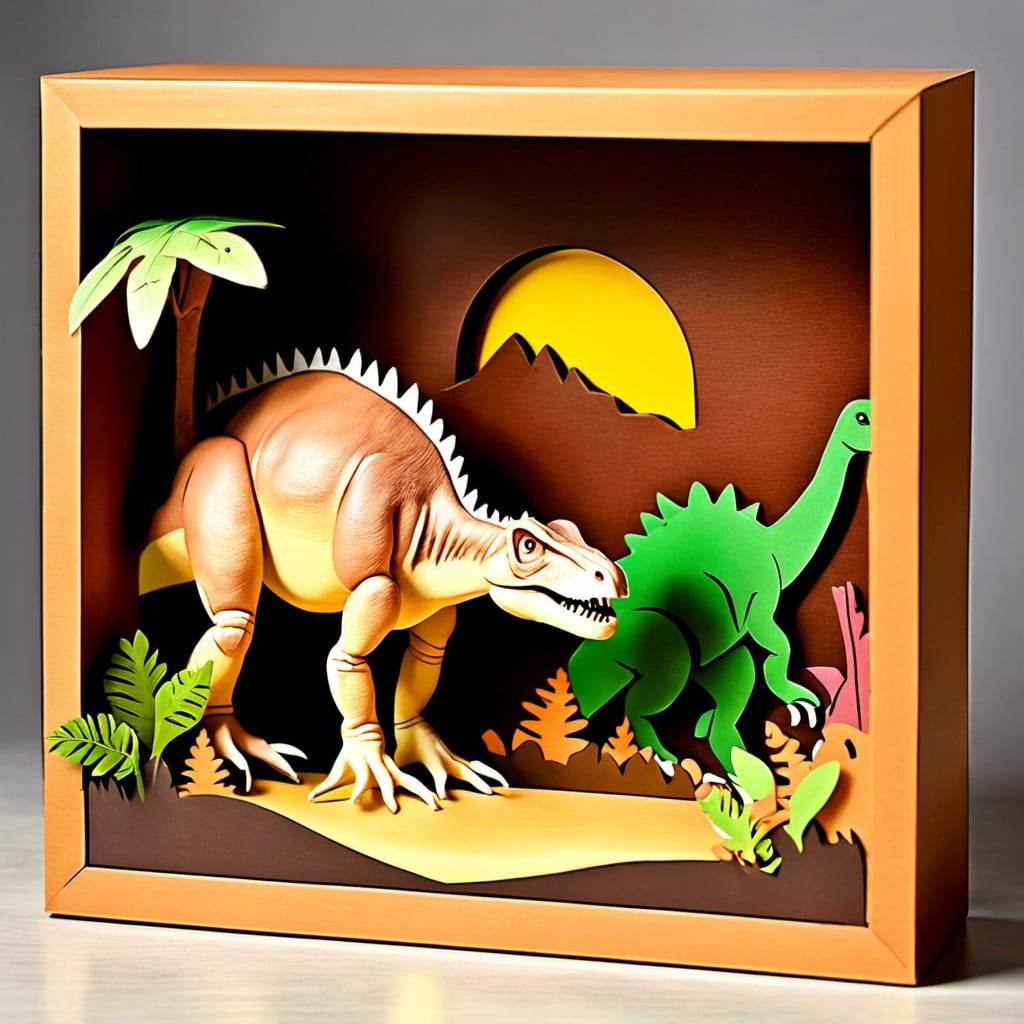
To successfully create this prehistoric panorama, consider these aspects:
1. Dinosaurs: A diverse selection of miniature dinosaurs will bring vibrant life to your shadow box. Make sure the scale corresponds to the box size.
2. Terrain: Sculpt a terrain out of clay or other materials to replicate the prehistoric landscape. Consider hills, valleys, or even a volcano as part of your scene.
3. Vegetation: Load up on green craft paper and felt supplies to create lush, sizable ferns and striking forest environments, indicating Jurassic or Cretaceous periods.
4. Water: Craft a water body using blue cellophane or resin, an ideal spot for your herbivores to quench their thirst.
5. Volcano: For a dramatic effect, construct a clay or foam volcano. Paint it to give it an authentic look. For fun, you can even make it “smoke” with cotton balls.
6. Sky: For the background, consider a fiery sunset sky or a clear blue day. This can be achieved with paint, fabric, or even printed images if you prefer.
These will ensure a dynamic and interactive box scene that captures the raw beauty and excitement of the dinosaur era.
Dreamy Clouds
To create the “Dreamy Clouds” shadow box scene, opt for a monochromatic palette — different shades of blue and white, reminiscent of the sky. Begin with the background, painting it with soft gradients of blue. For added depth, add some darker shades towards the top and a lighter hue closer to the bottom.
To simulate clouds, use cotton wool or batting; pull it apart to create fluffy, cloud-like formations. Stick them sporadically within the box.
Incorporate elements that fit the theme. Perhaps a paper hot-air balloon, floating away, or a tiny airplane? You can even add hanging stars or a 3D printed moon as it’s not out of place in a sky scene. A silhouette of a city below, made of black paper, also adds to the dreamy vibe.
Consider tiny LED lights behind the clouds or incorporated into your floating elements. These would turn your shadow box scene from day to nighttime, adding to the dreamy aesthetic.
Lastly, remember to exercise creativity: adding a rainbow or a flying unicorn can add whimsical details to your scene.
- Paint the background with soft gradients of blue.
- Create cloud-like formations using cotton wool.
- Incorporate elements related to the theme.
- Add tiny LED lights for a nighttime effect.
- Use creativity to add whimsical details like a rainbow or a unicorn.
Browse More
 Baking Soda and Vinegar Drain Cleaning: Simple Steps for a Clog-Free Life
 How Long Does It Take to Tile a Bathroom: Your Ultimate Time-Saving Guide
 Smelly Drain: Banish Odors with Easy Fixes
 How to Remove Bathroom Fan Without Losing Your Cool
 How to Remove Bathroom Vent Cover Without Losing Your Mind
Recap