Last updated on
Ignite your creativity because painting wine bottles with lights can transform your ordinary space into a charming, cozy environment.
Key takeaways:
- Gather necessary supplies: wine bottles, paint, brushes, lights, etc.
- Choose the right wine bottles: consider shape, size, and glass type.
- Clean and prepare the bottles thoroughly before painting.
- Use the right paints and brushes for glass surfaces.
- Insert the lights carefully and seal the paint for longevity.
SUPPLIES
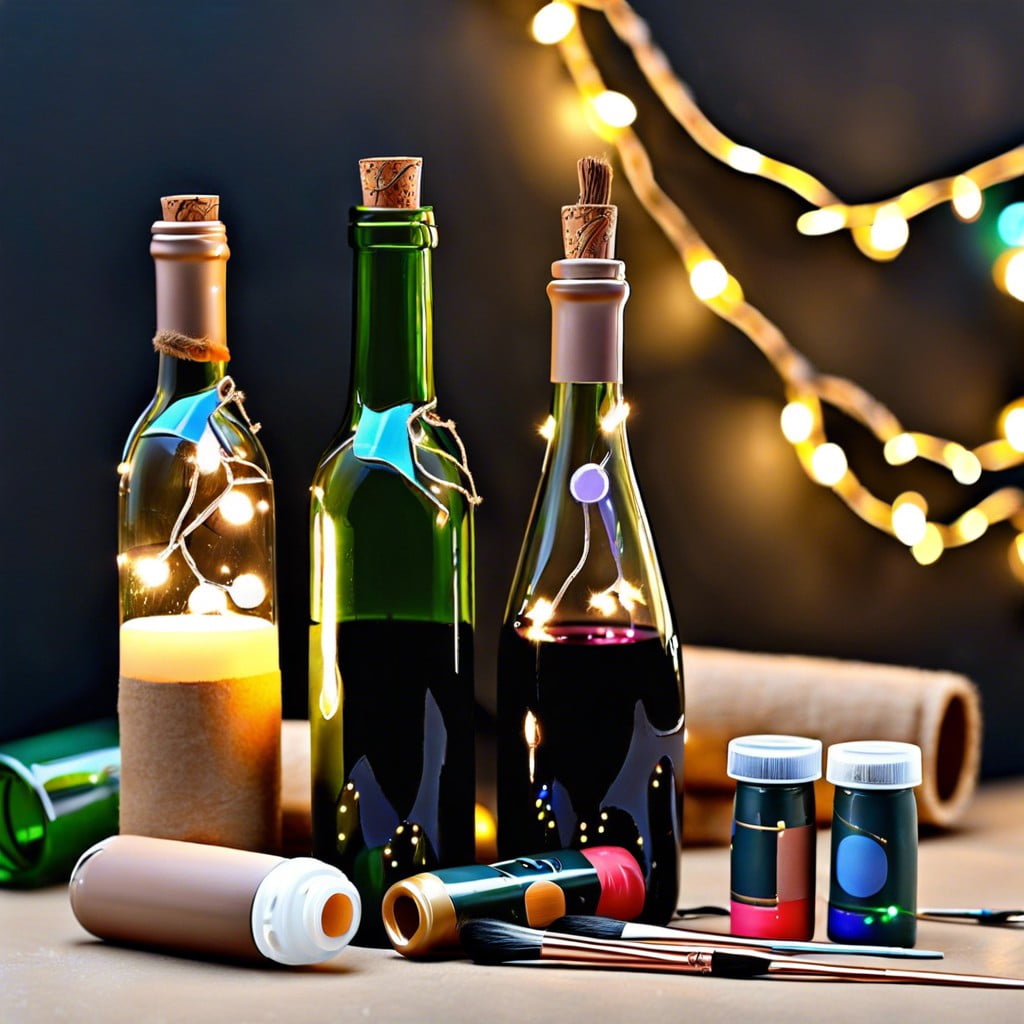
To embark on your wine bottle transformation, gather these essentials:
- Wine bottles, any shape or size
- Warm, soapy water
- Rubbing alcohol or vinegar
- Acrylic paint for glass or multi-surface
- Paintbrushes in various sizes
- Palette or plate for mixing colors
- LED string lights, battery-operated preferred
- Clear sealant, suitable for glass
- Masking tape (optional, for patterns/designs)
- Newspaper or drop cloth to protect work area
Having all your supplies at hand streamlines the process, allowing your creativity to flow uninterrupted.
General Directions
Begin by gathering all necessary materials to ensure a smooth crafting process. Work in a well-ventilated area to protect yourself from paint fumes and ensure faster drying.
Cover your workspace with newspapers or a plastic sheet to prevent stains. Wear protective gloves and an apron to keep paint off your skin and clothing.
Assemble your paints, brushes, and cleaning supplies within arm’s reach for easy access. Ensure the bottles are spotless prior to painting to avoid adhesion issues.
Test the string lights to confirm they’re working before you insert them into your bottles. Keep a damp cloth handy for quick clean-up of any spills or splatters.
Allow ample time for the project, rushing may result in mistakes or smudges. Remember, patience is key for the best result; let each coat of paint dry completely before applying the next one.
Choosing the Right Wine Bottles
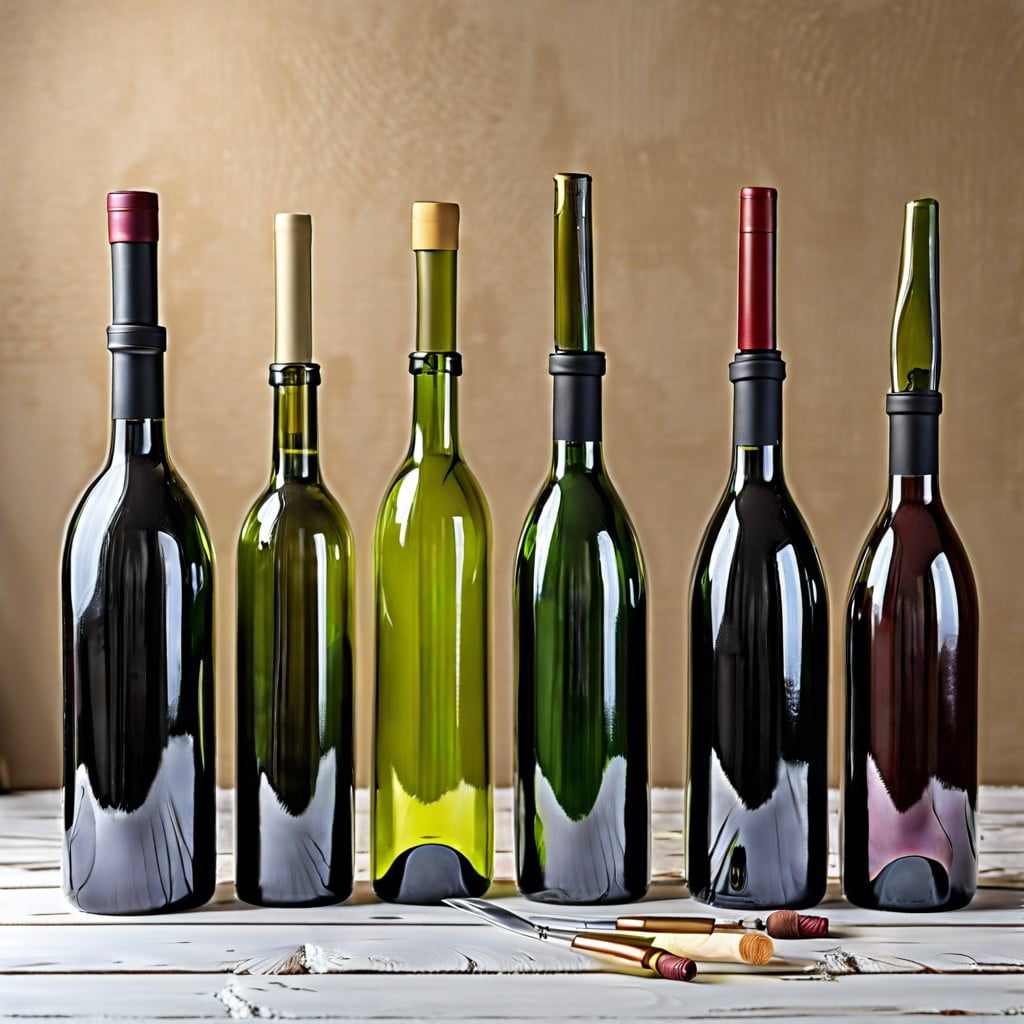
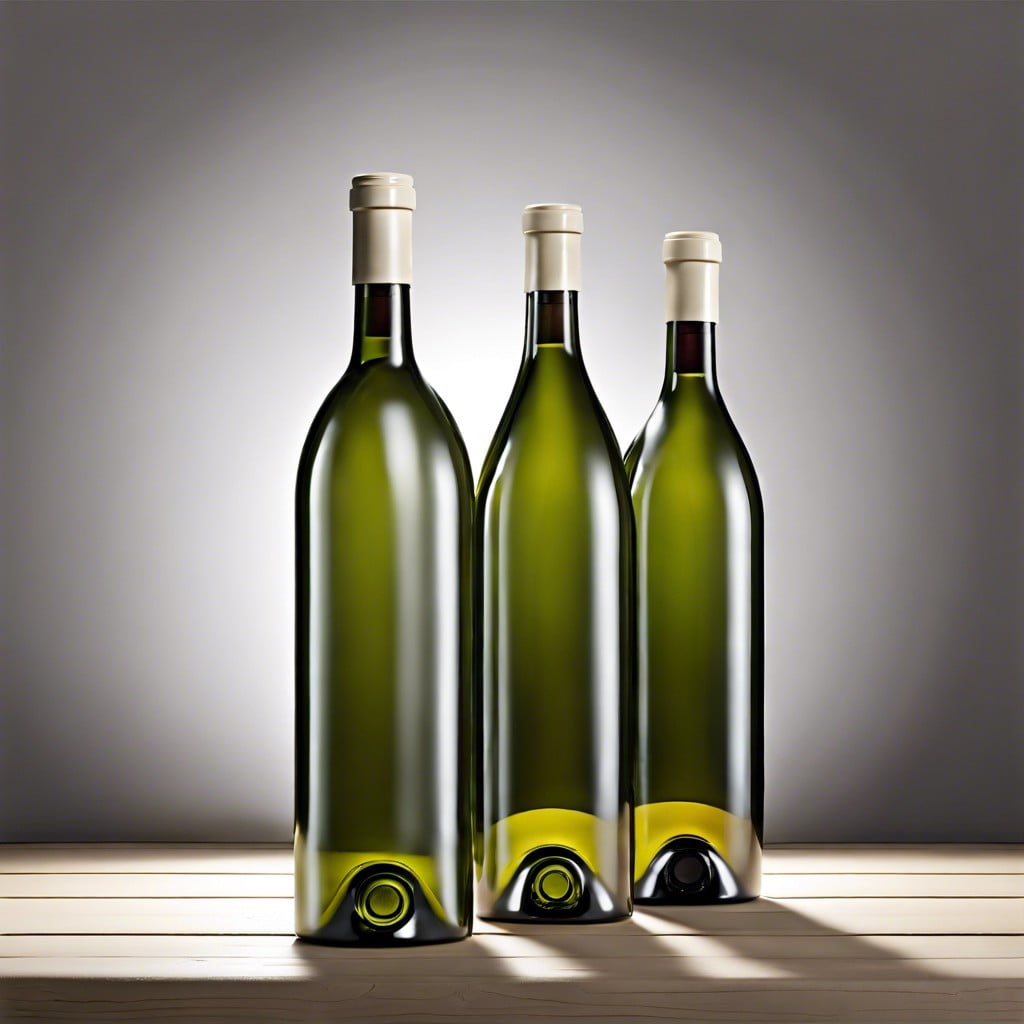
Consider the shape and size of the bottles for the project; a standard, smooth surface offers ease of painting, while a more unique contour may provide visual interest.
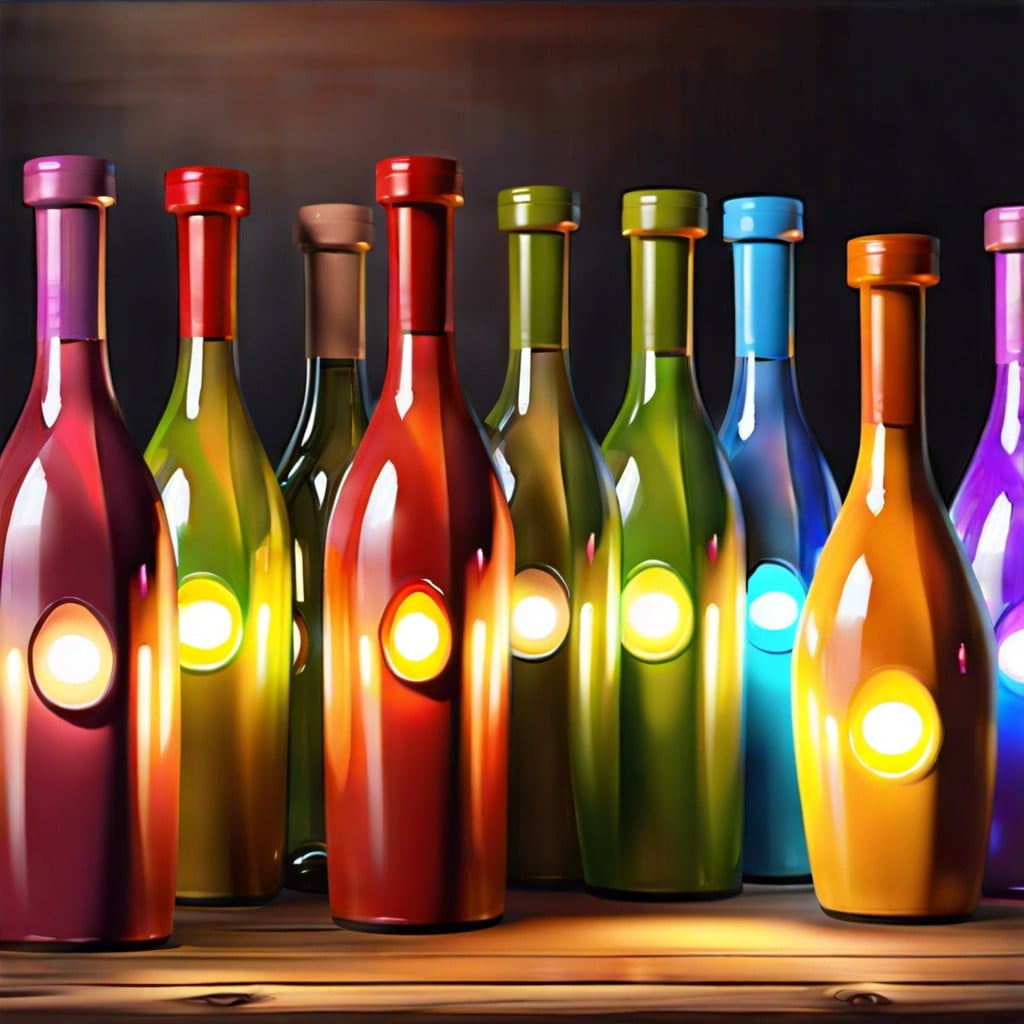
Opt for clear glass to let the lights shine brightly, but tinted glass can cast a warm, colorful glow if preferred.
Inspect for imperfections: even the slightest crack or chip can compromise the integrity of the bottle when illuminated.
If feasible, select bottles with labels that are easily removable to save time during preparation.
Finally, think about the end display – ensure the chosen bottles will fit the designated space appropriately.
Cleaning and Preparing the Bottles
Begin by removing any labels and adhesive residue from your wine bottles. Soaking them in warm, soapy water usually does the trick; for stubborn residue, rubbing alcohol or a mixture of baking soda and cooking oil can be effective.
Thoroughly rinse the bottles inside and out to ensure no soap film or residue is left, which could interfere with paint adhesion.
Ensure the bottles are completely dry before painting. Water droplets can dilute the paint and compromise the smoothness of your design. To avoid fingerprints on the clean surface, handle the bottles with a cloth or wear gloves.
This pre-painting prep work will set the stage for a pristine painting surface, paving the way for optimal creative expression.
Selecting Paints and Brushes
Choosing the right types of paint and brushes is crucial for the success of your project. Acrylic enamel paints are ideal for glass surfaces, offering durability and a high-gloss finish. For a translucent look, consider frosted glass paints. Utilize fine-tip brushes for detailed work and foam sponges for large color blocks. Always opt for high-quality brushes to avoid bristle shedding, which can mar your design. Remember to have a variety of sizes on hand to accommodate different design elements. Keep in mind that the right tools can transform your crafting experience from frustrating to fulfilling.
Painting Techniques for Glass
Embrace transparency by using thin layers of paint to create a stained-glass effect. This method allows light to pass through your design, illuminating the colors beautifully.
Opt for a sponge or soft brush to dab on paint and create a frosted look. This texture scatters the light, creating a warm, diffused glow from within the bottle.
Experiment with stencils for precise designs. Securely adhere your stencil to the bottle’s surface and apply paint carefully to avoid seepage and ensure clean lines.
Practice the art of freehand painting if you’re confident in your skills. Use a fine brush for details and larger brushes for broad strokes; the light will highlight your handiwork from the inside out.
Try dot painting for a fun and therapeutic technique. Dip the end of a brush or a dotting tool into paint and apply it in patterns for a dot matrix effect.
Consider tape or stickers to mask certain areas. Apply paint around these to create negative space designs, then peel away the tape or stickers for striking contrast against the lit background.
Drying and Curing the Paint
Once your masterpiece is applied to the glass, patience is your new best friend. Allow the paint to dry naturally; rushing this process with heaters can cause the paint to crack. The bottle should be left to dry for at least 24 hours in a location free of dust and direct sunlight to avoid imperfections.
For a durable finish, curing is the next step. There are two ways to cure painted glass: air-cure or bake. If you opt for air-curing, check the instructions on your paint; generally, it takes around 21 days for the paint to fully cure. If you’re short on time or eager to showcase your creation, baking is a quicker option. Place your bottle in a cool oven, set it to the temperature recommended by the paint manufacturer, and start the timer once the temperature is reached. After baking, turn the oven off and let the bottle cool down inside to prevent the glass from cracking due to a sudden temperature change.
This curing process hardens the paint, making it dishwasher safe and more resistant to wear and tear, thus ensuring your illuminated wine bottle stands the test of time and shines brightly for many evenings to come.
Inserting the Lights
Once your painted bottle is dry and you’re ready to illuminate your artwork, start with a string of LED lights chosen for their low heat emission and energy efficiency.
Begin by bunching a small section of the lights together and gently insert them into the bottle’s neck. Push them in gradually, spreading the lights evenly, to avoid damaging both the lights and the paint.
If the bottle has a narrow opening, use a thin rod or a chopstick to help guide the lights inside without tangling.
Calculate the length of the string and the bottle size to ensure an even distribution of light.
Carefully manipulate the wire so that the switch remains outside the bottle for easy access.
Enjoy the glow as it brings your design to life.
Finishing Touches: Sealing the Paint
Once your masterpiece has fully dried, it’s time to seal the paint to ensure longevity and protect it from wear, tear, or moisture. A clear acrylic sealer offers a shield that keeps the colors vibrant and prevents peeling or chipping. Spraying is preferred for an even coat; just remember to hold the can about a foot away from your bottle and spray in a well-ventilated area.
It’s best to apply several light coats rather than a single heavy one to avoid drips. If you opt for a brush-on sealer, use a soft brush and apply with gentle strokes to avoid smudging your design. Allow ample drying time as directed on the sealer’s instructions, and your lighted wine bottle will radiate beauty for years to come.
Safety Considerations for Lighted Bottles
When dealing with electricity and glass, it’s crucial to prioritize safety. Always use LED lights in your wine bottles; they emit less heat, reducing the risk of the glass cracking or shattering.
Before you insert lights, check for any damage to the wine bottle. A compromised bottle can be a safety hazard if it breaks. Additionally, inspect the string lights for frayed wires or broken bulbs.
It’s essential to never leave lighted bottles on for extended periods unattended, especially overnight, to prevent any potential fire risk. Place your bottle on a stable surface away from flammable materials to ensure it doesn’t tip over.
Always read and follow the manufacturer’s instructions for both the lights and any sealants or adhesives used in your project. If you’re planning to use a cork or stopper with your wine bottle light, ensure it has a hole for heat to escape. Remember, safety first means enjoying your craft worry-free!
Maintenance of Painted Bottles
To keep your painted wine bottles with lights shining brightly and maintaining their beauty, gentle care is essential. Here’s how to prolong their life:
- Dust regularly with a soft, dry cloth. Avoid using wet materials that can smear the paint.
- If the surface needs a deeper clean, lightly dampen a cloth with water and a small amount of mild dish soap. Gently dab the areas that are not painted.
- Keep the bottles away from direct sunlight to prevent the paint from fading.
- Change the lights inside carefully. If using fairy lights, ensure they are LED to minimize heat production.
- Do not submerge in water or place in the dishwasher, as this can damage the paint and electrical components.
- Store in a safe, dry place if not on display to prevent chipping or cracking.
Creative Ideas for Displaying Lighted Wine Bottles
Illuminate a cozy reading nook by arranging a cluster of painted bottles on a shelf, adding a warm and inviting glow for evening bookworms.
Transform an unused fireplace by filling it with an assortment of lighted bottles, creating a unique focal point that mimicks the charm of a fire without the heat.
Craft a captivating centerpiece for your dining table by lining up bottles with complementing colors and designs, offering a conversation starter at dinner parties.
Enhance your outdoor patio or balcony by hanging bottles from tree branches or along the railing, providing a whimsical touch that dances in the twilight.
Invent a festive holiday display by painting bottles with seasonal motifs and coordinating lights, infusing your space with the spirit of the celebration.
Revamp your bathroom ambiance with softly lit bottles, setting them on the countertop or window sill for a spa-like atmosphere.
Personalize a workspace or home office by showcasing a lighted bottle painted in motivational or calming themes, contributing both function and inspiration to your creative area.
Troubleshooting Common Problems
Encountering issues with your painted wine bottle project can be frustrating, but here are some quick fixes:
- Paint peeling or chipping: Ensure the bottle’s surface is clean before starting. If peeling occurs after drying, a thin coat of clear sealer can help secure the paint.
- Uneven light distribution: Adjust the positioning of the string lights inside the bottle for a more uniform glow. Sometimes, adding or reducing the number of lights can make a significant difference.
- Difficulty inserting lights: If the string doesn’t slide in easily, use a funnel or create a paper cone to guide it through the bottle’s neck.
- Overheating: LED lights are recommended to avoid heat buildup. Make sure to use the correct type and follow the manufacturer’s instructions.
- Paint not adhering: Glass requires specific types of paint; if standard paint isn’t sticking, switch to enamel or acrylic paint designed for glass.
- Bubble formation: Apply paint in thin layers and allow it to dry completely between coats to prevent bubbles. If bubbles appear, gently pop them with a pin before the paint dries.
Upcycling and Environmental Benefits
Transforming wine bottles into decorative lights is more than just a crafty endeavor; it’s a step towards sustainable living. By repurposing bottles that would otherwise end up in landfills, you’re reducing waste and minimizing your carbon footprint. This creative reuse also extends the life cycle of the glass, conserving the energy and resources typically used in the recycling process.
In addition, when you choose to upcycle, you’re embracing a unique eco-friendly hobby that can become a talking point among your peers, inspiring others to consider environmentally responsible practices in their own lives. It’s an innovative way to not only personalize your space but also to contribute positively to the planet.
FAQ
What kind of paint do you use to paint wine bottles?
When painting wine bottles, acrylic paint is an affordable and suitable option, although it may require several coats for optimal coverage.
How do you put lights in a wine bottle?
To put lights in a wine bottle, simply insert the first bulb of a light string into the base hole and continue doing so with each subsequent bulb, ensuring to fold the bulb against the cord and gently pushing through the hole to avoid damaging the cord.
Can you use acrylic paint on glass wine bottles?
Yes, acrylic paint can be utilized on glass wine bottles, although adherence may vary.
What are some creative designs to paint on wine bottles?
Creative designs to paint on wine bottles could include thematic patterns such as floral and geometric, a faux stained glass design, or abstract brush strokes.
How can you secure the lights inside a painted wine bottle?
To secure lights inside a painted wine bottle, feed the string lights into the bottle and use a small adhesive hook on the interior to secure the light strand in place.
What safety measures should be considered while working with wine bottles and lights?
When working with wine bottles and lights, ensure to use LED lights to prevent heat buildup, wear protective gear to avoid sharp edges, and strictly follow electrical safety measures.
Browse More
 Baking Soda and Vinegar Drain Cleaning: Simple Steps for a Clog-Free Life
 How Long Does It Take to Tile a Bathroom: Your Ultimate Time-Saving Guide
 Smelly Drain: Banish Odors with Easy Fixes
 How to Remove Bathroom Fan Without Losing Your Cool
 How to Remove Bathroom Vent Cover Without Losing Your Mind
Recap