Last updated on
Turn clutter into class using PVC pipes to create unique wine racks, because their affordable and versatile nature makes them a perfect DIY project.
Looking to create a stylish and functional wine rack using PVC pipes? You’re in the right place! This article will walk you through the process, providing clear, step-by-step instructions on how to transform simple PVC pipes into a stunning wine rack.
From choosing the right size and type of pipes to assembling them into a rack that’s perfect for your space, we’ve got you covered.
By the end, you’ll have all the information you need to create a unique, custom wine rack that not only stores your wine efficiently but also adds a touch of modern design to your home.
Vertical Floor-standing PVC Pipe Wine Rack
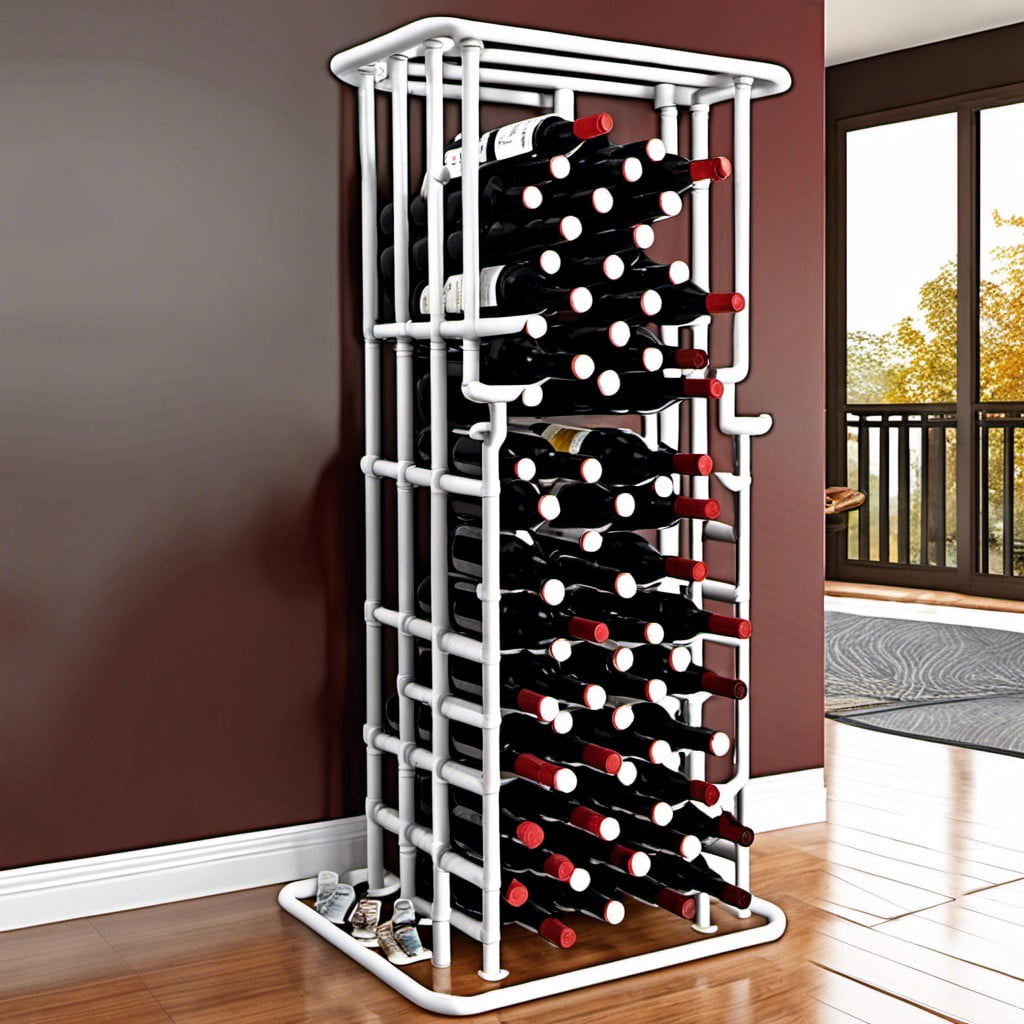
Building this kind of wine rack could be as effortless as cutting lengths of PVC pipe and stacking them vertically. Utilize large-diameter pipes, around a 4.5-inch outer diameter so even the bulkiest of bottles can fit snugly. With sections ideally 12-inch long, they offer stable, individual slots for each bottle.
If you need it to be more secure, glue can be used to fix the pipes together, though this might not be necessary if the fit is snug enough.
The assembly can be placed on the floor, preferably in a cool and shaded area to safeguard the quality of the wine. Pipes should be cleaned thoroughly before use and can be left in their original white color, or painted to match room decor. This rack style is perfect for those who prefer a minimalist aesthetic, as it reduces the fuss typically associated with wine storage. To keep the rack from tipping over, fastening it to the wall for additional support is highly recommended.
A charming DIY project, it makes wine storage not only effortless but also an interesting focal point for anyone entering the room. The flexibility offered by this design is key, as the finished product can be as small or as large as space allows, making it a versatile option for any wine enthusiast.
Wall-mounted PVC Pipe Wine Rack
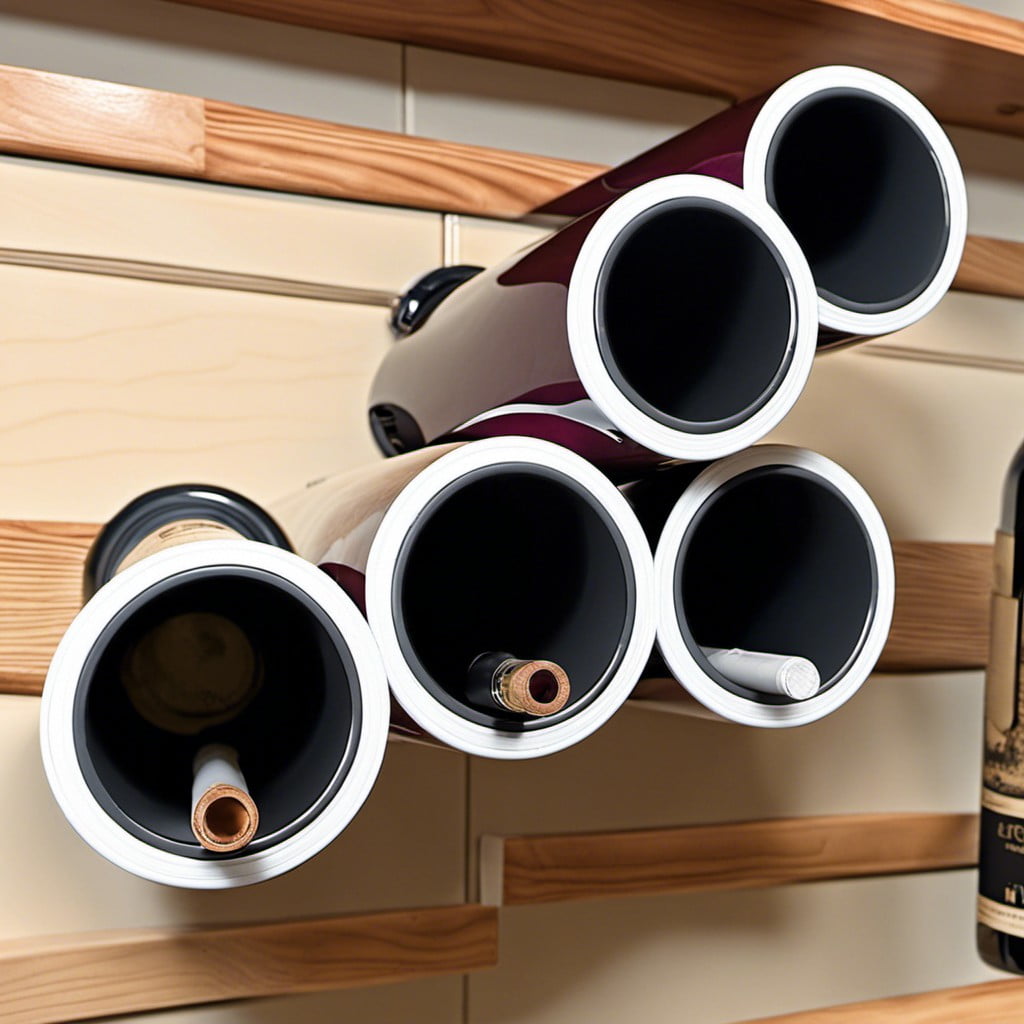
Visually compelling and space-saving, wall-mounted racks offer a contemporary aesthetic while accommodating a range of bottle sizes. Crafting this type of rack involves arranging a series of PVC pipes on your chosen wall, attaching them securely with hardware suitable for your wall type.
1. Design: The configuration will depend on personal preference and available wall space. You could opt for a circular layout, a grid pattern or an abstract design.
2. Cutting: Once your design is confirmed, obtain PVC pipes with a diameter larger than your wine bottles. Cut them into lengths that will house a bottle with the neck protruding for easy access.
3. Assembly: Using the right mounting equipment, fasten each pipe directly to the wall ensuring a stable hold. Alternatively, mount them to a wooden board first, then secure this to the wall.
4. Styling: Add a final touch by painting the PVC pipes. Keep them in a single shade for a monochromatic look or use different colors to create a vibrant, eye-catching display.
Remember, with proper measurement, cutting, and securing, what appears to be a complex DIY turns into a manageable project. And, the result is a custom-made wine rack that complements your interiors while reflecting your unique style.
Spiral PVC Pipe Wine Rack

Having sourced your PVC pipes, the unique arrangement in a spiral design provides a sophisticated and elegant look.
Begin with cutting pipes to equivalent lengths, suitable for holding a wine bottle securely.
Sand them for a smooth finish, eliminating any sharp edges.
Careful planning is necessary to lay out the spiral pattern on a hardwood or similar base.
Apply glue to each point and attach the cut lengths following your planned pattern.
A critical detail to note when attaching the pipes is to ensure an even distribution of space between each pipe to accommodate different wine bottle sizes.
Once fully assembled and glued, leave the arrangement undisturbed for a few hours to secure the bond and create stability.
For an extra flair, consider applying paint to your wine rack.
Metallic colours or warm tones like copper or gold can infuse a luxurious vibe, while a distressed effect gives a chic, rustic appeal.
This spiral PVC wine rack exudes a sculptural appeal, making it equally a functional storage solution and a striking piece of home decor.
Ladder-style PVC Wine Rack Using Both Short and Long Pipes
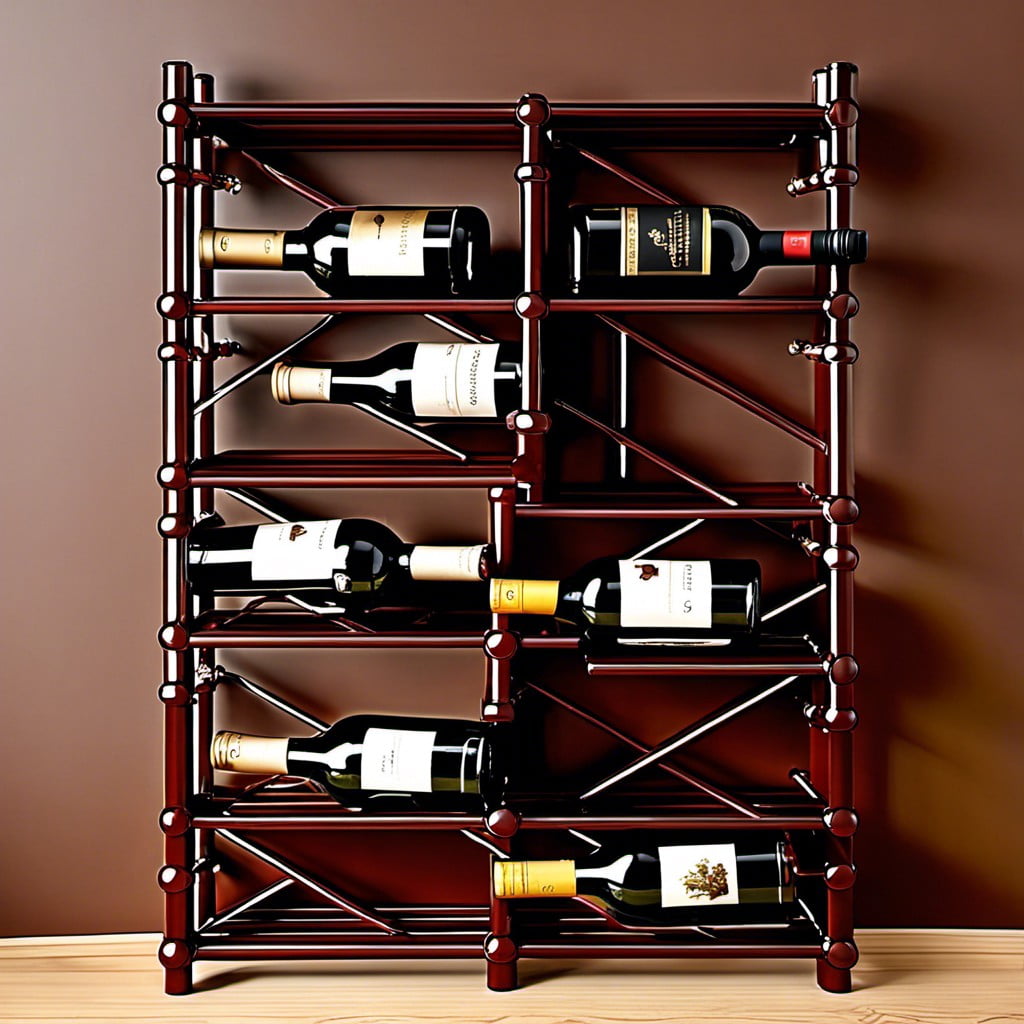
By using two different lengths of pipes, providing the base and height, this rack emulates a ladder structure. It’s key to cut your pipes carefully, ensuring a snug fit for wine bottles.
1. Select PVC Pipes: Procure two long pipes for vertical support, and multiple short ones to create individual wine bottle holders.
2. Assembly: Attach the short pipes in descending order between the two longer ones, mimicking ladder rungs. Ensure each join is secure to withstand the weight of bottles.
3. Paint: Optional, but adds charm. Choose a color to complement your home decor. Exceptionally durable paint is a must for longevity.
4. Anchor: Although it’s freestanding, securing the rack to a wall adds stability, especially when fully laden with wine bottles.
5. Location: With its vertical design, it towers elegantly even in small spaces.
This design is versatile, cater it to your style: rustic, modern, or industrial by deciding on pipe finish and joint types. It’s streamlined, practical, and adds a stylish vertical element to your room.
Hanging PVC Pipe Wine Rack for Ceiling Storage
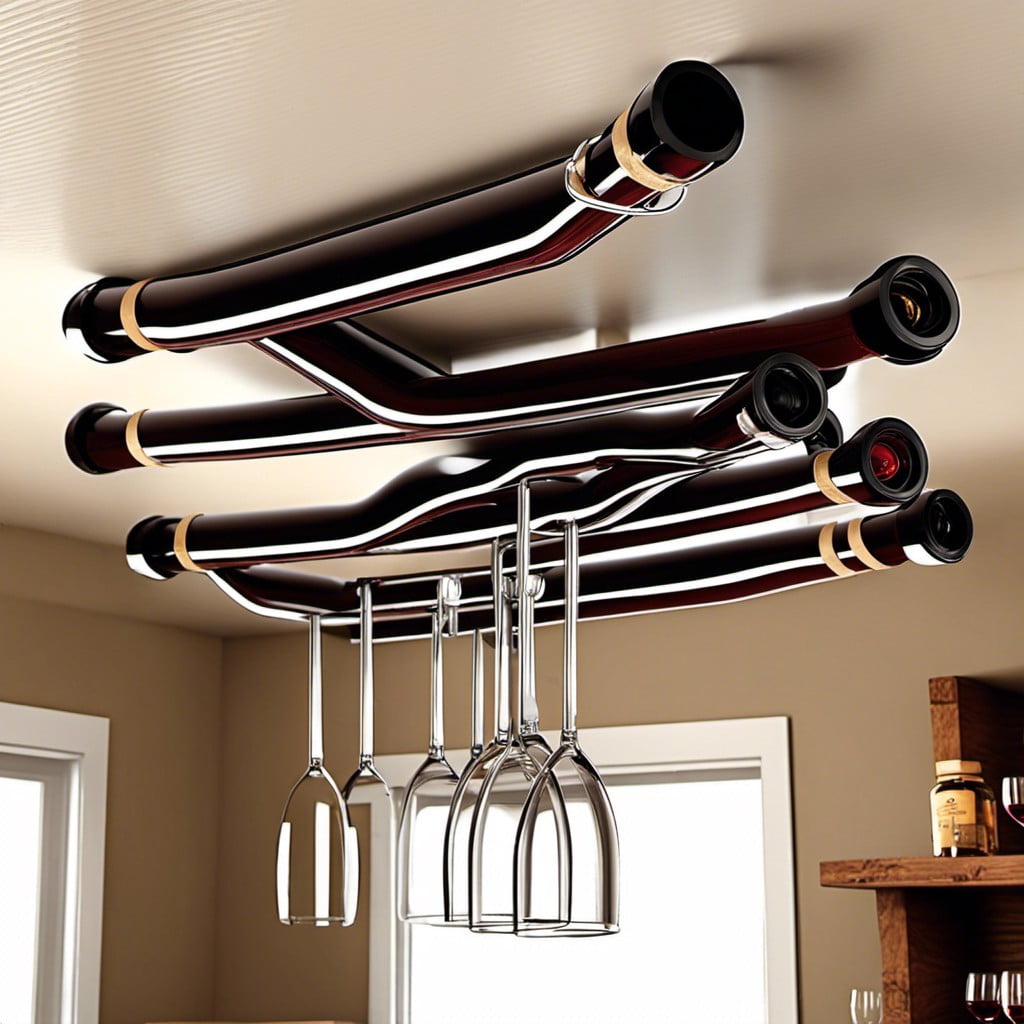
Optimizing upward space is integral to modern interior design, therefore, a hanging rack presents a valuable solution.
To create this, you’ll need PVC pipes cut into wine-bottle-length segments, strong nylon ropes and a wooden plank. Ensure that the pipes’ internal circumference is greater than the bottle’s for a snug fit. Smoothen the edges after cutting to avoid sharp ends.
Next, drill holes at the pipe segment ends, thread your nylon rope through, and tie robust knots to fasten. Position each pipe carefully along the rope, maintaining a bottle’s length distance between each.
Your wooden plank acts as the overhead anchor, thus, consider its strength and size. Secure it to the ceiling using heavy duty brackets. Again, drill holes at equidistant points reflecting your pipe arrangement, and thread the rope ends through.
The beauty of this project is customization; arrange the pipes in rows, a spherical cluster, or whatever sparks your creativity. Use brightly colored pipes, or add some LED string lights for a mesmerizing effect.
Remember, hanging racks put your collection out in the open, hence, avoid direct sunlight and maintain a cool room temperature to preserve wine quality. It’s also vital that the rack hang from a sturdy surface to handle the weight, like a beam or solid ceiling. Safety is paramount.
Magically Floating PVC Pipe Rack With Hidden Attachments
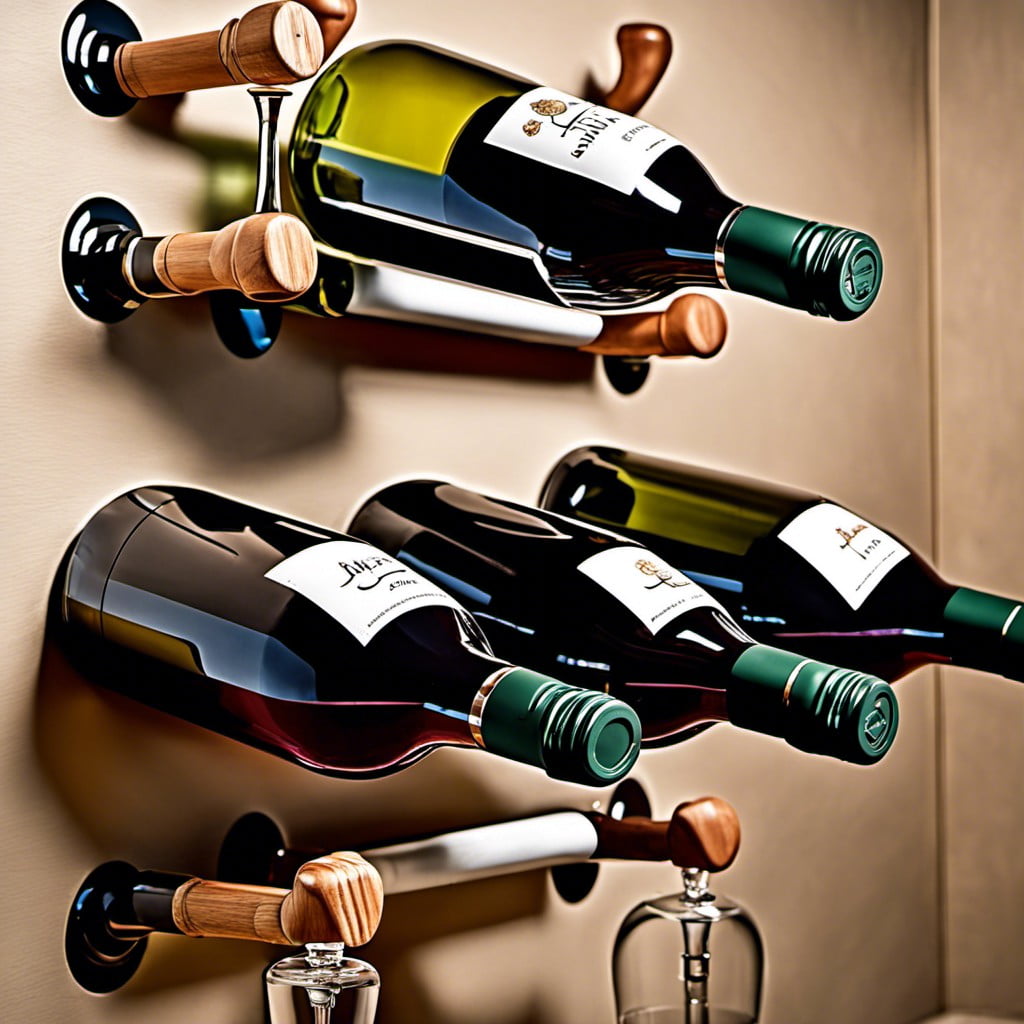
Creating the illusion of a magically floating wine rack requires clever use of hidden attachments. Begin with a wall-mounted fixture that pass through interior holes of your PVC pipes to keep the pipes in place while staying out of sight.
Transparent fishing lines are excellent for providing additional support yet remaining visually non-obtrusive. Opt for white or clear PVC pipes for this project to enhance the floating aesthetic. Also consider combining PVC pipes of varying lengths to create an edgy and modern vibe.
It’s important to ensure all attachments are securely fastened to prevent any mishaps. The result is a unique wine rack that not only serves a practical purpose but also adds an artistic touch to your interior.
Corner Standing PVC Wine Rack
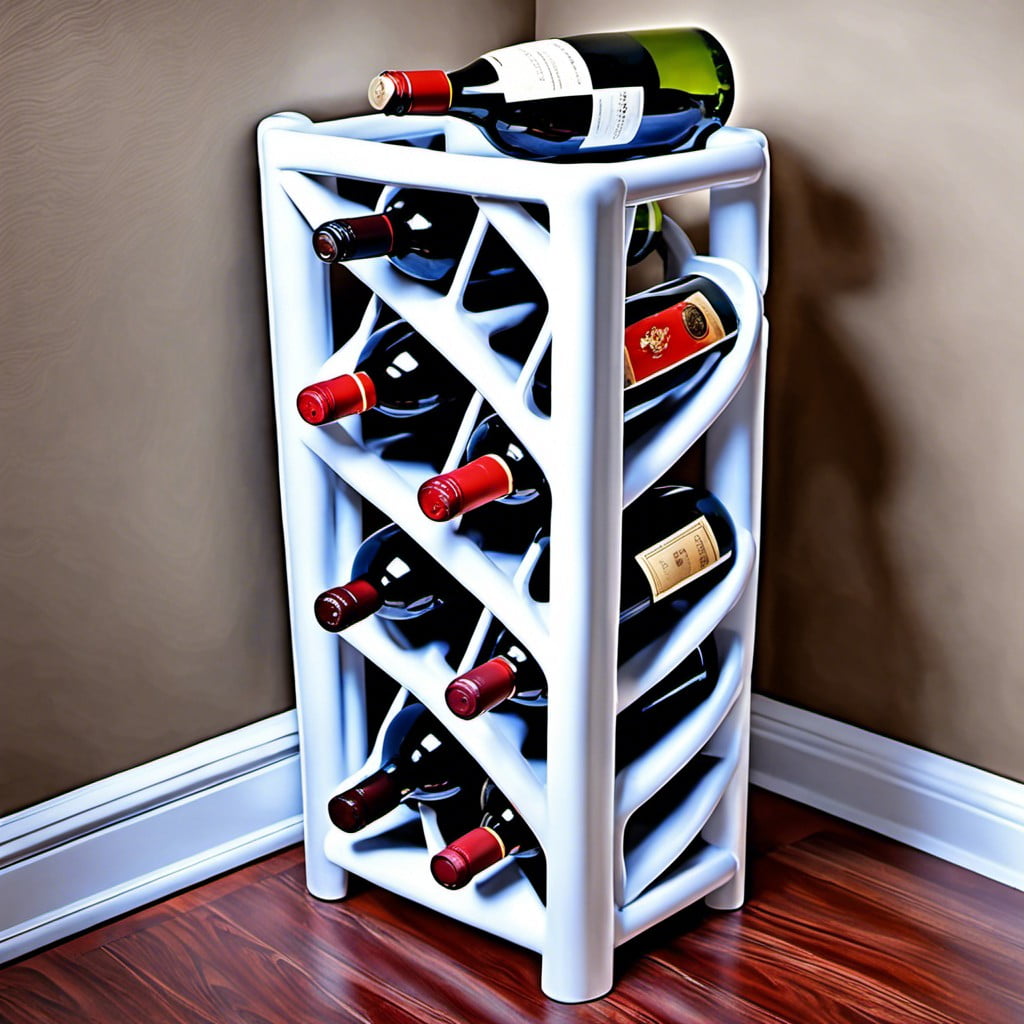
This innovation makes efficient use of often overlooked spaces like corners in your home. Ideal for an aesthetic and space-saving choice, it’s shaped to fit at a 90-degree angle, nestling comfortably in any room’s corner.
First, cut the PVC pipes into equal lengths to create uniformity. These will be your wine slots. For extra stability, consider gluing each of them together. If you want to add a personal touch, choose a paint color that matches the room’s décor, or keep it a versatile white.
Affix the structure securely against the corner to prevent toppling over. Stability is a crucial consideration, especially when the rack is filled with wine bottles. This style accommodates horizontal storage, ensuring your wine cork remains wet, an important aspect of long-term wine storage.
Adding a wooden top shelf introduces a minimalist touch and extra space for wine glasses or opened bottles. And if you fancy a stroke of creativity, add LED lights for a cool, contemporary look. It’s a practical solution that merges function and style, amplifying any room’s coziness.
Horizontally Laid PVC Pipe Rack On Cabinet
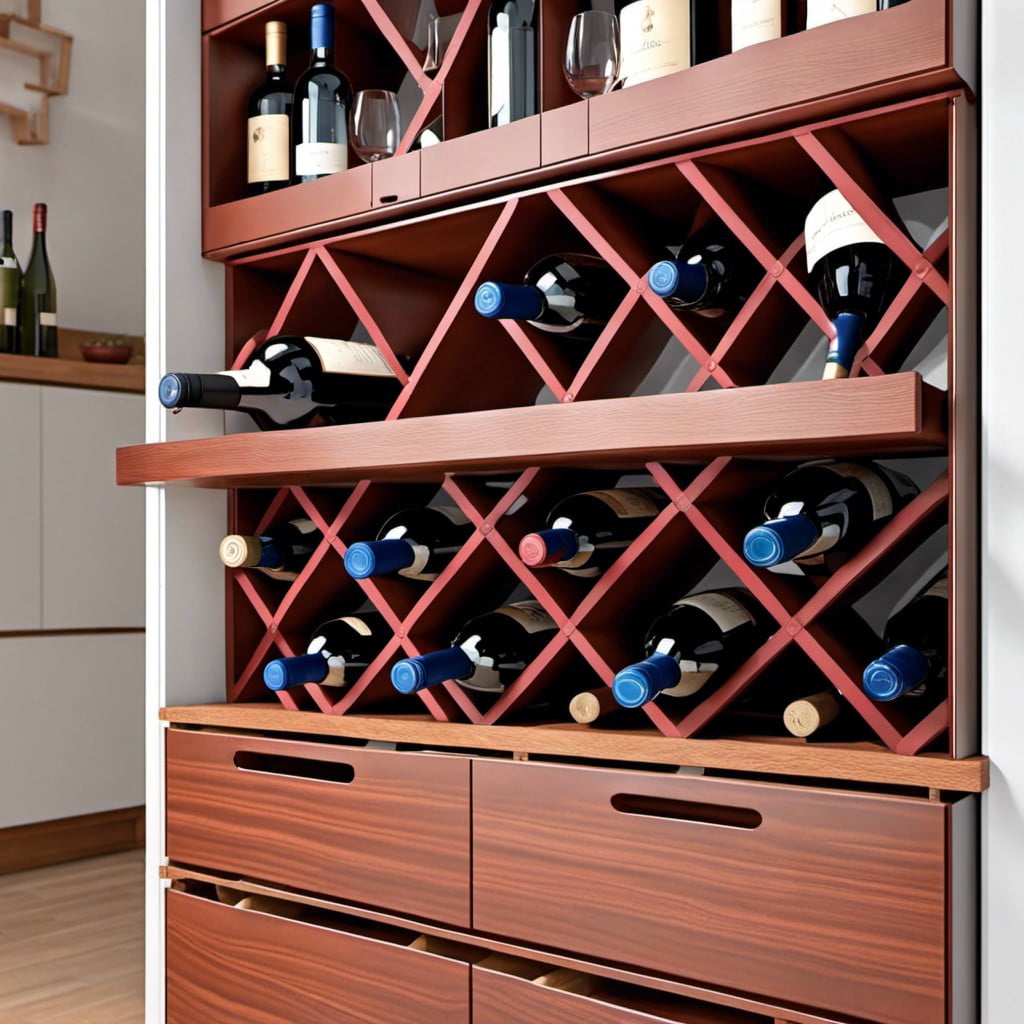
Using PVC pipes laid horizontally provides a simple yet effective storage solution. The flat surface of a cabinet or table serves as an ideal base.
To get started, obtain sufficient number of PVC pipes suitable for wine bottle diameters. Ensure to measure both before purchase. Cut the pipes into same lengths.
The rack’s depth can be modified to preference. Two important factors to consider; accessibility of bottles and aesthetics. Align the cut pipes horizontally on the cabinet in rows.
Once satisfied with the arrangement, secure with strong adhesive. Let it dry completely before usage. For added flair and personal touch, painting or decorating pipes prior to assembly can result in an appealing, custom look.
A horizontally laid PVC pipe rack effortlessly combines functionality and style.
Dual-purpose PVC Pipe Wine Rack and Table
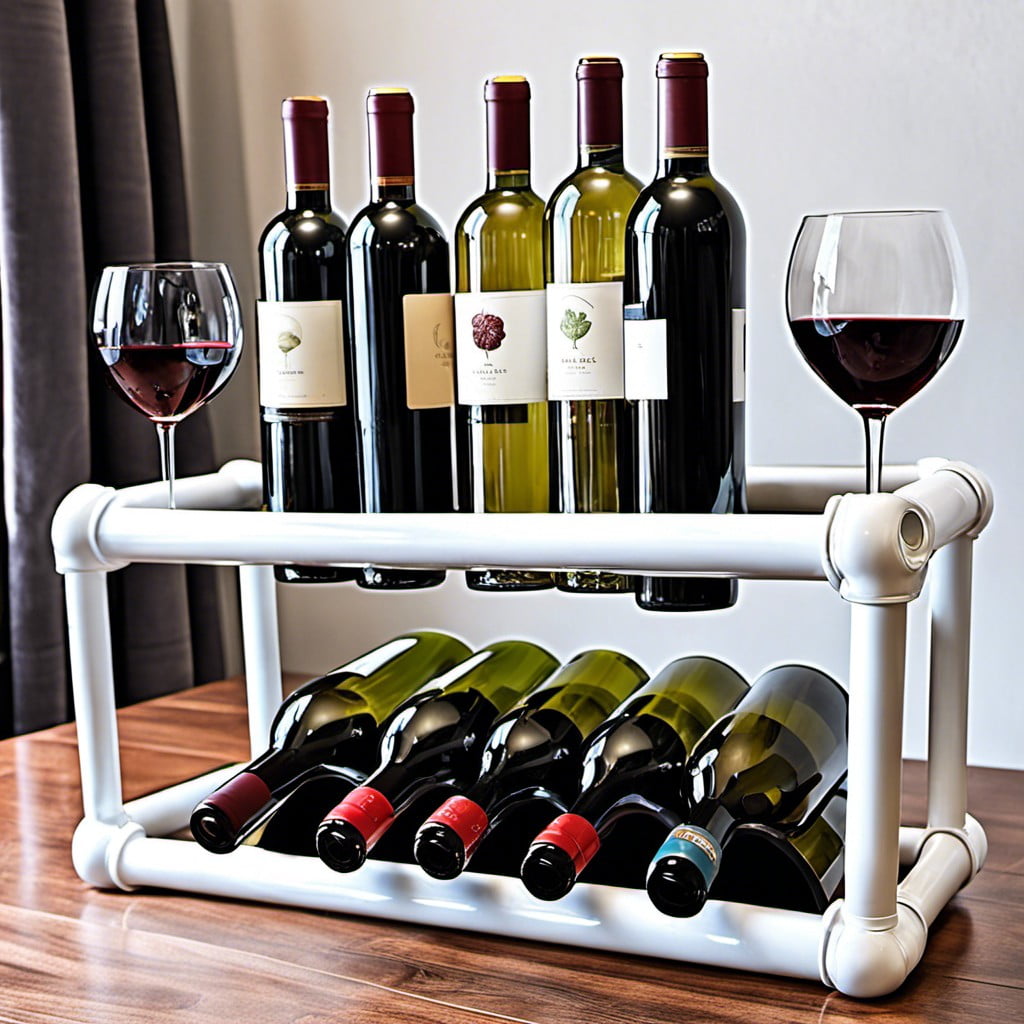
Starting this project requires cutting PVC pipes to a uniform length that complements your seating arrangement. The pipes will form a table surface, their open tops perfect for slotting wine bottles in. This unique design keeps your favorite wines close at hand during meals.
Materials needed:
- Thick, sturdy PVC pipes
- Plywood board as a base
- Strong adhesive
- Paint (optional)
To execute, start by securing the PVC pipe pieces to the plywood base using adhesive. Arranging them in a honeycomb, or hexagonal pattern, not only offers stability but also results in an appealing design. Carefully plan the layout so the pipe openings accommodate standard wine bottle sizes.
Choose to paint your table’s legs and even the PVC pipes for a coordinated or contrasting elegant look. Allow the adhesive and paint to fully dry before placing bottles inside.
Remember: A table cloth or glass top can add a finished look to your inventive wine rack-cum-table project. Considering your home’s overall aesthetic, either option can seamlessly blend this useful conversation piece into your overall decor. Now, chill your favorite bottle and enjoy!
DIY PVC Pipe Wine Rack With Chalkboard Paint for Labeling
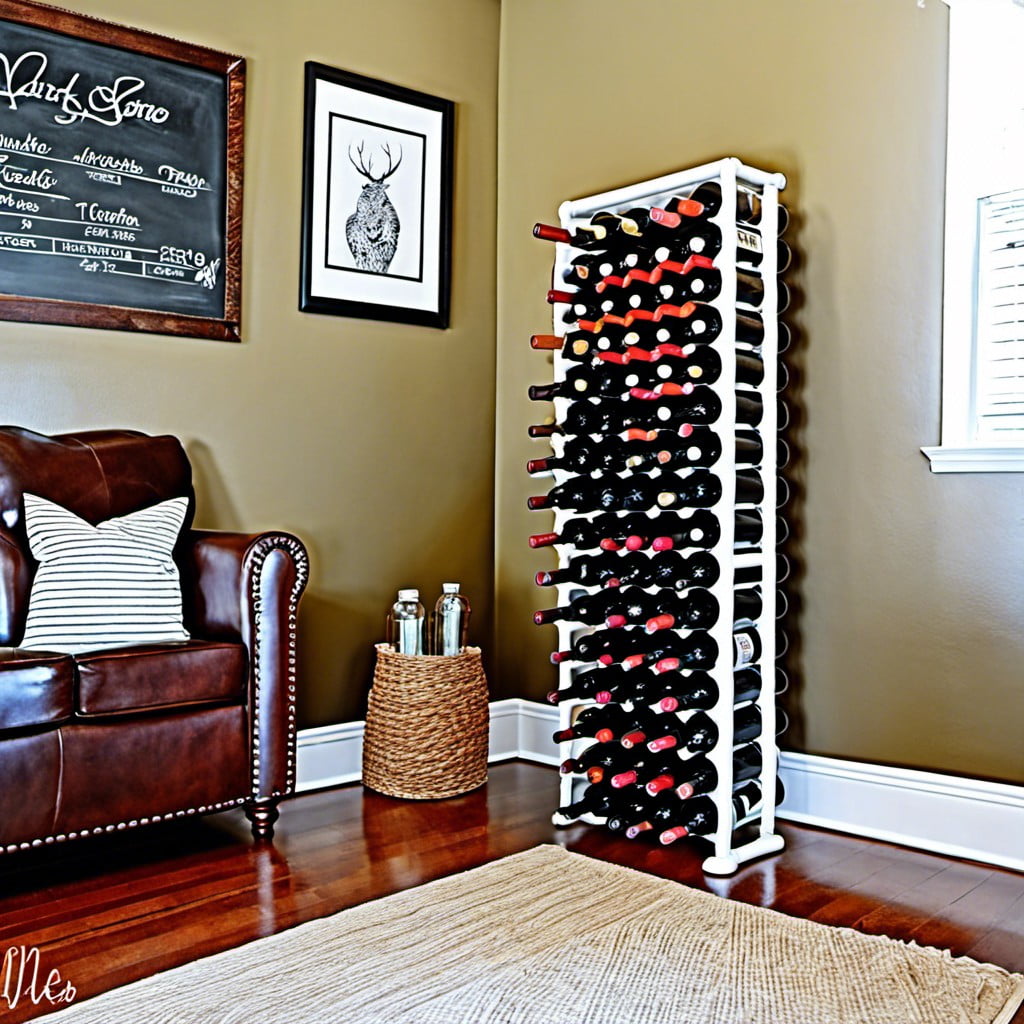
To achieve this design, first gather necessary materials such as PVC pipes, chalkboard paint, adhesive chalkboard labels, and a fine brush for detailing.
Choose a pipe size that suits your preferred wine bottles. Standard wine bottles fit well in pipes with a diameter of 4 inches. Cut the pipe into sections; the length of a standard wine bottle can guide your cut.
Prime the pipes for painting. Apply the chalkboard paint evenly over the PVC and let it dry completely. For a more robust and long-lasting rack, opt for an adhesive; fit your sections together before applying the paint.
Once dried, apply adhesive chalkboard labels to the front of each pipe section. These customizable labels not only contribute to the aesthetic appeal but also allow you to categorize and label your wines according to type, region, or personal preference. Use chalk to write on the labels for an added rustic touch.
Ensure your rack location can bear the weight. Wall-mounted options require sturdy anchors or brackets, while the floor-standing variation should be placed on a flat surface to keep it stable.
Taking advantage of the changeable labeling feature of this design could turn your wine selection into a fun, rotating display. Include a piece of chalk in a decorative holder as a unique touch and to encourage guests to engage in changing up the labels.
The chalkboard paint transforms this PVC pipe wine rack into a dynamic and adaptive feature, making it not just a storage solution but an interactive element of your interior design.
Multi-level Circular PVC Pipe Wine Stand
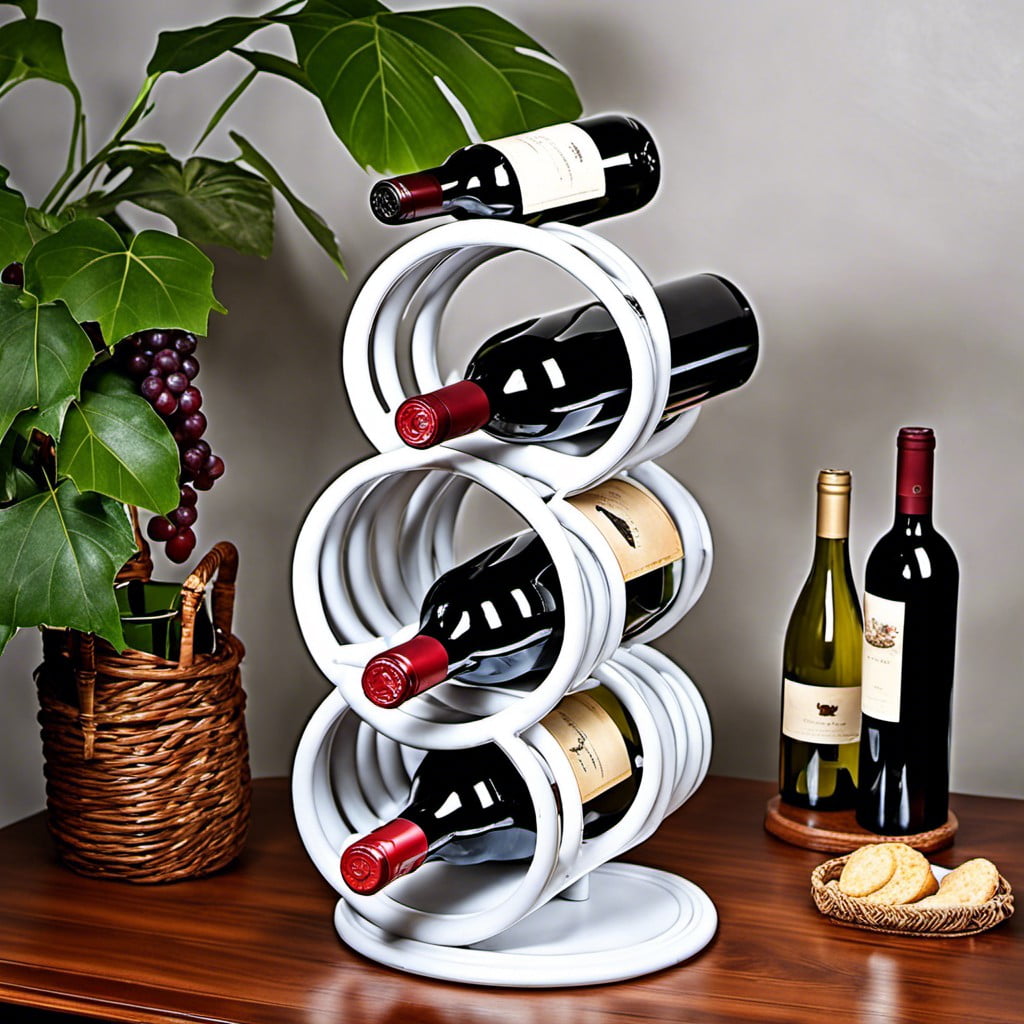
Constructed from various pipe lengths, this design offers a visually pleasing and practical solution for wine storage.
1. Measuring and Cutting the Pipe: Start by measuring the number of bottles you wish to store and cut your pipes accordingly. Don’t forget, the pipes must be large enough in diameter to hold a wine bottle.
2. Arranging in Levels: Arrange pipes in your desired shape with smaller ones at the top gradually transitioning to larger ones at the base, just like a pyramid, but in a circular design. Depending on your space and number of bottles, you can adjust the levels.
3. Joining the Pipes: Use PVC cement to securely fix pipes together. Ensure the pipe joints are strong enough to hold your wine bottles.
4. Finishing: If desired, apply a paint color of your choice to give it a more polished look. Alternatively, leave the PVC in its natural state for an industrial aesthetic.
This design can be freely customized, giving you the liberty to include as many levels as you prefer, ensuring all your precious bottles have a stylish new home.
Stacked Pyramid PVC Pipe Wine Rack
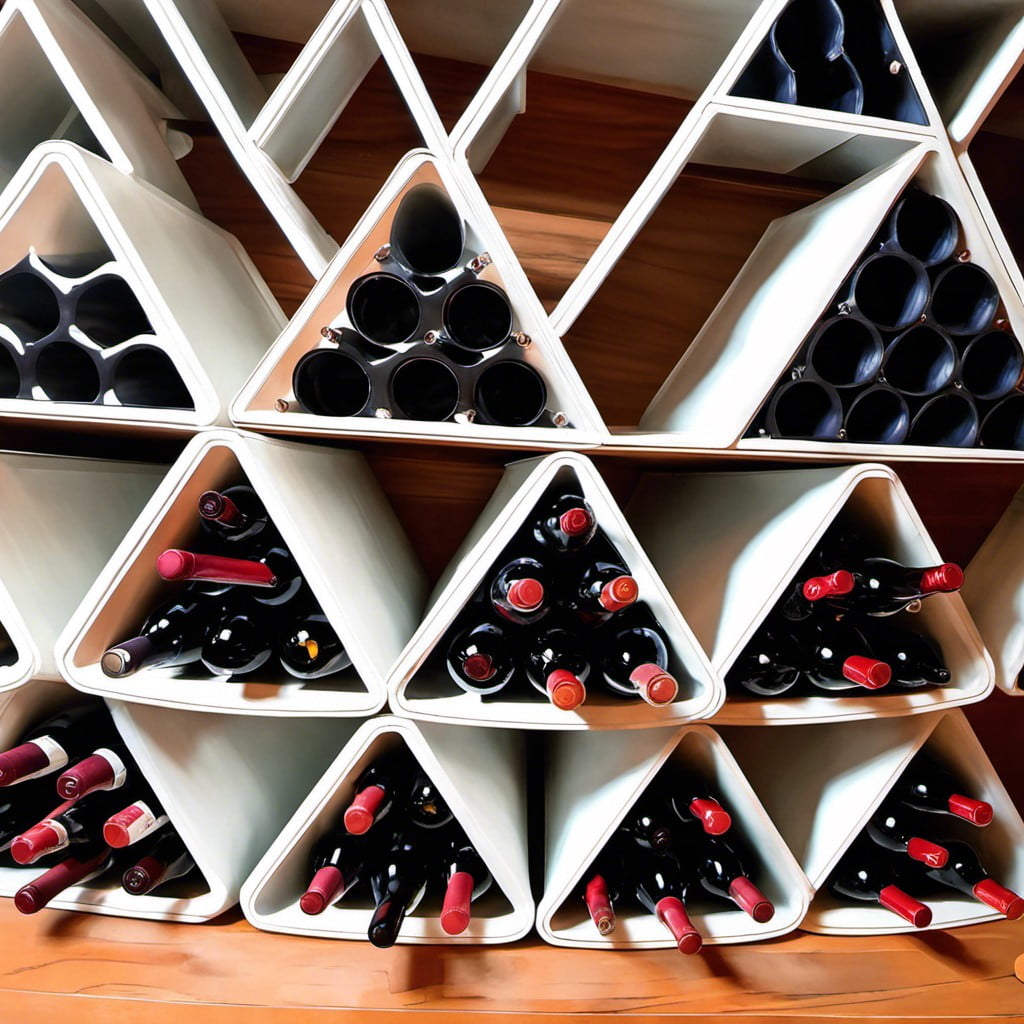
Cut your PVC pipes into equal-sized pieces, perhaps 12 inches long each.
Now, begin assembling them in an equilateral triangular formation, using rounded notching joints to secure corners.
Start with one pipe at the top of the triangle and then continue with an additional pipe per level until reaching the desired size.
Adhere them together using a strong adhesive.
Remember, the bottom row may require more pipes depending on the desired height.
Sand down any sharp edges for safety, and if desired, paint the structure in a color that complements your decor.
Your pyramid wine rack is ready.
Now all that is needed is to have your bottles slid into the individual PVC spaces from the top downwards.
The design is unique, stylish, and surely a conversation starter.
Colorful PVC Pipe Rack for an Artistic Touch

Color doesn’t just add a pop to your interiors; it can actually transform your PVC pipe wine rack into a fascinating piece of art. All you need is to select an assortment of spray paint colors that compliments your home décor.
Begin by cutting your pipes into different lengths, providing a tiered effect. Then, sand the pipes for a smooth texture before you spray paint them in eye-catching shades.
Arrange these vividly colored pipes randomly or in a pattern of your choice and secure them together. Make sure your design offers stability to hold your bottles securely. This decorative open design not only provides easy access to your wine selection but also serves as an engaging conversation starter.
Small, Portable PVC Wine Rack Ideal for Picnics

Shifting the perspective towards outdoor lovers, a portable PVC wine rack offers a practical solution for picnics or garden parties. With just a few pieces of small diameter PVC pipe, preferably lightweight thin wall variety, it can be transformed into a snug casing fit for wine bottles. Depending on preference, it could be designed to hold anywhere from two to four bottles – just enough to share with friends.
Straps or handles may be affixed onto the pipe for easy carrying. For a bit of refinement, the surface could be painted in vibrant colors, or wrapped in decorative materials matching picnic sets. Moreover, carefully placed foam padding within each pipe section ensures bottles remain secure and well-protected during transit.
Lastly, adhere to the preference of leaving the racks unglued for easier cleanup and maintenance. Portable, functional, and stylish, building this PVC wine rack offers a quaint project that blends craft and convenience in one.
PVC Pipe Wine Rack Integrated Into Kitchen Island Design
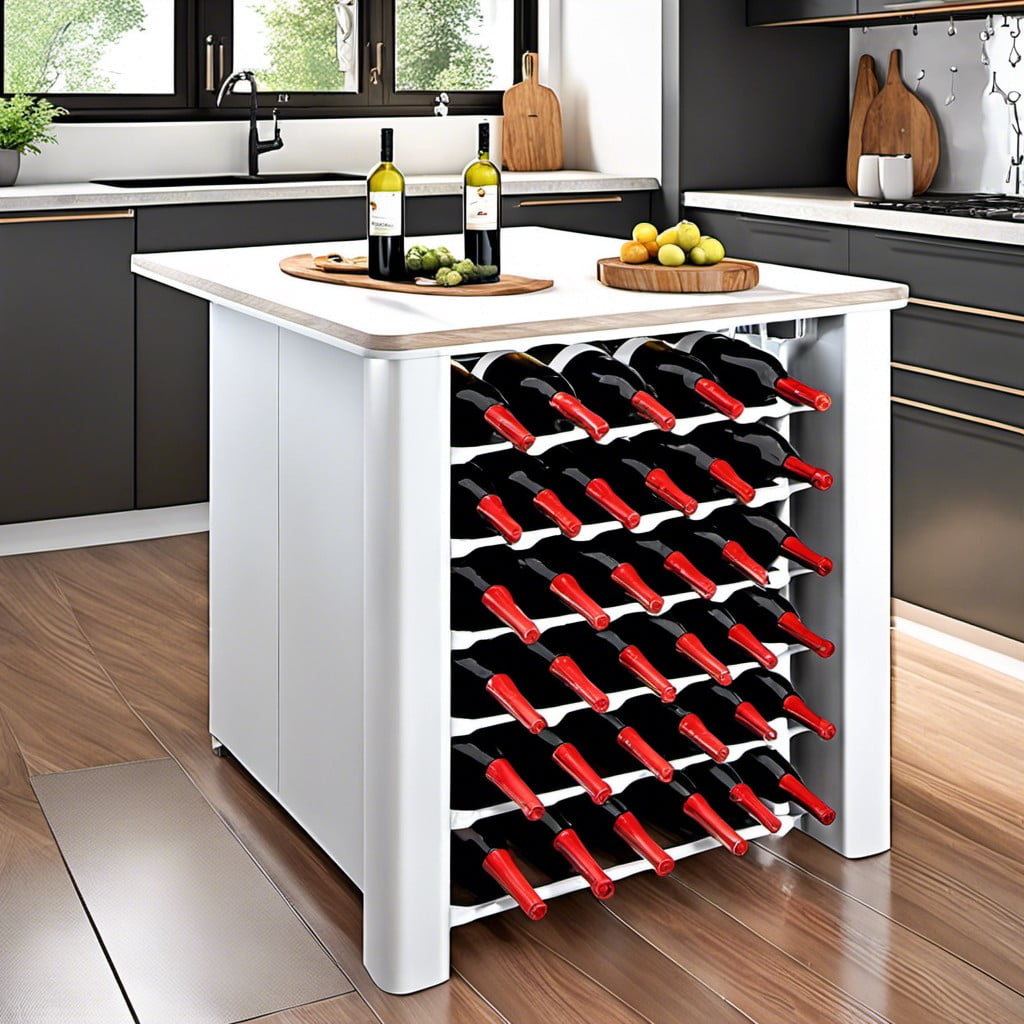
Concealing a wine rack within your kitchen island optimizes storage space while maintaining a clean and clutter-free look. By using the innately minimalist design of PVC pipes, this works perfectly.
Choose pipes with a diameter that will securely hold your wine bottles. Cut each pipe to the height of your kitchen island or slightly less. Arrange and secure your pipes in a style that suits your preferences; you can go with a simple square grid or test your creativity with a honeycomb pattern. Ensure stability by attaching your design to the inside of your kitchen island.
Be mindful of temperature fluctuations when storing wine. If your kitchen counter receives sunlight, it may not be the optimal location for your wine rack.
Whether you’re a seasoned wine connoisseur or a casual enjoyer, a PVC pipe wine rack integrated into your kitchen island seamlessly combines style, convenience, and practicality.
Modern Art-style PVC Wine Rack

Incorporating an artistic flair to your wine storage, this rack highlights the balance between form and function. Here are some key points on taking this creative approach.
1. Choose a design: This can be as simple or complex as your skills allow. From a basic geometric structure to a more elaborate abstract piece, the options are numerous.
2. Pipe Arrangement: Position your PVC pipes in a unique way. Create impressions of waves, arcs, or spirals to make your rack visually striking.
3. Size and Shape: Opt for different pipe diameters and lengths. This will add depth, and enable it to accommodate various bottle sizes.
4. Color Selection: Do not shy away from experimenting with vibrant shades. These can be used to make your rack a focal point or to complement the existing room decor.
5. Skilled Craftsmanship: If your design is complex, consider seeking help from a professional to ensure the final piece is both visually pleasing and structurally sound. Safety should always be a priority.
6. Final Display: Make your creation a conversation piece. Incorporate lighting to highlight its features and the wine bottles housed within.
Remember, the goal is not only to store wine but to have a piece that brings beauty and intrigue to your living space.
Mini PVC Pipe Wine Rack for Counter Display
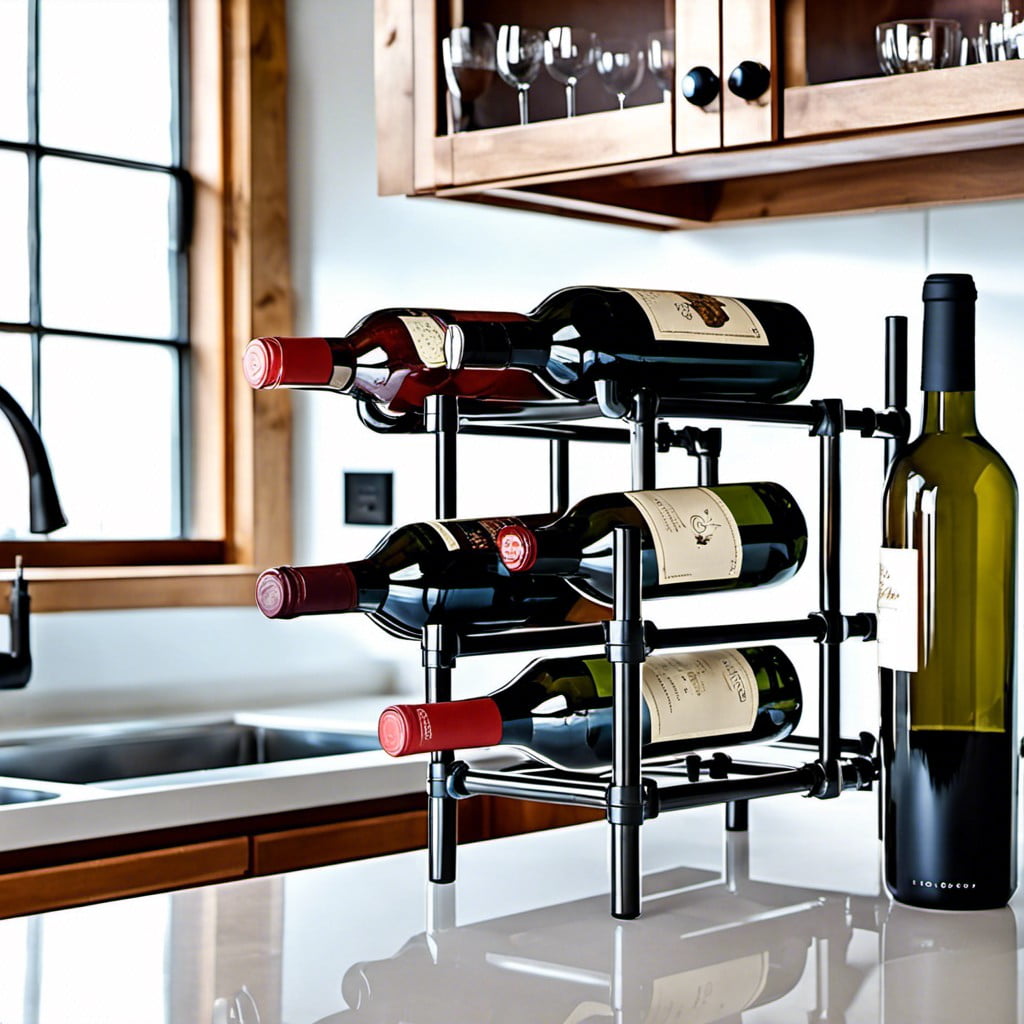
For this project, you’ll need six 4-inch diameter PVC pipes, each cut to 12-inch lengths. Sturdy yet lightweight, 4-inch PVC pipes are ideal to display up to six wine bottles with their labels in full view.
1. Assemble: Stand the pipes upright in two rows of three, ensuring the bottoms are flush.
2. Glue: Use a strong adhesive rated for PVC to bond the pipes together. Allow it to dry completely.
3. Personalize: Add charm by decorating with paint, ribbon, or washi tape.
4. Place: Set on your counter, positioned so wine labels are easily read.
The result? A compact rack oozing character, showcasing favorite wines within arm’s reach, adding a practical and stylish touch to your countertop.
Abstract Design Using Bent PVC Pipes
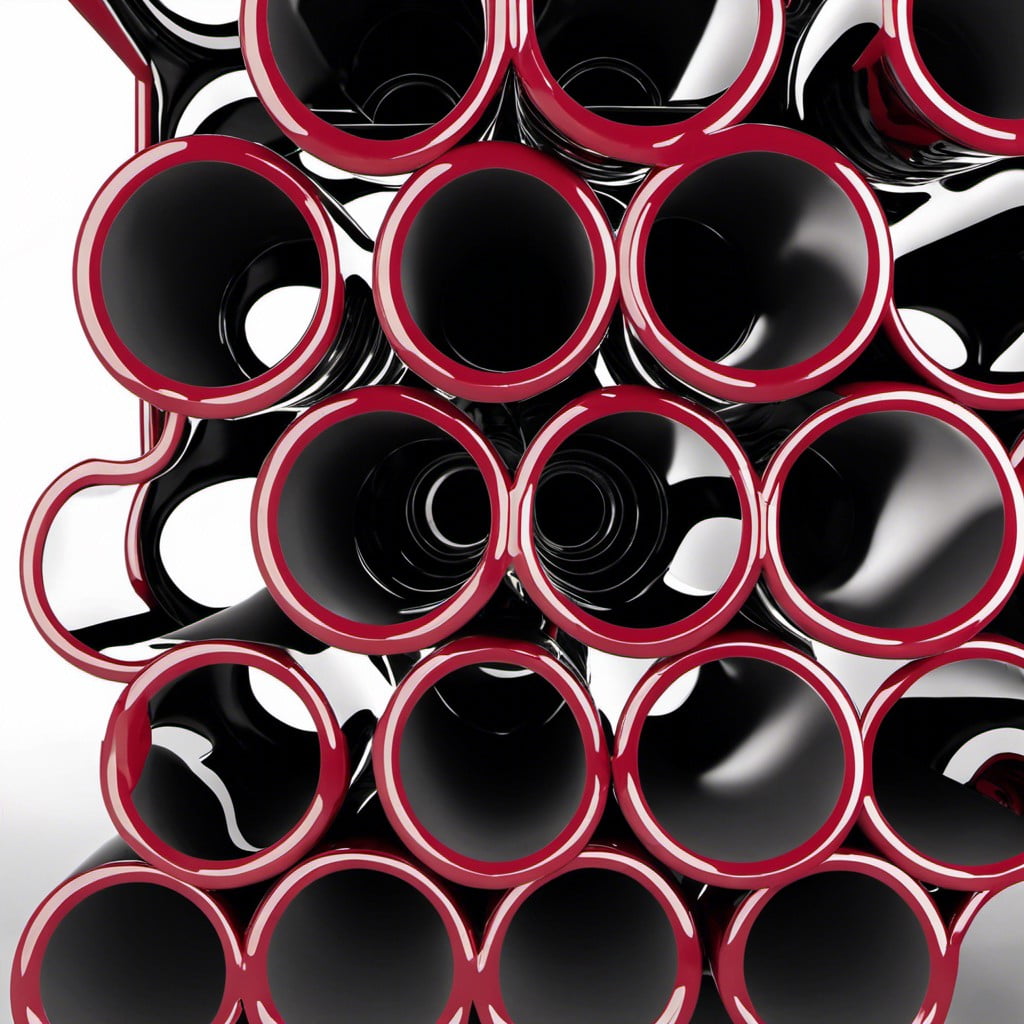
Bending PVC pipes introduces a whole new level of creativity, adding an abstract appeal to your wine rack. The trick is to use a heat gun or a hair dryer to soften the pipes before bending them to form various shapes. Be sure to practice on a few pipes first to perfect your technique.
Follow these simple steps:
- Heat the PVC pipe evenly, rotating it to avoid burns. A heat gun works best, but a hair dryer will also suffice.
- To prevent collapsing while bending, fill the pipe with sand or salt and plug both ends.
- Bend the pipe to your desired shape. A mold or template can help guide you. Remember, there are no rules – you can create wave forms, loops, or even spiraling coils!
- Let it cool until it retains its new shape. This might take a while.
- Attach your bent PVC pipes together using connector pieces or strong adhesive.
- Secure the structure to a base for stability. Use a suitable material such as a wooden base or even a weighted steel plate for maximum balance.
- Lastly, don’t forget to sand and paint your new unique PVC wine rack.
Let your creativity free, and watch your own masterpiece turn into a functional wine rack. With abstract designs, your wine rack will no longer be just a storage unit, it’s a piece of art!
Landscape Oriented PVC Pipe Rack for Wide Spaces
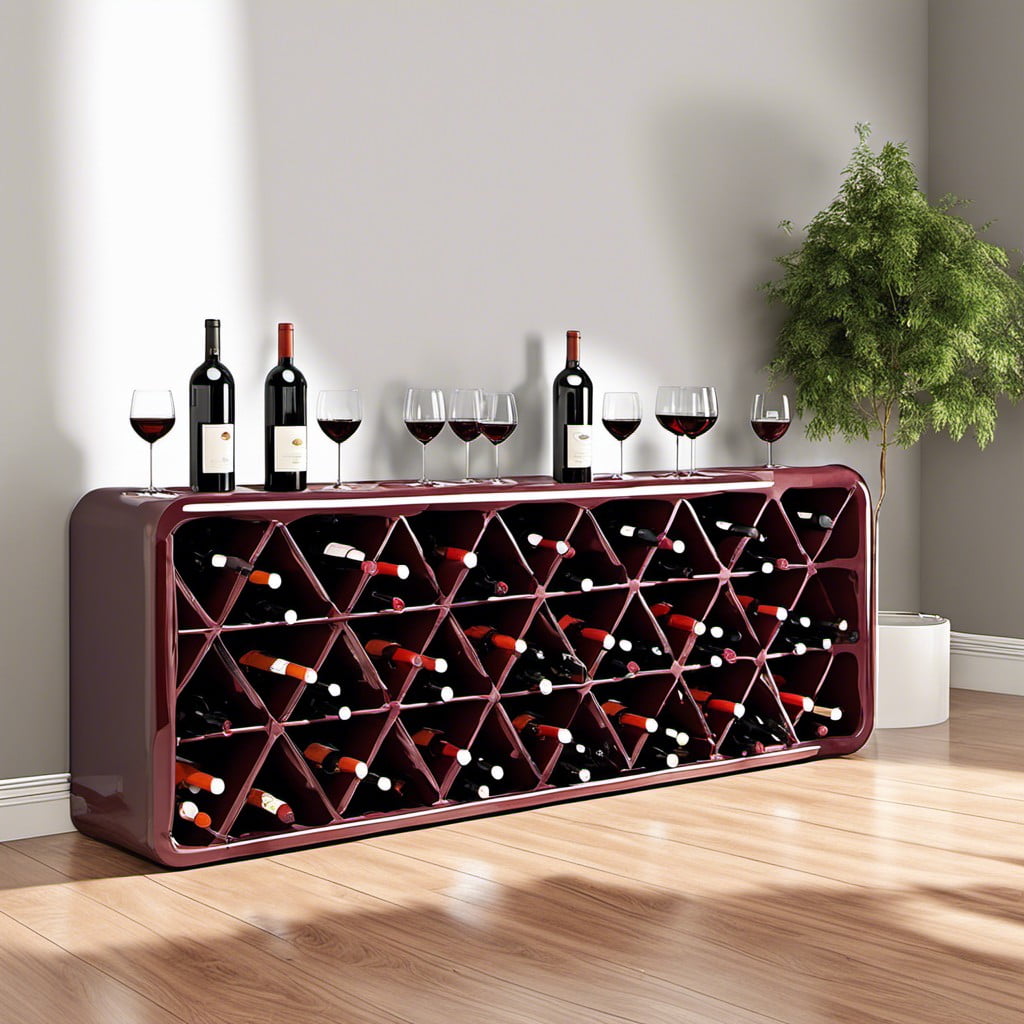
Imagine repurposing PVC pipes into an unobtrusive yet stylish element in your dining or living area. Here’s an ingenious idea if you are dealing with large, expansive areas in your home.
1. The first step centers on cutting a series of pipes into different lengths. Although optional, this creates a visually appealing wave-effect.
2. Plan out the layout on the floor before attaching together. The varying lengths provide the illusion of a landscape, subtly connecting to your overall room design.
3. Use PVC pipe connectors or strong adhesive to secure the pipe pieces together. Safety is paramount, especially when occupied by bottles of wine.
4. Match or contrast the pipe’s color to your existing aesthetic. Going for a bold primary color or a muted matte finish can elevate the rack from simple storage to a conversation-starter.
5. Install protective bases inside each pipe to keep the bottles safe. A small piece of cork or foam can serve this function.
6. For mounting, secure it tightly to the wall, ensuring it’s level.
7. Finally, fill your new rack with your choice wine bottles. Remember, the labels facing outwards add an extra aesthetic punch.
This idea merges style, creativity and functionality, turning an everyday object into a remarkable décor accent. Enjoy the process and definitely the end result!
Dining Table Centerpiece PVC Wine Rack
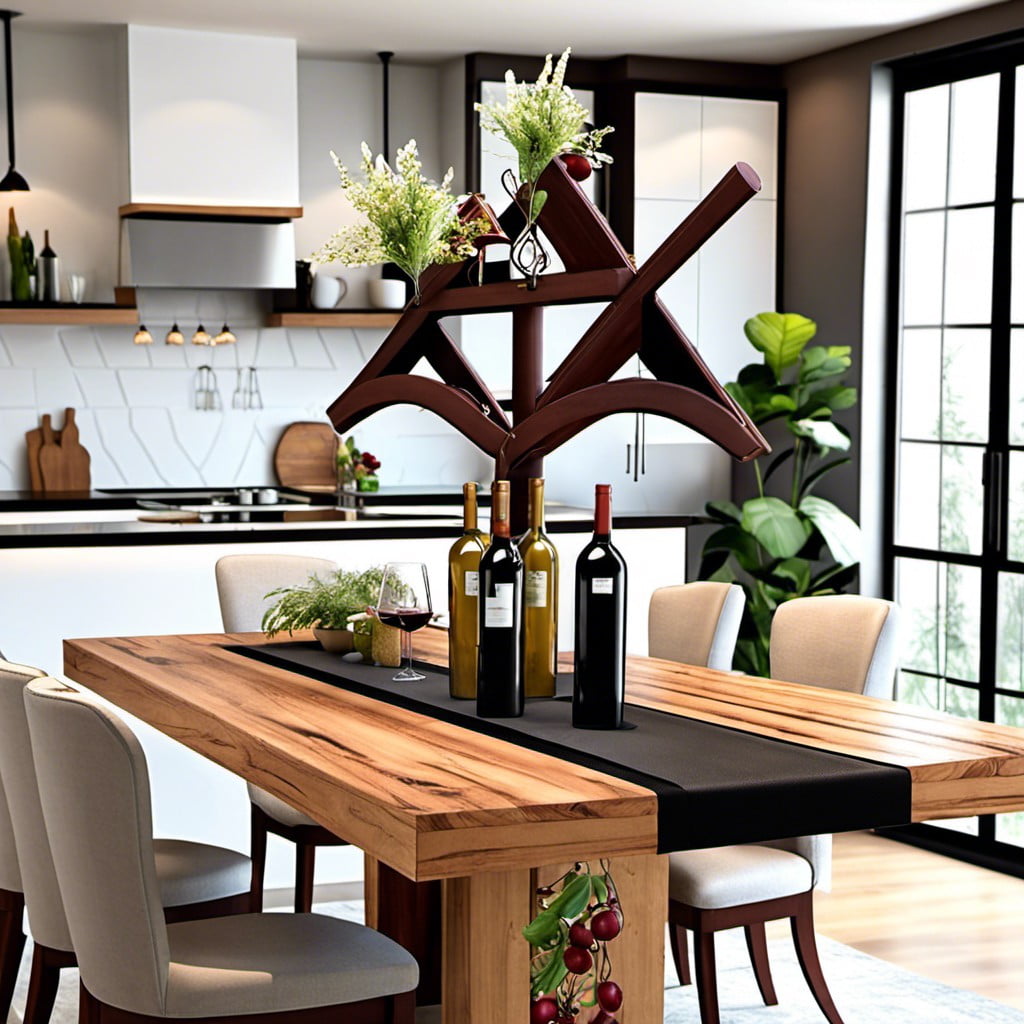
Having a centerpiece that’s both decorative and functional is a surefire way to impress guests. That’s where the dining table centerpiece PVC wine rack shines. It’s not just about the convenience of having your favorite bottles within reach, it’s about making a stylish statement.
1. Select a relatively short PVC pipe width for this design to have a more refined and less bulky appearance.
2. Use a hacksaw or PVC cutter, cut it into pieces approximately 5 inches long. This length keeps bottles stable without hiding the label.
3. Arrange these pieces in a circular pattern, forming a low-profile, wreath-like design. Use a strong adhesive suitable for plastic, like epoxy, to bond the pieces together.
4. Choose to paint the rack to match your table or spray with a clear finish to maintain the contemporary look of the raw material.
5. Place it in the center of your table. Ensure it’s stable, then carefully slide in your wine bottles.
The result is a chic dining accessory that’s as much a conversation piece as it is a wine rack. Remember, properly stored wine tastes better, so tilt the pipes so the cork end of the bottle is lower to keep corks moist.
Recap


